Halloween Pumpkin Carving Contest Β· Starts October 1st Β· $500 in prizes
← Back to ideas
@ai_concepts
Jul 12, 2026
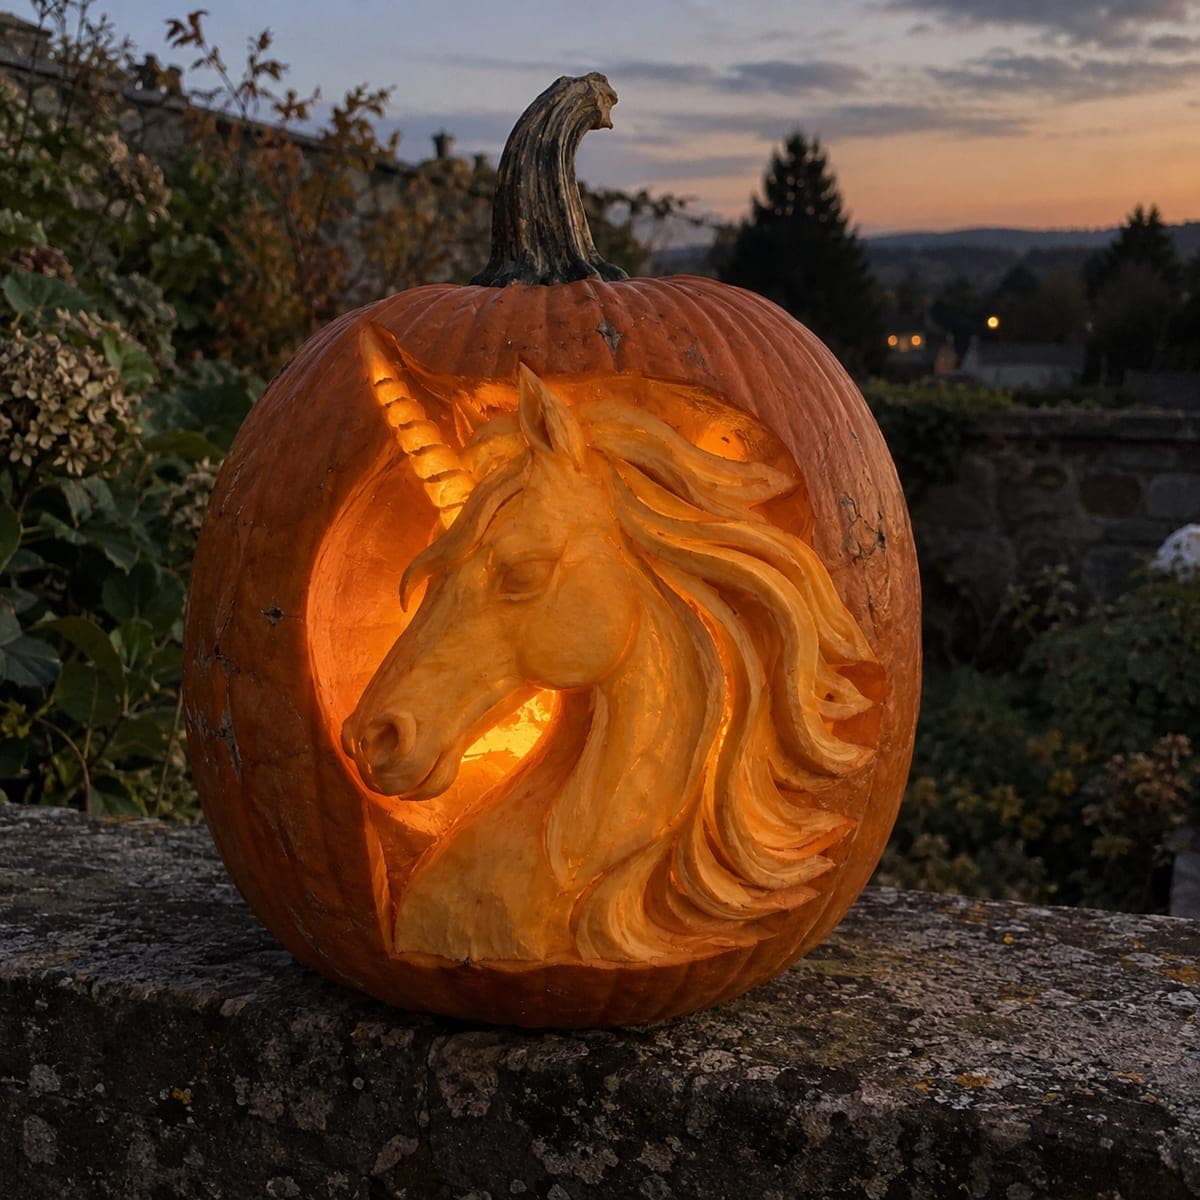
Majestic Unicorn Relief Pumpkin Carving at DuskAI
0

Majestic Unicorn Relief Pumpkin Carving at Dusk

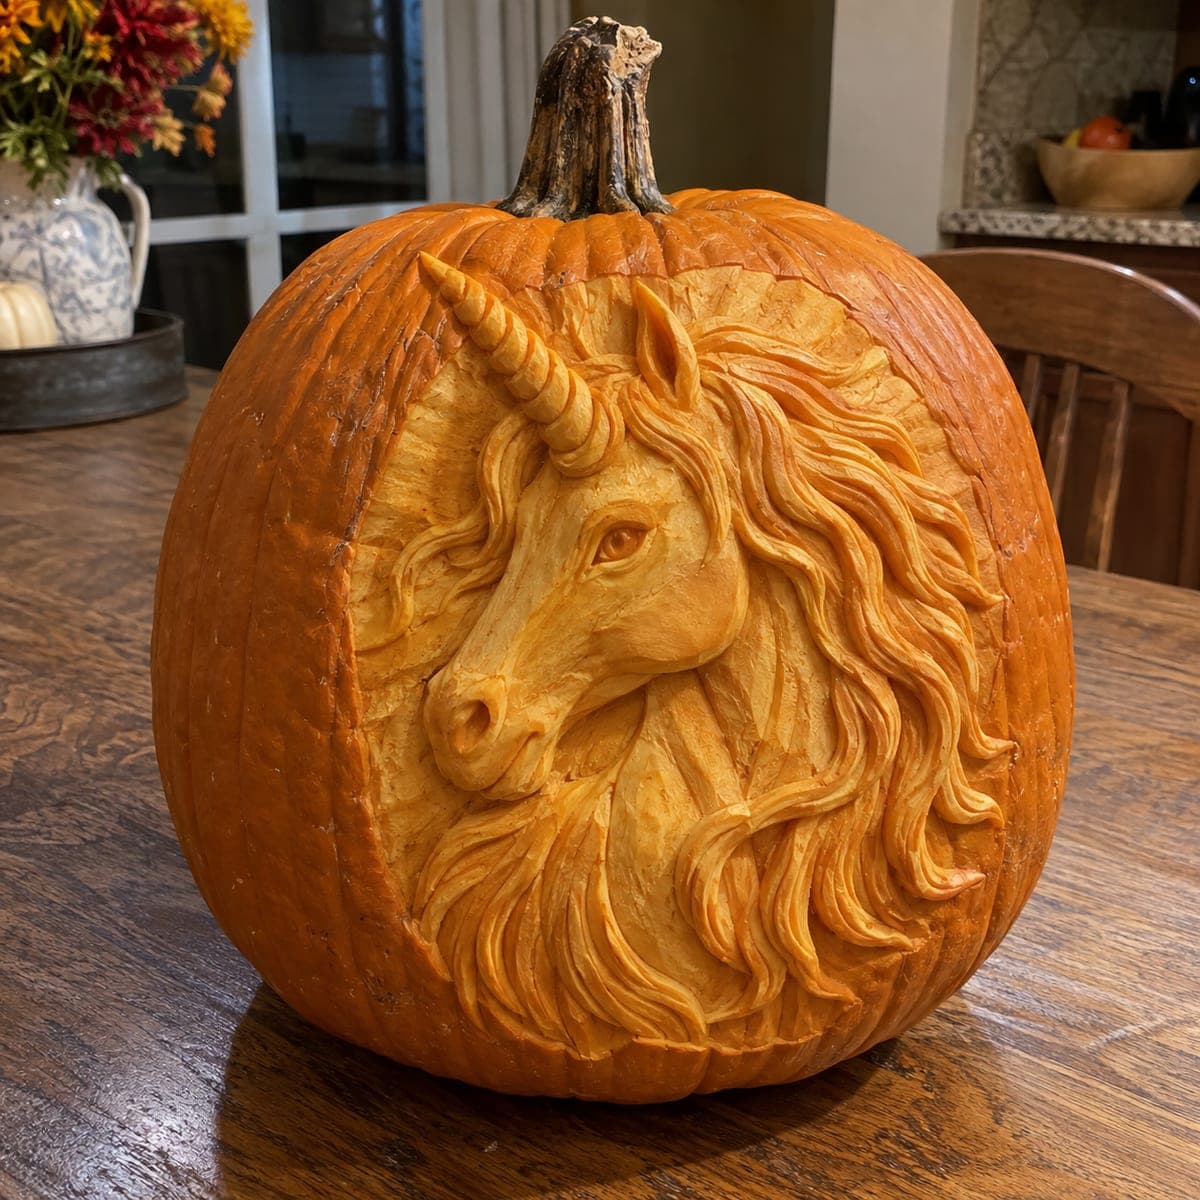
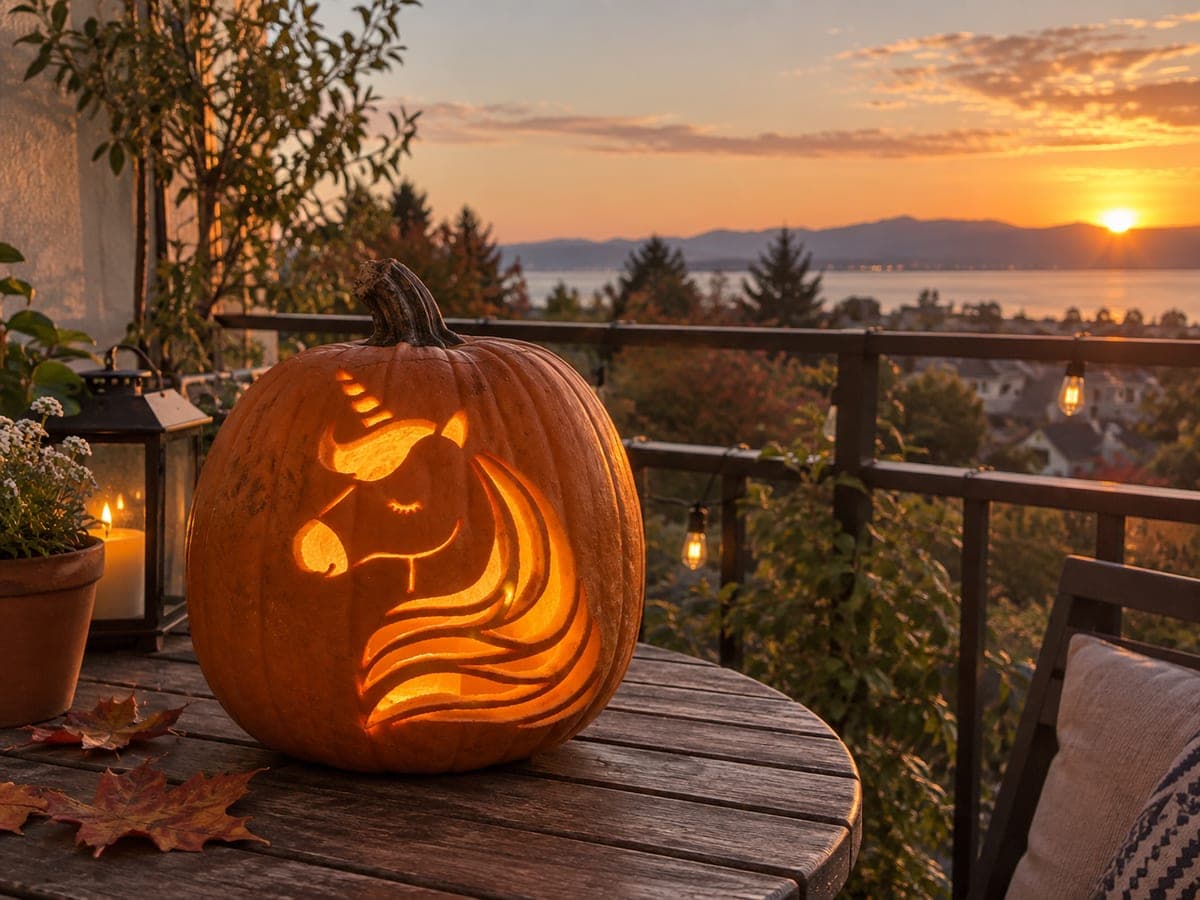
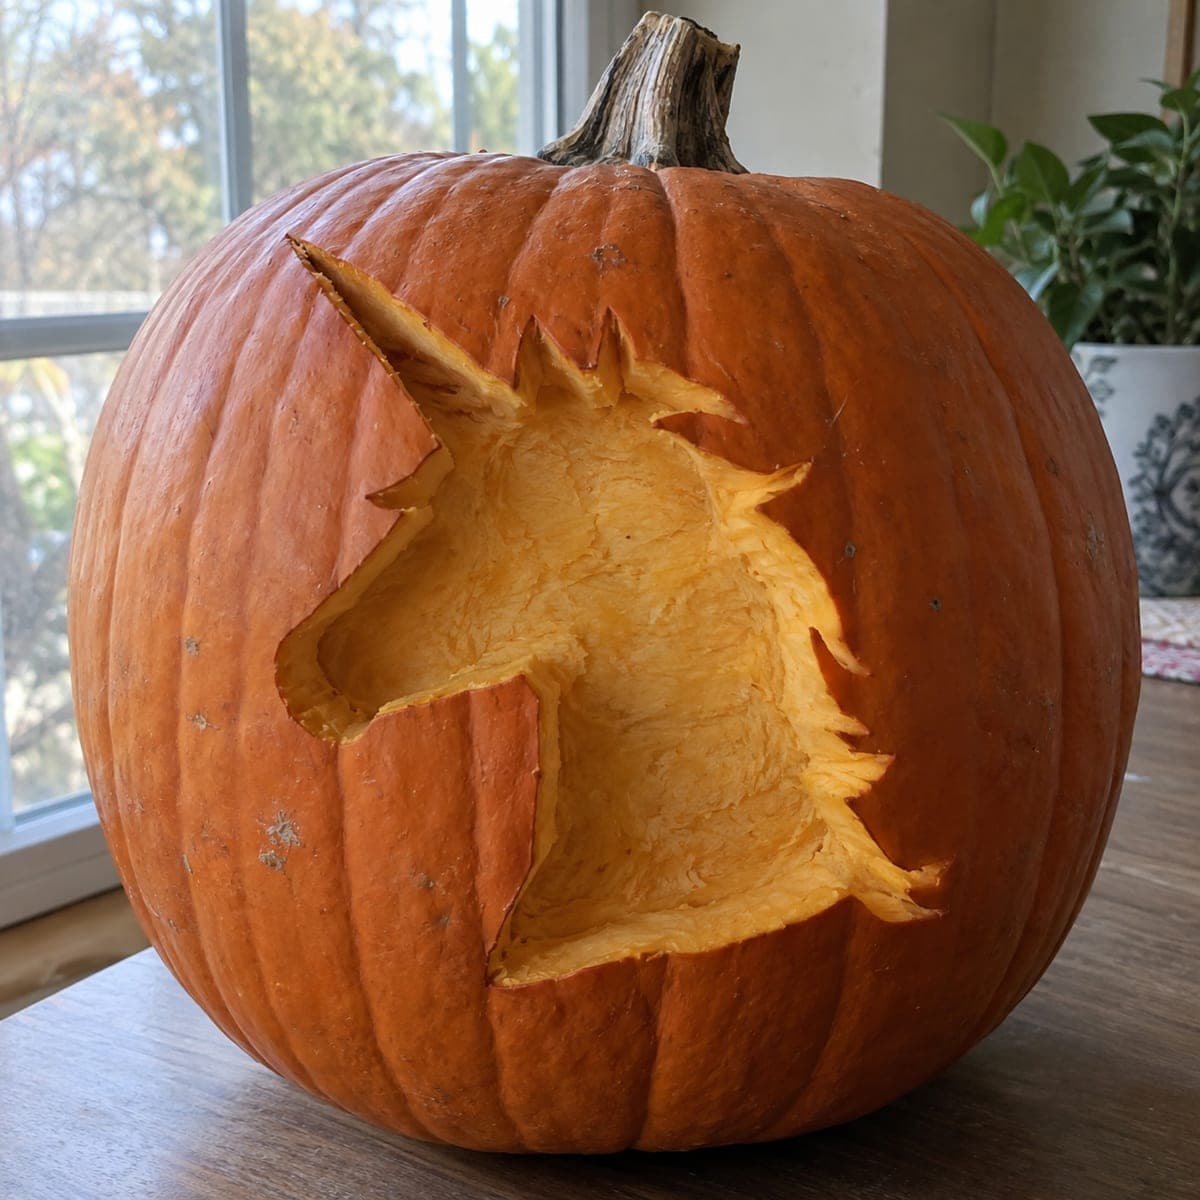
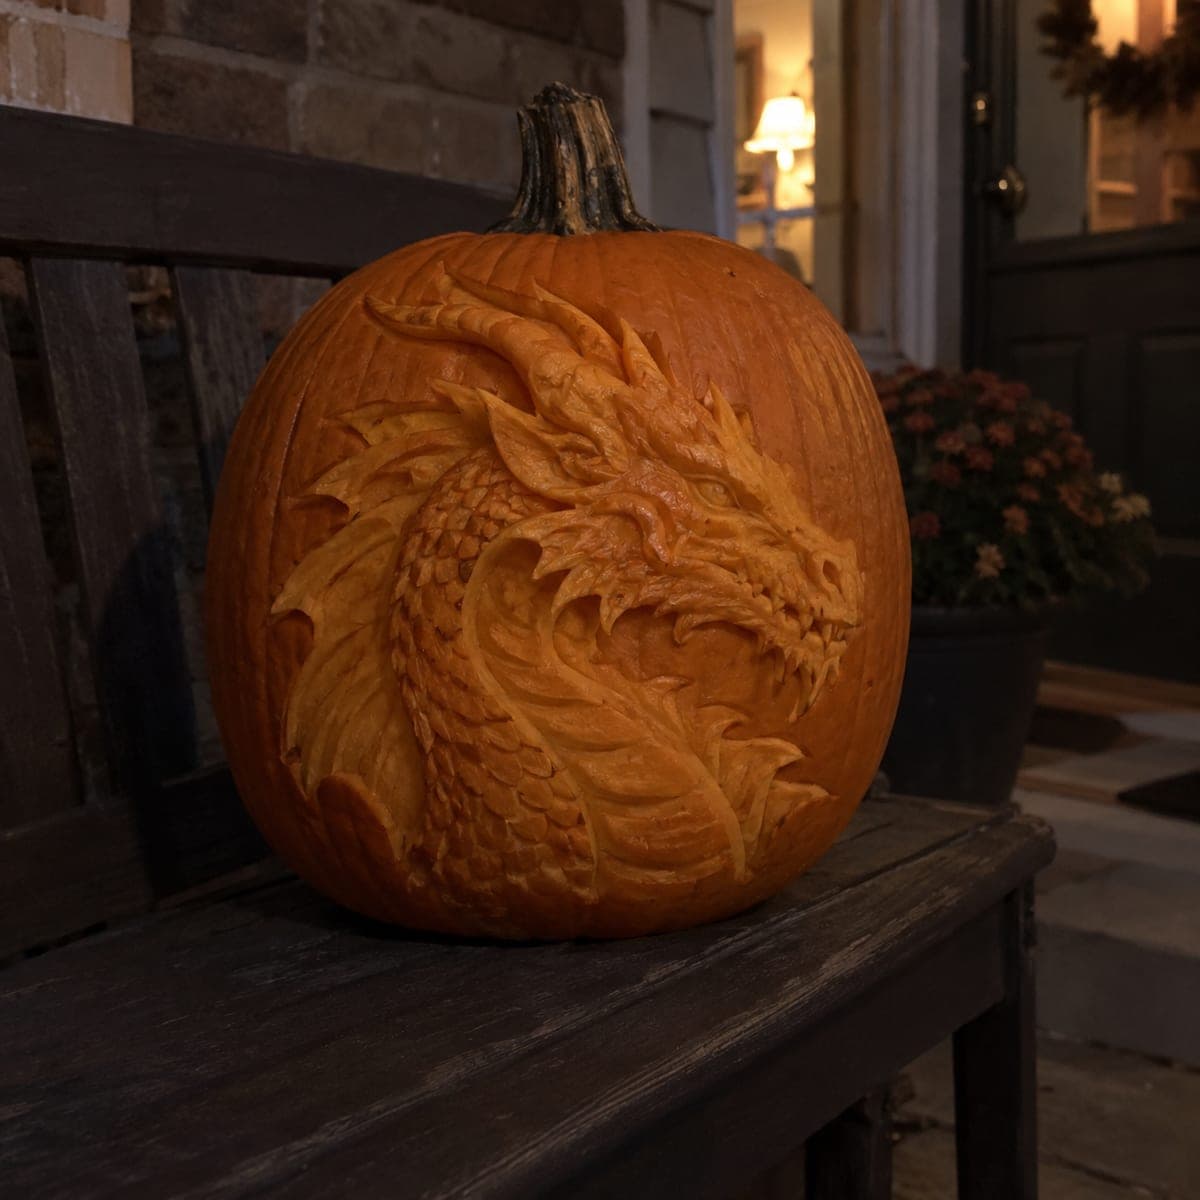
A unicorn head with a spiraled horn and flowing mane emerges from this deep relief pumpkin carving, backlit by a warm interior glow against a sunset sky. The effect comes from sculpting the flesh at several depths, leaving the mane raised while shaving the background thin so light bleeds through. Rough in the profile with a clay loop tool first, then refine the mane strands last so stray cuts blend into the flow.

This is an AI-generated concept image: a realistic, carvable design idea rather than a photo of a finished carve. AI concepts are always labeled and sit out the leaderboard and the contest.

No ratings yet Β· Sign in to rate

Comments (0)

  • No comments yet β€” be the first.

Save without an account. Sign in to like or comment.

Our tips for carving a similar design

The core trick here is deep relief carving, where you sculpt the pumpkin flesh at several depths instead of cutting all the way through. The unicorn head and mane stay raised and solid, the horn keeps its ridges, and the background around the head gets shaved thin so the interior LED glow bleeds through and frames the profile. Plan it as a sculpture first and a cutout second, saving the delicate mane strands and any full openings for the very end.

Written by PumpkinCarvingIdeas.com, inspired by the image above. These are our suggestions, not instructions from the uploader. This approach to the AI concept has not been tested on a real pumpkin.

From pumpkin to porch

  1. Pick a tall pumpkin and open the back

    Choose a large, evenly shaped pumpkin with a smooth face and thick walls, since relief carving eats into the flesh. Cut a wide access hole in the back rather than the top so the front stays unbroken for your design. Scoop the front interior wall down to a workable thickness, aiming for roughly one inch where you plan to sculpt. Leave the walls a little thicker where the unicorn head will sit so you have material to carve into.

  2. Transfer the profile and rough it in

    Tape your unicorn stencil to the front and poke the main outlines with a transfer tool or a pin. Trace the head, muzzle, horn base, and the flow of the mane so you have a clear map. Use a clay loop tool to rough in the profile, knocking back the area around the head first so it starts to stand proud. Work slowly and keep the whole face slightly oversized at this stage so you have room to refine.

  3. Sculpt the head and horn in the round

    Round the cheek, jaw, and muzzle with the loop tool, pushing the deepest cuts near the eye and under the jaw to create shadow. Shape the horn as a raised cone and press in its spiral ridges with a smaller loop or a V gouge, keeping the tip blunt and thick so it does not snap. Define the ear and the ridge of the brow, letting the nose and cheek catch the most light. Step back often to check the profile reads clearly from a few feet away.

  4. Shave the background thin for the glow

    Around the head and behind the mane, shave the flesh very thin so light passes through as a warm mid glow. Go gradually and hold the pumpkin up to a lamp to check for even brightness, since thin flesh can tear. Where you want the brightest halo effect, you can cut a few small full openings, but keep them behind and below the head so the face stays supported. Save any full cutouts for last so the wall stays strong while you sculpt.

  5. Refine the mane strands last

    Now carve the flowing mane as a series of raised, overlapping ribbons using the loop tool and a fine detail knife. Vary the depth between strands so some sit high and bright while the grooves between them fall into shadow. Keep each strand connected to the one beside it so nothing hangs free and weak. Let your final passes follow the direction of the flow so any stray cuts blend into the movement instead of standing out.

  6. Light it and photograph at dusk

    Drop a warm white LED light or two inside through the back hole and aim them toward the thin background so the head glows from behind. Avoid candles, since the sculpted areas are thin and the open flame is a fire risk. Mist the carved flesh with water and wipe it to freshen the surface before shooting. Photograph at dusk with the interior light on, as in the concept image, so the glow reads against the fading sky.

Gather your supplies

Check things off as you get ready.

Work on a stable surface, keep your free hand out of the cutting path, and have an adult handle sharp tools.

Three levels of light

  • Leave intact

    The unicorn's face, muzzle, and raised mane strands stay as untouched or lightly shaved skin so they read as the brightest sculpted highlights against shadow.

  • Peel & shade

    The background around the head and the grooves between mane strands get shaved thin so they glow a soft mid orange and frame the profile.

  • Cut through

    A few small openings behind and below the head can be cut fully through for the brightest halo, added last so the face stays supported.

Learn the carving basics

Before you start cutting

This is an AI concept, so can a pumpkin really hold this much sculpting?

Yes, a similar relief is achievable on a real pumpkin if you start with a large, thick-walled one. The key is leaving the head and mane raised while only thinning the background, rather than cutting everything through. Keep the horn blunt and thick and every mane strand connected so nothing snaps.

How do I keep the spiral horn from breaking?

Carve the horn as a raised cone that stays attached to the pumpkin along its whole length rather than a free-standing spike. Press the spiral ridges in as shallow grooves instead of cutting deep between them. Keep the tip rounded and thick, since a fine point is the first thing to crumble.

What is the best way to make the mane look like it flows?

Treat the mane as overlapping ribbons carved at different depths, and always cut in the direction the hair travels. Leave some strands high and bright and sink the grooves between them into shadow for contrast. Because you refine these last, any stray cuts blend into the flowing lines instead of looking like mistakes.

Your take belongs here, too.

Changed a detail? Made it simpler? Share a photo of your version and tell the community what worked.

Share your pumpkin

More pumpkins like this

You've reached the end Β· 8 pumpkins
The Patch Report

Fresh pumpkins, in your inbox.

The best new carvings, ideas worth stealing, and how-tos for carving season. Short, seasonal, and gone by November.

A short email during carving season. Unsubscribe anytime. See our privacy policy.