Halloween Pumpkin Carving Contest · Starts October 1st · $500 in prizes
← Back to ideas
@ai_concepts
Sep 25, 2026
Wide Grin Short Fat Pumpkin on the Porch FloorAI
0

Report this carving

Tell us what is wrong. Reports are private.

Wide Grin Short Fat Pumpkin on the Porch Floor

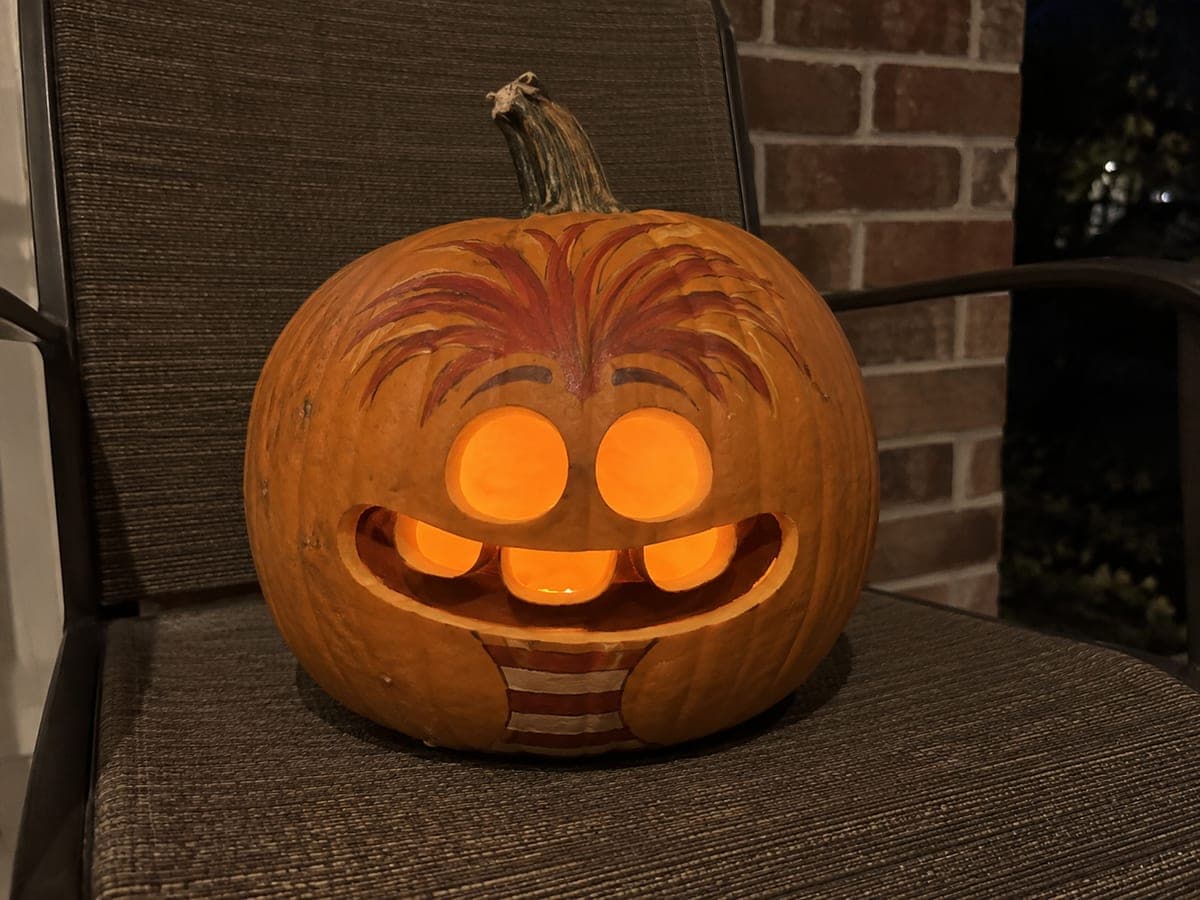
Two squat triangle eyes and a wide open smile with one oversized tooth attached to the top edge give this 45-centimeter wide, 22-centimeter tall pumpkin a silly satisfied expression that suits its flattened proportions. Keep the single tooth wide at the root, at least 4 centimeters, so it stays firmly anchored when the mouth opening is cut. Use a heavy serrated knife rather than a thin carving saw since the flat shape makes the belly rind relatively close to the back wall. A low angle photo at night captures the squat silhouette best for this short fat pumpkin carving idea.

No ratings yet · Sign in to rate

Comments (0)

  • No comments yet — be the first.

Save without an account. Sign in to like or comment.

Our tips for carving a similar design

The design uses the pumpkin's extreme width-to-height ratio to make the face look physically compressed and therefore funny. A single oversized tooth attached at the top of the mouth opening needs at least 4 centimeters of base width to stay firmly anchored. A heavy serrated knife is safer than a thin pumpkin saw on a flat-bellied shell where the cavity is close to the face.

From pumpkin to porch

  1. Prep the pumpkin

    Cut the top lid at an angle on this flat shape since the cavity is shallow. Scoop carefully to about 2 centimeters of wall thickness; the belly of a short fat pumpkin can be surprisingly thin in the center. Use a wide flat spoon rather than a pointed scoop to work across the broad interior.

  2. Mark the squat triangle eyes

    Draw two wide, flat triangle eyes in the upper portion of the face, each about 7 centimeters wide and only 3 centimeters tall. The squished proportions of a flat triangle suit the squished pumpkin shape and reinforce the satisfied narrowed expression.

  3. Mark the wide mouth opening

    Draw a wide grinning mouth arc spanning roughly two-thirds of the face width. Inside the mouth, mark one large rectangle along the upper edge as the single tooth, at least 4 centimeters wide. The tooth must be clearly wider than it is tall to look like a tooth rather than a peg.

  4. Cut the eyes first

    Use the heavy serrated knife to cut both triangle eyes. The flat shape means the knife travels at a low angle through the wall; keep the cut perpendicular to the surface by adjusting your grip rather than your arm angle. Remove each triangle plug inward.

  5. Cut the mouth opening with the tooth attached

    Follow the outer smile arc, stopping at the left and right base of the tooth rectangle. Cut down each side of the tooth to define its edges. Then continue the outer arc below the tooth. The plug comes out in two or three sections around the tooth. The tooth remains attached at its top edge only.

  6. Light and photograph low

    Place the pumpkin on the porch floor at night with an LED tea light inside. A very low camera angle captures the wide squat silhouette and the single-tooth grin most effectively. The ground-level placement also makes the pumpkin look larger and more self-satisfied than it actually is.

Written with AI to match this design

Gather your supplies

Check things off as you get ready.

Work on a stable surface, keep your free hand out of the cutting path, and have an adult handle sharp tools.

Three levels of light

  • Leave intact

    All rind outside the two triangle eyes and the mouth opening, plus the single attached tooth, stays fully solid and dark.

  • Peel & shade

    None. This design uses only full cutouts.

  • Cut through

    Both squat triangle eyes and the wide mouth opening around the tooth are cut completely through for full glowing light.

Learn the carving basics

Before you start cutting

Will the single tooth break off when I cut the mouth around it?

Not if the base is at least 4 centimeters wide. Make the tooth shape on your drawing first and confirm the width measurement before cutting. Cut both vertical sides of the tooth clearly before following the outer smile arc below it, so the tooth boundary is fully defined before any mouth material is removed.

The walls seem very close together on this flat pumpkin. How do I avoid cutting through the back?

Test the wall thickness by probing with a skewer at several points before cutting. On a short fat pumpkin the cavity ceiling can be only 3 to 4 centimeters below the exterior surface at the top. Cut at a consistent angle and stop the moment the blade breaks through to avoid nicking the back wall.

What is a good substitution for a standard tall LED candle in this flat cavity?

A short wide LED tea light or a flat LED disc light works much better than a tall candle in the shallow interior. Position it toward the front of the cavity to push maximum light toward the face openings.

Your take belongs here, too.

Changed a detail? Made it simpler? Share a photo of your version and tell the community what worked.

Share your pumpkin

More pumpkins like this

You've reached the end · 8 pumpkins
The Patch Report

Fresh pumpkins, in your inbox.

The best new carvings, ideas worth stealing, and how-tos for carving season. Short, seasonal, and gone by November.

A short email during carving season. Unsubscribe anytime. See our privacy policy.