Halloween Pumpkin Carving Contest · Starts October 1st · $500 in prizes
← Back to ideas
@ai_concepts
Sep 11, 2026
Winking Tongue-Out Emoji Carved Pumpkin FaceAI
0

Winking Tongue-Out Emoji Carved Pumpkin Face

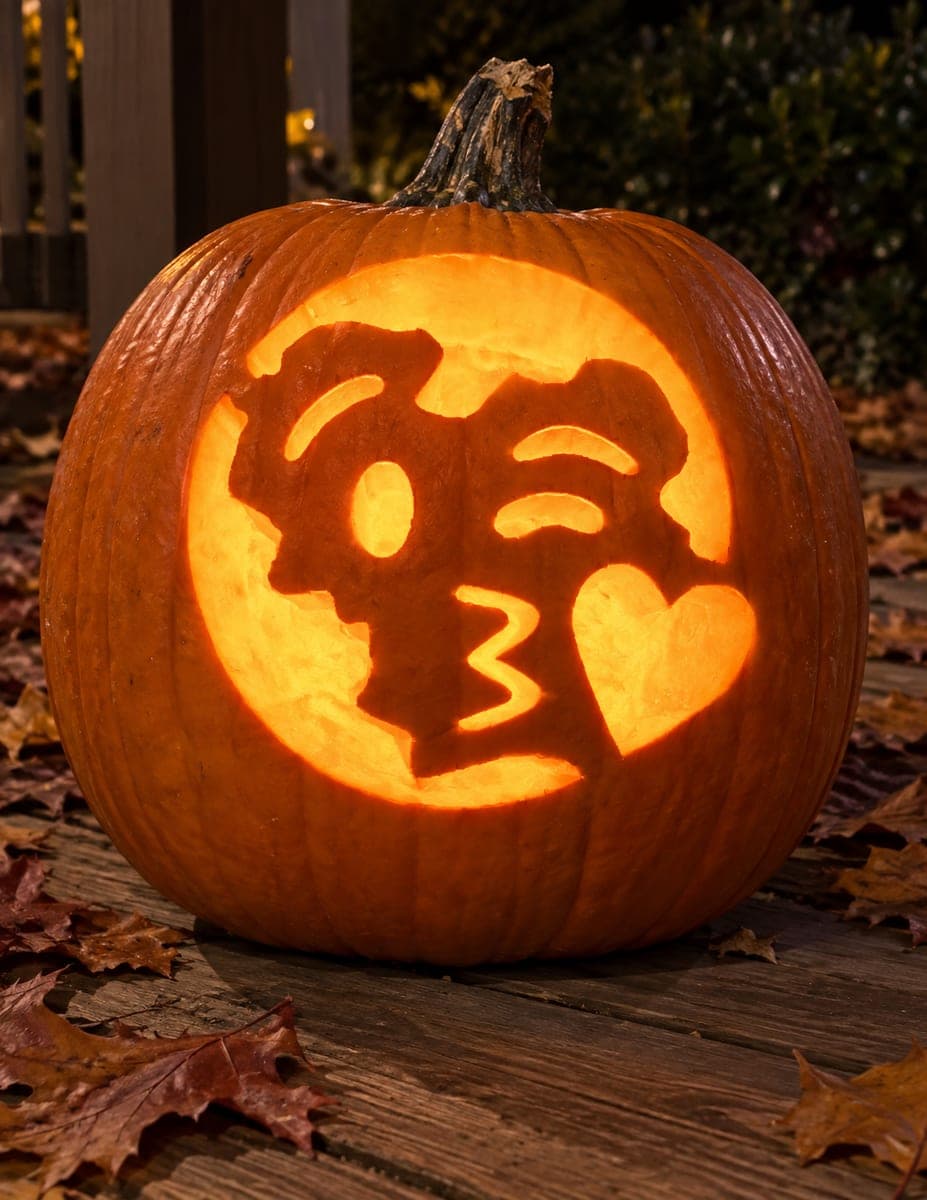
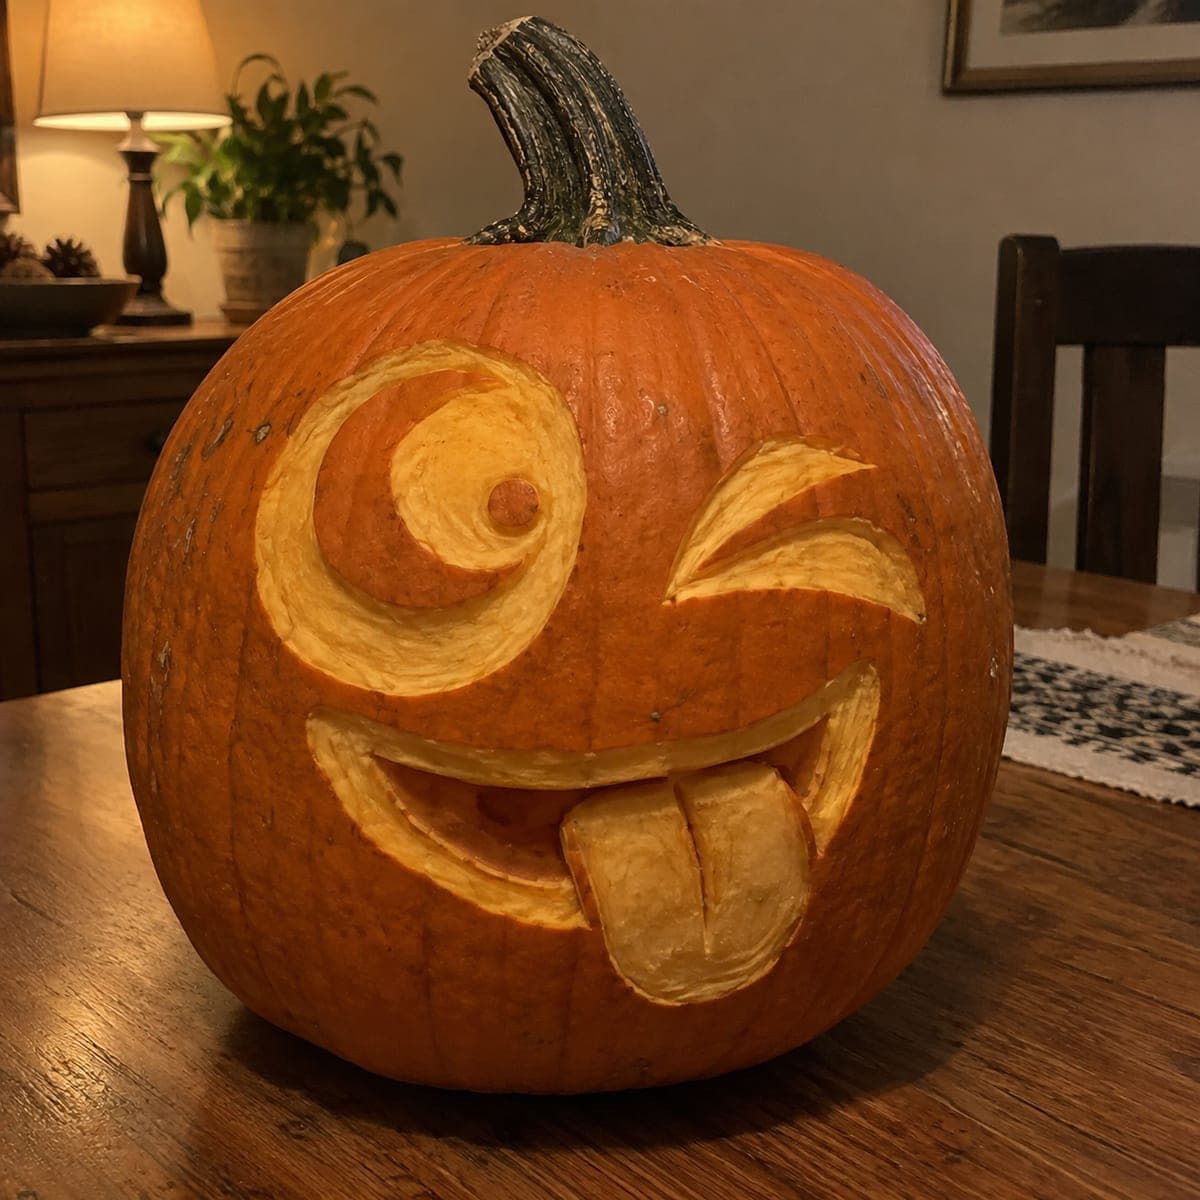
The classic silly-face emoji comes to life here, with one wide swirled eye, one winking arc, and a floppy tongue lolling out of a big grin. All the shapes are peeled in shallow relief rather than cut through, so the design shows up in daylight and the pumpkin holds together. Sketch the emoji with a dry-erase marker you can wipe clean, then remove the skin inside each shape with a loop tool. Teens especially love this one by the front door.

This is an AI-generated concept image: a realistic, carvable design idea rather than a photo of a finished carve. AI concepts are always labeled and sit out the leaderboard and the contest.

No ratings yet · Sign in to rate

Comments (0)

  • No comments yet — be the first.

Save without an account. Sign in to like or comment.

Our tips for carving a similar design

The core trick here is shallow relief carving, where you peel away just the orange skin instead of cutting all the way through. Peeling the swirled eye, the winking arc, the grin, and the floppy tongue leaves them glowing softly against the dark skin, so the whole goofy face reads even in daylight. Only a couple of small mouth gaps get cut through, which keeps the pumpkin strong and easy to light.

Written by PumpkinCarvingIdeas.com, inspired by the image above. These are our suggestions, not instructions from the uploader. This approach to the AI concept has not been tested on a real pumpkin.

From pumpkin to porch

  1. Prep and open the pumpkin

    Pick a round pumpkin with a smooth, unblemished front for clean shading. Have an adult cut a lid from the bottom or the back rather than the top, so the stem stays intact and the front face is uninterrupted. Scoop the inside until the front wall is about one inch thick, which makes peeling easier and even. Scrape the wall smooth so your relief shapes will glow uniformly.

  2. Sketch the emoji face

    Use a dry-erase marker so you can wipe and redo lines until the layout feels balanced. Draw the big round swirled eye on the left with its curled inner spiral, then a simple upward crescent for the winking eye on the right. Add a wide curved grin below, and sketch the fat tongue drooping out of the lower part of the mouth. Step back and check the spacing before you touch a blade.

  3. Peel the eyes

    Start with the swirled eye by using a loop tool to remove only the outer skin inside the shape, staying inside your lines. Leave a thin raised curl of skin for the spiral and a small skin dot for the pupil so those details stay dark and defined. Peel the winking crescent the same way, keeping the curve clean. Work slowly and shallow, since you can always take more off but cannot put skin back.

  4. Shade the mouth and tongue

    Peel the wide grin shape so it glows, and leave a thin uncarved border to frame the smile. Peel the surface of the tongue but scoop it slightly deeper toward the tip for a soft gradient, and leave a narrow raised line down the middle so the tongue looks folded. Keep the tongue attached to the pumpkin wall on all sides since it is relief, not a cutout. Blend your loop strokes so there are no harsh ridges.

  5. Cut the few real openings

    Save any full cutouts for last so the wall stays rigid while you shade. Cut through only the small corners of the mouth and a thin gap under the grin to let bright light escape. Keep these openings small and rounded so the face keeps its cheerful look and the shapes above them stay supported. Have an adult handle the poke saw for these cuts.

  6. Light it and photograph

    Set a battery LED inside, ideally a warm flickering one, and aim it toward the peeled areas. The relief shapes will glow dim orange while the cutouts pop bright, giving the face depth. Take your photo in a dim room at dusk for the best contrast. Mist the cut edges with water and store the pumpkin cool between showings to slow drying.

Gather your supplies

Check things off as you get ready.

Work on a stable surface, keep your free hand out of the cutting path, and have an adult handle sharp tools.

Three levels of light

  • Leave intact

    The thin spiral curl and pupil dot in the eye, the raised fold line on the tongue, and the border framing the grin stay as dark untouched skin.

  • Peel & shade

    The eye interiors, winking crescent, grin, and tongue surface are skin-peeled for a soft mid orange glow.

  • Cut through

    Only the small mouth corners and a thin gap under the smile are cut through for the brightest light.

Learn the carving basics

Before you start cutting

This is a concept image, so can a face like this really be carved?

Yes, the design is built almost entirely from shallow relief peeling, which is very achievable on a real pumpkin. The key is keeping the tongue and spiral attached to the wall instead of cutting them free. Only a couple of small openings go all the way through, so the pumpkin stays sturdy.

How do I keep the peeled shapes glowing without cutting through?

Scrape the inner front wall down to about one inch so light passes through the thinned skin. When you peel the surface, remove just the orange rind and a little flesh, stopping before you break through. The thinner the remaining wall, the brighter the glow, but go gradually to avoid punching a hole.

Will the floppy tongue break off?

It should not, because in this design the tongue is relief carving, not a dangling cutout. It stays connected to the pumpkin on every edge, so there is nothing to snap. Just keep your loop tool shallow when you shade it and leave the center fold line raised for strength and detail.

Your take belongs here, too.

Changed a detail? Made it simpler? Share a photo of your version and tell the community what worked.

Share your pumpkin

More pumpkins like this

You've reached the end · 8 pumpkins
The Patch Report

Fresh pumpkins, in your inbox.

The best new carvings, ideas worth stealing, and how-tos for carving season. Short, seasonal, and gone by November.

A short email during carving season. Unsubscribe anytime. See our privacy policy.