Pumpkin carving templates
1155 free printable stencils. Download, print, trace, carve.
302 results · Page 2 of 9
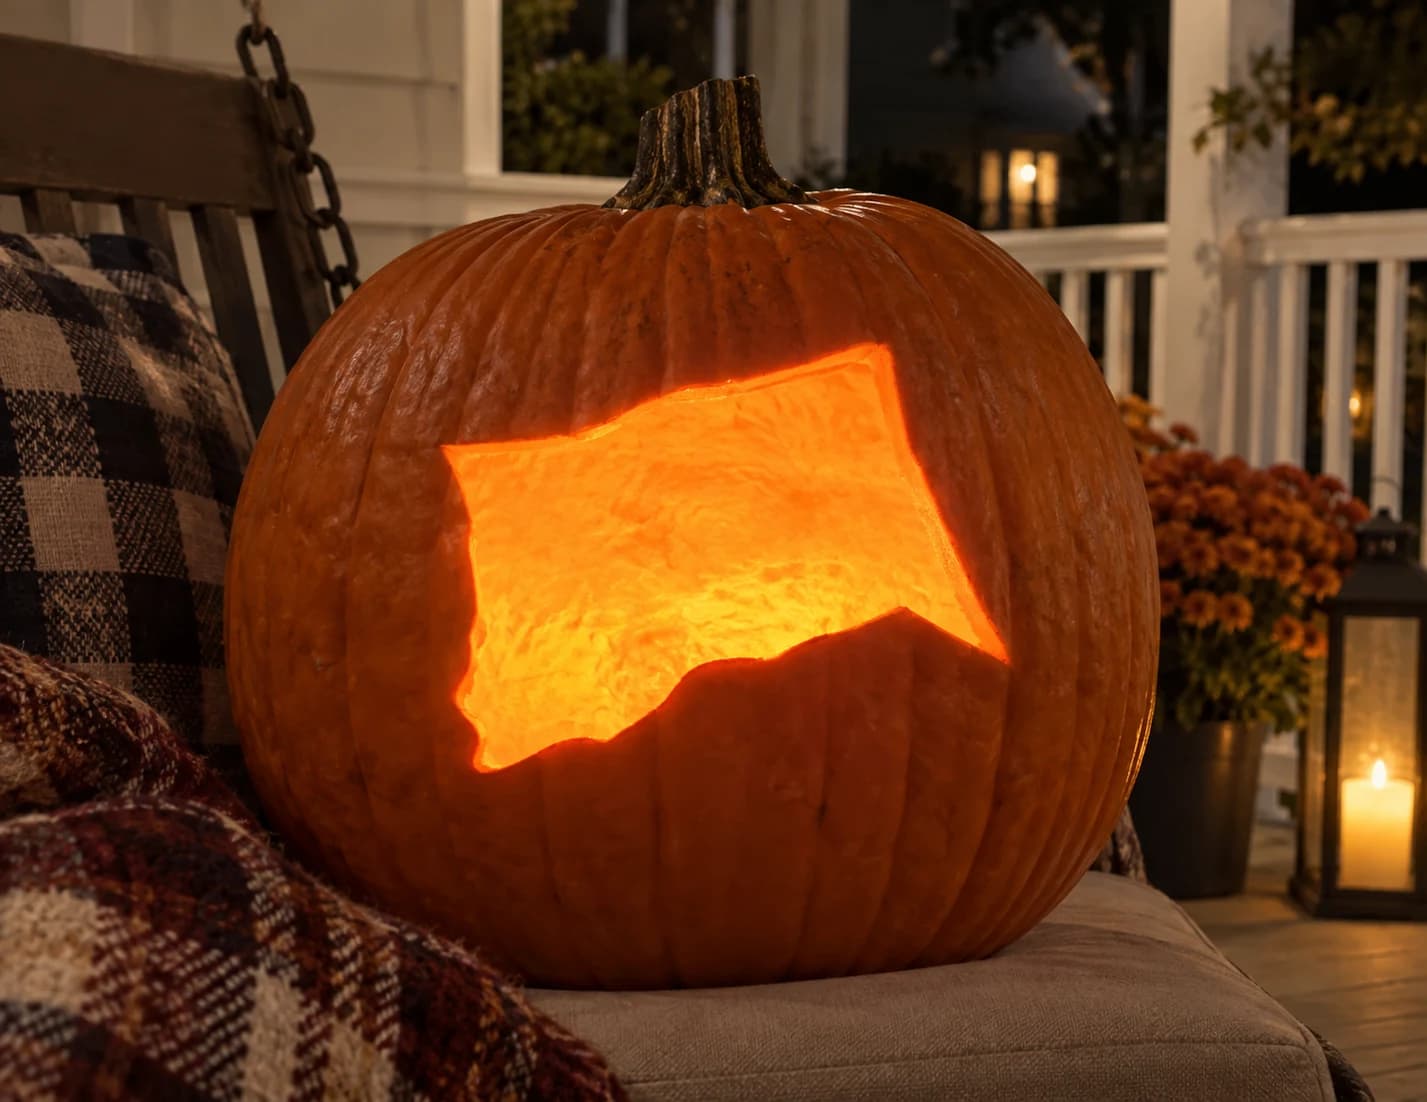
Connecticut Pumpkin Stencil
Connecticut's compact, slightly irregular state outline fills this easy pumpkin stencil: a roughly rectangular silhouette with a gentle concave nick at the lower-right corner and subtly wavy edges that trace the actual border contours. The entire shape cuts out as a single piece, glowing in isolation against the uncut orange pumpkin skin. Because the outline has no interior detail, the challenge is keeping the thin shell border even, so use a small detail saw and rotate the pumpkin rather than repositioning your hand at the tight lower-right corner.
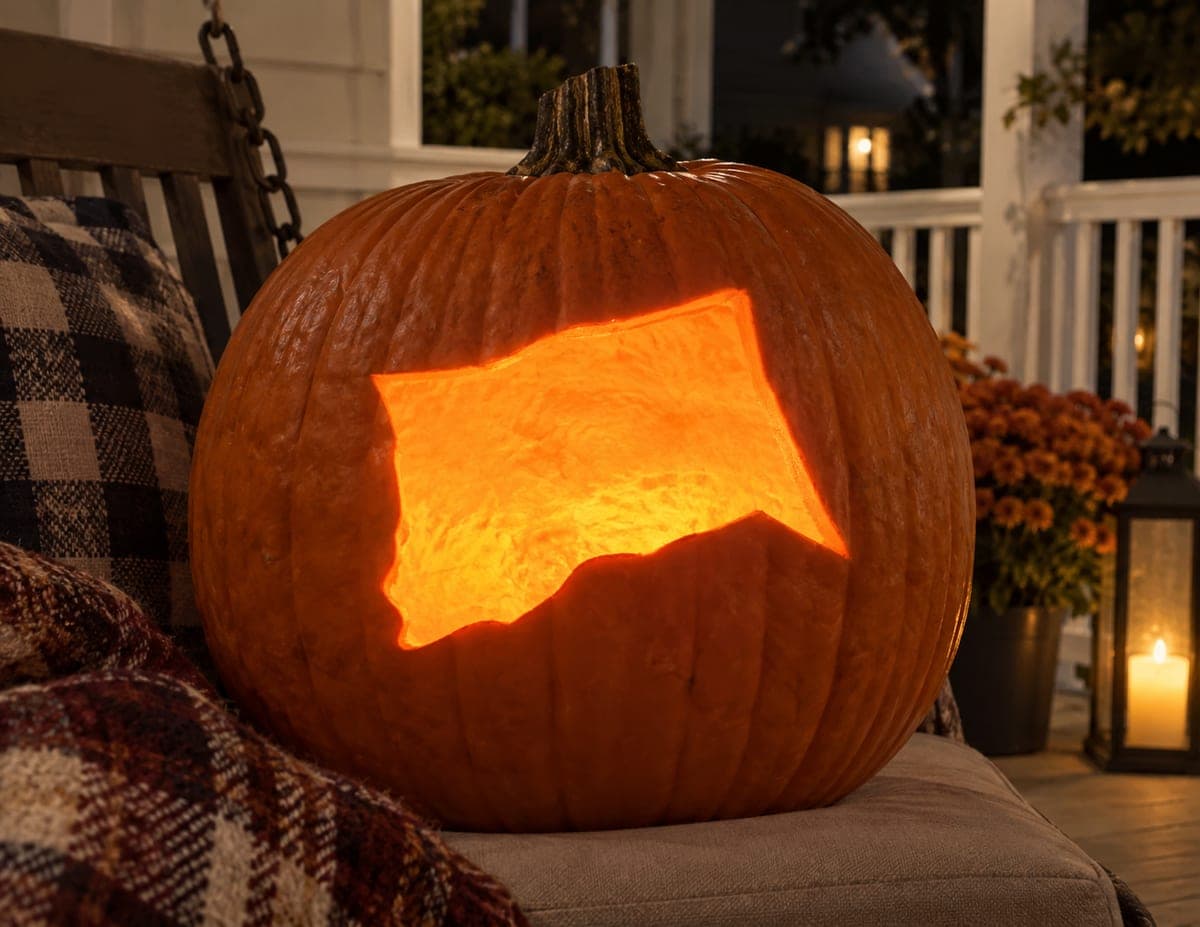
Connecticut State Shape
Connecticut glows as a single bold cutout, its mostly straight northern and western borders framing the wavy Long Island Sound coastline along the bottom, with the little southwestern panhandle jutting toward the corner. The whole state shape is removed so light fills the silhouette edge to edge. An easy carve overall; start with the straight border lines, then follow the gentle coastal bumps freehand without worrying about perfection.
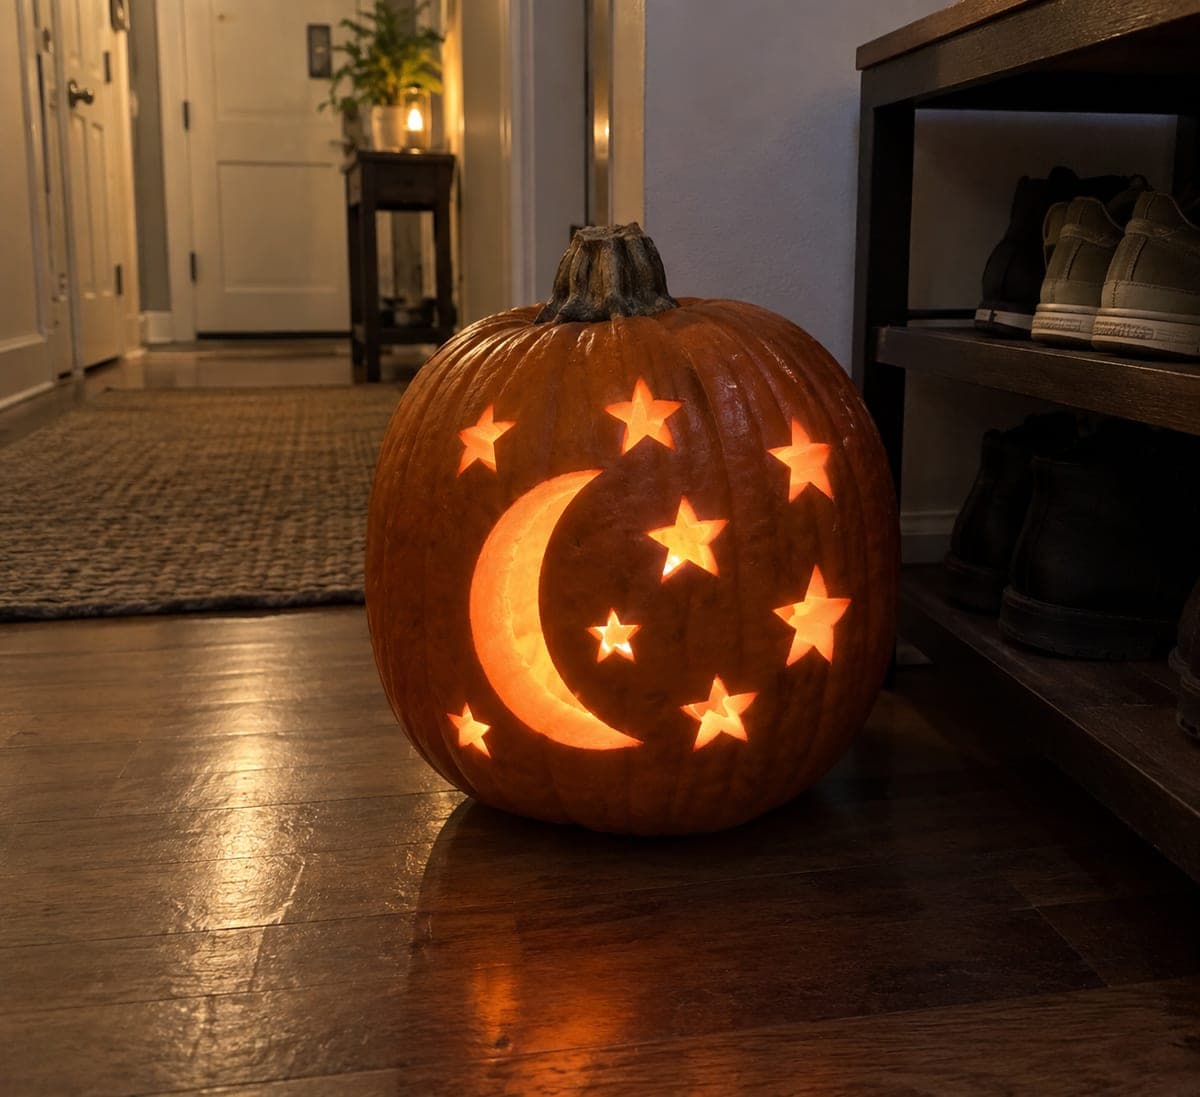
Crescent and Eight Stars
A large crescent moon curves along one side of the pumpkin while eight stars of varied sizes scatter across the rest of the face. Moon and stars are all cut-through openings, turning the pumpkin into a bright celestial lantern with plenty of glow for a dark porch. Eight stars push this to a medium carve simply on repetition, so rotate the pumpkin as you go and cut every star point with a pull stroke toward the center for clean tips.

Crescent and Four Stars
A thick crescent moon anchors the left side of the pumpkin while four five-pointed stars drift across the remaining space. All five elements are clean cut-through openings, so the pumpkin becomes a night-sky lantern with the untouched rind acting as the dark sky between them. It is an easy carve overall; the only care point is the star tips, so cut each star point-to-center in single strokes rather than trying to steer around the whole outline at once.
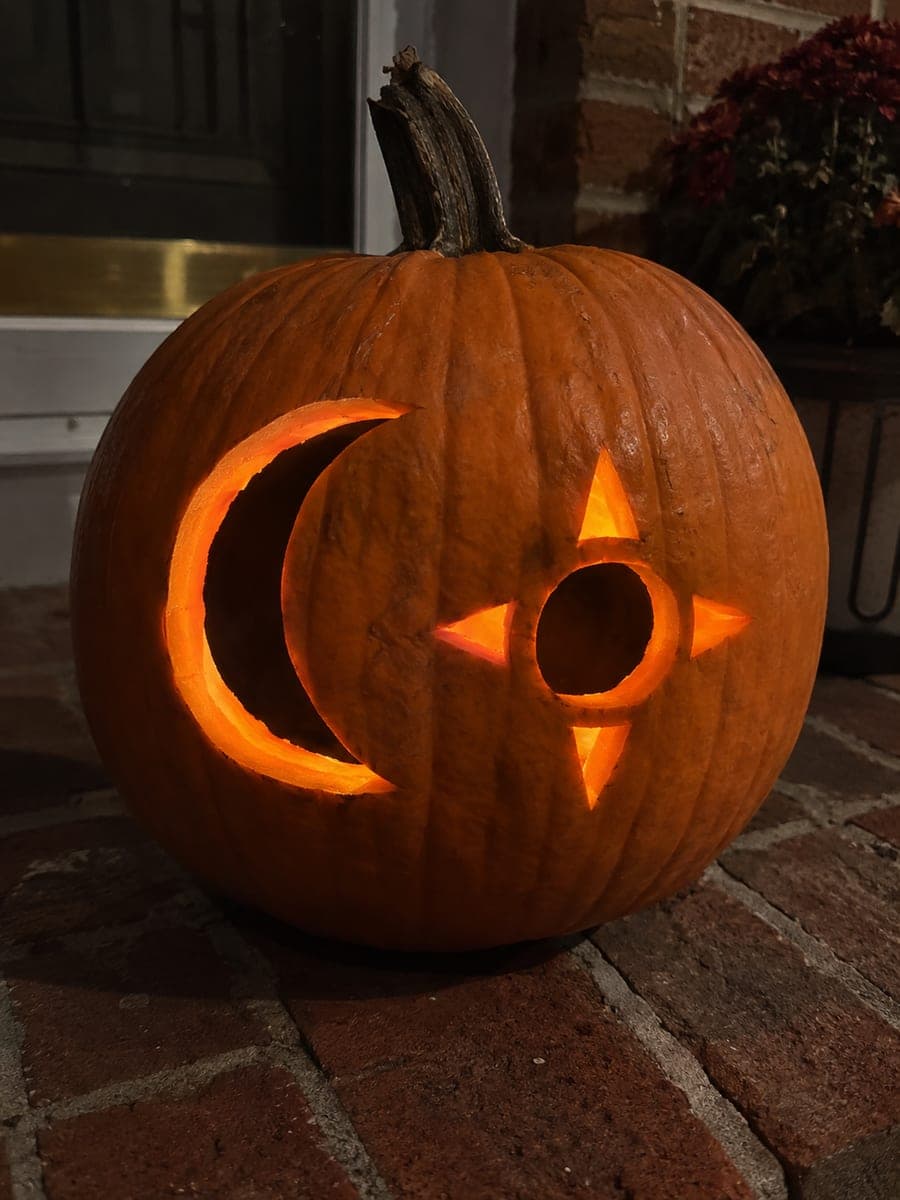
Crescent and Four-Ray Sun
A tall crescent moon pairs with a four-ray sun whose points frame a solid circle of rind at its center, creating a striking celestial emblem. The crescent and the four triangular rays are pierced through, while the sun's middle disc stays attached as a floating island of pumpkin skin. At medium difficulty, cut the four rays individually and avoid nicking the center circle's edge, since that untouched disc is what makes the sun read.
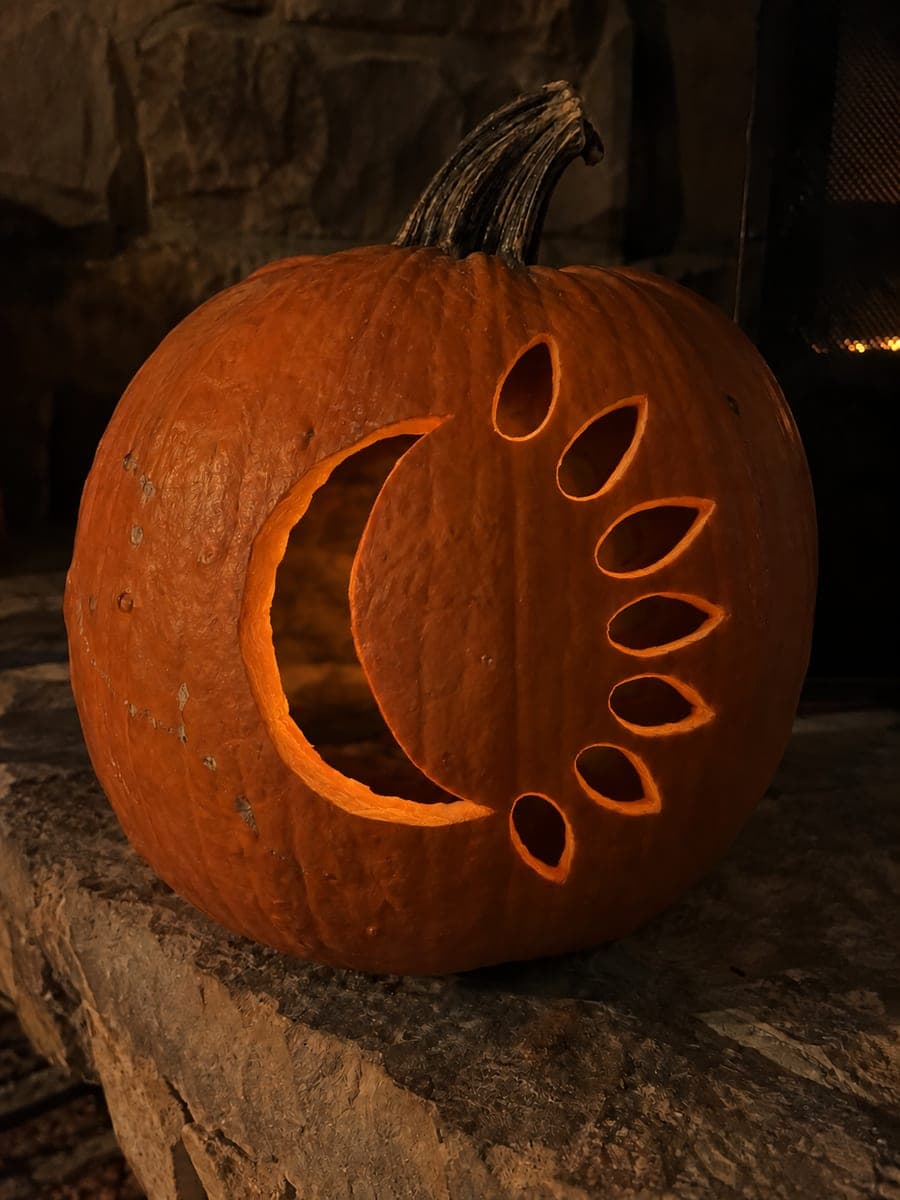
Crescent and Seven Teardrops
A tall crescent moon anchors the left side of this celestial design while a fan of seven teardrop rays arcs around its open curve like scattered moonbeams. Every shape is pierced through, so the crescent throws a big wash of light and the teardrops sparkle around it. Cut the crescent first for this medium design, then do the teardrops smallest to largest; angling your saw slightly outward makes each little petal pop out cleanly.
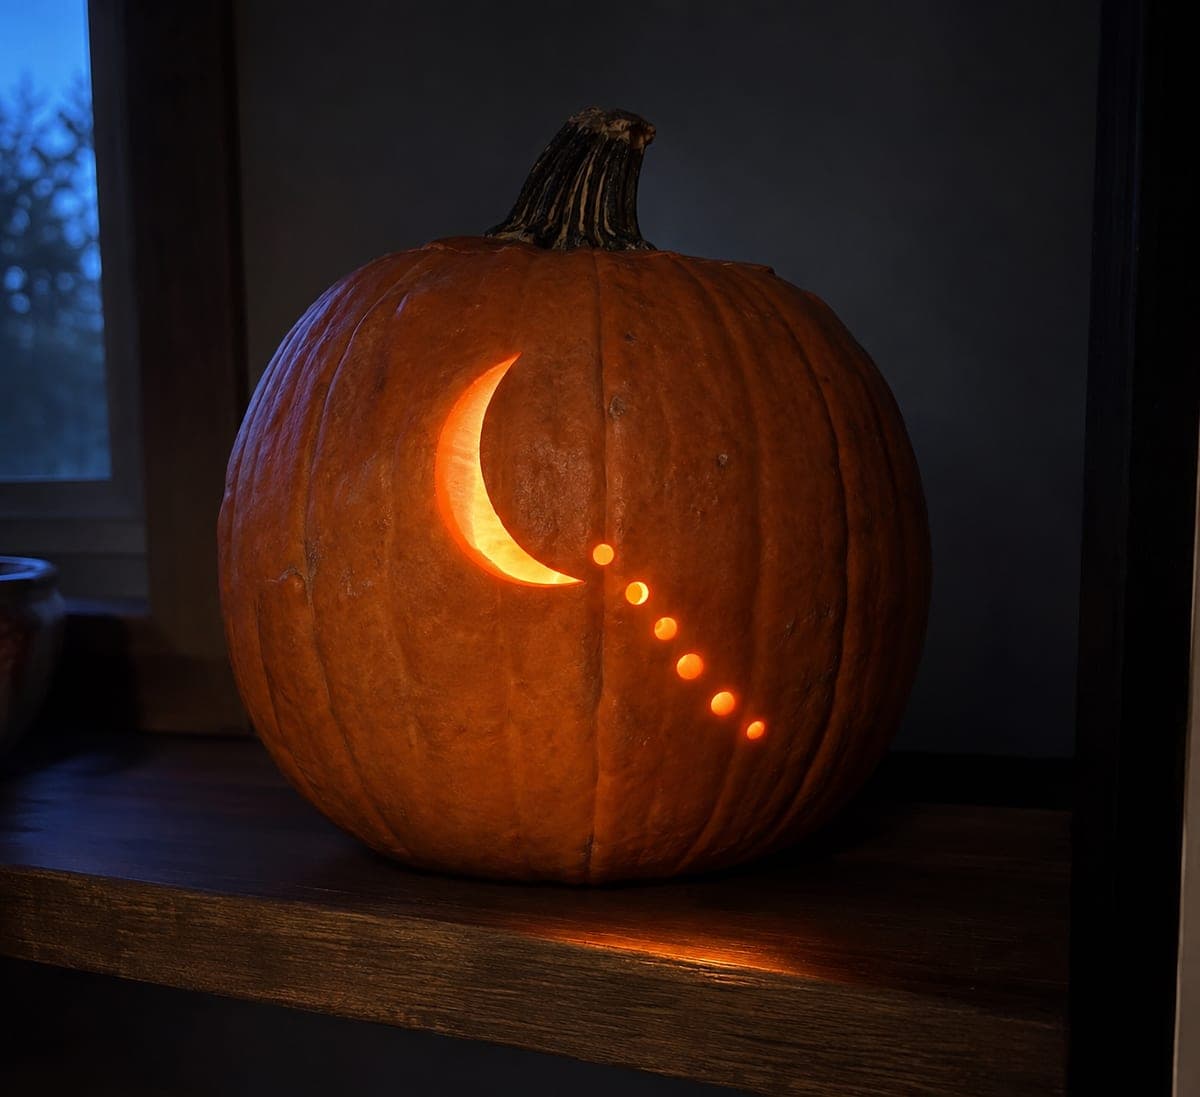
Crescent and Six Falling Dots
A slender crescent moon hangs in the upper corner while a diagonal trail of small round dots falls away beneath it, like fading moonlight. Each shape is pierced through, and the tiny dots do most of the sparkle work against the dark shell. For this easy pattern, punch the dots with an apple corer or drill bit for perfect circles, then saw the thin crescent in two smooth passes.
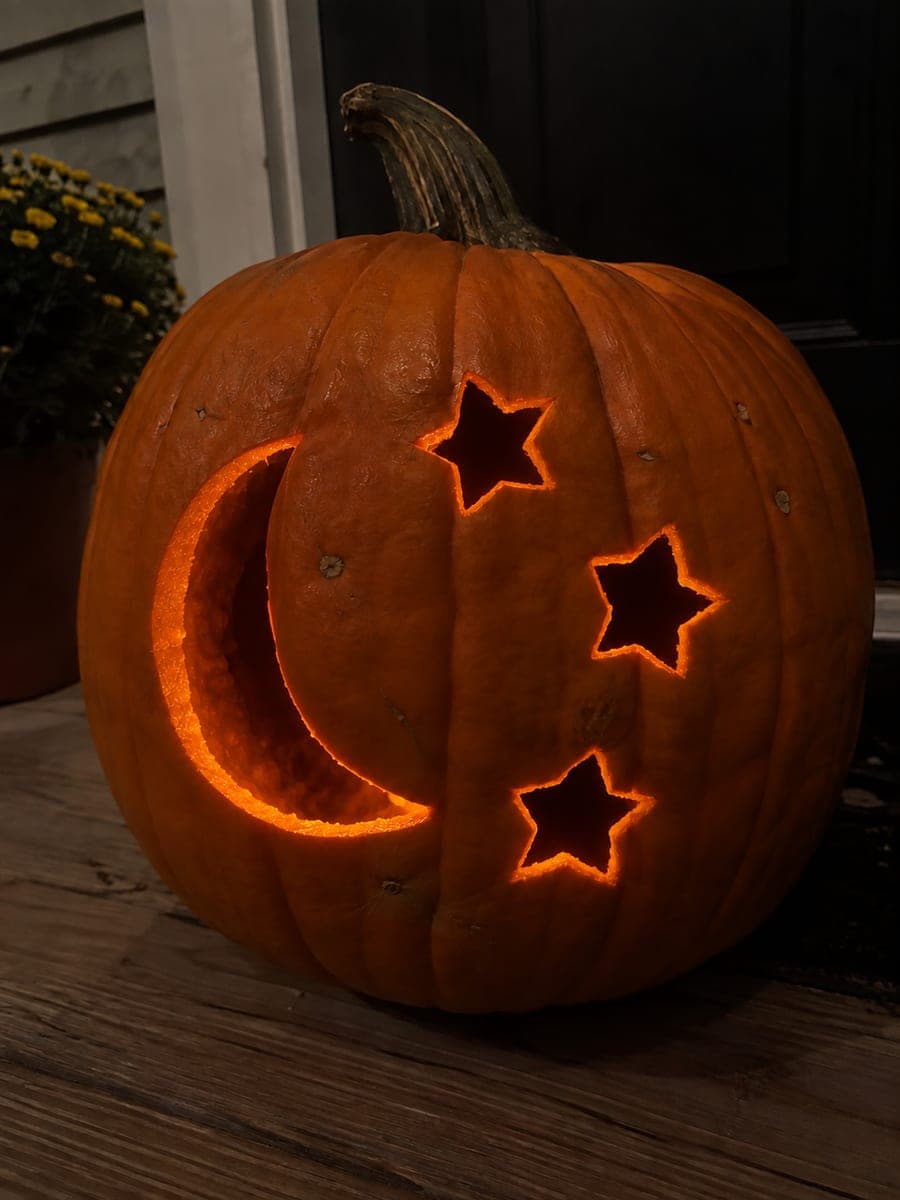
Crescent and Three Stars
A large crescent moon curves down one side of the pumpkin while three five-point stars of different sizes float beside it. All four shapes are cut cleanly through the wall, turning the pumpkin into a glowing night sky that is simple enough for a first-time carver. Since this easy design relies on smooth curves, trace the crescent's inner arc slowly and pop each star out point by point rather than in one piece.
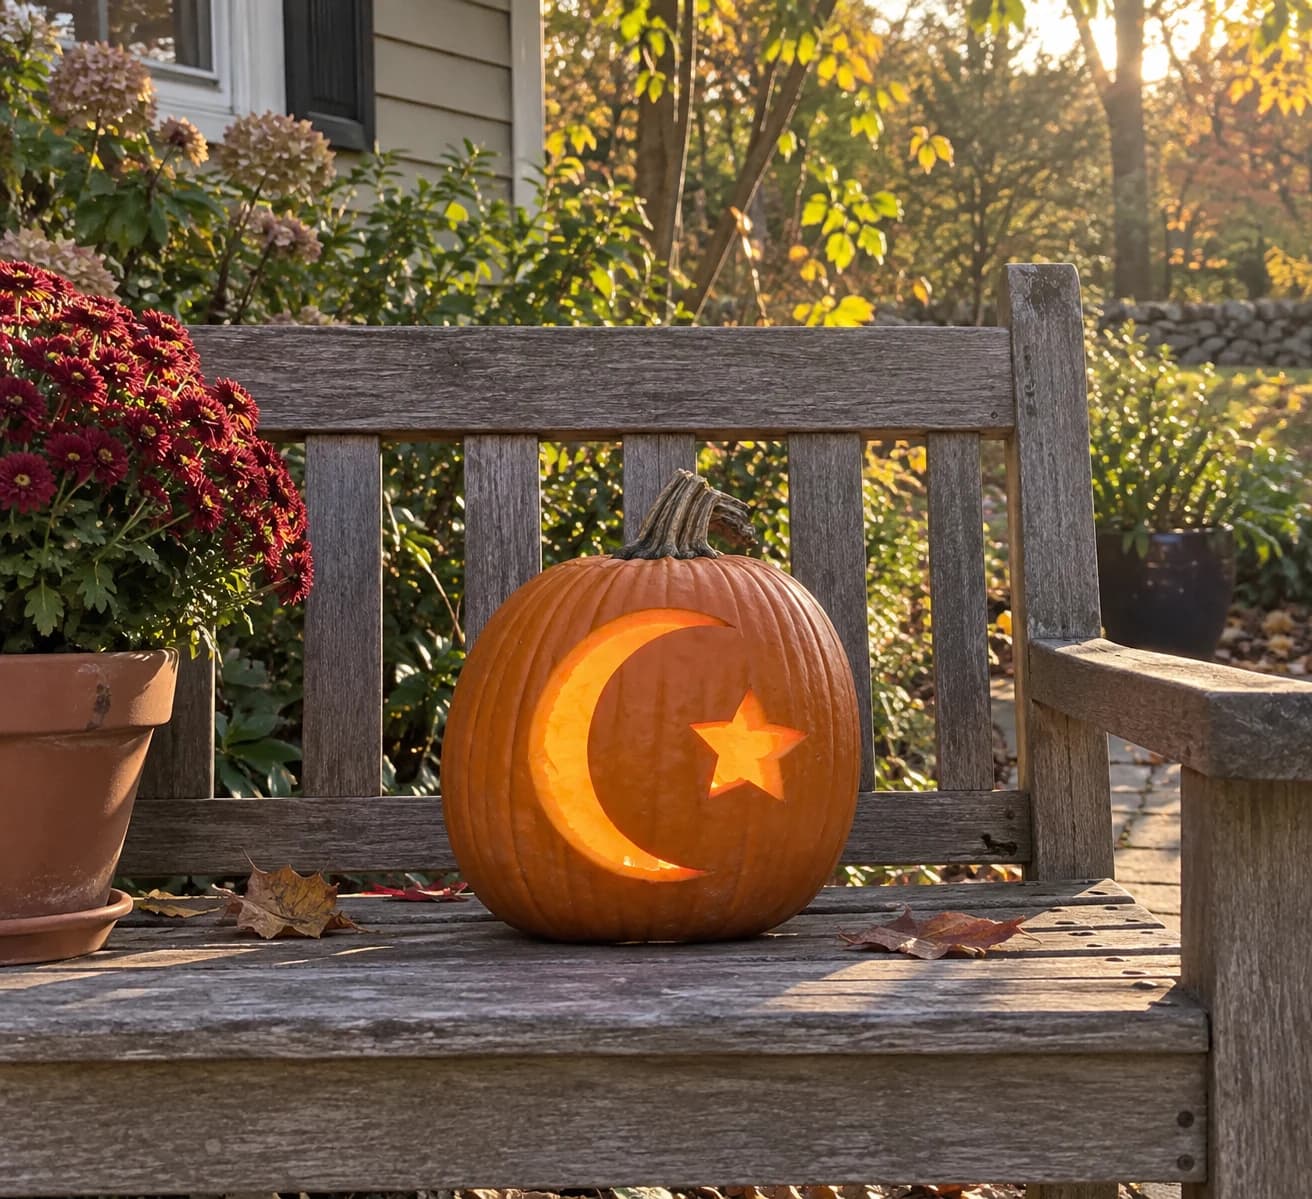
Crescent Moon and Star Pumpkin Stencil
A large crescent moon curves across most of the design while a single five-pointed star sits nestled in the open interior of the crescent in this easy space pumpkin stencil, both shapes carved as open silhouettes. The crescent is a large single cut, and the small star inside it is a separate isolated piece that must be removed independently. Cut the star's five points with precise plunge cuts at each tip before slicing the connecting straight sides, then remove the star before carving the surrounding crescent so your hand has room to maneuver.
Crescent Moon Pumpkin Stencil
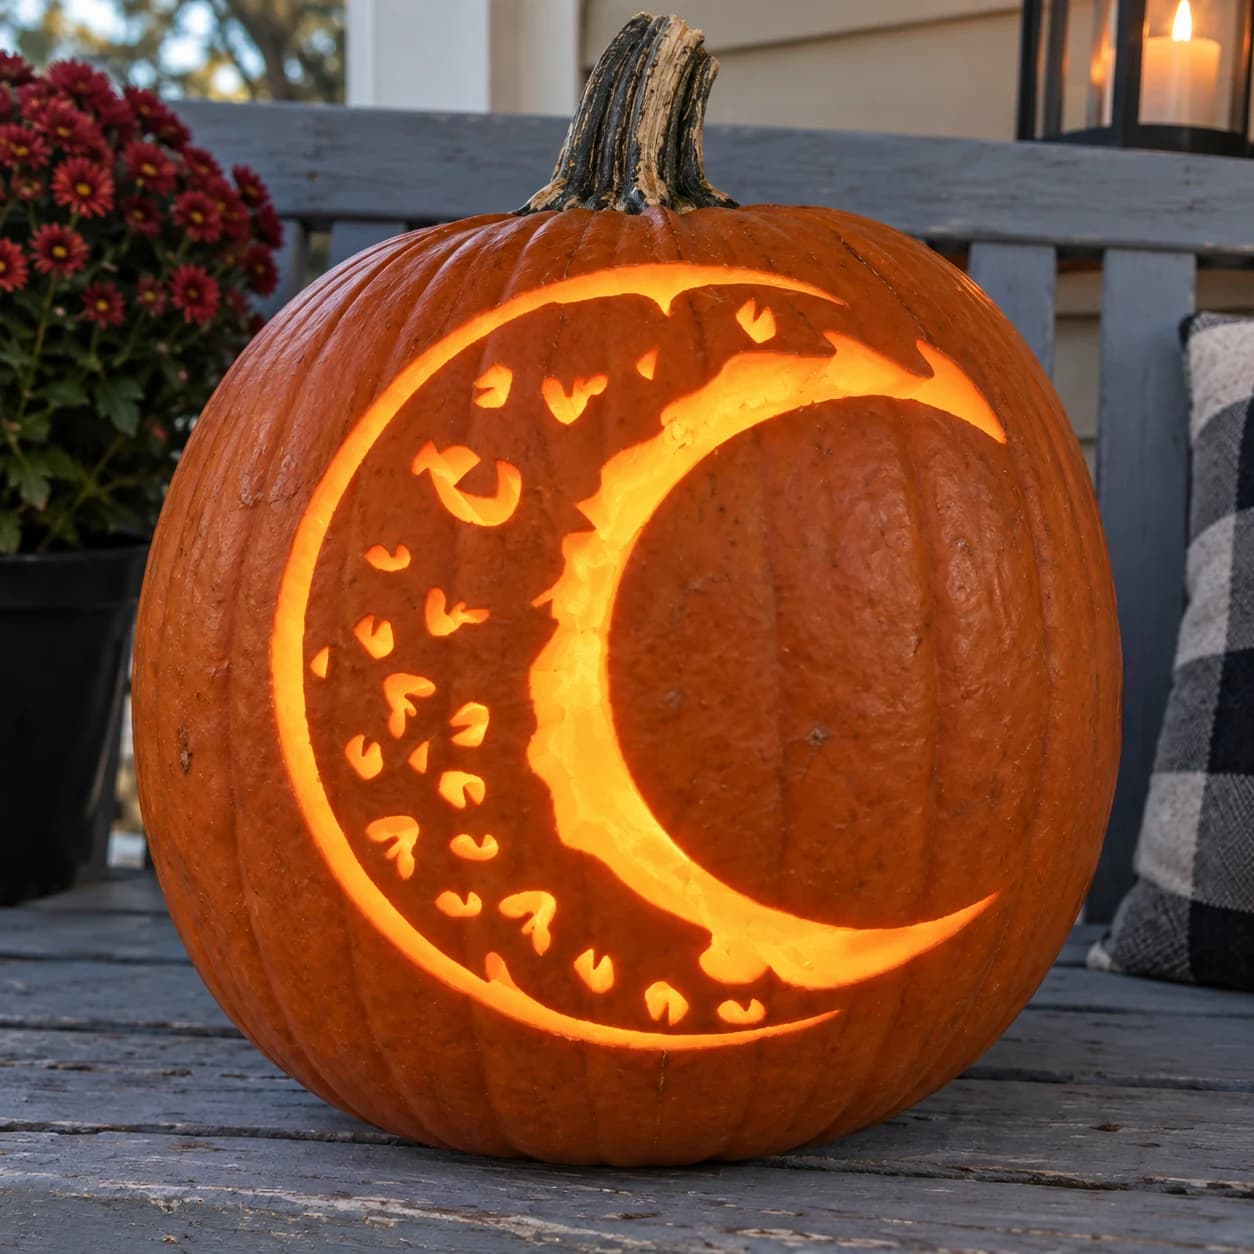
A crescent moon shape faces left, its body filled with a texture of small irregular cut-out marks that suggest the pitted surface of the moon, while a faint face profile is visible along the inner curve of the crescent. The large crescent itself is the main pierced shape, and the small interior texture dots pepper the body, creating a glowing stippled effect when lit from inside. To keep the many small interior marks from causing the crescent body to crumble, carve the outer crescent boundary first, then pick out the texture dots from largest to smallest using a small round drill bit or detail blade.
Crescent Sun and Three Dots
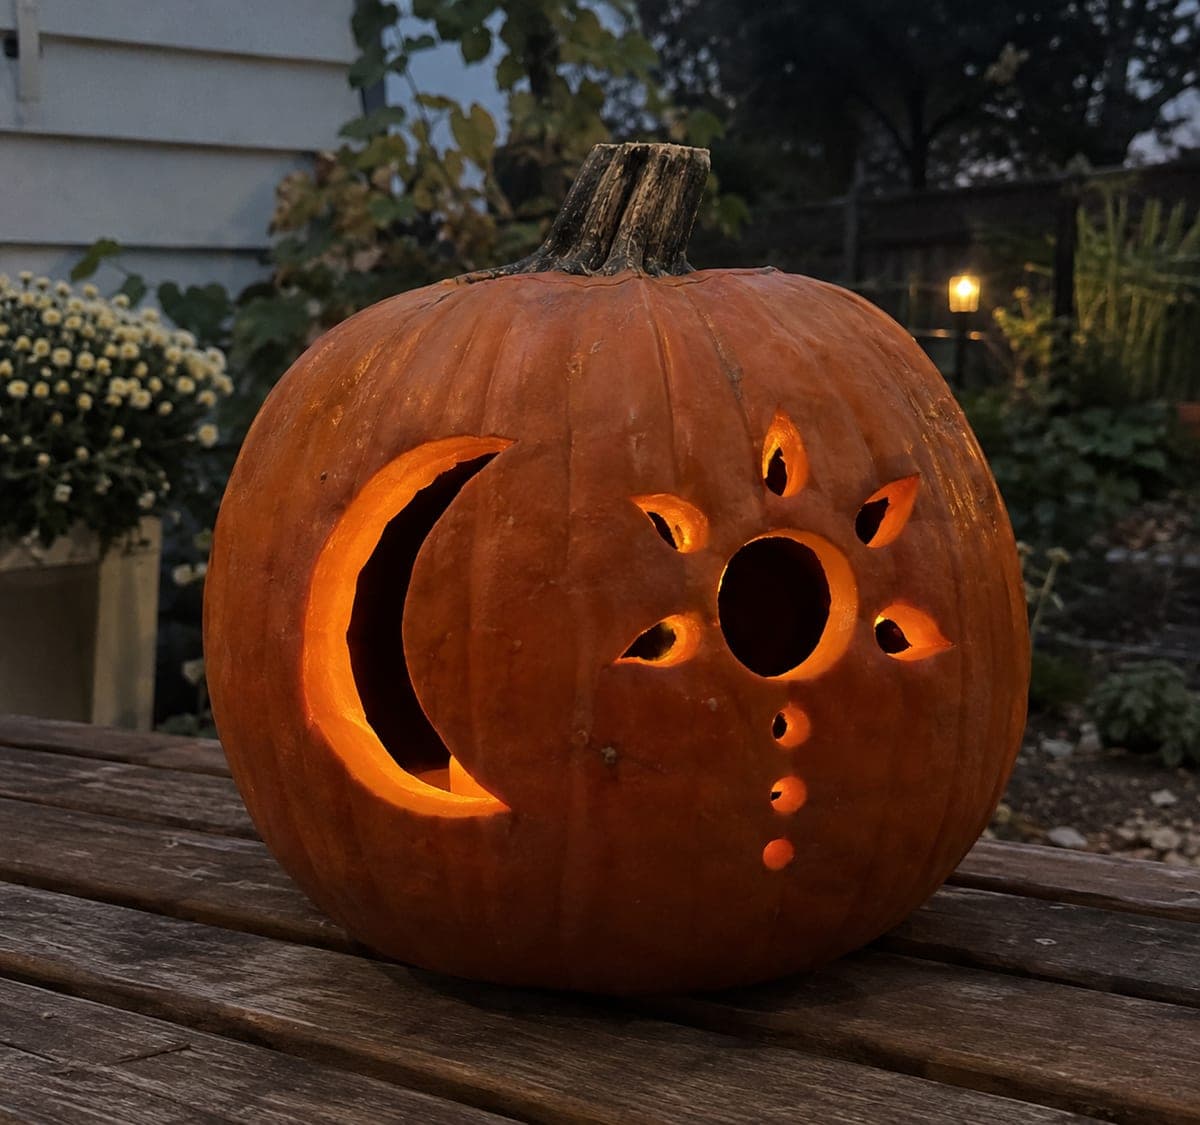
A slim crescent moon faces a round sun ringed by teardrop-shaped ray openings, with a trail of three dots descending below the sun. Every element is pierced through, and the varied hole sizes give the lit pumpkin a layered celestial sparkle. Drill or poke the three small dots first while the wall is still rigid, then cut the teardrops, and save the big crescent and sun circle for last.
Crescent with Diamond Halo
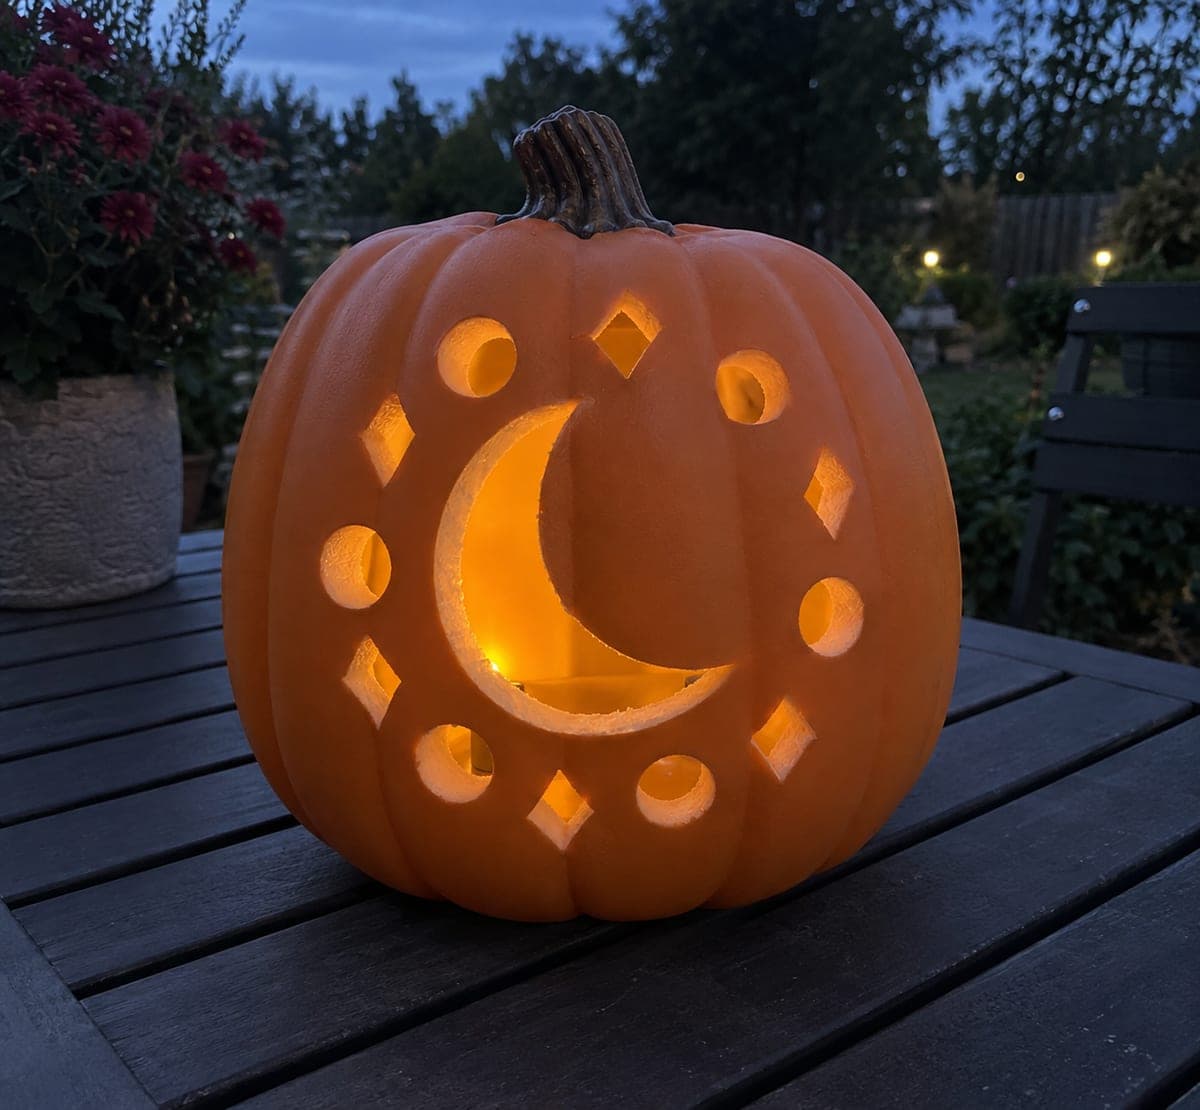
A bold crescent moon sits at the center of a decorative halo made of alternating circle and diamond openings. Everything is cut fully through, and the ring of small shapes scatters points of light around the big central glow for a celestial, almost boho look. Carve the crescent first, then work around the halo one shape at a time, spacing your cuts so the rind bridges between openings stay sturdy.
Cross With Ten Rays
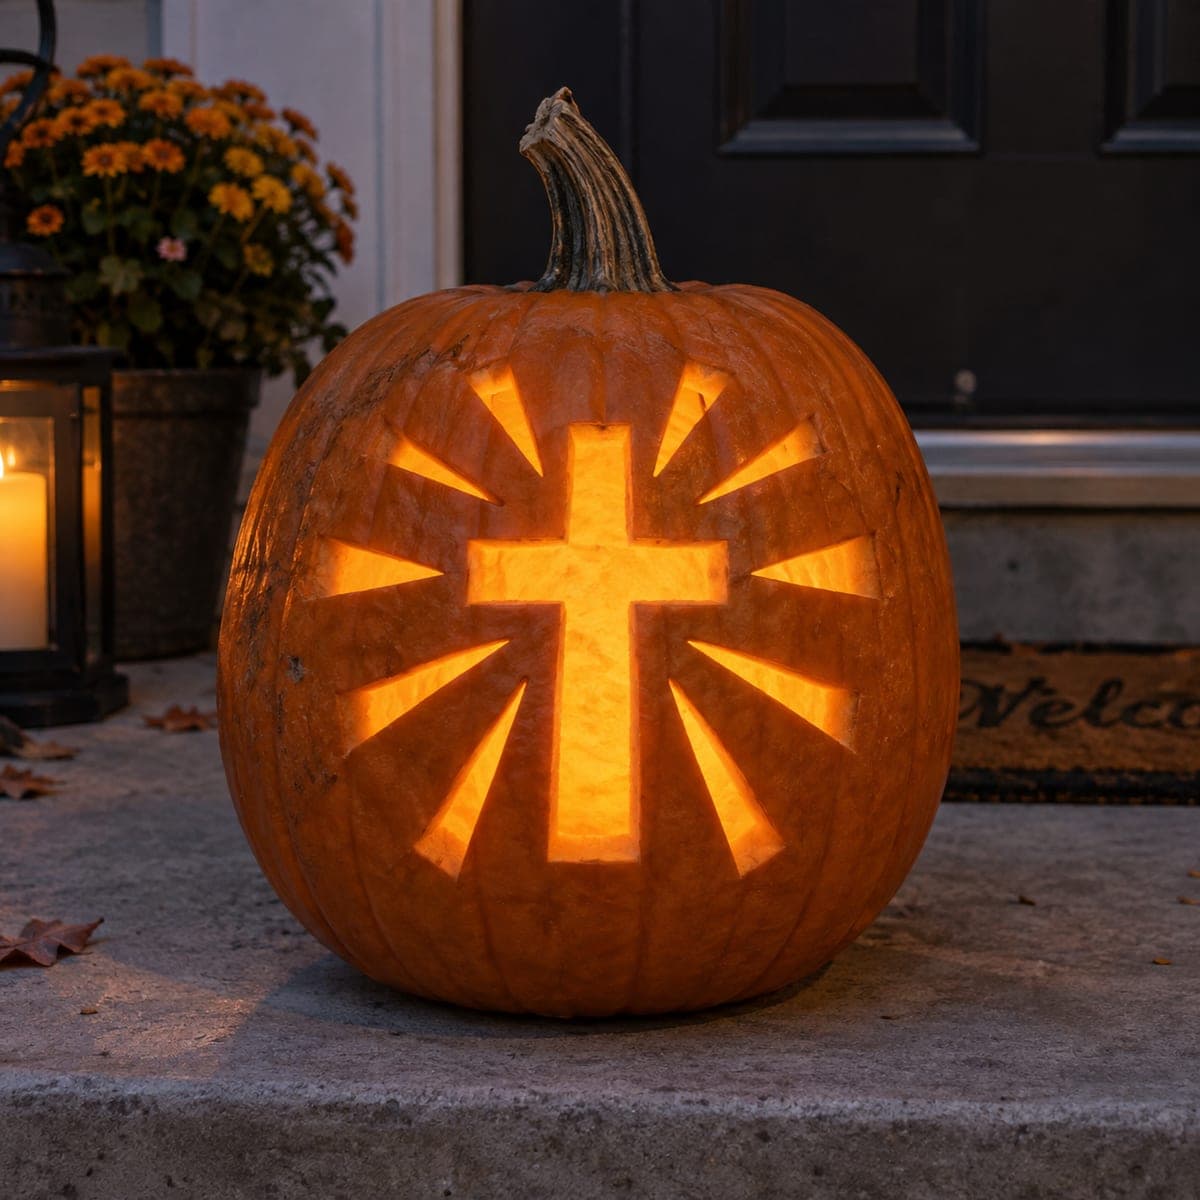
A bold cross anchors the center of the design while ten tapered rays burst outward around it like beams of light. The cross and every ray are pierced through, leaving dark shell between them that frames the radiating pattern. Cut the large cross first to relieve pressure on the wall, then work each ray from its wide outer end toward the narrow tip so the points finish clean.

Curved Palm with Five Fronds
A tropical palm tree with a gently curved trunk and five broad fronds fanning from the crown, carved as one connected glowing silhouette. The whole tree is pierced through in a single piece, so the trunk and fronds shine together like an island sunset. This easy design has one caution: the frond tips are the thinnest cuts, so start at the trunk base and work upward, saving the delicate leaf points for your final, gentlest strokes.
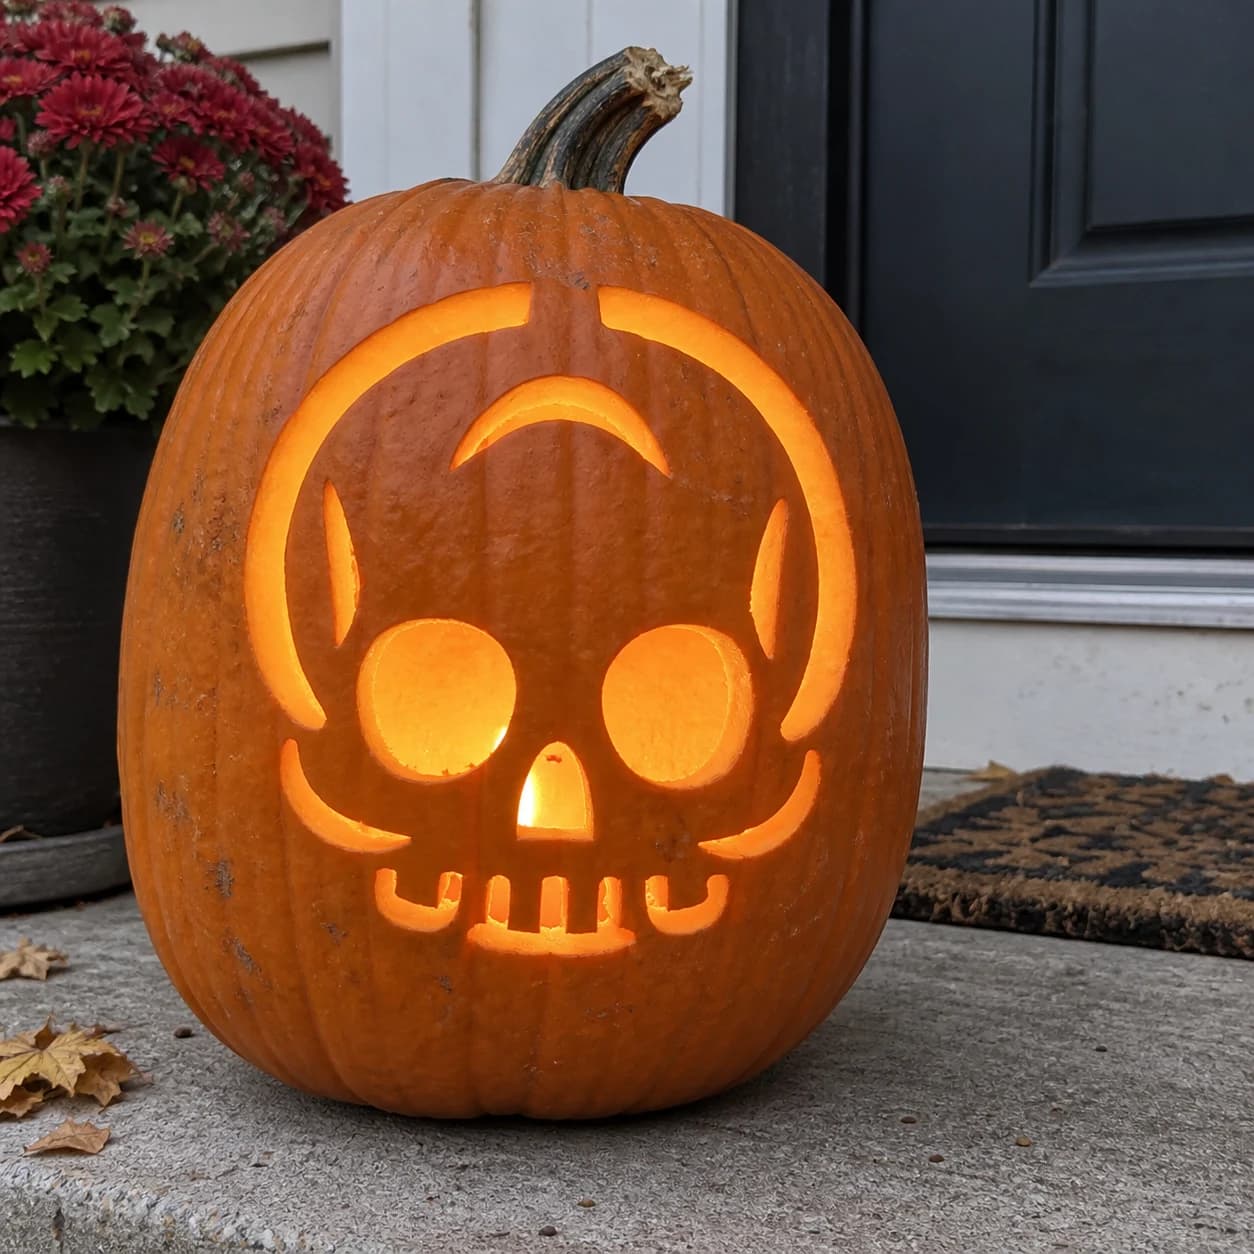
Cute Skull Pumpkin Stencil
A cute, stylized skull face looks straight out of this beginner pumpkin stencil, with two large round eye sockets and a small triangular nose cut through, all enclosed in a rounded skull outline broken into arc segments. The lower jaw shows four chunky teeth separated by gaps, and small curved cheekbone accents frame the face. Because the skull outline is split into separate arcs rather than one continuous ring, carve each arc segment individually so the gaps between them stay crisp.
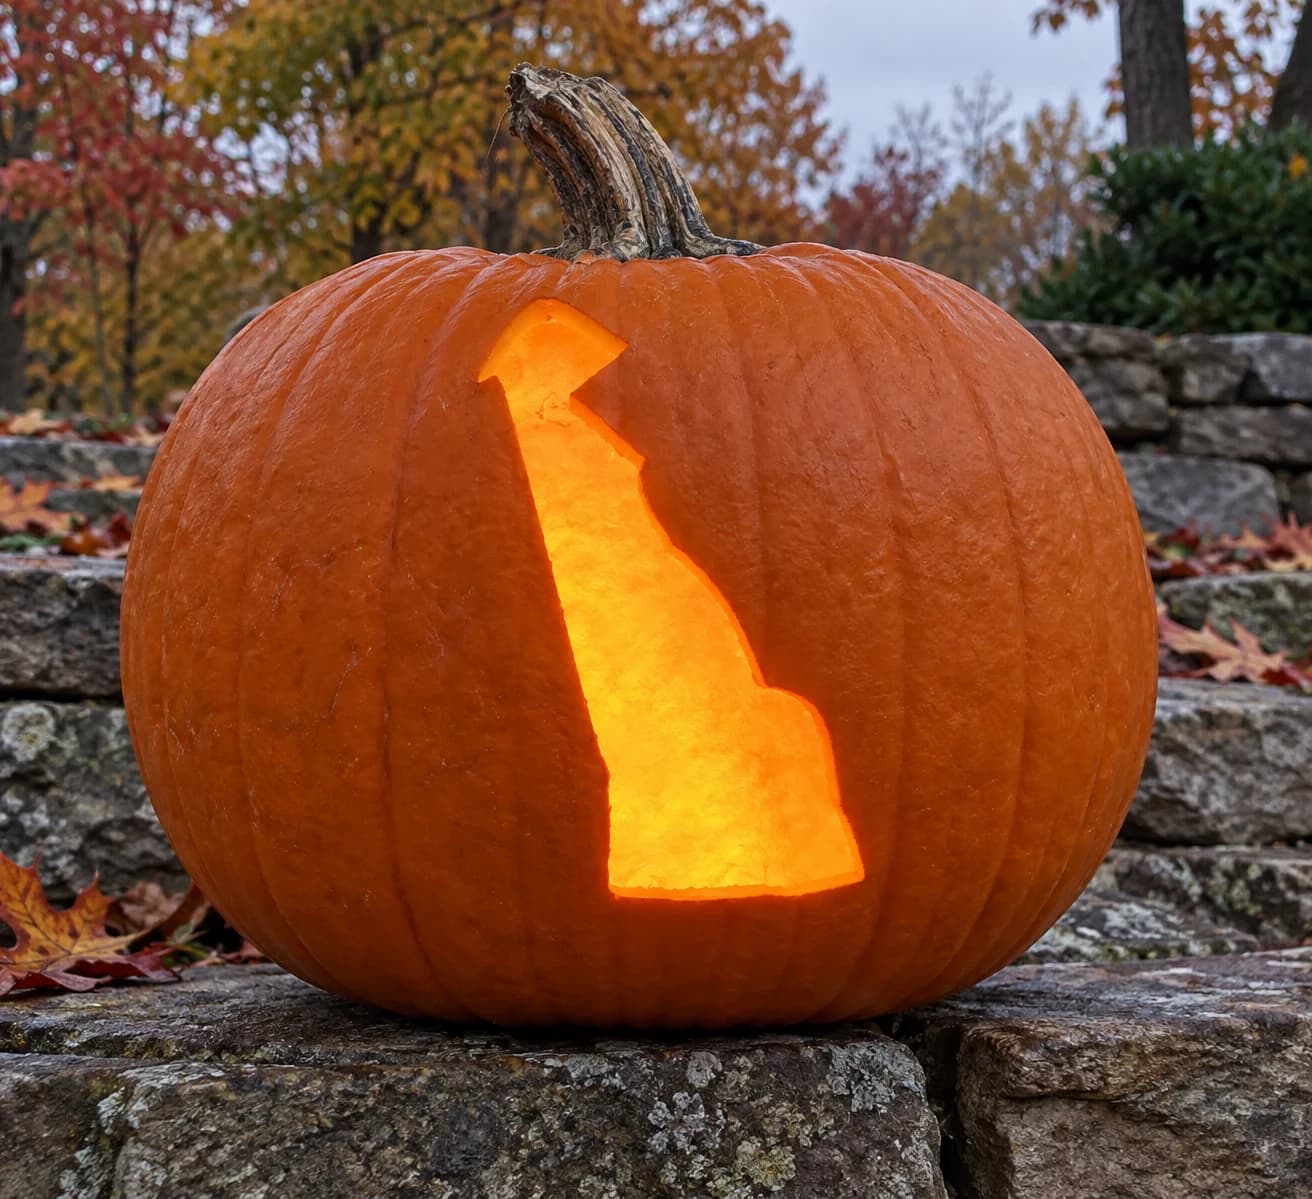
Delaware Pumpkin Stencil
The outline of Delaware is cut through as a single solid-edged silhouette in this state pumpkin stencil, its distinctive narrow rectangular body with the curved northeastern arc at the top rendered cleanly in one piece. When lit, the entire state shape glows as an open window of light. Because this is a single large cut-out with no interior detail, position the shape toward the center of the pumpkin face and use a sharp saw blade to follow the curved northeastern border without tearing.
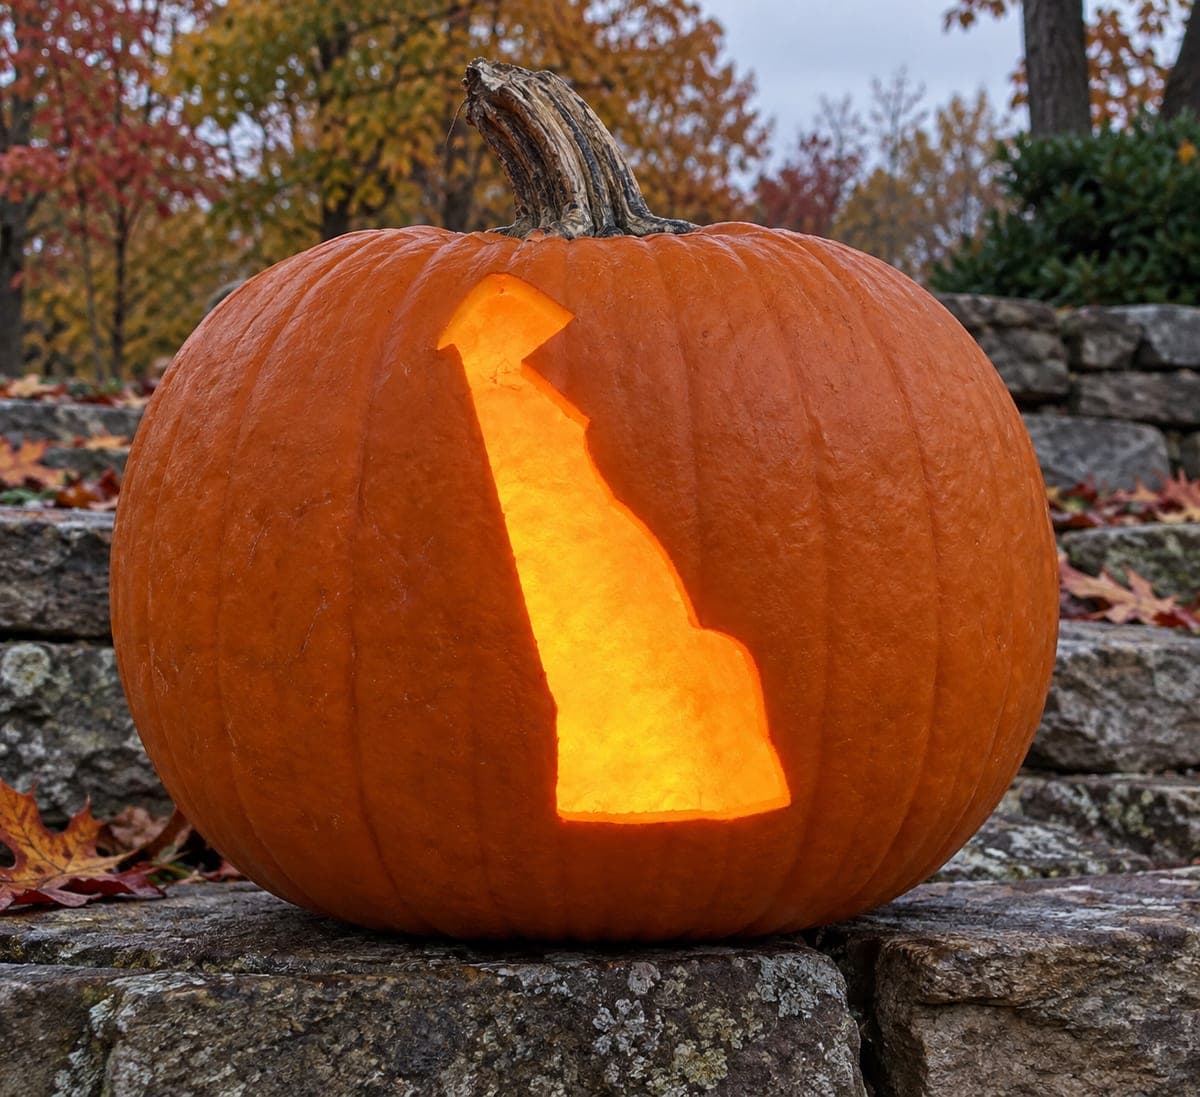
Delaware State Shape
Delaware's tall, slender silhouette runs nearly the full height of the pumpkin, from its narrow northern arc down to the curved coastal bulge along Delaware Bay. The entire state shape is a single cut-through opening that lights up as one bright column. Because the shape is tall and thin, cut the long straight western border last so the panel stays supported while you saw out the curvier eastern coastline.
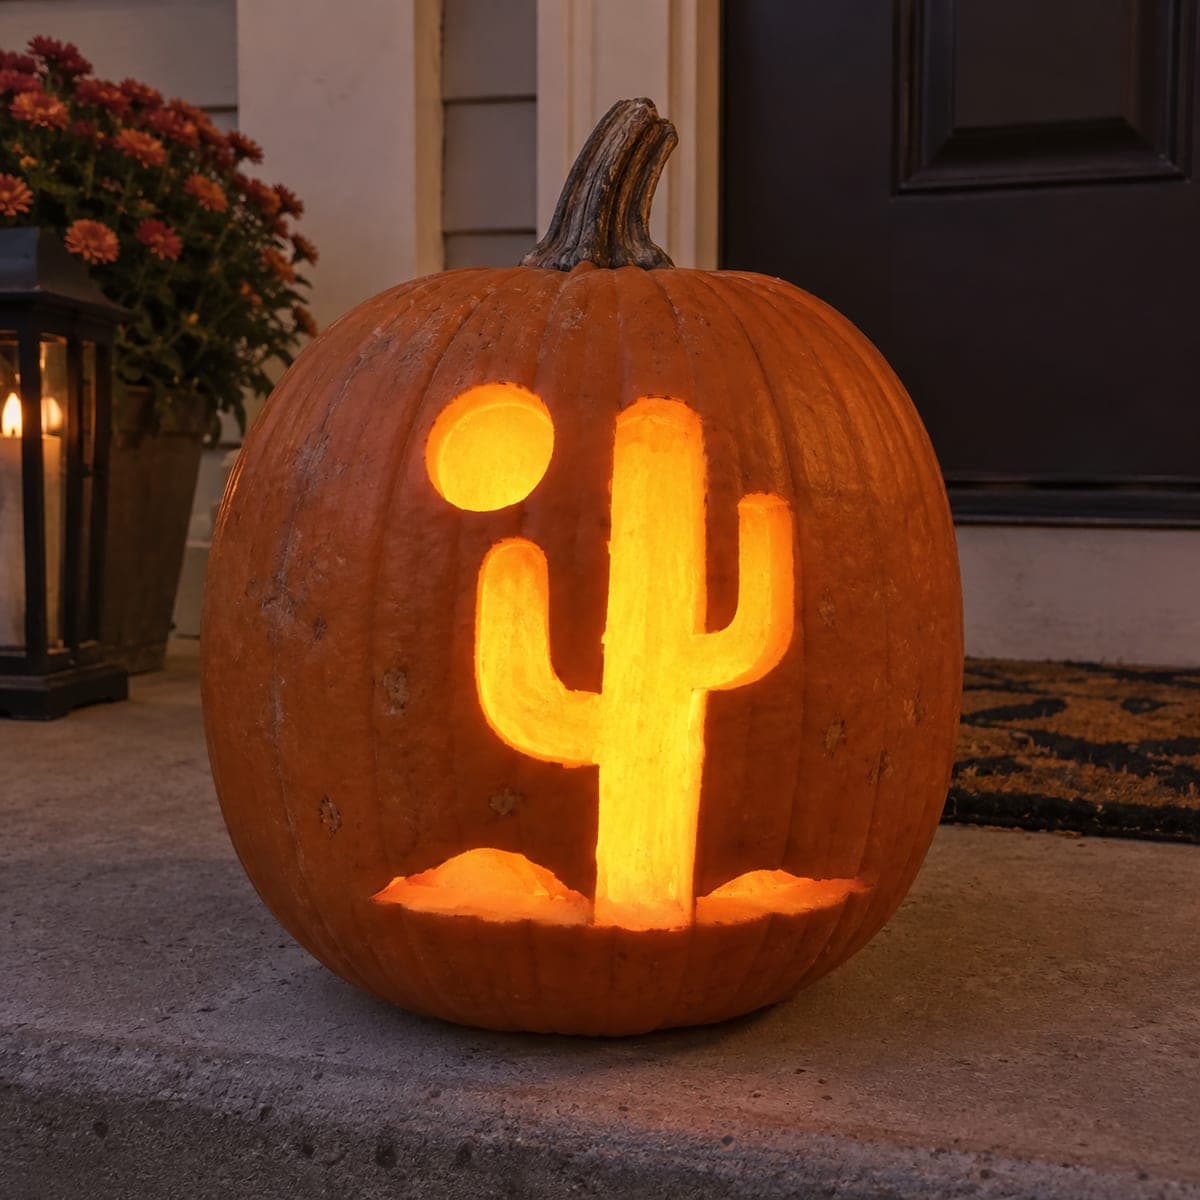
Desert Cactus & Sun
A tall saguaro cactus with two upturned arms stands over small desert dunes while a round sun hangs in the upper corner. The cactus body, sun disc, and low mound shapes are all cut out completely so candlelight pours through the whole scene. Cut the big cactus trunk first, then the sun, and save the thin dune slivers for last so the wall stays sturdy while you work.
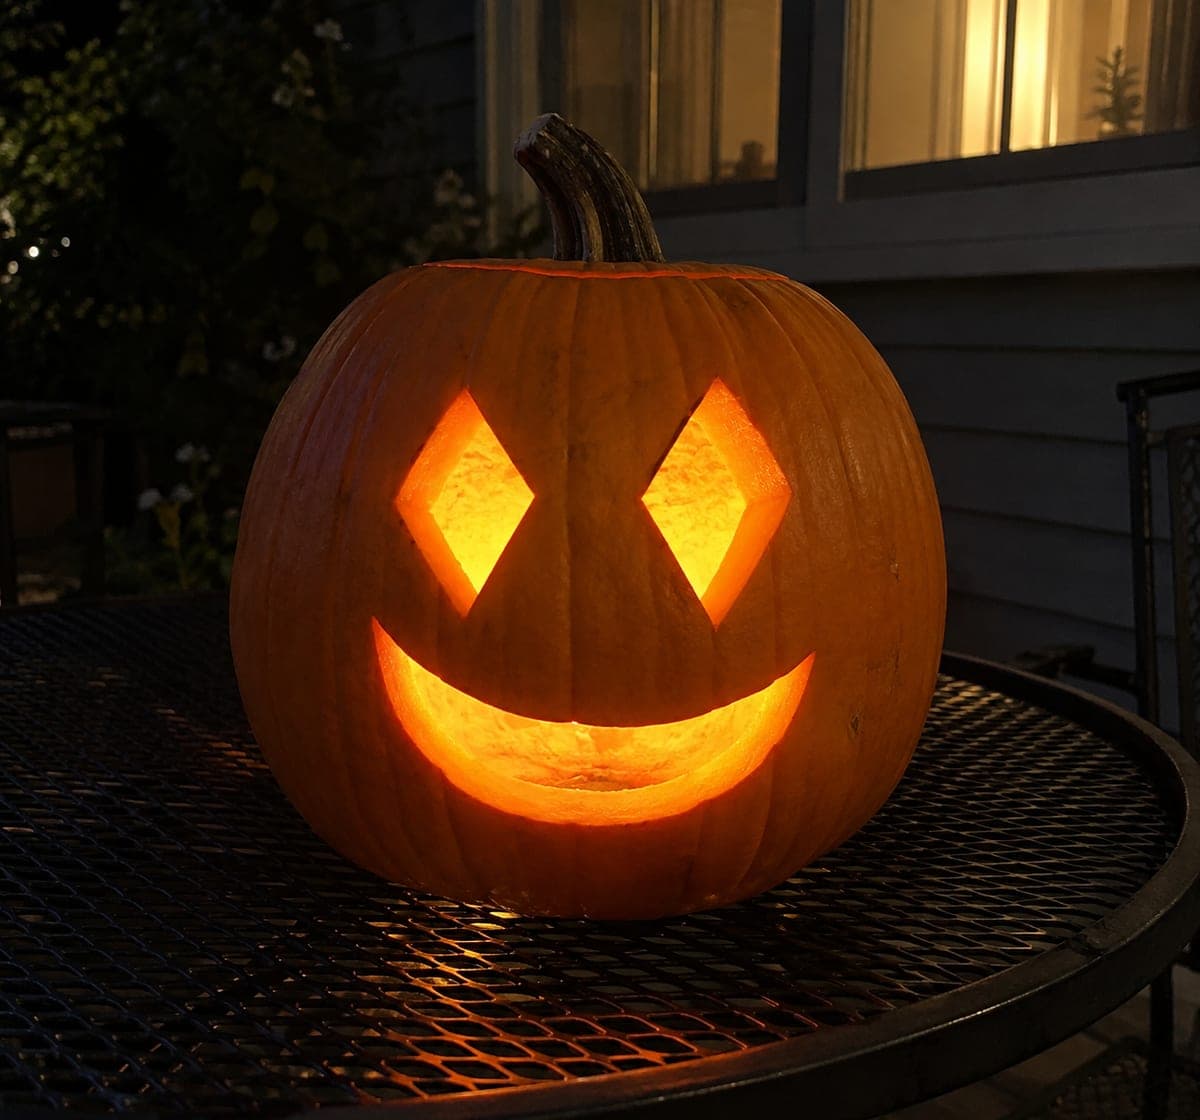
Diamond Eyes and Crescent Grin
A cheerful minimalist face made of just three cuts: two big diamond eyes and one long crescent smile sweeping underneath. All three shapes are removed completely, giving a bright, friendly glow with almost no carving time. This easy pattern is perfect for first-timers and kids with supervision; cut each diamond in two triangle halves if the full shape feels awkward, and save the wide smile for last.
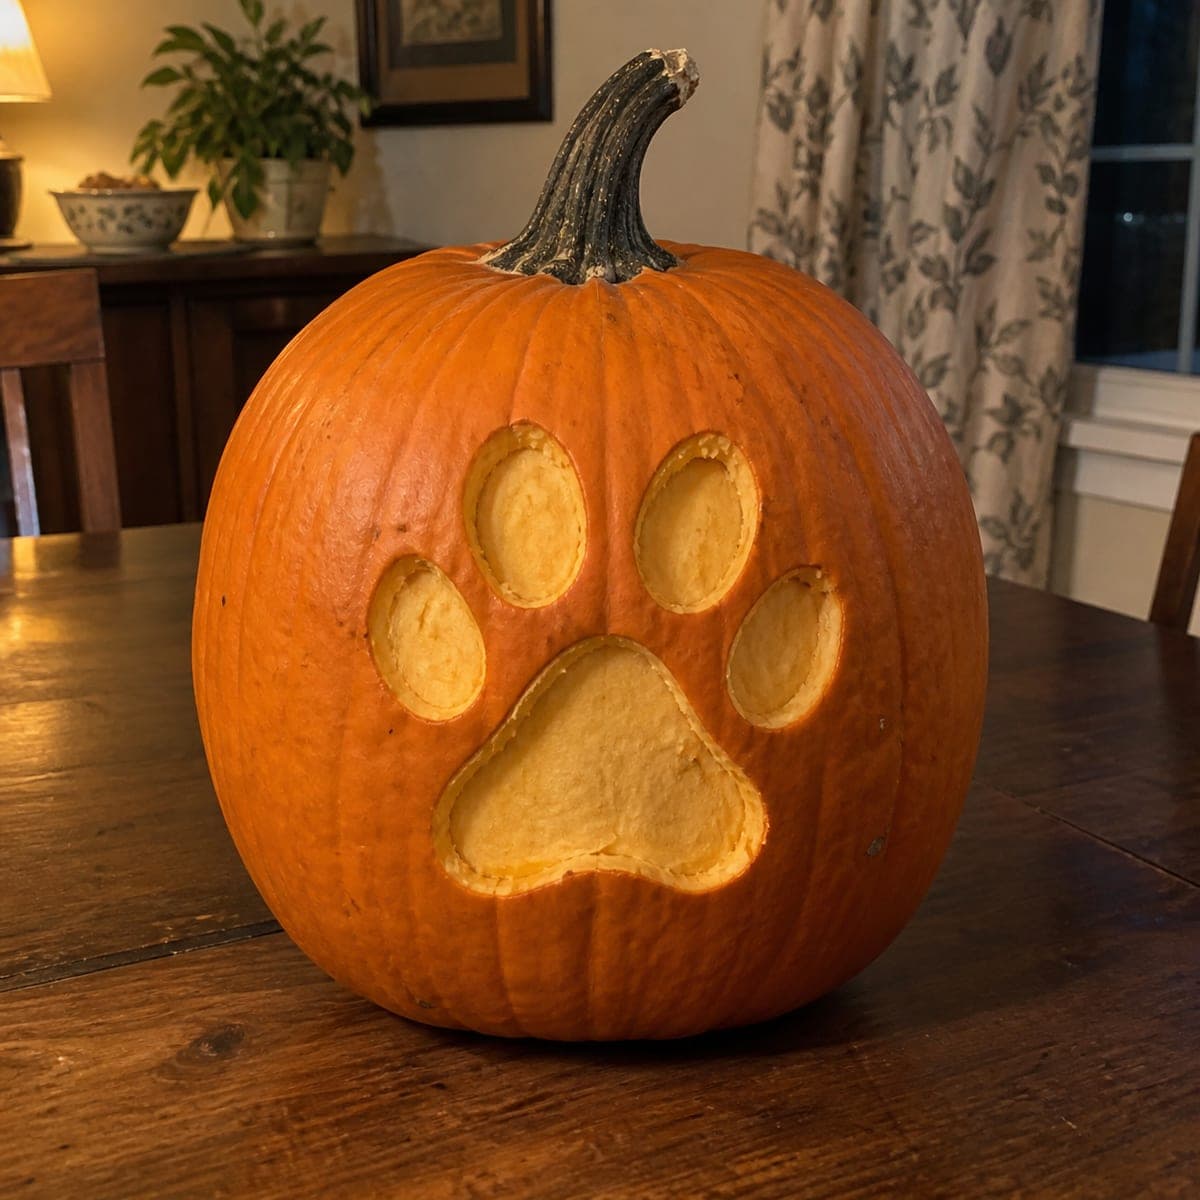
Dog Paw Print
A single oversized paw print sits square on the pumpkin face: one big rounded pad below four oval toe pads. Nothing is pierced through; instead you shave away just the orange skin inside each pad so the flesh glows softly when lit. Because it is an easy shading design, use a loop tool or spoon edge and scrape shallow, even layers, keeping the outlines crisp for a clean silhouette.

Dollar Sign Pumpkin Stencil
A bold dollar-sign symbol fills the center of this pumpkin stencil, its curved S-shape and two vertical bar segments carved through entirely so candlelight blazes through the open silhouette. The thick outer outline stays solid, holding the shape firmly on the pumpkin wall. Because the two short horizontal bars at top and bottom are separate cut-outs, cut those small pieces first before tackling the large curved body so the surrounding wall stays supported throughout.
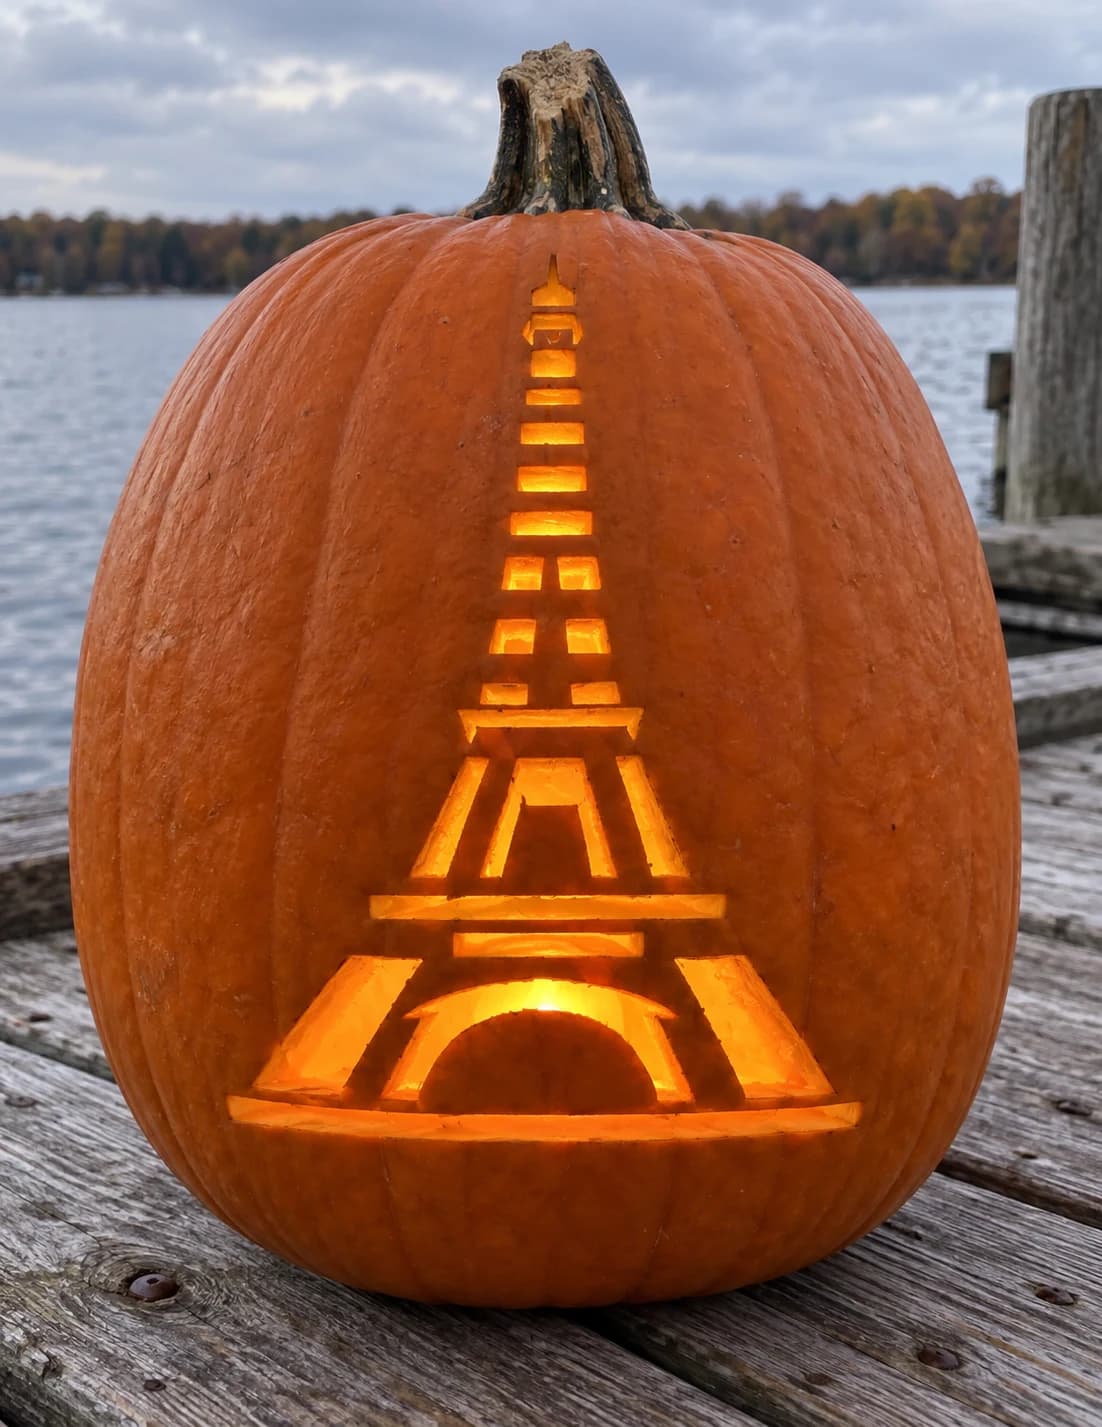
Eiffel Tower Pumpkin Stencil
The Eiffel Tower fills this easy pumpkin stencil as a symmetrical stack of horizontal rectangular cutouts that grow wider toward the base, with a pointed antenna tip at the top, paired diagonal leg sections, and a large arched base opening at the bottom. All the horizontal bars and the arch are pierced through while the thin vertical struts between them remain solid. Work from the antenna tip downward, cutting each horizontal bar in turn, so the struts stay braced by the surrounding uncut skin until the very last base arch is removed.
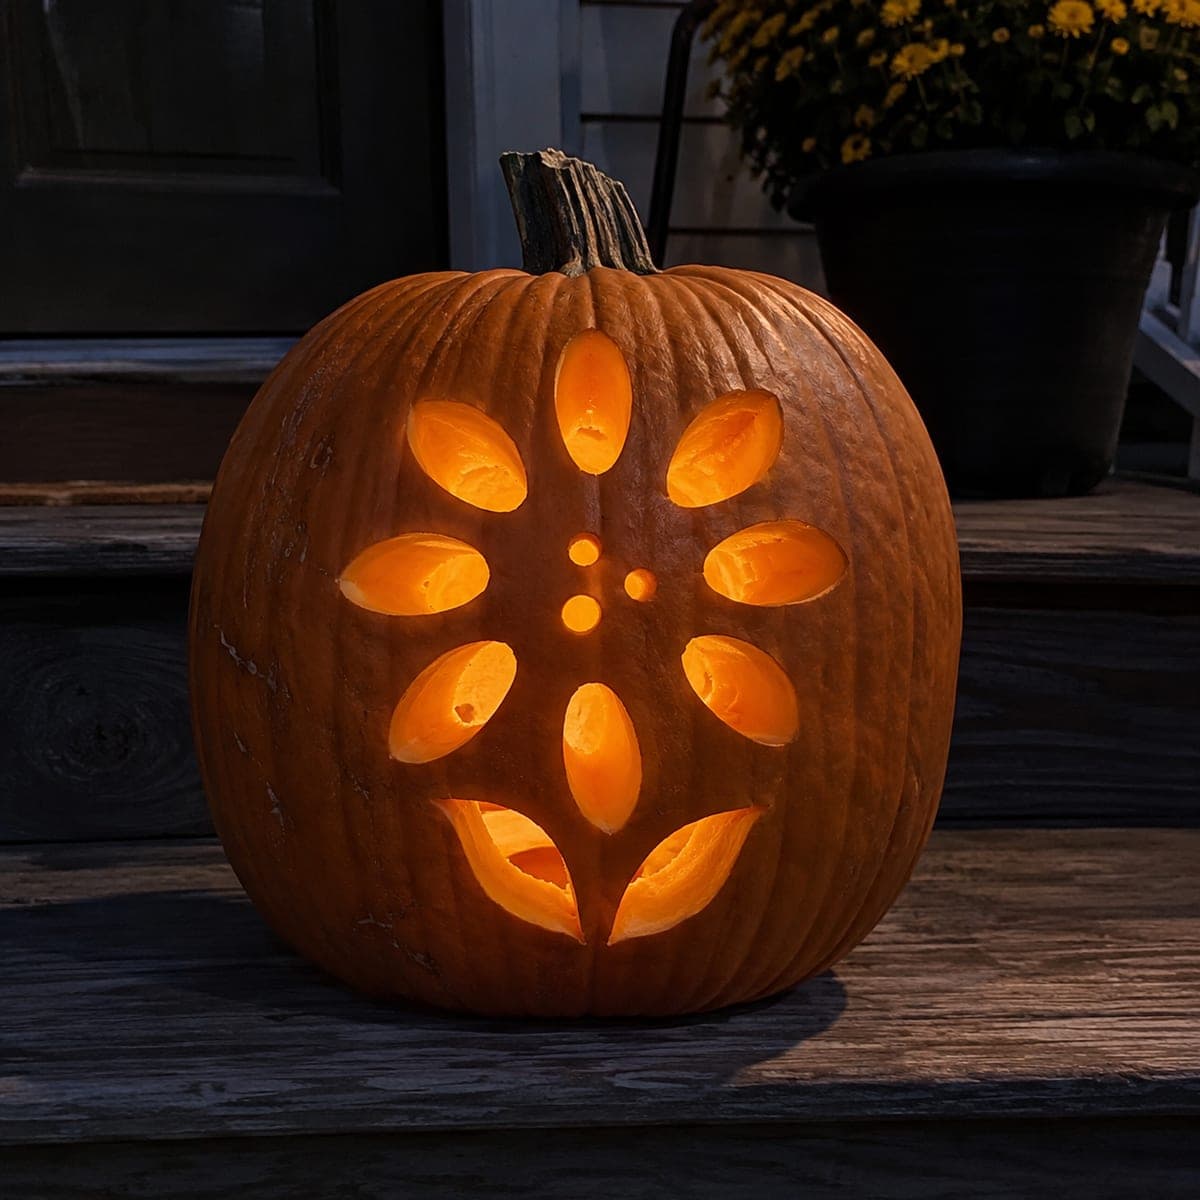
Eight Petals and Three Seeds
Eight oval petals radiate from a dotted center like a stylized sunflower, with three small seed holes in the middle and a leafy stem opening anchoring the bloom below. Each petal is a pierced oval, and the skin spokes left between them hold the flower together while letting light pour through. Cut opposite petals in pairs, top then bottom, left then right, so the spokes never take uneven strain.
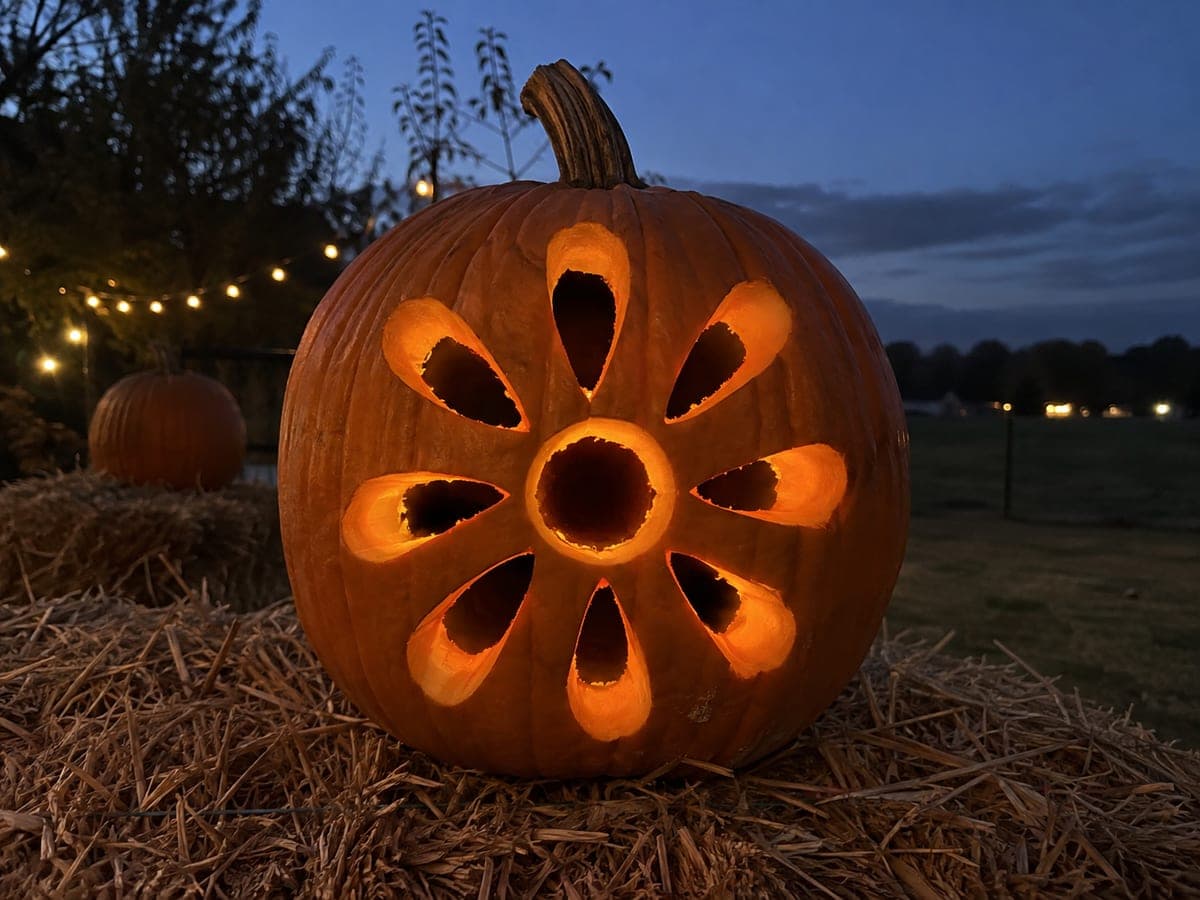
Eight Teardrops Around Circle
Eight teardrop petals radiate around a central circle cutout, like a glowing daisy or sunburst wheel. Every teardrop and the center are pierced clean through, turning the pumpkin into a lantern that throws petal-shaped light across the porch. Cut the center circle first as your anchor point, then work around the ring, alternating sides so the wall stays balanced as you go.
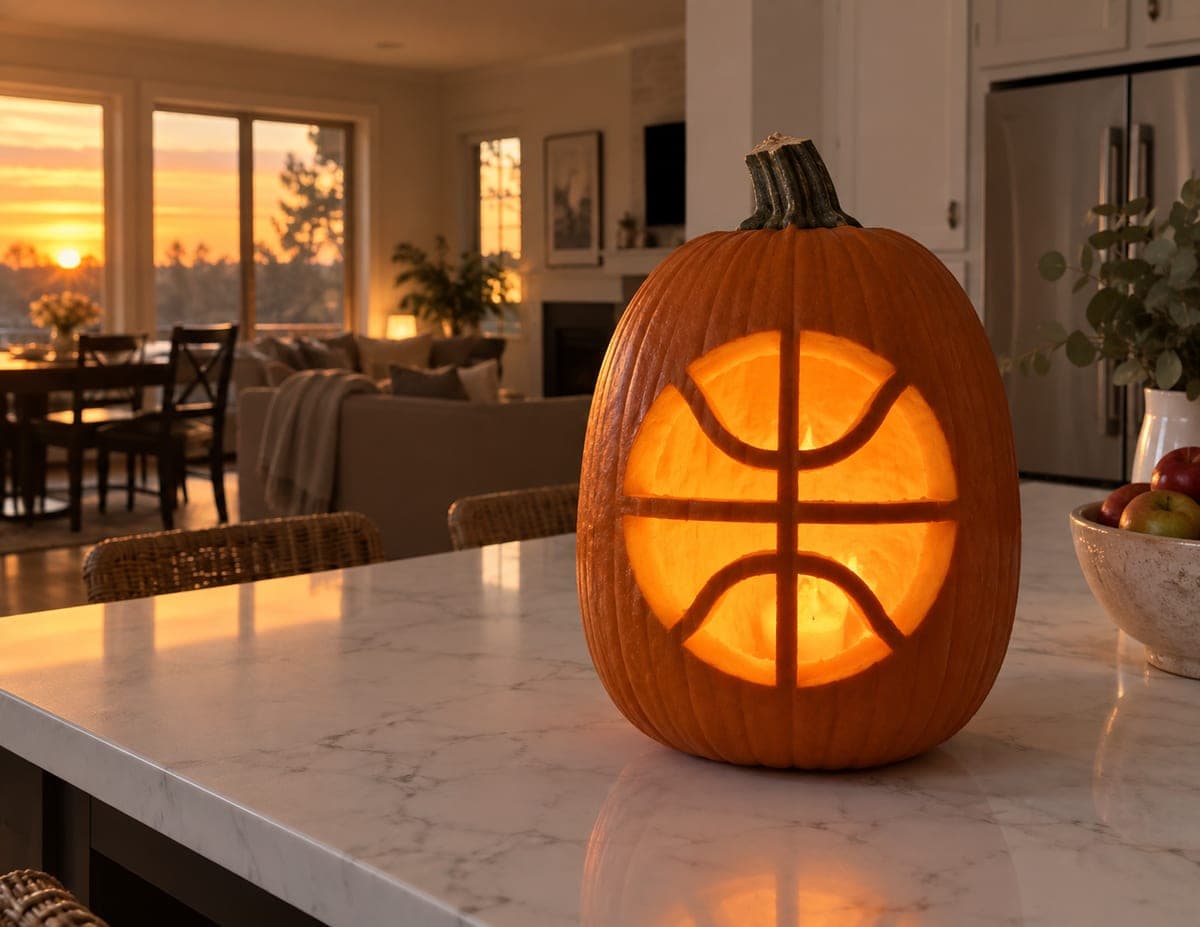
Eight-Panel Basketball
A big glowing basketball built from one large circle divided by the ball's signature curved seam lines. The eight panel sections are pierced through while the seam lines stay as intact pumpkin ribs, so the whole ball reads instantly once a candle goes in. The medium challenge is keeping those curved ribs even, so cut alternating panels rather than working around the circle in order, which keeps the wall supported as you go.
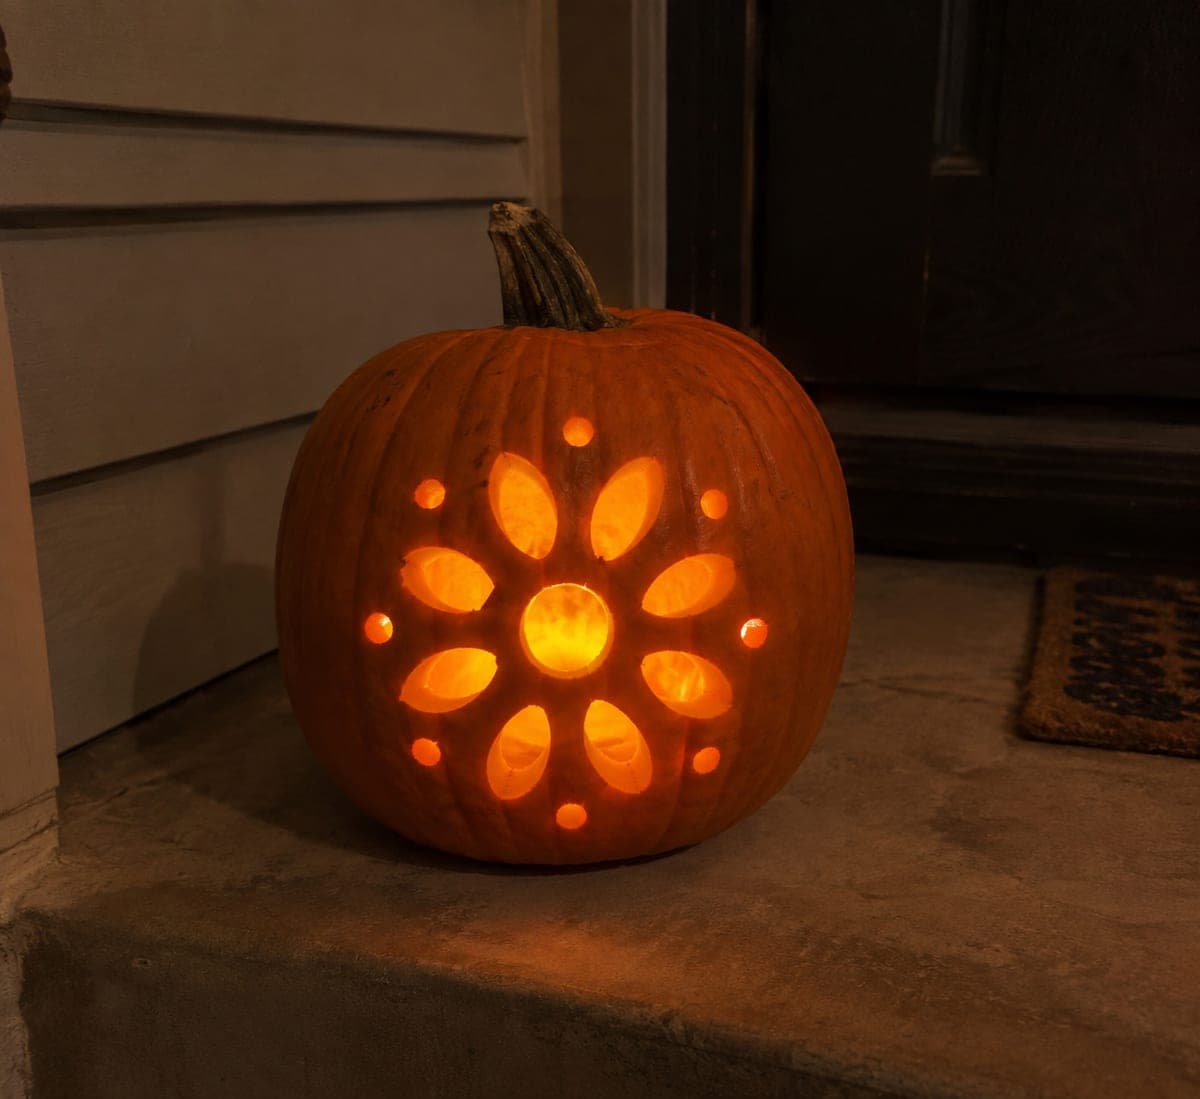
Eight-Petal Dot Mandala
Eight oval petals radiate from a round center opening, with a small dot punched between each petal to complete a tidy flower mandala. Every element is a full cut-through, so the finished pattern beams like a stained-glass window after dark. Punch all the little dots with a drill bit or apple corer before sawing the petals; the spacing stays much cleaner that way.
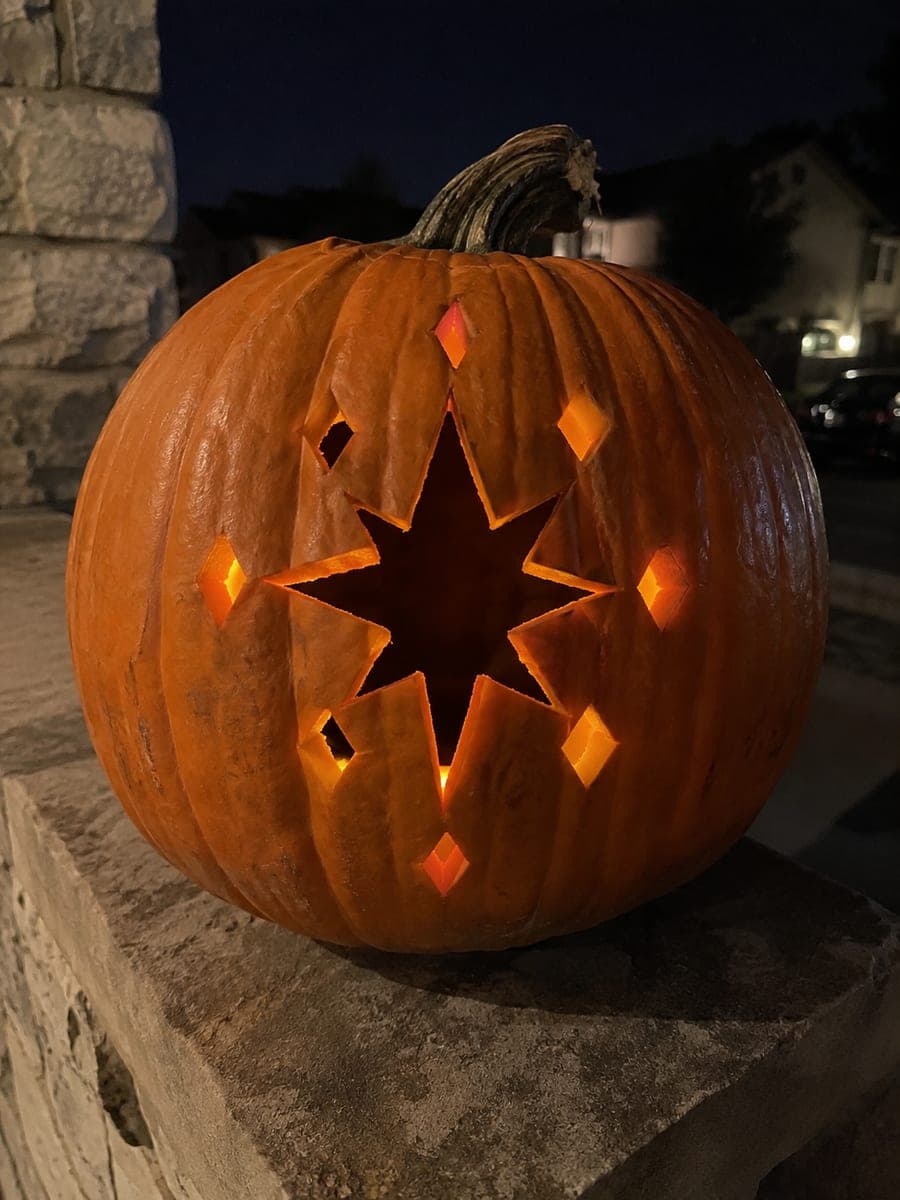
Eight-Point Star and Diamonds
A large eight point star anchors the center while small diamonds and dots scatter around it like a burst of night sky sparkle. Every shape is a clean cut-through opening, so the pumpkin throws star shaped light across nearby walls and steps. Cut the big star's inner corners with a fine blade and pop the little diamonds out gently to keep their sharp points intact on this medium pattern.
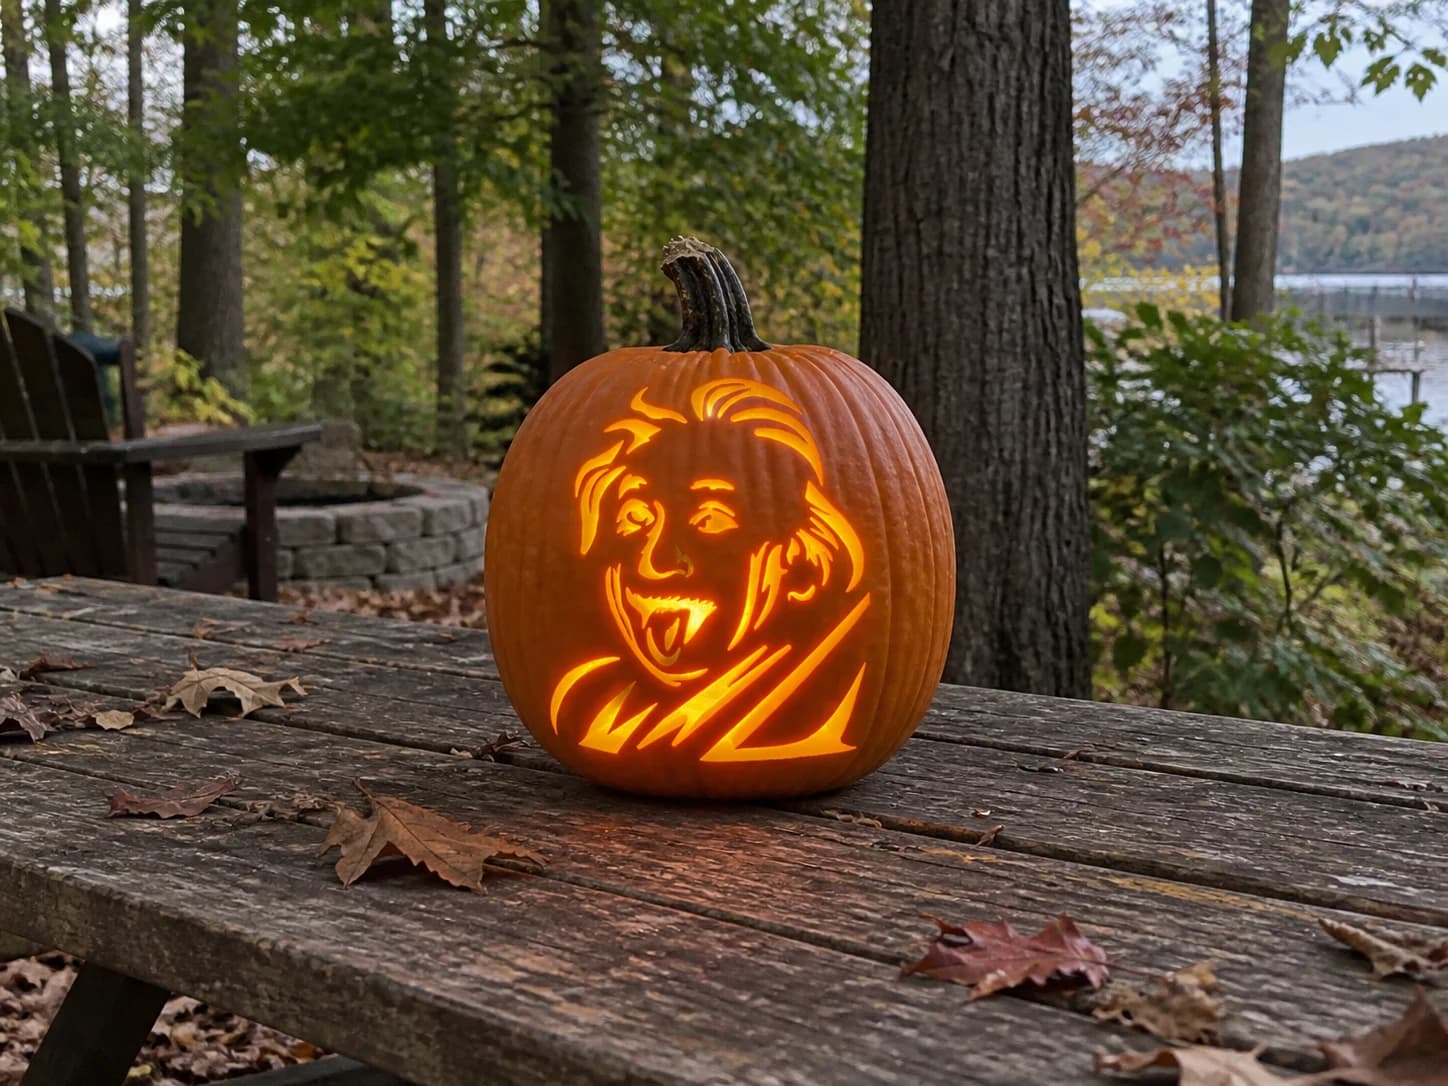
Einstein Portrait Pumpkin Stencil
An Albert Einstein portrait pumpkin stencil rendered in bold linework: wild tufts of windswept hair radiate from both sides, deeply set eyes under heavy brow lines, a rounded nose, and an open mouth with the tongue sticking out. The linework approach leaves the face mostly solid orange with thin cut lines defining the wrinkles, hair tufts, and collar diagonals below, so the finished pumpkin reads as a recognizable portrait even in dim light. Cut the hair tufts from the tips inward toward the head to reduce leverage on those fragile points.
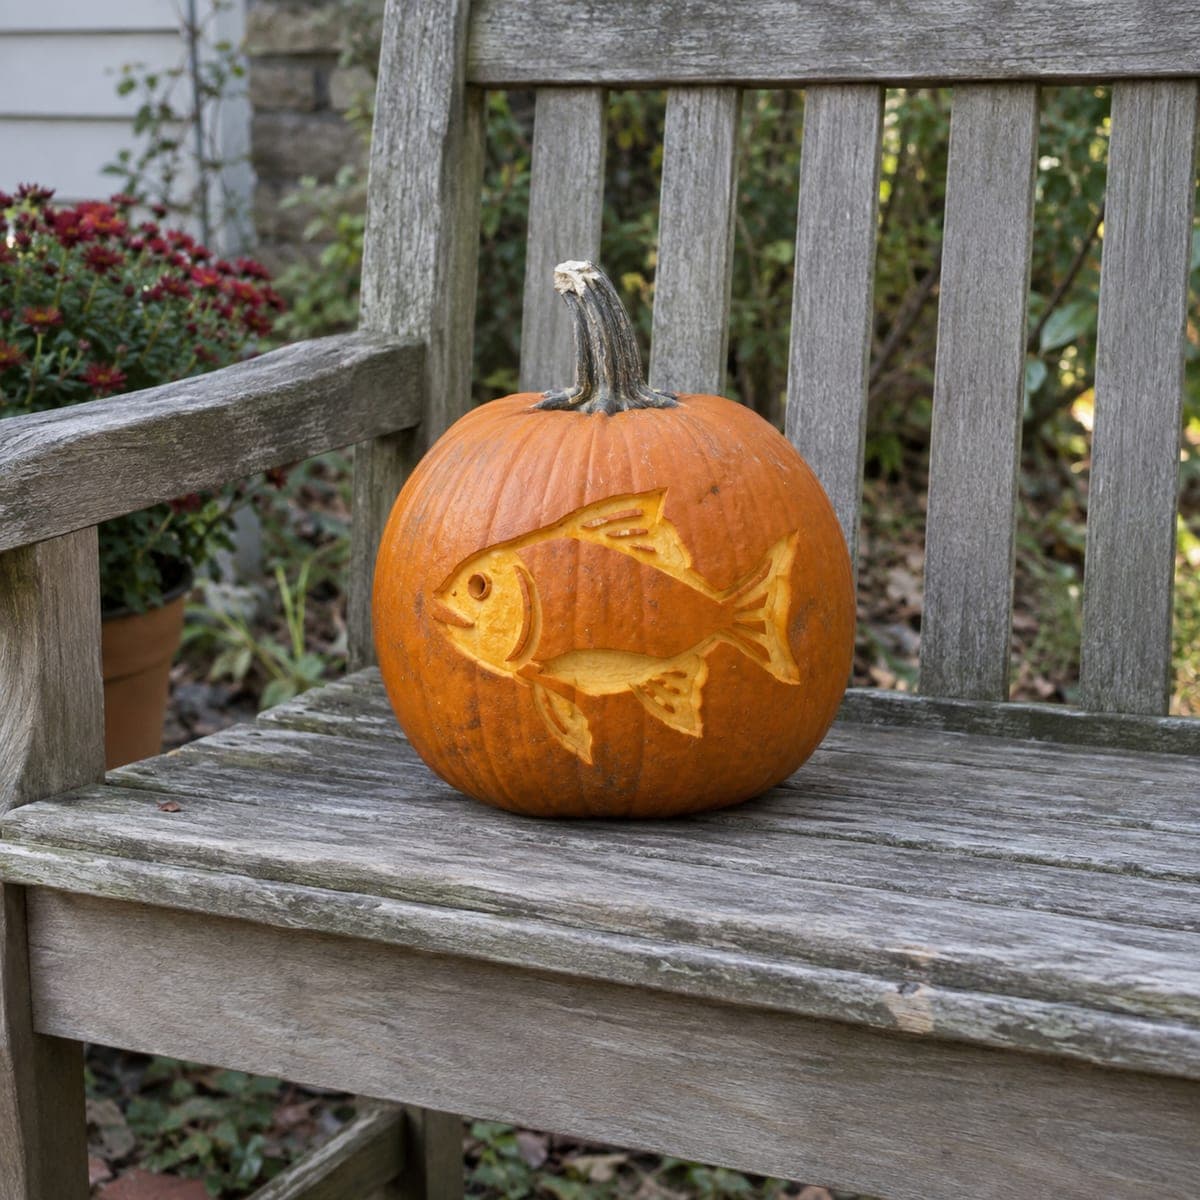
Etched Fish & Fin Rays
A side-view fish with rayed fins, a forked tail, and a dot eye, drawn in bold etched lines across the pumpkin's face. The wall stays intact everywhere: you shave the skin along the body outline, fin rays, and gill lines so they read as bright strokes against dark rind. For this medium shading design, use a small loop tool and keep your line width consistent, since the fin rays lose definition if they blur together.
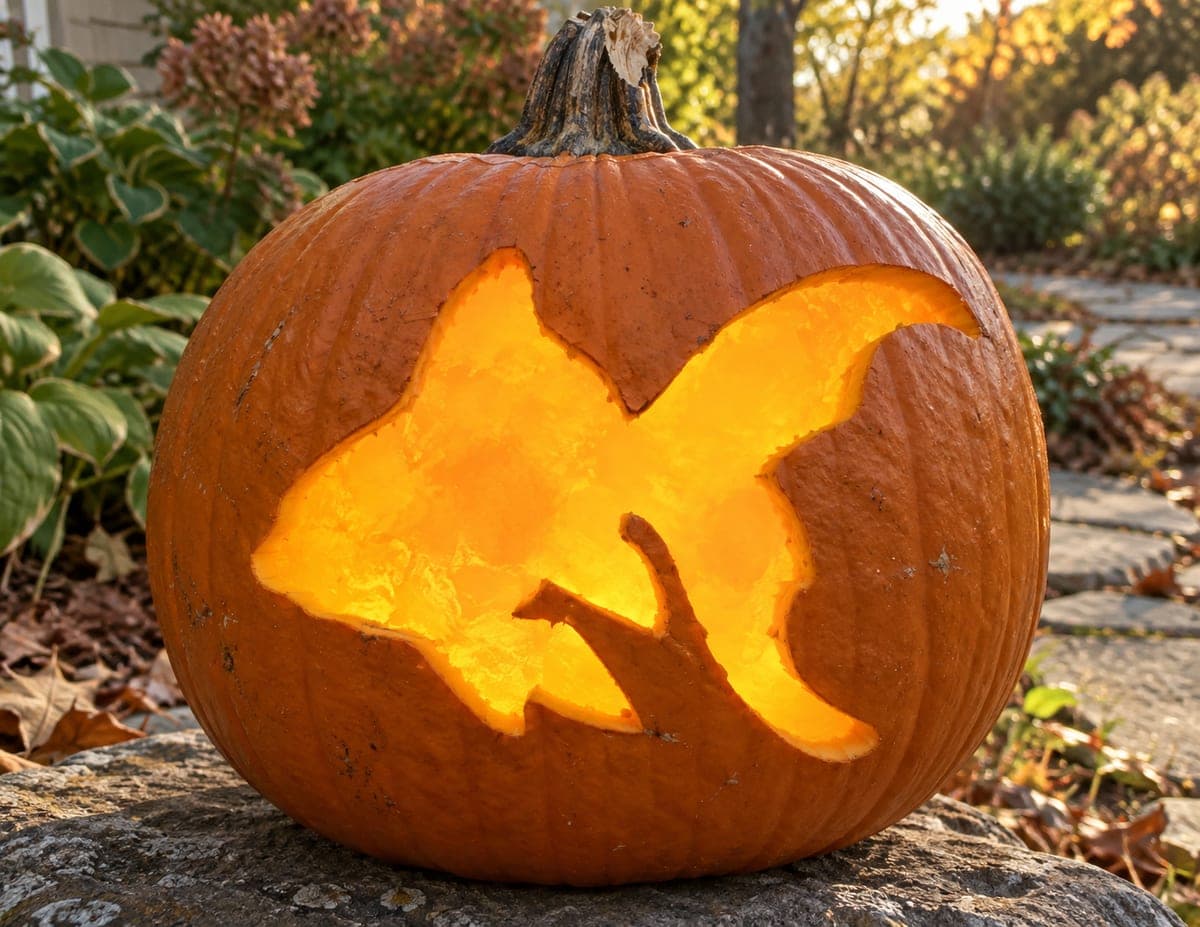
Fan Tail Fish with Low Notches
A plump fantail goldfish glides across the pumpkin as one big glowing silhouette, with a rounded body, sweeping double tail, and small notched fins along the belly. The entire fish is pierced through in a single connected shape, so it lights up like an aquarium at night. At medium difficulty the low fin notches are the detail work; cut the broad body and tail first, then nick out the small fin points with short careful strokes.

Fetus in Womb Pumpkin Stencil
A fetus-in-womb pumpkin stencil showing a curled embryo silhouette floating inside a large circular womb shape, with a crescent arc cut above it and a curved base piece below, suggesting the rounded cavity of the uterus. The fetus itself remains solid orange with detail cut-outs defining tiny clenched fists and a rounded head, while the surrounding womb sections are pierced to glow. Cut the large curved womb sections first, then the small fetal detail cuts, leaving the fragile umbilical cord line as the very last cut.

Fifteen Sweeping Almond Leaves
Fifteen almond-shaped leaves sweep upward in two mirrored arcs, curving around the pumpkin's face like a laurel wreath opening toward the stem. Each leaf is cut fully through, so the whole design becomes an elegant pierced lantern with no face at all. Alternate sides as you cut, removing one leaf on the left and then its mirror on the right, to keep the wall's strength balanced throughout.

Five Glowing Shapes
Five bold glowing shapes scattered across the pumpkin: two stars, a circle, a square, and a triangle, like a preschool lesson turned into a lantern. Every shape is cut fully through with generous spacing, so there are no fragile bridges and each opening throws its own pool of light. As an easy design it is ideal for carving with little kids: let them pick the shape order and poke the transfer dots while an adult handles the actual cutting.
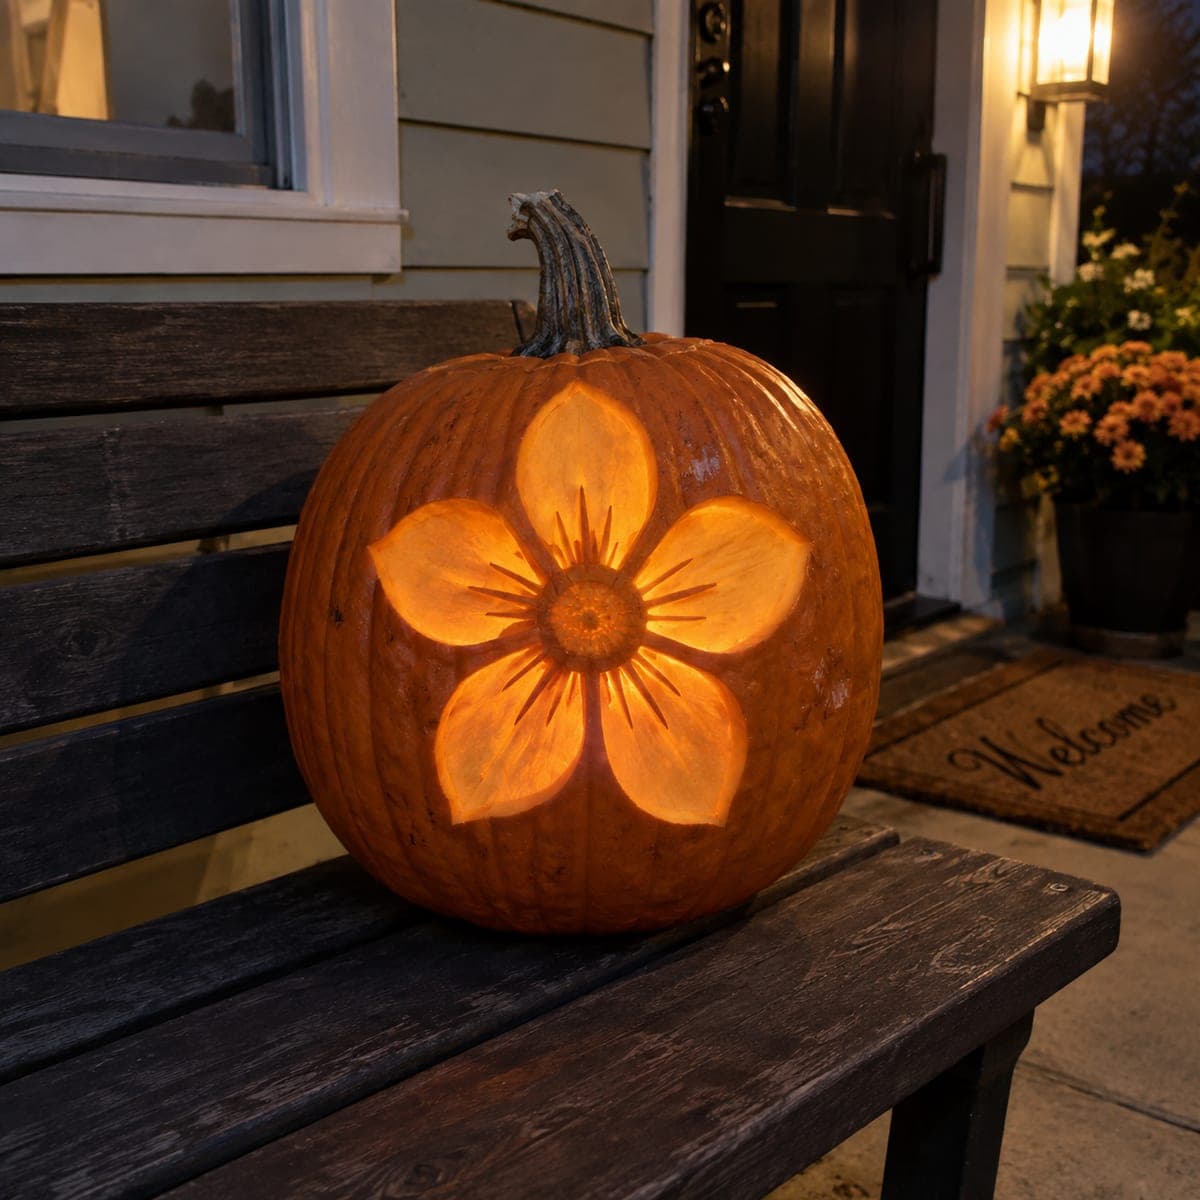
Five Petal Flower
A five petal flower with slender veins radiating from a round center fills the front of the pumpkin. Nothing is pierced; you shave away only the skin inside each petal and the center disc so the flesh glows softly while the wall stays solid. Use a loop tool and keep the shaving depth even across all five petals so the whole bloom lights at the same brightness.
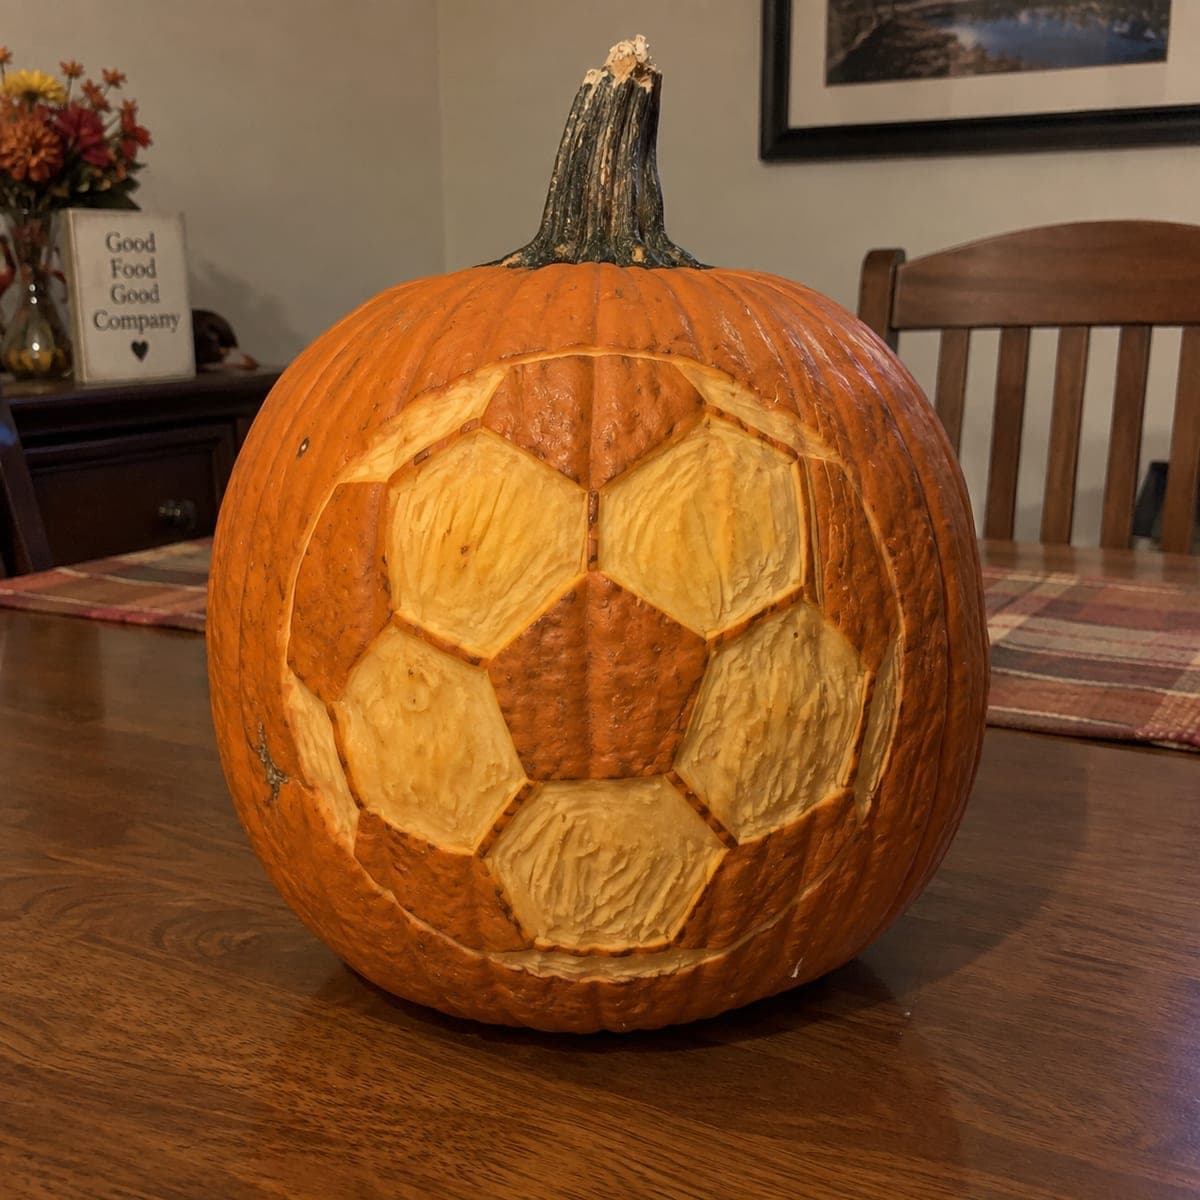
Five-Panel Soccer Ball
A giant soccer ball covers the face of the pumpkin, built from a central pentagon surrounded by shaved hexagon panels. Nothing is cut through; you peel the skin from the light panels while the pentagons and seam lines stay dark orange, recreating the classic ball pattern. Trace every panel edge with a knife tip before shaving so the straight seams stay crisp, since clean lines are what sell the geometry.

Flask With Three Bubbles
A chunky Erlenmeyer flask with three round bubbles rising from its neck, giving off a mad-scientist potion vibe when lit. The flask body and each floating bubble are cut cleanly through, so the brew appears to glow and fizz after dark. This easy design suits first-time carvers: cut the big flask opening from the bottom up, then punch out the three circles with a small round cut or an apple corer.