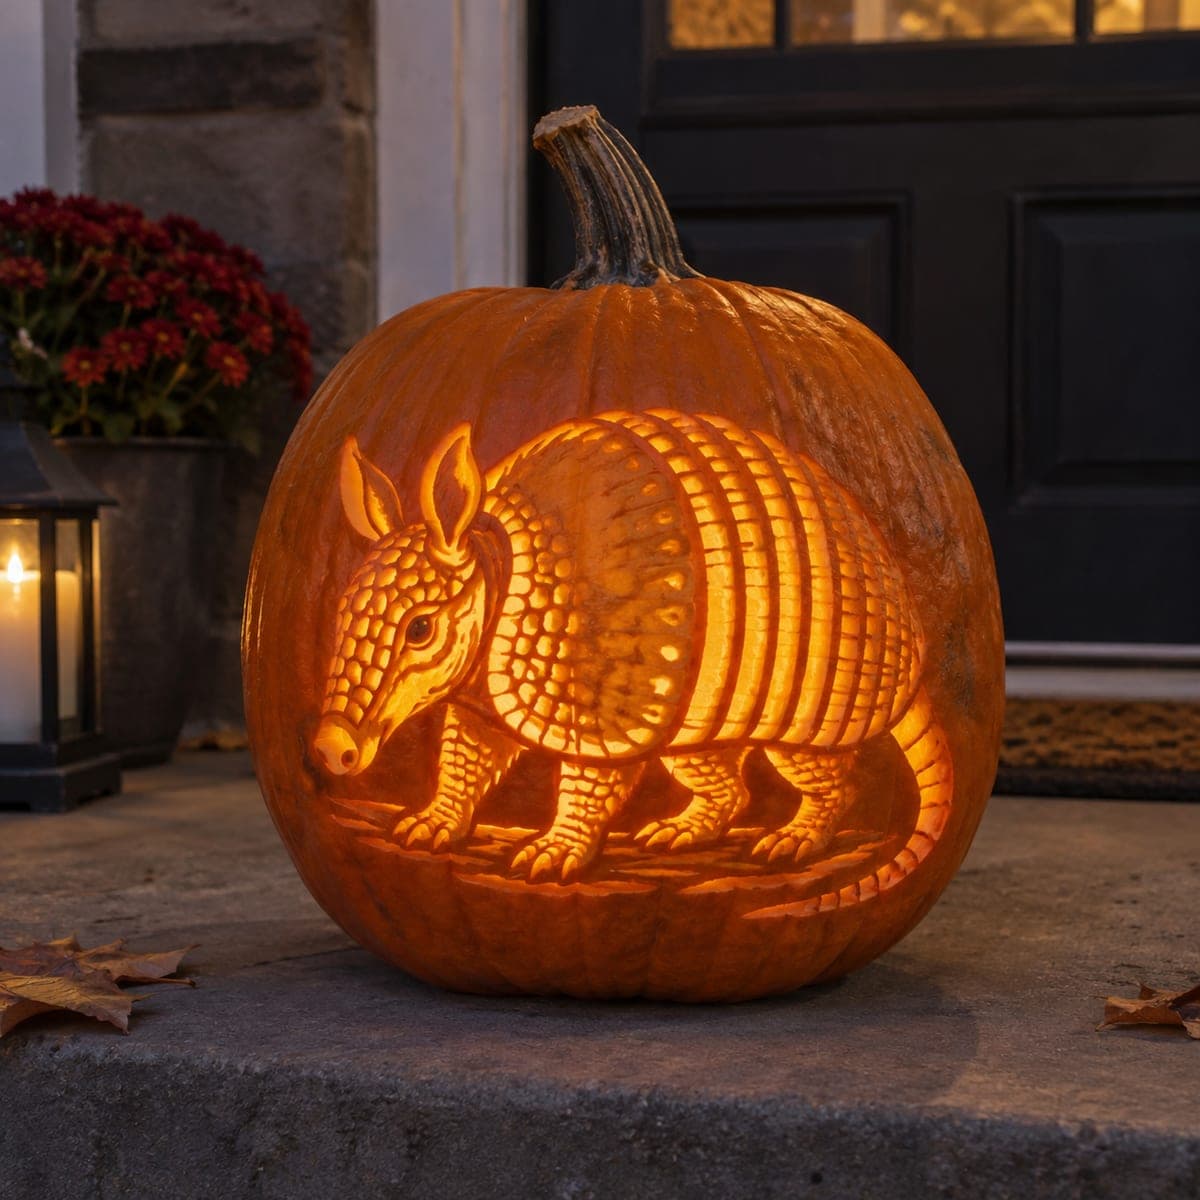
Halloween Pumpkin Carving Contest · Starts October 1st · $500 in prizes
← Back to ideas
@ai_concepts
Jul 10, 2026
Armadillo Relief Carved Glowing Pumpkin CarvingAI
0

Armadillo Relief Carved Glowing Pumpkin Carving

A detailed armadillo with its segmented armor plates and tiny clawed feet is carved in high relief on this glowing pumpkin, with each banded shell segment individually etched to catch the light at a slightly different depth. This creative pumpkin carving idea is unusual enough to stop neighbors in their tracks, and the armadillo's natural geometric pattern is surprisingly fun to carve. Use a small loop tool to define each armor band, and carve the face and legs with a fine-point blade. Backlit with a candle, the layered bands glow warmly like stacked crescents.

This is an AI-generated concept image: a realistic, carvable design idea rather than a photo of a finished carve. AI concepts are always labeled and sit out the leaderboard and the contest.
No ratings yet · Sign in to rate

Comments (0)

  • No comments yet — be the first.

Save without an account. Sign in to like or comment.

Our tips for carving a similar design

The core trick here is relief carving, where you scoop shallow layers of skin at different depths so the armadillo's shell bands each catch the light a little differently. Most of the design stays as glowing peeled skin rather than open cutouts, which is what gives it that soft, sculpted look. Plan to work slowly with a loop tool for the bands and a fine blade for the face and feet.

Written by PumpkinCarvingIdeas.com, inspired by the image above. These are our suggestions, not instructions from the uploader. This approach to the AI concept has not been tested on a real pumpkin.

From pumpkin to porch

  1. Transfer the pattern and study the layers

    Print an armadillo stencil sized to fill the pumpkin's flattest face and tape it in place. Poke the outlines with a pin or transfer tool, marking the body outline, each shell band, the face, and the feet. Before cutting, decide which areas will stay dark skin, which get peeled thin, and which get cut through. A quick pencil shade on the paper helps you keep the depth plan straight.

  2. Open the pumpkin and thin the working wall

    Have an adult cut a lid from the bottom or the back rather than the top so the stem stays intact. Scoop out the seeds and pulp, then scrape the inside wall behind the design down to about one inch thick. A thinner wall makes relief shading glow much more evenly. Dry the inside with a paper towel before you start carving the front.

  3. Peel the armadillo's body to a mid glow

    Using a loop tool, remove just the outer skin across the whole body shape so it reads as one warm silhouette. Keep this pass shallow and even, stopping at the orange flesh rather than cutting through. This peeled layer becomes the base tone that all your deeper details sit against. Work from the center outward so you do not lean on areas you already thinned.

  4. Etch the shell bands at varied depths

    Define each armor band by scooping slightly deeper along its lower edge, leaving a raised ridge between bands. Vary the depth band to band so light stacks up like crescents across the shell. Add the small pebbled plates on the head and shoulders with short, shallow loop strokes. Keep thin ridges intact between segments so the pattern stays strong and the wall stays sturdy.

  5. Cut the fine face and feet details last

    Switch to a fine-point blade for the eye, the ear edges, the claws, and the deepest shadow lines. Make only the darkest accents true cutouts so they read as sharp black detail against the glow. Save any larger openings for the very end so the pumpkin holds its shape while you carve. Support the blade with slow, controlled strokes and cut away from your other hand.

  6. Light it and photograph on the porch

    Drop in a battery LED puck or string, using two lights if the glow looks uneven across the bands. Skip real candles, since the thin relief wall can scorch and the flame will not show the layered depth. Set the pumpkin on a step at dusk with a lantern or mums nearby for a warm backdrop. Rub a little petroleum jelly on the cut edges to slow drying and keep the detail crisp overnight.

Gather your supplies

Check things off as you get ready.

Work on a stable surface, keep your free hand out of the cutting path, and have an adult handle sharp tools.

Three levels of light

  • Leave intact

    Untouched skin around the armadillo and the deepest shadow lines between shell bands stay dark for contrast.

  • Peel & shade

    The whole armadillo body, head plates, and legs are peeled thin for the warm mid glow that shows off the sculpted bands.

  • Cut through

    Only the smallest accents like the eye and the sharpest shadow gaps are cut through for bright pinpoints.

Learn the carving basics

Before you start cutting

Do I have to cut all the way through for the shell bands?

No, and you should not. The banded look comes from relief carving, where you scoop skin and flesh to different depths instead of making holes. Full cutouts here would weaken the wall and lose the soft, layered glow. Save true openings for tiny accents only.

How thin should I make the wall behind the design?

Aim for about one inch across the carving face. That is thin enough for peeled areas to glow warmly but thick enough to hold all those ridges between bands. Check your depth often by feeling the inside as you scrape.

This is an AI concept image, so can a real pumpkin actually look like this?

Yes, a design like this is carvable, though the AI image shows an idealized version. Keep the ridges between shell bands intact so the pattern stays strong, and treat most of the body as shallow shading rather than deep cuts. Work slower on the fine face and claws, since real pumpkin flesh is softer than it looks.

Your take belongs here, too.

Changed a detail? Made it simpler? Share a photo of your version and tell the community what worked.

Share your pumpkin

More pumpkins like this

You've reached the end · 8 pumpkins
The Patch Report

Fresh pumpkins, in your inbox.

The best new carvings, ideas worth stealing, and how-tos for carving season. Short, seasonal, and gone by November.

A short email during carving season. Unsubscribe anytime. See our privacy policy.