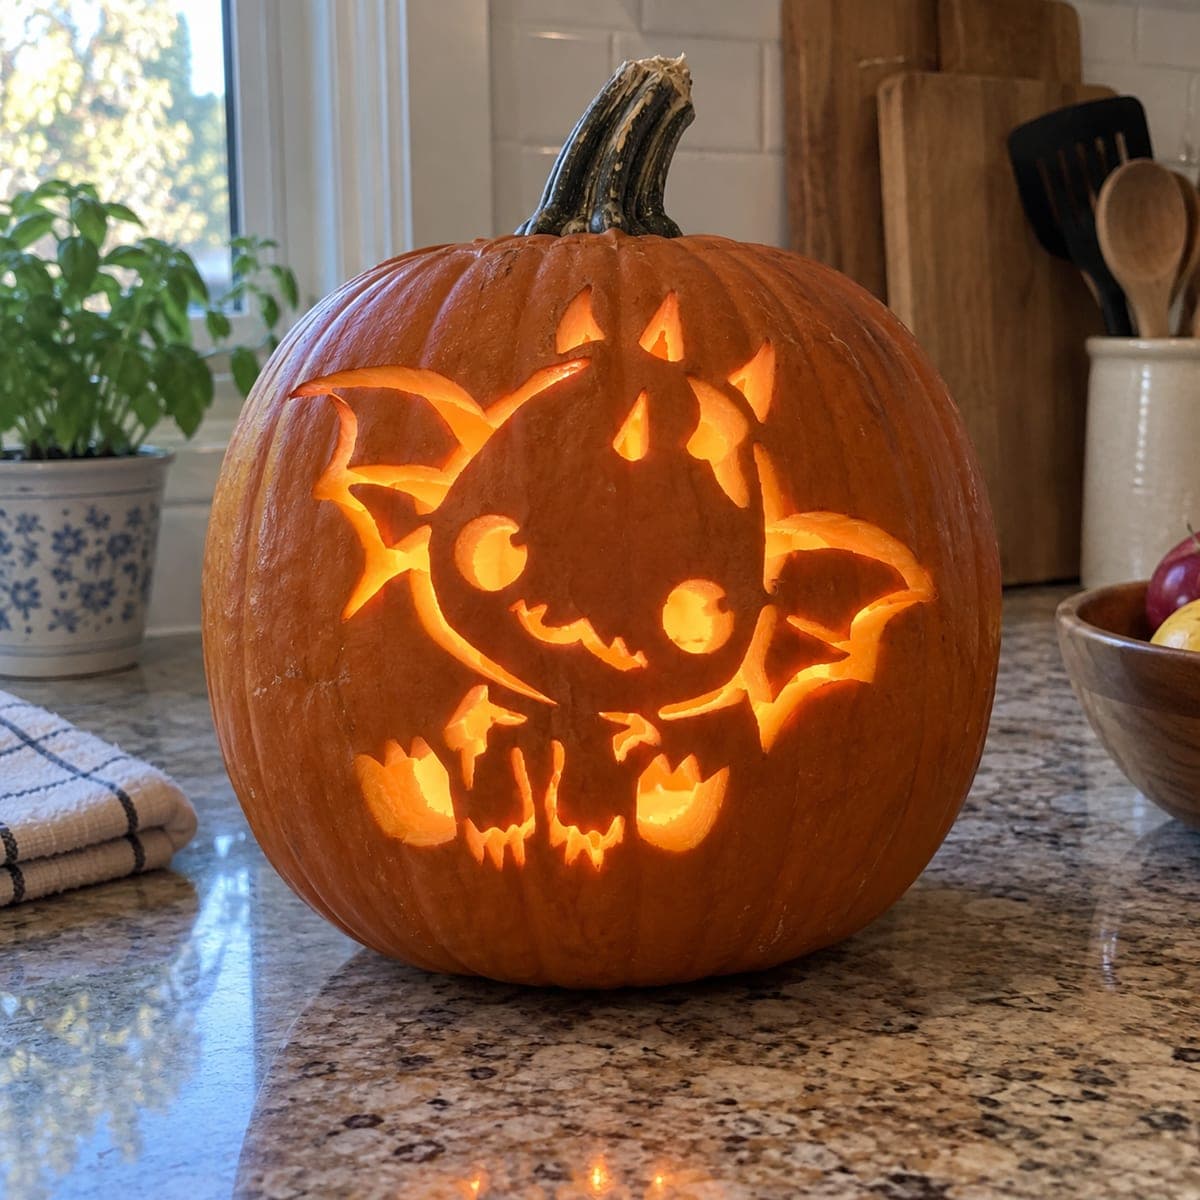
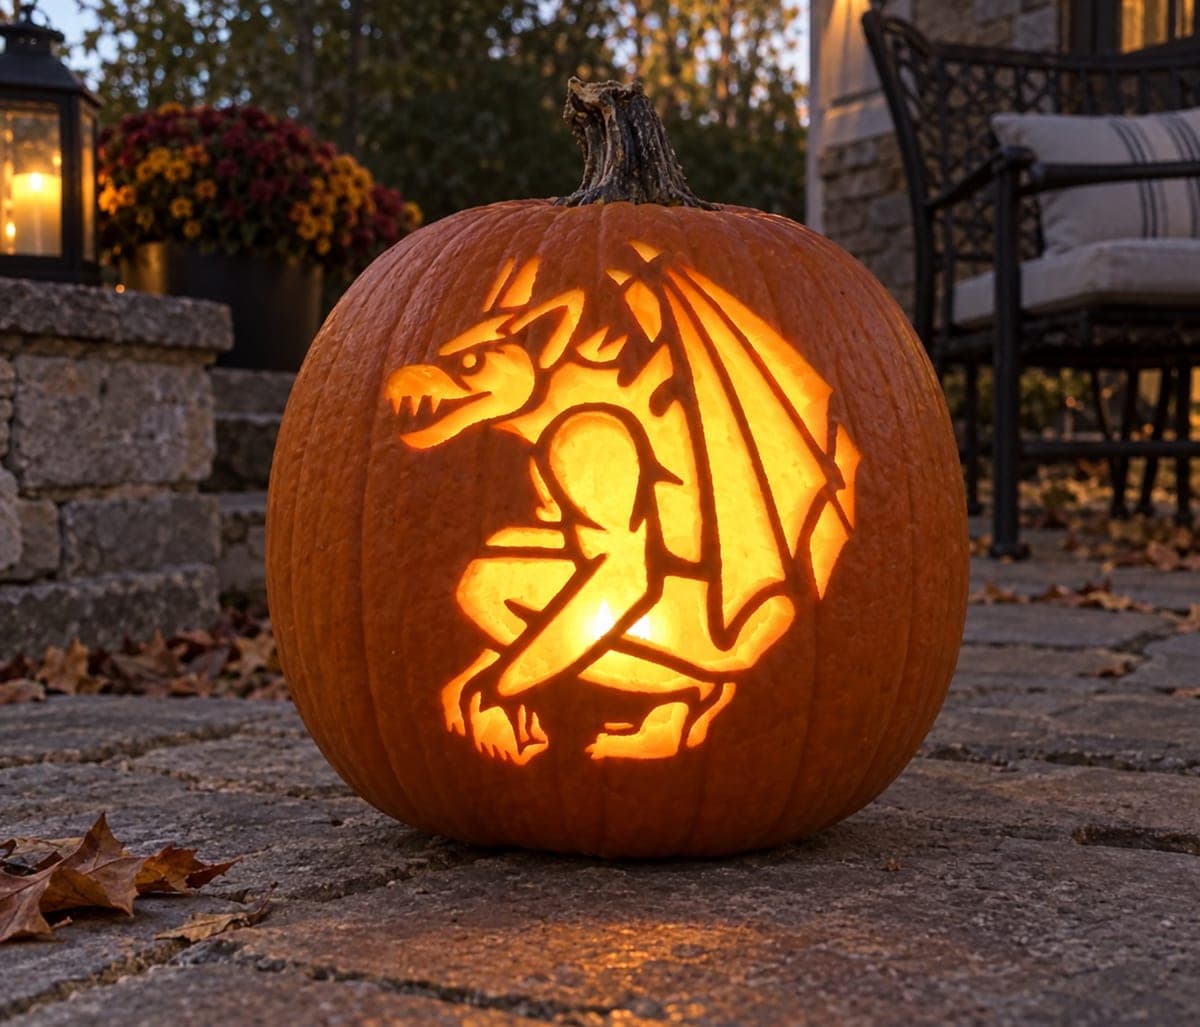
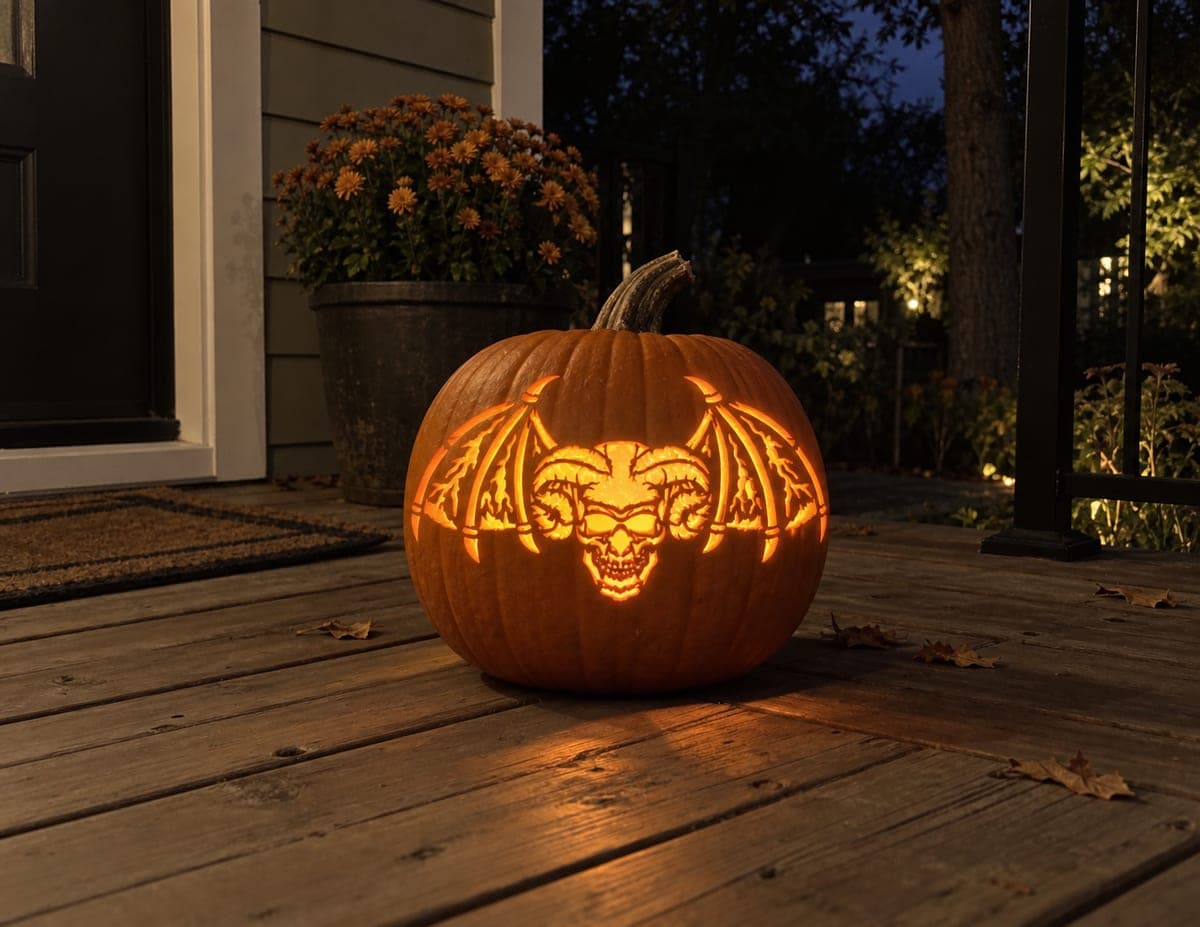
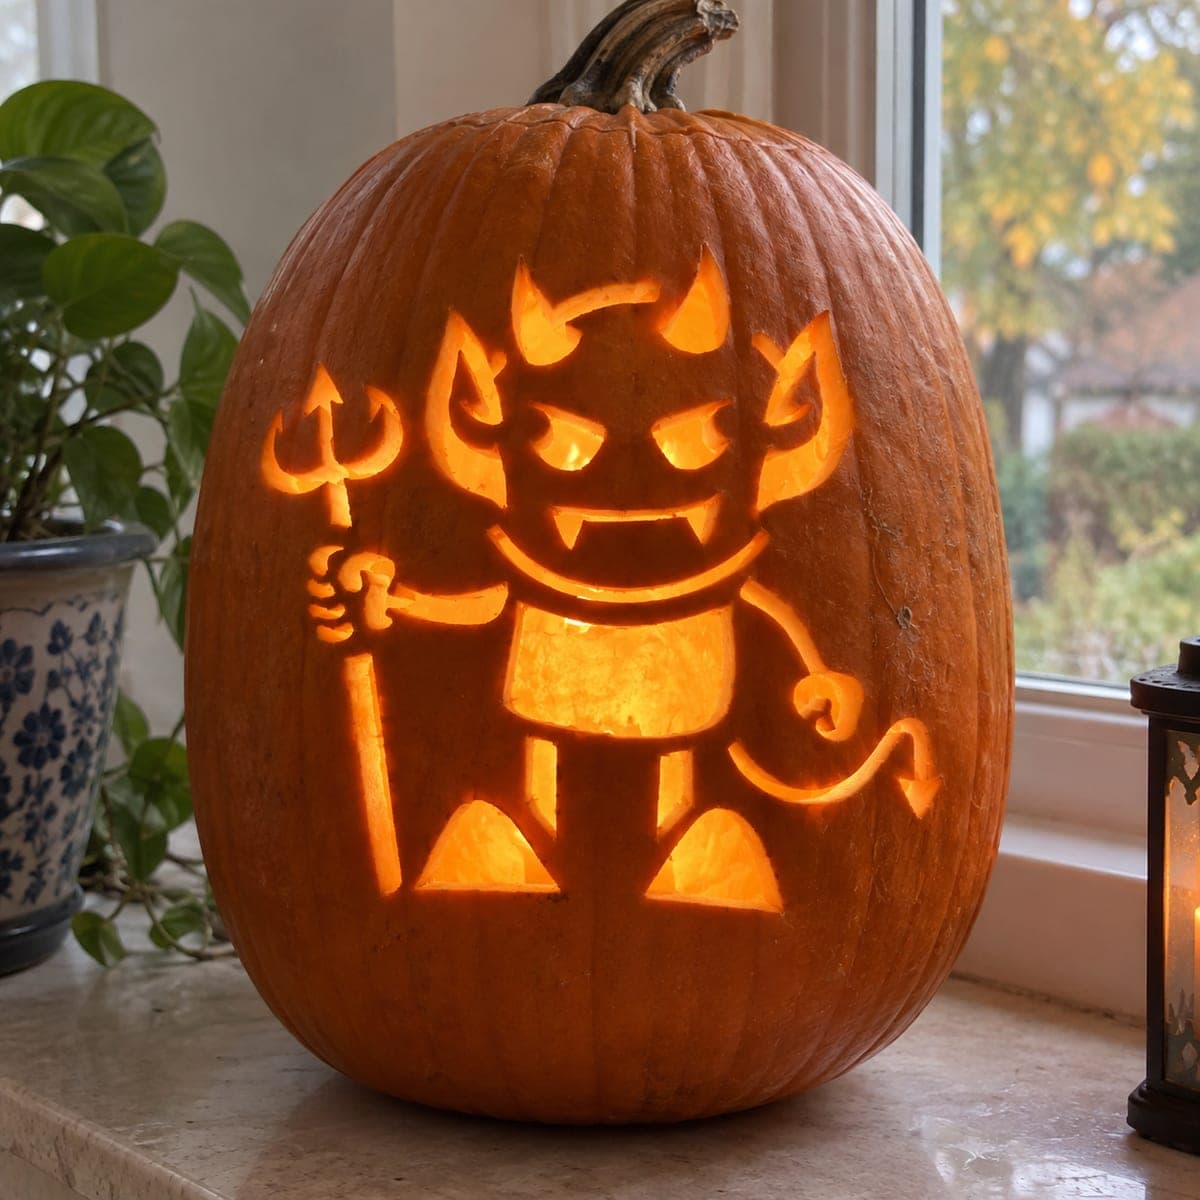
This baby dragon pumpkin carving idea shows a front-facing hatchling with a round head, two circular eyes, small curved horns, and a pair of wide bat-style wings spread symmetrically on either side. The design is carved as a cutout so the entire figure glows evenly, with light pouring through the wings, eyes, and body in a symmetrical pattern. Because the wings are wide but thin at the tips, cut from the outer wing edge inward toward the body so you avoid putting sideways pressure on the narrow connection points.
This is an AI-generated concept image: a realistic, carvable design idea rather than a photo of a finished carve. AI concepts are always labeled and sit out the leaderboard and the contest.
The core trick here is a full cutout silhouette, where the entire hatchling glows evenly because light pours straight through the eyes, body, and both wings. The plan is to keep the design symmetrical and save the widest openings, especially the spread wings, for last so the shell stays strong while you carve. Small bridges of skin left between the eyes, horns, and wing tips keep everything readable instead of collapsing into one big hole.
Written by PumpkinCarvingIdeas.com, inspired by the image above. These are our suggestions, not instructions from the uploader. This approach to the AI concept has not been tested on a real pumpkin.
From pumpkin to porch
1
Pick a round pumpkin and open it
Choose a tall, round pumpkin with a smooth front face so the dragon sits centered and level. Cut a lid from the back rather than the top so the stem stays intact on the front view. Scoop the inside and thin the carving wall on the front to about one inch so your blade passes through easily. A thinner wall makes the many small cuts much cleaner.
2
Transfer the symmetrical pattern
Tape your baby dragon stencil flat against the front, snipping the paper edges so it hugs the curve without wrinkling. Poke closely spaced dots along every line with a pin or awl, paying extra attention to the two round eyes, the curved horns, and the outer wing edges. Peel the paper and connect the dots lightly with a pencil. Double check that the left and right wings mirror each other before you cut.
3
Cut the small interior details first
Start with the smallest openings while the pumpkin is still solid: the two round eyes, the little horns, and the mouth or belly accents. Use a fine detail saw and let the tool do the work with gentle strokes instead of force. Cutting these first means the shell is still rigid, so nothing flexes or cracks. Push the freed pieces out from the inside with a fingertip.
4
Carve the wings from the tips inward
The wings are wide but thin where they meet the body, so cut from the outer wing edge inward toward the center. Working this direction keeps sideways pressure off the narrow connection points instead of snapping them. Take the scalloped bat-style edges in short, patient passes and leave a small bridge of skin where each wing joins the body. Clear the interior wing windows last.
5
Clean up and even out the glow
Trim any ragged edges with a paring knife and gently bevel the back of each opening so more light spills out. Hold the pumpkin up to a lamp to spot spots that read muddy, then widen them slightly for balance. If one wing looks heavier than the other, shave the inner edge until they match.
6
Light it and photograph
Set a battery LED puck inside, warm white for a classic orange glow or a cool tone for a spookier hatchling. Never use an open flame, since the many thin cuts leave a fragile shell. Photograph in a dim kitchen or against a dark backdrop so the symmetrical figure pops. A dab of petroleum jelly on the cut edges slows drying and keeps it looking fresh.
Gather your supplies
Check things off as you get ready.
Work on a stable surface, keep your free hand out of the cutting path, and have an adult handle sharp tools.
Three levels of light
Leave intact
The uncut skin around the dragon and the smooth background stays dark, framing the figure.
Peel & shade
Optional shallow shaving on horn edges or cheek accents gives a soft dim orange halo.
Cut through
The eyes, body, and both wings are cut fully through for the brightest even glow.
Cut each wing starting at the outer edge and work inward toward the body, so your blade pressure runs along the shell instead of across the narrow joints. Leave a small bridge of skin where the wing meets the body. If a tip feels flimsy, keep it slightly wider than the stencil shows.
This is an AI concept, so can a real pumpkin actually look like this?
Yes, with a few realistic adjustments. Keep the horns short and rooted rather than needle thin, and give the wings modest bridges so they do not sag. A one inch carving wall and small connecting points between openings let a real pumpkin hold the whole figure together.
How do I keep the two sides symmetrical?
Do all your alignment work before cutting. Fold or measure the stencil to confirm the wings and eyes mirror each other, then dot the pattern carefully. As you carve, glance at both sides often and trim the inner edges to match rather than the outer silhouette.
Your take belongs here, too.
Changed a detail? Made it simpler? Share a photo of your version and tell the community what worked.
 AI
AI
Comments (0)