Halloween Pumpkin Carving Contest · Starts October 1st · $500 in prizes
← Back to ideas
@ai_concepts
Jul 9, 2026
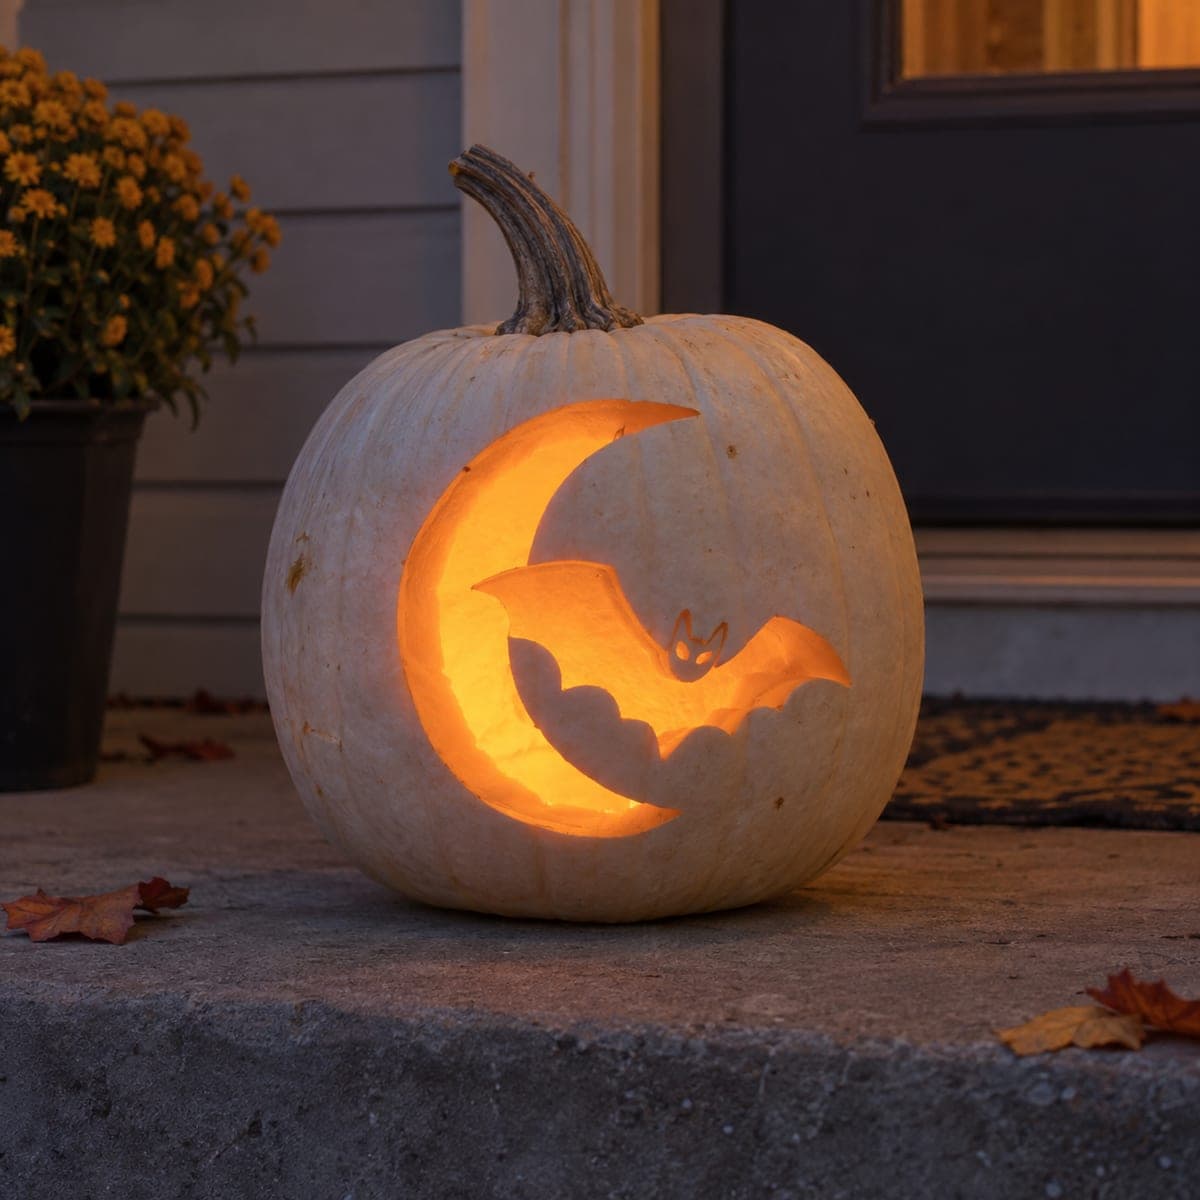
Bat Silhouette in a Glowing Crescent MoonAI
0

Bat Silhouette in a Glowing Crescent Moon

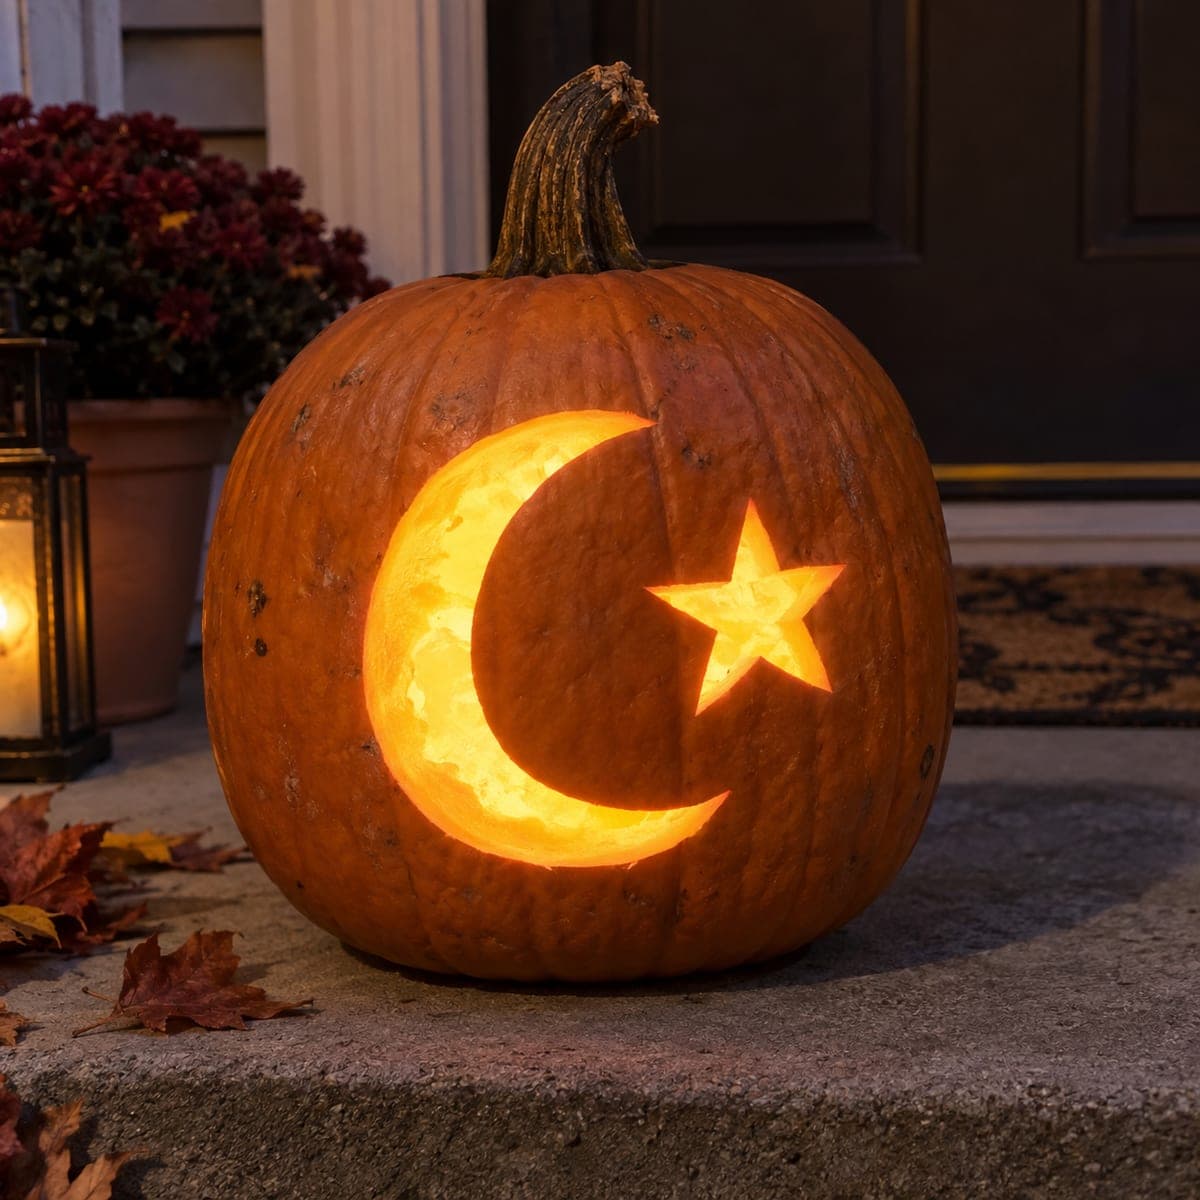
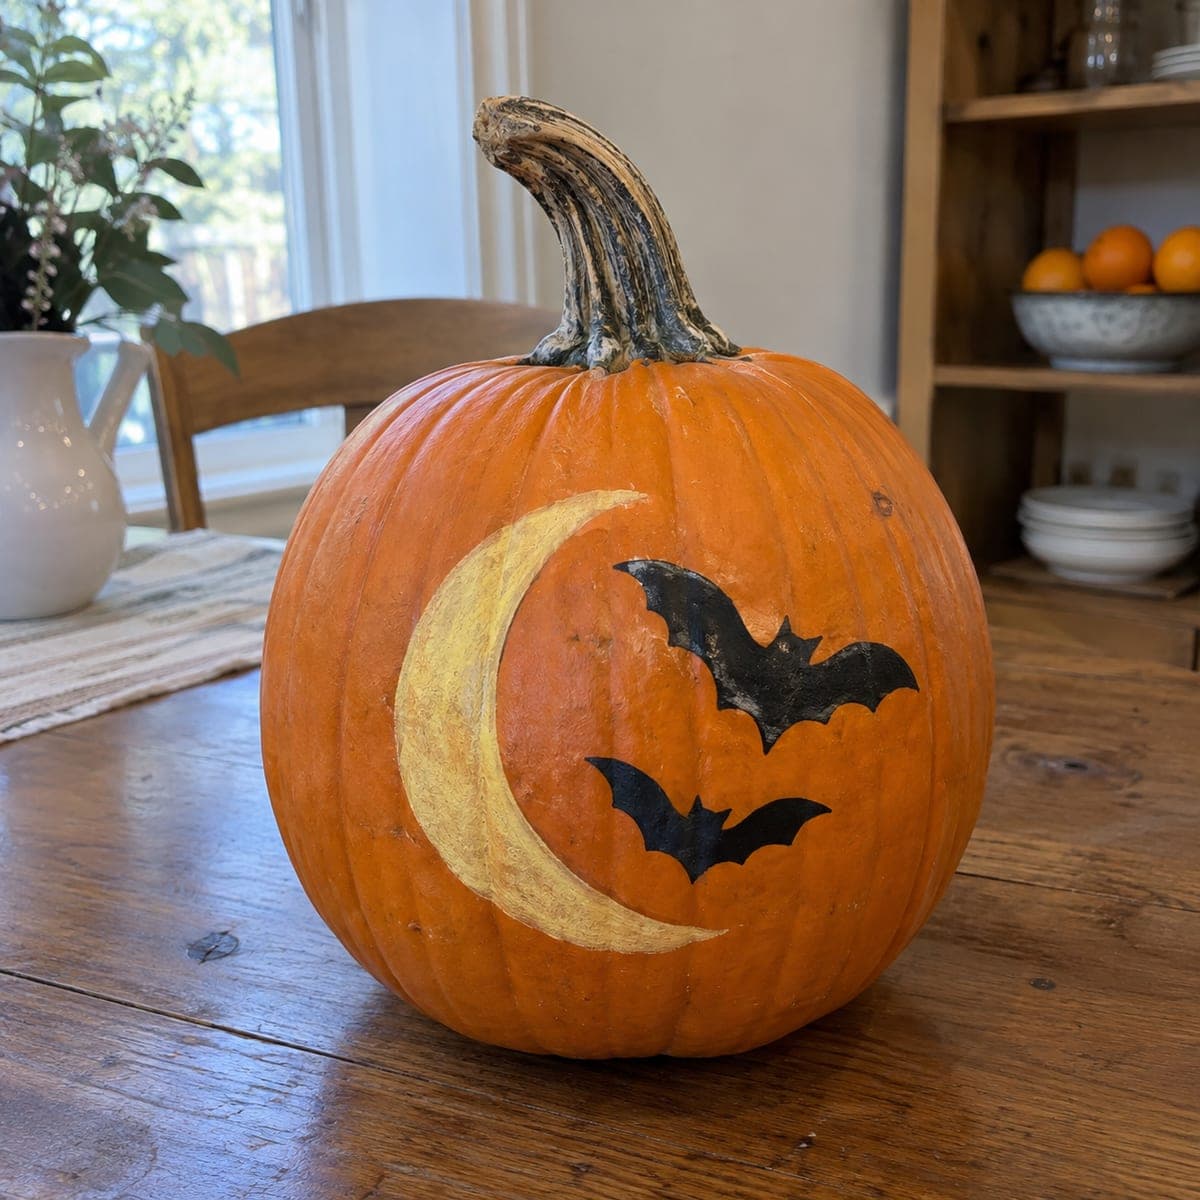
On a white pumpkin, a crescent moon is carved through the shell and a small bat flies dark against the glow, its wingtips bridging to the edges of the opening. Cut the moon first, leaving the bat attached at both wing tips so the silhouette floats in the light. The pale rind makes the orange candlelight pop, a simple trick that photographs beautifully at dusk. An easy pumpkin carving idea with big curb appeal.

This is an AI-generated concept image: a realistic, carvable design idea rather than a photo of a finished carve. AI concepts are always labeled and sit out the leaderboard and the contest.

No ratings yet · Sign in to rate

Comments (0)

  • No comments yet — be the first.

Save without an account. Sign in to like or comment.

Our tips for carving a similar design

The whole design rests on one trick: cut the crescent moon fully through the shell, then leave the bat as an uncut island that stays dark against the glow. The bat only holds together because its wingtips bridge to the edges of the moon opening, so plan those connection points before you cut. Everything else is simple silhouette work, and a pale rind makes the orange light read even brighter.

Written by PumpkinCarvingIdeas.com, inspired by the image above. These are our suggestions, not instructions from the uploader. This approach to the AI concept has not been tested on a real pumpkin.

From pumpkin to porch

  1. Pick a pale pumpkin and clean the inside

    A white or cream pumpkin gives you the strongest contrast, since the light glows warm against the pale skin. Cut a lid or, better, a hatch in the back or bottom so the front stays smooth for your design. Scoop the guts and scrape the inside of the carving wall down to about one inch thick. A thinner wall is easier to cut and lets more light through.

  2. Transfer the moon and bat together

    Tape your crescent moon and bat stencil to the front of the pumpkin, smoothing out wrinkles. Poke the outlines with a pin or a transfer tool so you can see the shape once the paper comes off. Mark clearly where each bat wingtip meets the inner edge of the moon, because those two spots are your bridges. Do not draw the bat as a floating shape with gaps all around, or it will fall out.

  3. Cut the crescent moon opening

    With a small carving saw, cut along the outer crescent line first, taking your time on the curves. Work in short strokes and let the saw do the work rather than forcing it. As you cut, keep the bat area untouched so it stays as a solid dark island inside the opening. Save the widest part of the opening for last so the shell stays stable while you carve.

  4. Free the light around the bat

    Carefully cut the light gaps between the bat body and the moon edges, leaving both wingtips connected. Those two bridges are what hold the bat in place, so keep them at least a finger-width wide for strength. Push the cut pieces out gently from the inside to avoid snapping the thin bat wings. Check that the bat reads as a clean silhouette from a few feet back.

  5. Peel the bat face for a soft glow

    For the tiny eyes and ears, do not cut all the way through. Instead, use a lino or skin-peeling tool to shave off just the outer rind so a dim glow shows through. This keeps the delicate face structurally sound while still catching light. Peeling instead of cutting is the safe way to add small details to a thin silhouette.

  6. Light it and photograph at dusk

    Drop in a battery LED, warm white or amber, and skip real candles so the thin bat wings do not overheat or scorch. Set the pumpkin on your step and shoot in the low blue light of dusk, when the glow pops against the pale rind. Rub a little petroleum jelly on the cut edges to slow drying and keep the lines crisp. Bring it inside overnight to make it last longer.

Gather your supplies

Check things off as you get ready.

Work on a stable surface, keep your free hand out of the cutting path, and have an adult handle sharp tools.

Three levels of light

  • Leave intact

    The full pumpkin skin around the design and the whole bat silhouette stay untouched and dark.

  • Peel & shade

    The bat's tiny eyes and ear tips get skin-peeled for a faint dim glow.

  • Cut through

    The crescent moon and the gaps around the bat's body and wings are cut through for the brightest light.

Learn the carving basics

Before you start cutting

How do I keep the bat from falling out of the moon opening?

The bat survives only because both wingtips stay connected to the edge of the moon opening. Treat those two spots as bridges and keep each at least a finger-width wide. Never cut a fully floating shape, or it will drop into the pumpkin the moment you finish.

Do I really need a white pumpkin for this look?

No, but a pale rind is what makes the warm light pop so strongly in the photo. A standard orange pumpkin still works and gives a cozier, deeper glow. If you use orange, thin the wall a bit more so the light reads clearly.

Why peel the bat's eyes instead of cutting them?

The bat wings and face are thin and fragile, so cutting tiny holes there risks cracking the whole silhouette. Peeling just the outer rind gives a soft dim glow while keeping the shape solid. It is the safer choice for any small detail on a delicate cutout.

Your take belongs here, too.

Changed a detail? Made it simpler? Share a photo of your version and tell the community what worked.

Share your pumpkin

More pumpkins like this

You've reached the end · 8 pumpkins
The Patch Report

Fresh pumpkins, in your inbox.

The best new carvings, ideas worth stealing, and how-tos for carving season. Short, seasonal, and gone by November.

A short email during carving season. Unsubscribe anytime. See our privacy policy.