Halloween Pumpkin Carving Contest · Starts October 1st · $500 in prizes
← Back to ideas
@ai_concepts
Aug 12, 2026
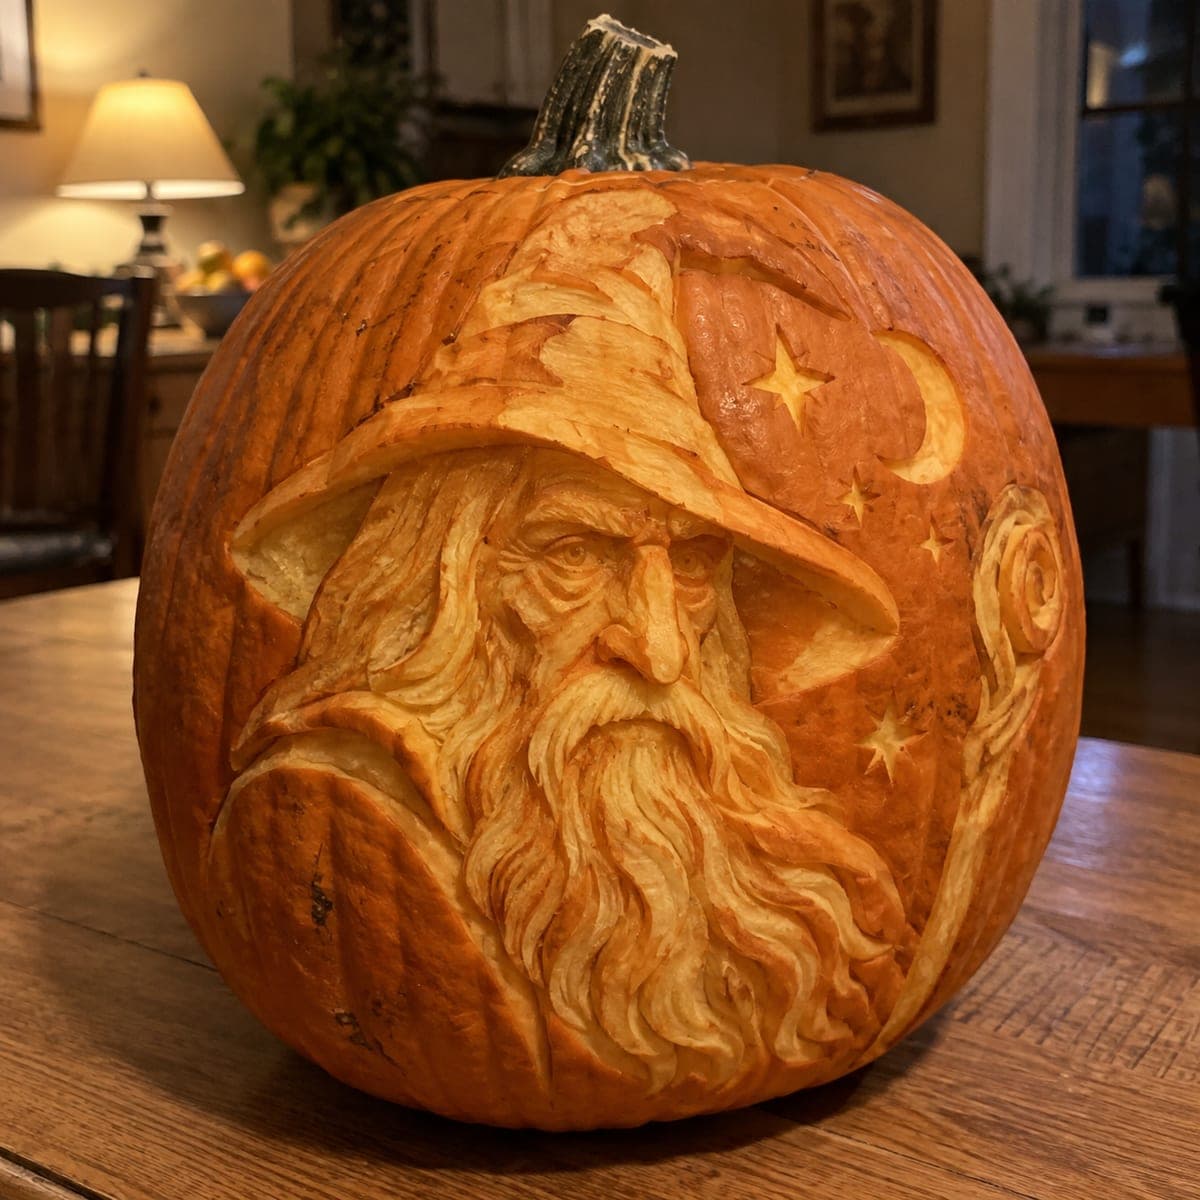
Bearded Wizard With Stars and Moon Carved PumpkinAI
0

Bearded Wizard With Stars and Moon Carved Pumpkin

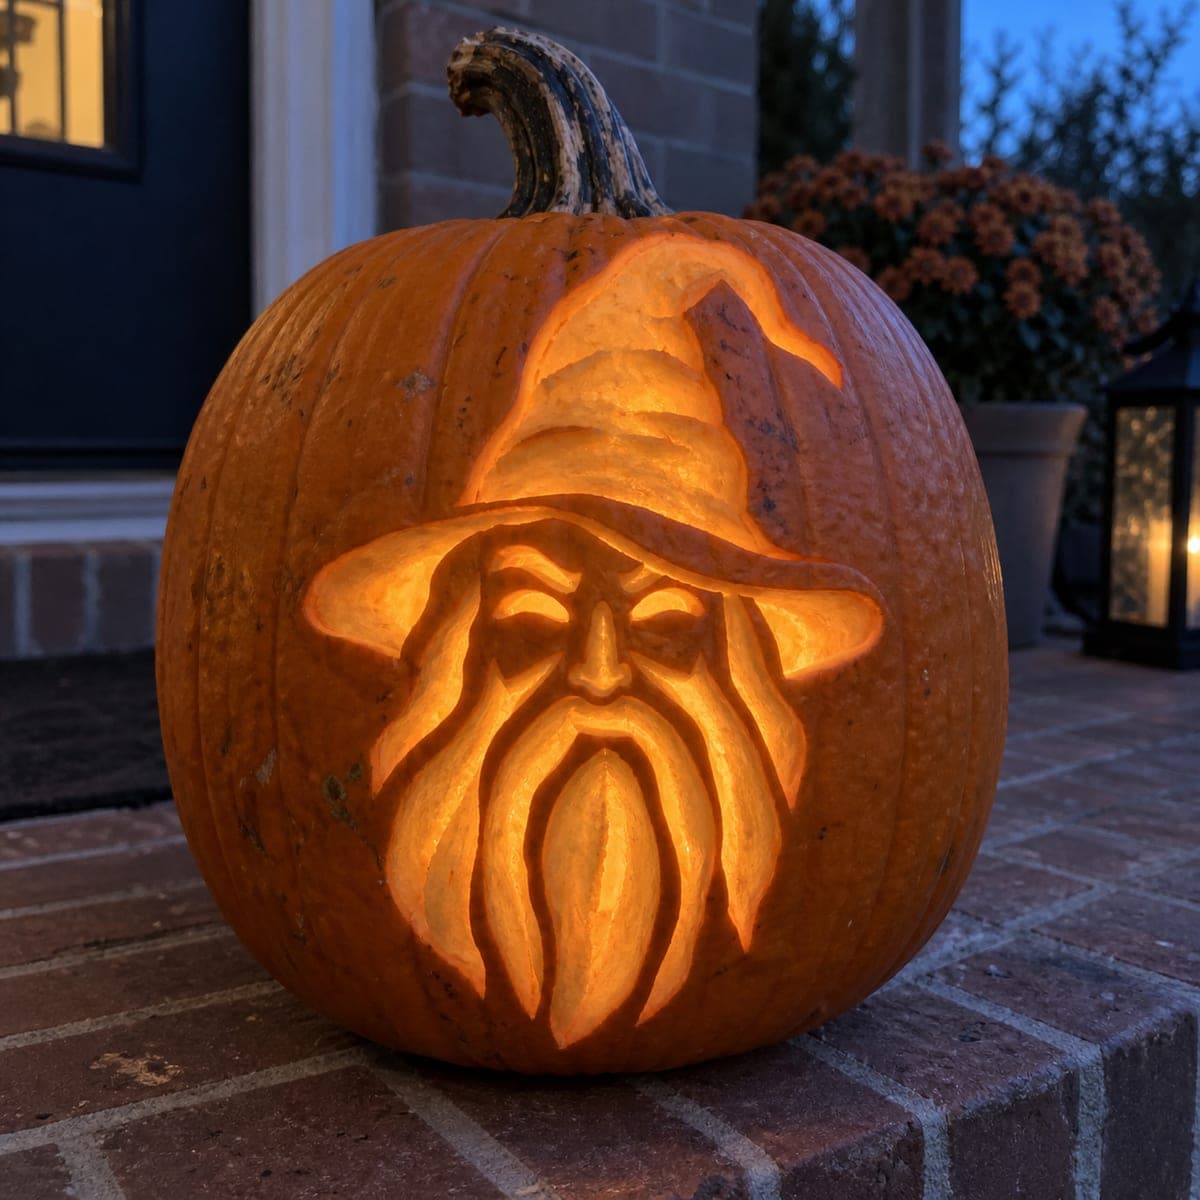
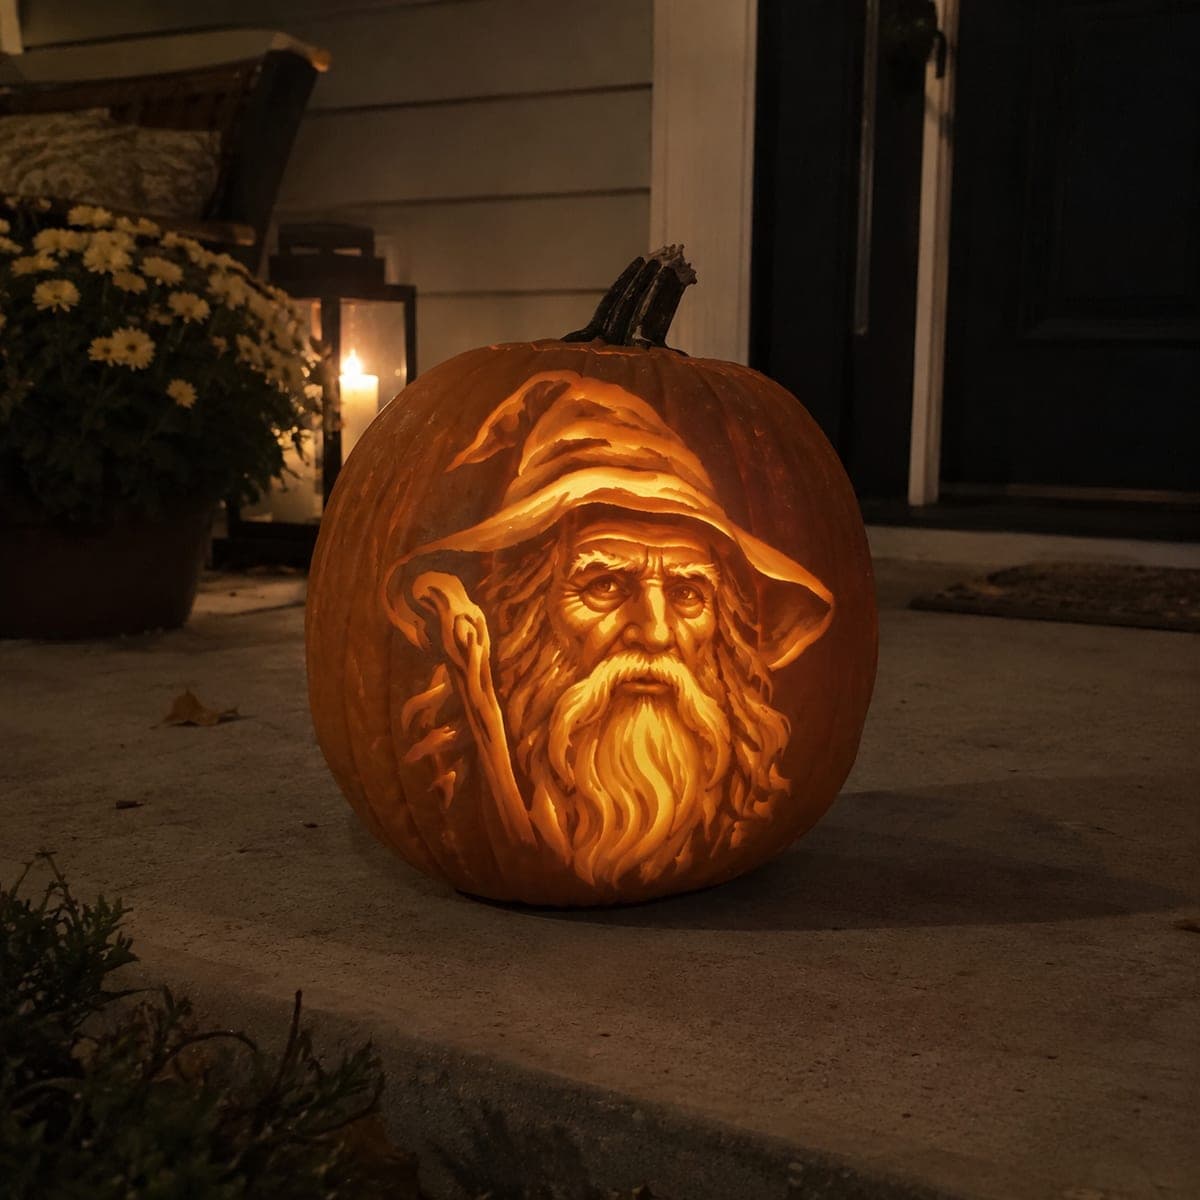
A long-bearded wizard wearing a pointed hat gazes pensively from a pumpkin, surrounded by a crescent moon and scattered stars etched into the warm orange background. The flowing beard and hat brim are carved in layered shading that gives the figure striking three-dimensional depth. Light the pumpkin from inside with a warm LED to make the stars glow softly around the portrait. Transfer the design with a graphite sheet before picking up loop tools for the beard's fine strands.

This is an AI-generated concept image: a realistic, carvable design idea rather than a photo of a finished carve. AI concepts are always labeled and sit out the leaderboard and the contest.

No ratings yet · Sign in to rate
Comments (0)

  • No comments yet — be the first.

Save without an account. Sign in to like or comment.

Our tips for carving a similar design

The core trick here is relief shading: nearly the whole face, hat, and beard are carved by peeling skin to different depths rather than cutting all the way through. The wizard stays dim and sculptural while only the moon and stars punch through for accent light. Plan the piece as a portrait first and treat the night sky as a quiet frame around it.

Written by PumpkinCarvingIdeas.com, inspired by the image above. These are our suggestions, not instructions from the uploader. This approach to the AI concept has not been tested on a real pumpkin.

From pumpkin to porch

  1. Pick a tall pumpkin and open the back

    Choose a large, smooth, deep-orange pumpkin with a flat area big enough for the whole portrait. Cut an access hole in the back, not the top, so the stem stays intact for the pointed-hat feel. Scrape the inside wall behind the face down to about one inch so light passes evenly through peeled areas. A thinner wall makes the shaded beard glow softly instead of staying flat and dark.

  2. Transfer the design cleanly

    Tape a graphite transfer sheet over your printed pattern and trace every line: hat brim, eyes, nose, beard strands, moon, and stars. Press firmly so the shading zones and the cutout marks both come through. Mark which shapes are full cutouts (moon and stars) and which are shading only (face and beard) with a light pencil code. This map keeps you from accidentally cutting through the portrait later.

  3. Rough in the shading planes

    With a medium loop tool, peel the skin off the whole face, hat, and beard area to establish the mid-tone glow. Work in broad passes first, leaving the darkest recesses like eye sockets and beard shadows untouched skin. Keep the highest points, such as the nose bridge and cheekbones, shallow so they read bright. Go slow and check the depth against a light often, since you cannot add material back.

  4. Sculpt the beard and face detail

    Switch to smaller loop and ribbon tools to carve the flowing beard in layered strands, cutting each channel a little deeper where a shadow should fall. Deepen the brow, the lines around the eyes, and the folds of the hat brim to build three-dimensional depth. Vary your pressure so strands feel rounded, not flat. Take breaks to step back and confirm the face still reads as a whole.

  5. Cut the moon and stars last

    Once all the shading is finished, use a fine detail saw or craft knife to cut fully through the crescent moon and the scattered stars. Cut these openings last so the pumpkin wall stays strong while you do the heavy shading work. Keep star points small and leave a little skin between close shapes so nothing tears. These few true cutouts will be your brightest highlights against the dim portrait.

  6. Light it and photograph

    Drop a warm white LED puck inside and set it toward the back so the light rakes across the shaded face. Adults should handle all cutting; keep flames away from a piece with such thin walls. Dim the room and take your photo slightly off to one side to catch the depth in the beard. A light mist of water and a wipe of petroleum jelly on cut edges slows drying if you want it to last a few days.

Gather your supplies

Check things off as you get ready.

Work on a stable surface, keep your free hand out of the cutting path, and have an adult handle sharp tools.

Three levels of light

  • Leave intact

    Deep eye sockets, beard shadows, and the darkest hat folds stay as untouched skin

  • Peel & shade

    The whole face, flowing beard, and hat get skin-peeled to varying depths for a soft mid glow

  • Cut through

    Only the crescent moon and the scattered stars are cut fully through for the brightest accents

Learn the carving basics

Before you start cutting

This is shown as a concept image. Can a wizard face this detailed really be carved?

Yes, a portrait like this is achievable, but it belongs at the expert end because almost all of it is shading rather than cutouts. The key is a thinned pumpkin wall and patient loop-tool work in layered depths. Keep the true openings limited to the moon and stars so the pumpkin stays structurally sound.

How do I keep the beard from looking flat?

Carve each strand as its own rounded channel and vary the depth so some catch more light than others. Deepen the grooves where one lock overlaps another to create real shadow lines. Working from a reference and checking against your LED as you go helps you judge the contrast.

Should I cut through the face anywhere?

No. The face and beard are meant to glow softly through peeled skin, so keep them as relief shading only. If you cut through the eyes or beard, you lose the sculptural depth and the portrait turns into a harsh silhouette. Save all full cutouts for the moon and stars.

Your take belongs here, too.

Changed a detail? Made it simpler? Share a photo of your version and tell the community what worked.

Share your pumpkin

More pumpkins like this

You've reached the end · 8 pumpkins
The Patch Report

Fresh pumpkins, in your inbox.

The best new carvings, ideas worth stealing, and how-tos for carving season. Short, seasonal, and gone by November.

A short email during carving season. Unsubscribe anytime. See our privacy policy.