Halloween Pumpkin Carving Contest · Starts October 1st · $500 in prizes
← Back to ideas
@ai_concepts
Sep 14, 2026

Bold Skull With Crossed Pirate Swords PumpkinAI
0

Bold Skull With Crossed Pirate Swords Pumpkin

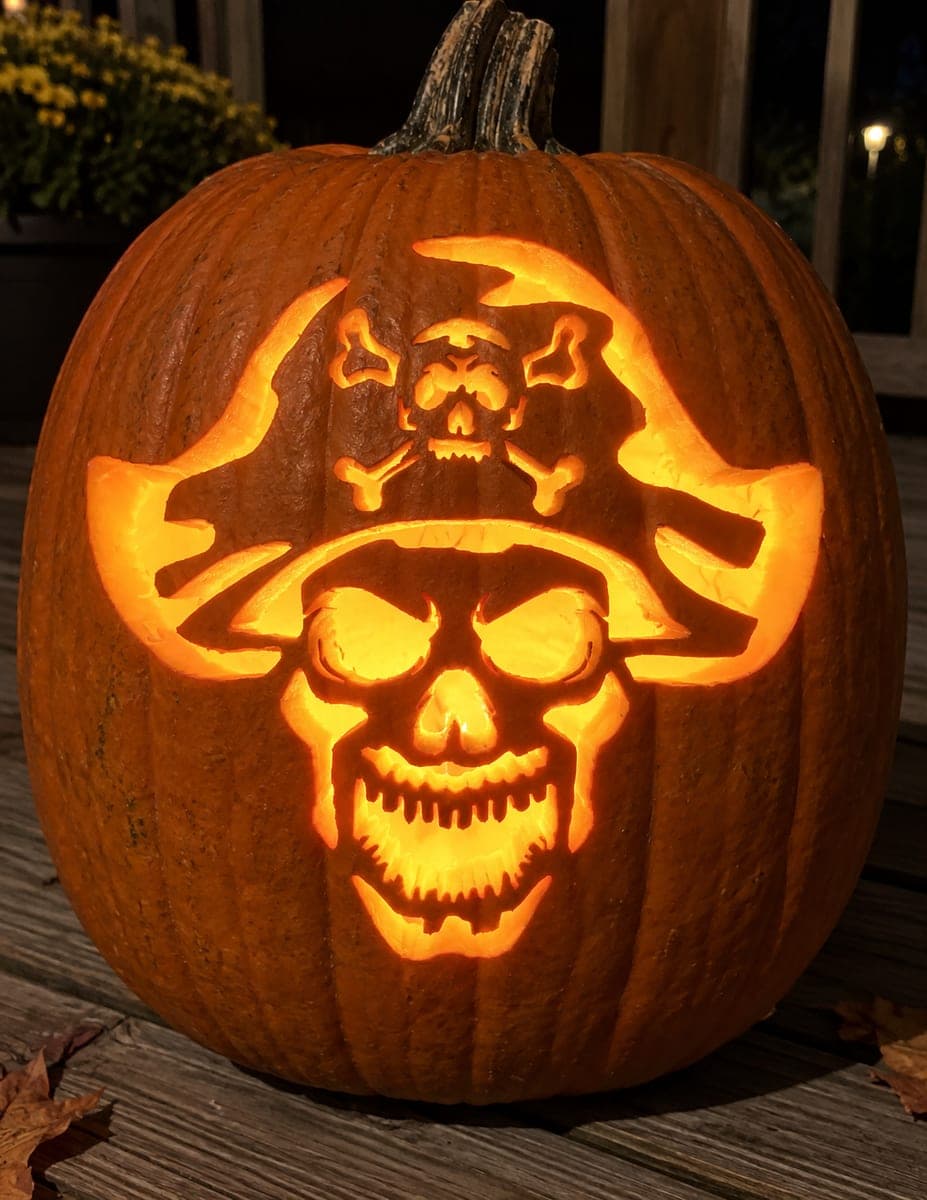
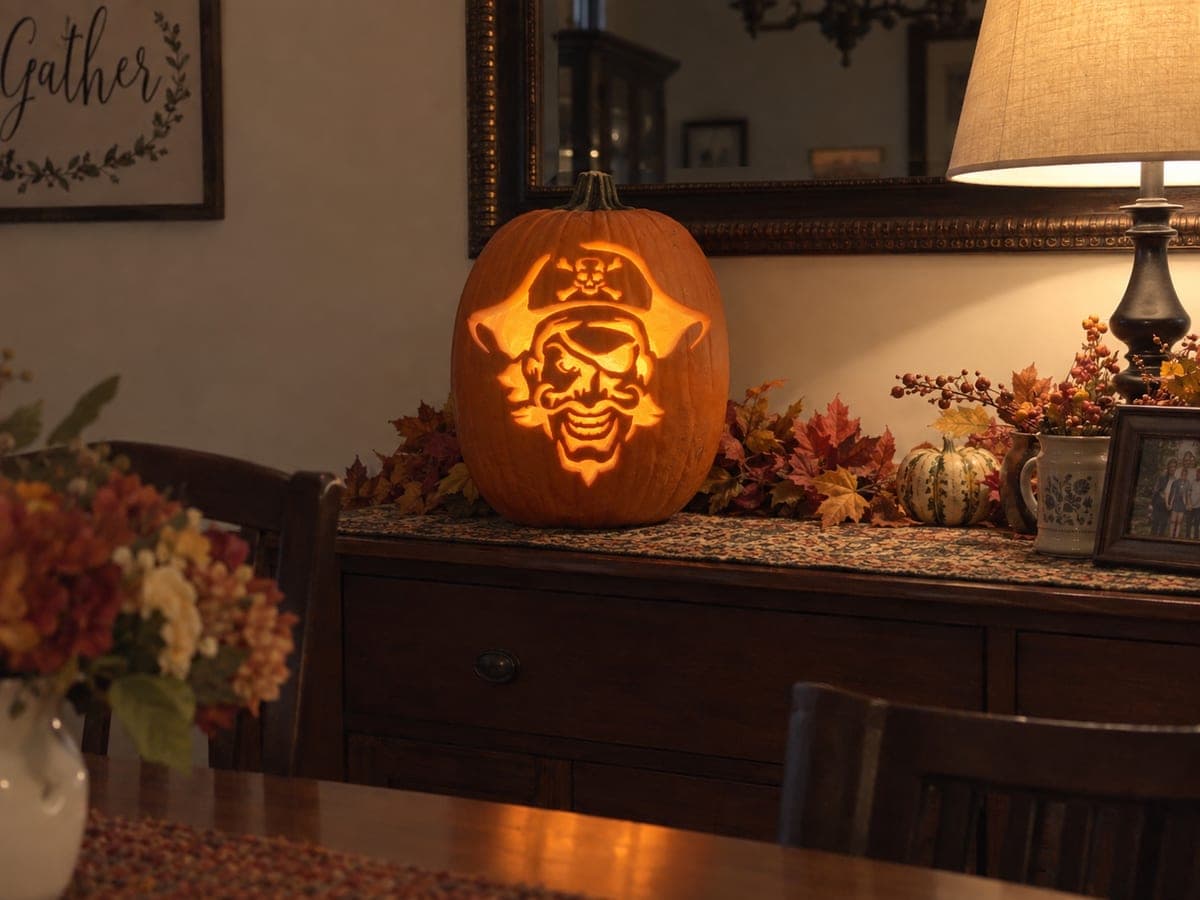
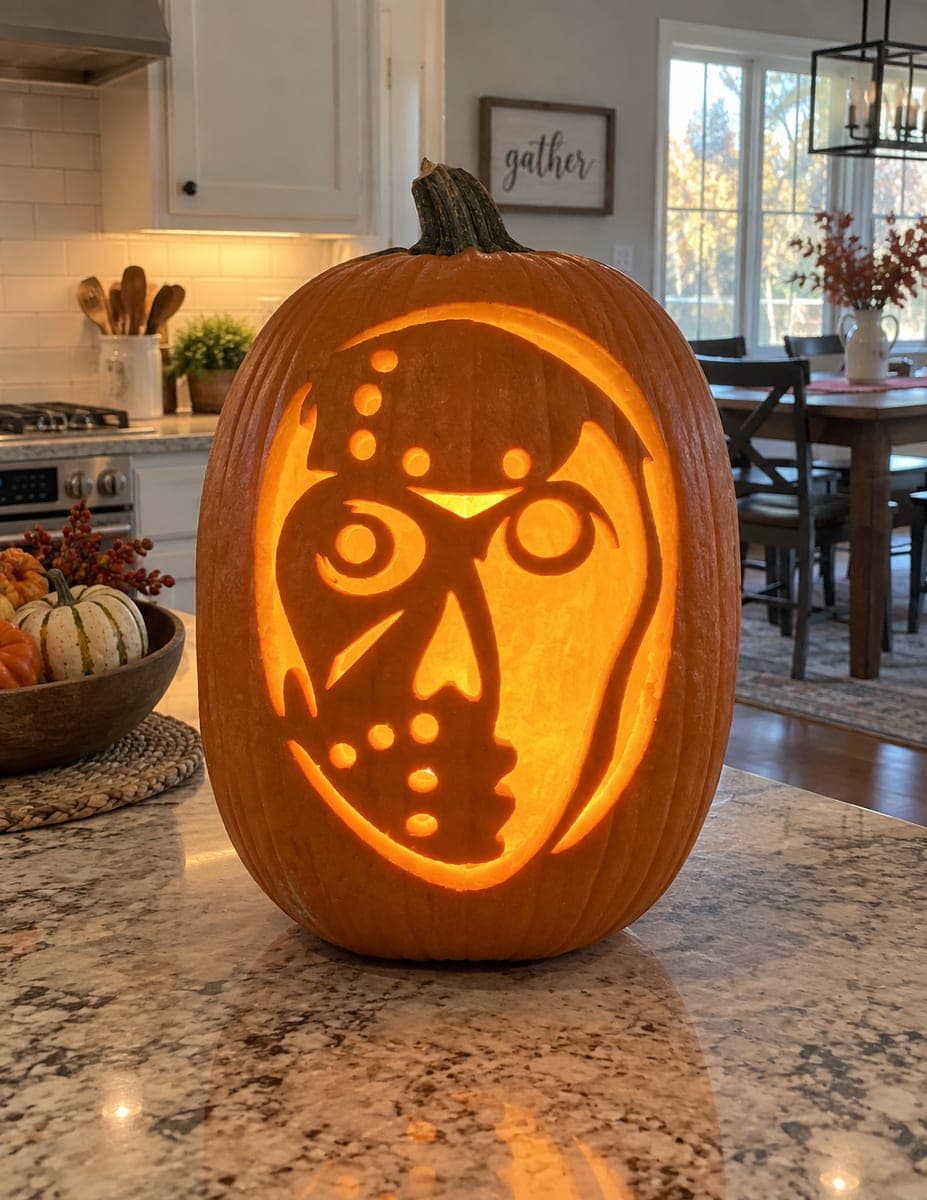
A pirate skull in a cocked hat sits above two curved saber blades crossing below it, all rendered as a dark silhouette against a bright glowing background in this jack-o-lantern pumpkin carving idea. Carving the negative space around the entire silhouette lets the design stay as one connected dark piece, making it more durable than a cutout version. Position the skull so its hat touches the top uncut border and the saber tips nearly reach the sides, keeping the dark subject braced on all four edges.

This is an AI-generated concept image: a realistic, carvable design idea rather than a photo of a finished carve. AI concepts are always labeled and sit out the leaderboard and the contest.

No ratings yet · Sign in to rate

Comments (0)

  • No comments yet — be the first.

Save without an account. Sign in to like or comment.

Our tips for carving a similar design

The core trick here is a reverse silhouette: instead of cutting out the skull and swords, you carve away the background so the whole pirate emblem stays as one connected dark shape. That keeps the skull, tricorn hat, and crossed sabers braced on all four edges, which makes the design far sturdier than a cutout. Plan the layout so the hat brushes the top border and the blade tips nearly touch the sides.

Written by PumpkinCarvingIdeas.com, inspired by the image above. These are our suggestions, not instructions from the uploader. This approach to the AI concept has not been tested on a real pumpkin.

From pumpkin to porch

  1. Pick a tall pumpkin and plan the layout

    Choose a large, evenly rounded pumpkin with a smooth front panel so the silhouette reads clearly. Because this is a concept design, you are recreating the look rather than copying a real carve. Print or draw the skull-in-hat above two crossed sabers, sized so the hat meets the top border and the saber tips reach out toward the sides. Center everything on the flattest face you can find.

  2. Open the pumpkin and clean the wall

    Cut a lid from the bottom or the back rather than the top so the stem stays intact for looks. Scoop out the seeds and pulp, then scrape the inside of the carving wall down to about one inch thick. A thinner, even wall is easier to carve and lets more light through the glowing background. Let the inside surface dry for a few minutes before you transfer the pattern.

  3. Transfer and mark your borders

    Tape the pattern flat against the pumpkin and poke the outlines with a pin or transfer tool. Mark clearly which areas are background to remove and which make up the dark silhouette. Draw a border line around the whole design so you remember to leave the outer skin uncut. Double-check that the skull, hat, and sword shapes stay connected before any blade touches the pumpkin.

  4. Peel the background for the glow

    The bright area in this design is the whole field around the silhouette, so treat that as your main lit zone. Use a lino or gouge tool to shave the skin and a thin layer of flesh off the background, thinning it until it glows warm orange when lit. Work outward from the silhouette edges so you keep the skull and saber outlines crisp. Leave the skull, hat, and swords at full thickness and untouched so they stay dark.

  5. Deepen key areas for extra brightness

    For the brightest accents, such as the eye sockets, the small skull-and-crossbones on the hat, and the gaps between the crossed blades, thin those spots even more or open small clean cutouts. Save any full cutouts for last so the wall stays strong while you carve. Keep narrow bridges of skin where the saber edges meet the background so nothing snaps free. Test with an LED light as you go to check the balance.

  6. Light it and take your photo

    Drop in a battery LED puck or two rather than a candle, which is safer and steadier for a wall this thin. Aim the light so it spreads evenly behind the silhouette for that bold backlit effect. Wipe away loose bits and rub a little petroleum jelly on cut edges to slow drying. Photograph it at dusk with the glow against a darker background for the strongest contrast.

Gather your supplies

Check things off as you get ready.

Work on a stable surface, keep your free hand out of the cutting path, and have an adult handle sharp tools.

Three levels of light

  • Leave intact

    The skull, tricorn hat, and crossed saber blades stay untouched and dark

  • Peel & shade

    The entire background field around the silhouette is skin-peeled for a warm mid glow

  • Cut through

    The eye sockets, tiny hat crossbones, and gaps between the blades open brightest

Learn the carving basics

Before you start cutting

Should I cut out the skull or the background?

Carve away the background, not the skull. This is a reverse silhouette, so removing the negative space leaves the skull, hat, and swords as one connected dark piece. That keeps everything braced to the pumpkin and much sturdier than cutting the shapes out.

How do I keep the thin saber blades from breaking?

Since the blades are part of the dark silhouette and stay at full thickness, they are naturally strong. The risk is at the edges where the background meets them. Keep small skin bridges where a blade tip nears a cutout and save any full openings for last.

How bright will the design be if most of it stays dark?

Plenty bright, because the light comes from the peeled background surrounding the silhouette. Thin that background evenly so it glows, and add a couple of small full cutouts at the eyes and blade gaps for punchy highlights. Two LED pucks spread the glow best.

Your take belongs here, too.

Changed a detail? Made it simpler? Share a photo of your version and tell the community what worked.

Share your pumpkin

More pumpkins like this

You've reached the end · 8 pumpkins
The Patch Report

Fresh pumpkins, in your inbox.

The best new carvings, ideas worth stealing, and how-tos for carving season. Short, seasonal, and gone by November.

A short email during carving season. Unsubscribe anytime. See our privacy policy.