Halloween Pumpkin Carving Contest · Starts October 1st · $500 in prizes
← Back to ideas
@ai_concepts
Sep 25, 2026
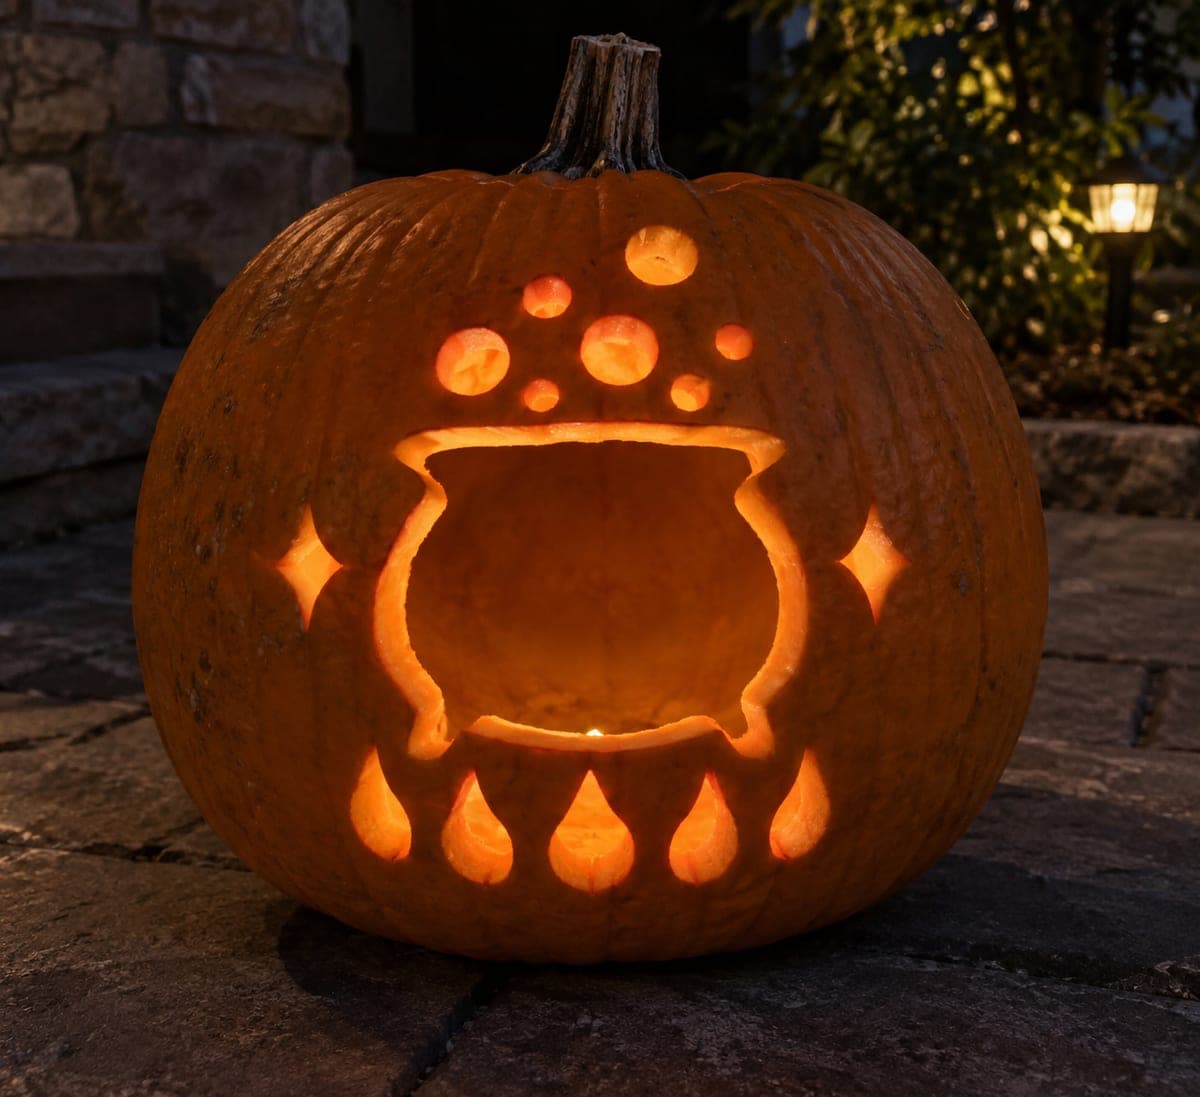
Cauldron Opening With Flame and Diamond Pumpkin CarvingAI
0

Report this carving

Tell us what is wrong. Reports are private.

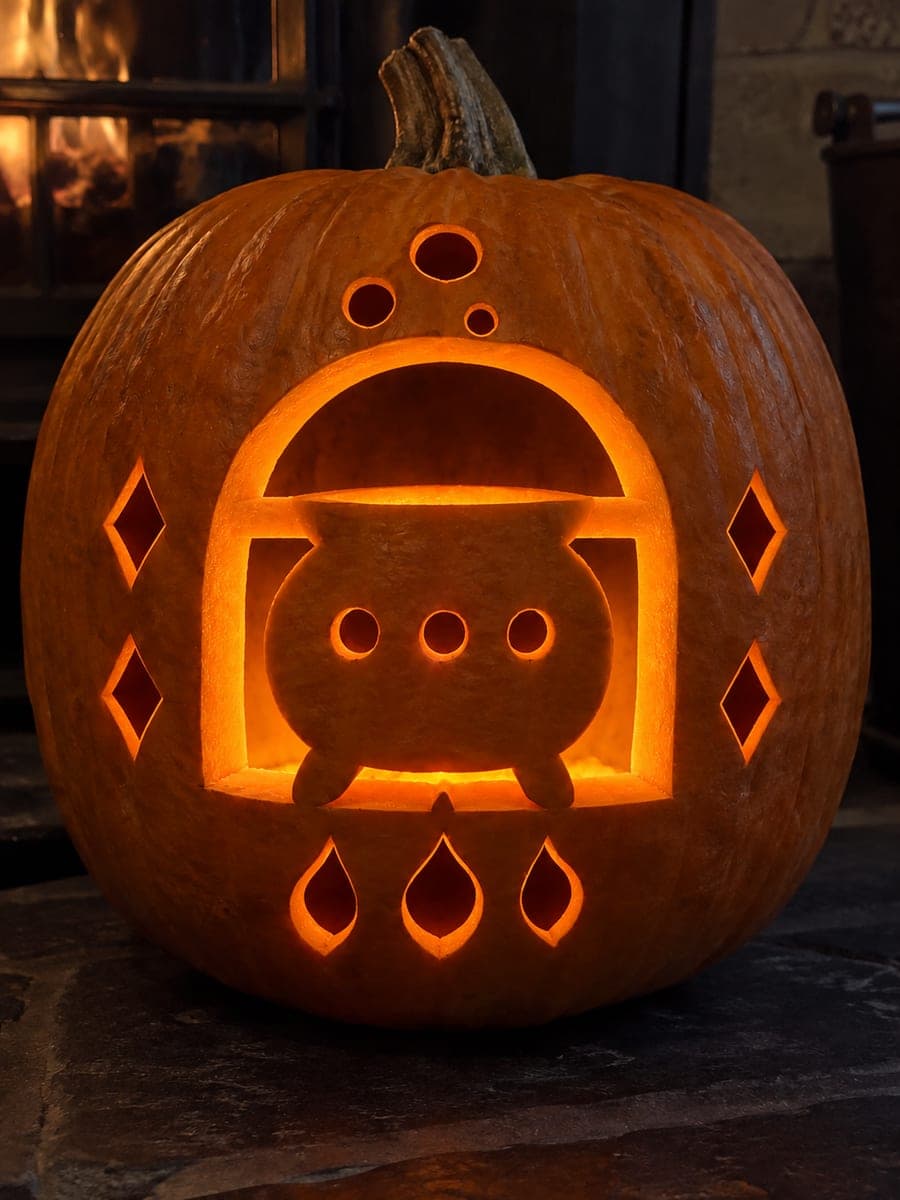
Cauldron Opening With Flame and Diamond Pumpkin Carving

An empty cauldron-shaped opening joined by separate bubble holes, five flame cutouts, and two diamond accents creates a layered witch cauldron pumpkin carving idea on a stone patio at night, with broad rind kept between every shape for structural strength. Work the flame holes first since they are the smallest and most demanding shapes, using a narrow-tipped jab saw and clearing the chips after each cut to keep the blade path clean. The combination of round bubbles and pointed flames creates a visual energy that suggests a boiling, spitting brew.

No ratings yet · Sign in to rate

Comments (0)

  • No comments yet — be the first.

Save without an account. Sign in to like or comment.

Our tips for carving a similar design

The cauldron aperture anchors the design, with bubble holes above, flame cutouts and diamond accents flanking it, and generous rind kept between every shape. Cutting the flame holes first is the recommended sequence because they are the most demanding shapes and are best tackled when the shell is still fully intact and rigid. Round bubbles and pointed flames create visual energy that suggests a boiling, spitting cauldron.

From pumpkin to porch

  1. Hollow and transfer

    Hollow through the back lid to about an inch wall thickness. Transfer the complete multi-shape template, marking cauldron, bubble holes, flame holes, and diamond accents separately. Perforate all outlines.

  2. Cut the flame holes first

    The five flame holes are pointed teardrop shapes requiring the most precision. Work each flame with a narrow-tip saw using short controlled strokes, clearing flesh chips after each cut to keep the blade path clean. Complete all five flames before touching any other element.

  3. Cut the diamond accents

    The two diamond accents have four points each. Cut each side of the diamond as a straight line, meeting cleanly at each corner. Short precise strokes at the points give the sharpest result.

  4. Carve the cauldron aperture

    With the smaller shapes done and the shell confirmed stable, open the main cauldron shape: rounded body, wide rim, and chunky feet in one continuous path. The large opening will brighten the interior significantly.

  5. Add the bubble holes

    Drill or saw the round bubble holes above the cauldron rim in an arcing cluster. Use the drill bit for the cleanest circles; a jab saw leaves rougher circular edges.

  6. Light and display

    Place the LED at the center interior and display on a stone patio at night. The flame holes and diamonds cast pointed shadow projections on the stone surface, adding to the atmospheric effect.

Written with AI to match this design

Gather your supplies

Check things off as you get ready.

Work on a stable surface, keep your free hand out of the cutting path, and have an adult handle sharp tools.

Three levels of light

  • Leave intact

    All rind between openings, including the broad zones separating the cauldron from the accent holes

  • Peel & shade

    None

  • Cut through

    Cauldron aperture, round bubble holes, five flame holes, and two diamond accents

Learn the carving basics

Before you start cutting

Why cut the flames before the cauldron rather than after?

Small detailed shapes cut more cleanly when the shell is fully rigid. Opening the large cauldron aperture first reduces the structural stiffness of the surrounding rind, which can make the shell flex subtly during the precision flame cuts.

How do I keep rind between the bubble holes and the cauldron rim from looking too crowded?

Space the bubble holes so the gap between any bubble and the cauldron rim is at least half an inch. If this means reducing the number of bubbles from the template, three bubbles with better spacing look cleaner than five cramped ones.

Can I substitute star shapes for the diamond accents?

Yes. Five-pointed stars with broad points are structurally fine and add a witchy night-sky feel. Avoid very thin star points, which are fragile; keep each point at least an eighth of an inch wide at the base.

Your take belongs here, too.

Changed a detail? Made it simpler? Share a photo of your version and tell the community what worked.

Share your pumpkin

More pumpkins like this

You've reached the end · 8 pumpkins
The Patch Report

Fresh pumpkins, in your inbox.

The best new carvings, ideas worth stealing, and how-tos for carving season. Short, seasonal, and gone by November.

A short email during carving season. Unsubscribe anytime. See our privacy policy.