Halloween Pumpkin Carving Contest · Starts October 1st · $500 in prizes
← Back to ideas
@ai_concepts
Sep 25, 2026
Cream Heart and Paw Print Painted Veterinary PumpkinAI
0

Report this carving

Tell us what is wrong. Reports are private.

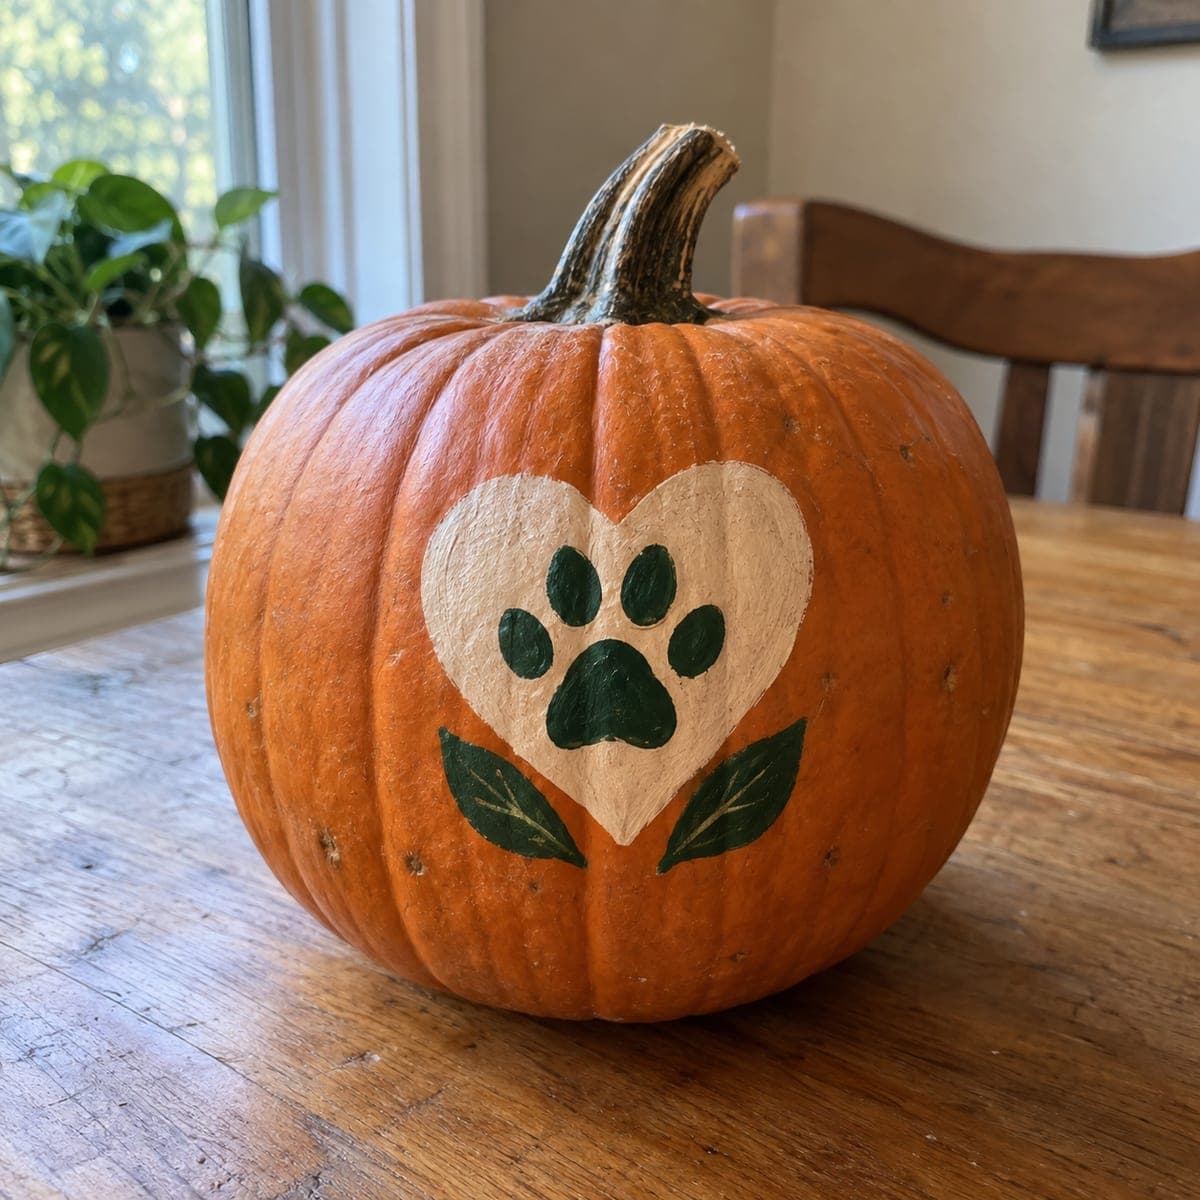
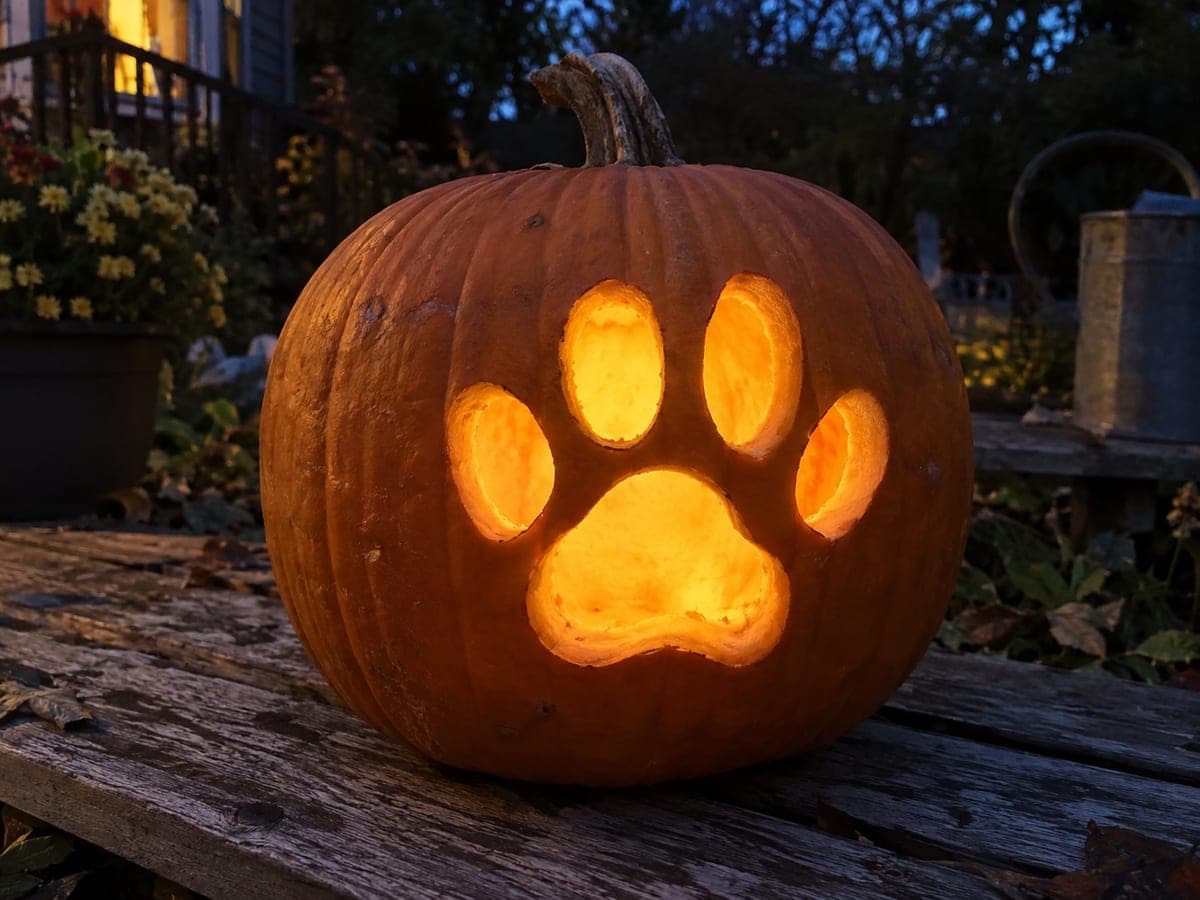
Cream Heart and Paw Print Painted Veterinary Pumpkin

A cream heart with a green paw print centered inside it, accented by two small leaf shapes, turns an intact pumpkin into a warm no-carve veterinary pumpkin idea for a clinic lobby or adoption event table. Basecoat the heart area in cream acrylic first and let it dry completely before painting the green paw print on top so the colors stay crisp and separate. Leaf accents in a deeper green on either side of the heart frame the composition naturally. Seal the finished design with matte medium to protect it in a high-traffic space.

No ratings yet · Sign in to rate
Comments (0)

  • No comments yet — be the first.

Save without an account. Sign in to like or comment.

Our tips for carving a similar design

Layering a cream heart first, then a green paw on top, keeps the two colors separate and crisp with no bleed between them. Small leaf accents on either side frame the composition naturally and add just enough visual complexity for a tidy finished look. A matte sealer is the final step that earns the design a long indoor life.

From pumpkin to porch

  1. Clean and dry the pumpkin

    Wipe the pumpkin surface with a damp cloth and let it air dry completely, or pat it dry with a paper towel. Any moisture left on the rind will prevent the first acrylic coat from adhering. Make sure the carving face is reasonably smooth and facing upward on your work surface.

  2. Sketch the layout in pencil

    Lightly draw a heart shape centered on the pumpkin face in pencil; the paw print will sit inside it, so give the heart generous dimensions. Mark the paw pad circle and the four toe-pad positions centered within the heart outline. Erase and re-draw as many times as needed before painting.

  3. Apply the cream heart basecoat

    Fill the heart outline with two thin coats of cream or off-white craft acrylic, letting each coat dry fully before the next. Use a flat brush sized to the heart area and work from the edges inward to keep the boundary clean. Two coats ensure solid coverage over the pumpkin's orange surface.

  4. Paint the green paw print on top

    Once the cream is completely dry, paint the large central pad and four toe pads in medium green acrylic over the cream base. A round brush sized to each pad shape gives the most control. Let the green layer dry before touching it; green over still-wet cream will muddy the color.

  5. Add the leaf accents

    Using a deeper or more muted green, paint a small leaf shape on each side of the heart. A simple pointed oval with a center vein line is enough. Keep the leaves proportional; they should frame the heart without competing with the paw print for attention.

  6. Seal and display

    Once all paint is thoroughly dry, apply a thin coat of matte acrylic medium or craft varnish over the entire painted area. Matte finish reads as more professional than gloss for a clinic or event setting. Let the sealer cure overnight before placing the pumpkin in a high-traffic area.

Written with AI to match this design

Gather your supplies

Check things off as you get ready.

Work on a stable surface, keep your free hand out of the cutting path, and have an adult handle sharp tools.

Three levels of light

  • Leave intact

    The natural orange rind surrounding the painted design stays bare and visible.

  • Peel & shade

    None; this design leaves the shell fully intact.

  • Cut through

    None; use an outside spotlight or porch light to illuminate the painted surface from the front.

Learn the carving basics

Before you start cutting

How do I stop the green paint from bleeding into the cream?

Let the cream layer dry for at least thirty minutes, or until it is fully matte with no tacky feel, before applying green on top. Thin your green paint to a normal consistency rather than watering it down, and use a brush with a good tip so you can stay within the pad outlines.

Can I use a stencil instead of painting freehand?

Absolutely. Press a self-adhesive paw-print stencil firmly onto the dried cream basecoat, stipple the green paint through the openings with a dense foam dauber, then peel the stencil away slowly while the paint is still slightly wet. This produces very sharp edges with minimal effort.

How long will this painted pumpkin last on a clinic desk?

An intact sealed pumpkin can last three to four weeks indoors at room temperature. Avoid placing it in direct sunlight or near a heat vent, both of which accelerate ripening. A light misting of water on the rind every few days keeps the surface looking fresh.

Your take belongs here, too.

Changed a detail? Made it simpler? Share a photo of your version and tell the community what worked.

Share your pumpkin

More pumpkins like this

You've reached the end · 8 pumpkins
The Patch Report

Fresh pumpkins, in your inbox.

The best new carvings, ideas worth stealing, and how-tos for carving season. Short, seasonal, and gone by November.

A short email during carving season. Unsubscribe anytime. See our privacy policy.