Halloween Pumpkin Carving Contest · Starts October 1st · $500 in prizes
← Back to ideas
@ai_concepts
Sep 25, 2026
Cross Heart and Footprints Expert Veterinary PumpkinAI
0

Report this carving

Tell us what is wrong. Reports are private.

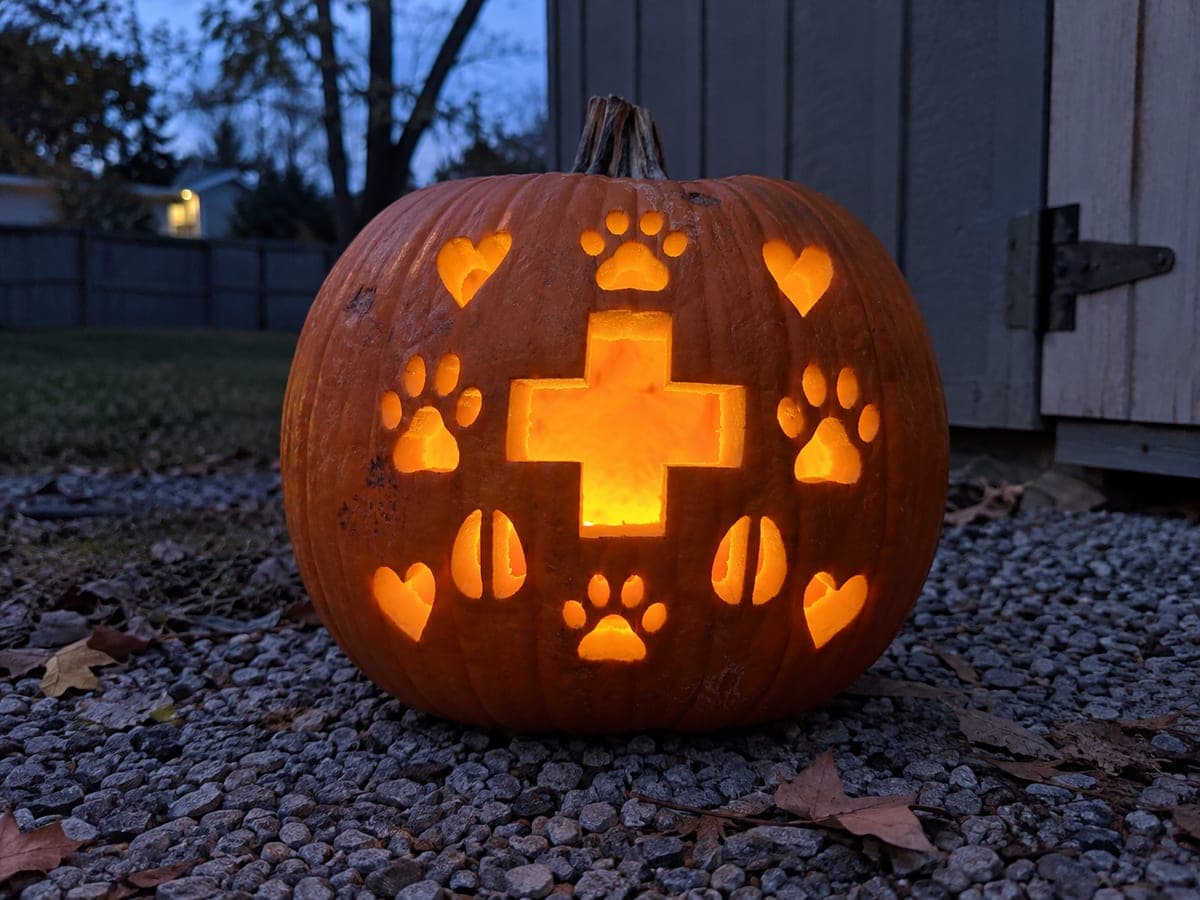
Cross Heart and Footprints Expert Veterinary Pumpkin

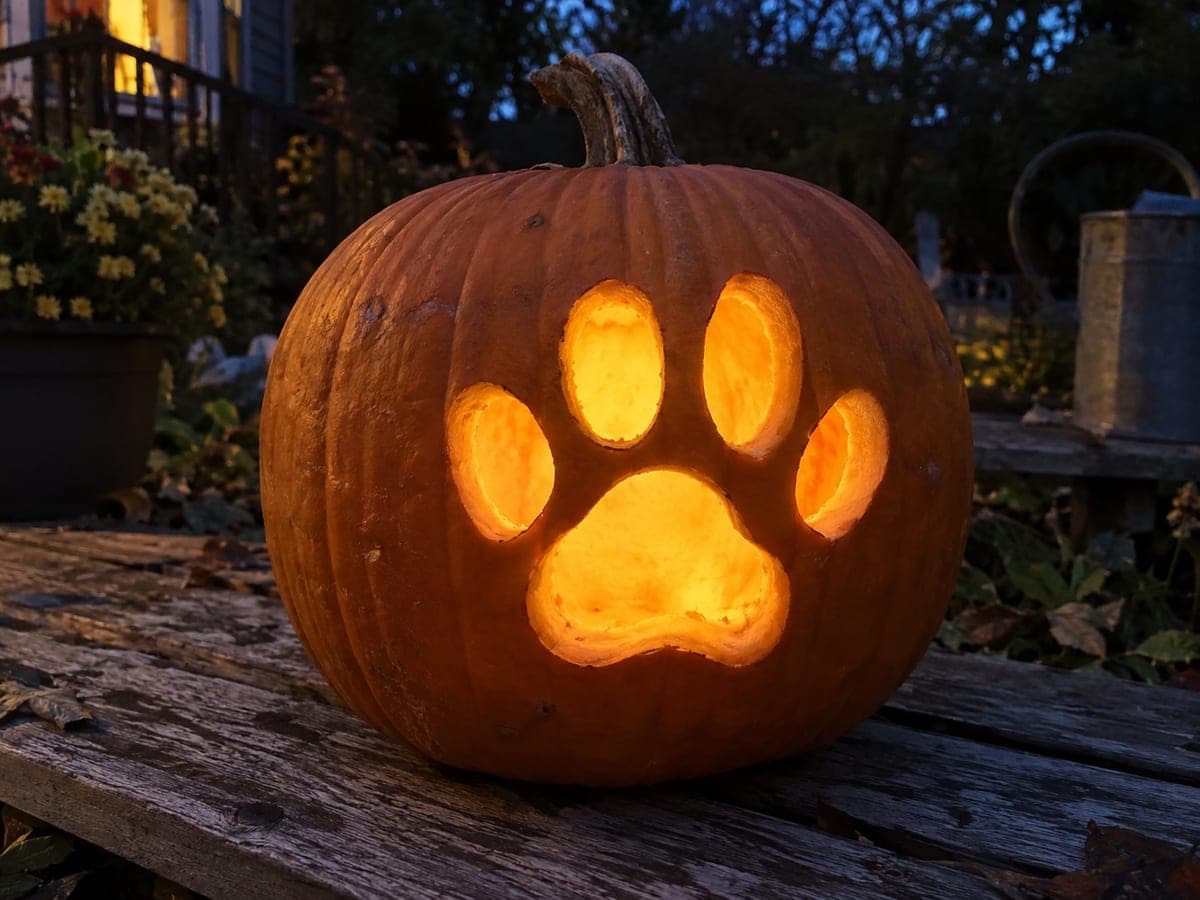
A central glowing cross flanked by divided hoof forms, small paw apertures, and backed heart accents packs multiple veterinary symbols into one intricate expert-level pumpkin carving idea. Map every retained bridge on paper before cutting so the central cross and hoof dividers all connect broadly to the outer shell. Small paw and heart elements with shallow backed carving should be tackled after through-cuts are complete, when the structural framework is confirmed solid. An LED puck inside provides even illumination across the full spread of this complex composition.

No ratings yet · Sign in to rate

Save this design for carving night, then share a photo of your own jack-o'-lantern once it's glowing.
Comments (0)

  • No comments yet — be the first.

Save without an account. Sign in to like or comment.

Our tips for carving a similar design

The central glowing cross serves as the anchor around which divided hoof forms, small paw openings, and backed heart accents radiate outward. Every retained bridge must be planned on paper before a single cut is made, because the cross and hoof dividers all depend on broad connections to the outer shell for support. Small backed elements are tackled last, after all through-cuts confirm the structural framework is solid.

From pumpkin to porch

  1. Draft the full layout on paper first

    Sketch the pumpkin face to scale on a sheet of paper and map every element: the cross, the hoof sections on each side, paw apertures above and below, heart accents in the corners, and every retained bridge. Identify every bridge width and mark it clearly. Do not start carving until this plan is complete.

  2. Transfer and thin the wall

    Hollow the pumpkin and scrape the carving face to a consistent three-quarters of an inch. Tape your layout sketch to the pumpkin and transfer all outlines with a pin tool. Remove the paper and trace the dotted lines with a fine pencil so each shape is clearly visible.

  3. Carve the central cross

    Begin with the four arms of the cross, cutting each as a clean rectangular aperture. Confirm each arm connects broadly to the outer shell through its rind bridge before moving on. The cross is the structural heart of the whole composition and must be solid before surrounding cuts weaken the shell.

  4. Cut the hoof dividers and paw apertures

    Work outward from the cross, cutting the divided hoof forms and then the small paw openings. Each hoof should be separated by a visible through-cut slot, but the outer edges of each hoof element must anchor to the shell. Remove paw aperture plugs cleanly and confirm bridge widths as you go.

  5. Add shallow backed carvings for heart accents

    Using a wide gouge or detail knife, carve the heart accents to roughly half the rind thickness, removing the outer skin and orange flesh but leaving the inner layer intact. Work slowly and test with a flashlight from inside to judge how much glow the backed area emits. Stop well before cutting through.

  6. Light and evaluate

    Place an LED puck light inside and evaluate the composition in a darkened room. Adjust any backed sections that need more depth. Photograph from a moderate distance so the full spread of symbols reads in one frame.

Written with AI to match this design

Gather your supplies

Check things off as you get ready.

Work on a stable surface, keep your free hand out of the cutting path, and have an adult handle sharp tools.

Three levels of light

  • Leave intact

    All structural bridges, the solid cross edges, and outer shell segments remain fully dark.

  • Peel & shade

    Heart accents and any small dot elements are shallow-backed, emitting a soft warm glow.

  • Cut through

    The cross arm apertures, divided hoof slot openings, and small paw holes are cut all the way through for full brightness.

Learn the carving basics

Before you start cutting

How do I prevent the cross from tilting inward while I cut the surrounding rind?

Never remove more than one adjacent rind section at a time, and check that all four arm bridges are still firmly attached after each cut. If a bridge feels loose, reinforce it with a small wooden toothpick inserted into the rind at the joint before continuing. The cross should feel immovable throughout.

My hoof dividers look uneven. Can I fix them after cutting?

You can widen a slot slightly with a detail knife, but you cannot add rind back. Mark both edges of every hoof slot before sawing and cut the narrower line first so you can adjust the second cut if needed. Patience at the template stage prevents most unevenness.

How deep should the backed heart accents be?

Aim for about half the wall thickness, enough that the glow reads as a soft amber rather than a bright hole. Test incrementally with an LED inside a dark room; pull the light out when the glow looks right. Removing too much material at once is the most common mistake at this step.

Your take belongs here, too.

Changed a detail? Made it simpler? Share a photo of your version and tell the community what worked.

Share your pumpkin

More pumpkins like this

You've reached the end · 8 pumpkins
The Patch Report

Fresh pumpkins, in your inbox.

The best new carvings, ideas worth stealing, and how-tos for carving season. Short, seasonal, and gone by November.

A short email during carving season. Unsubscribe anytime. See our privacy policy.