@harvestmoonhank
Sep 7, 2026
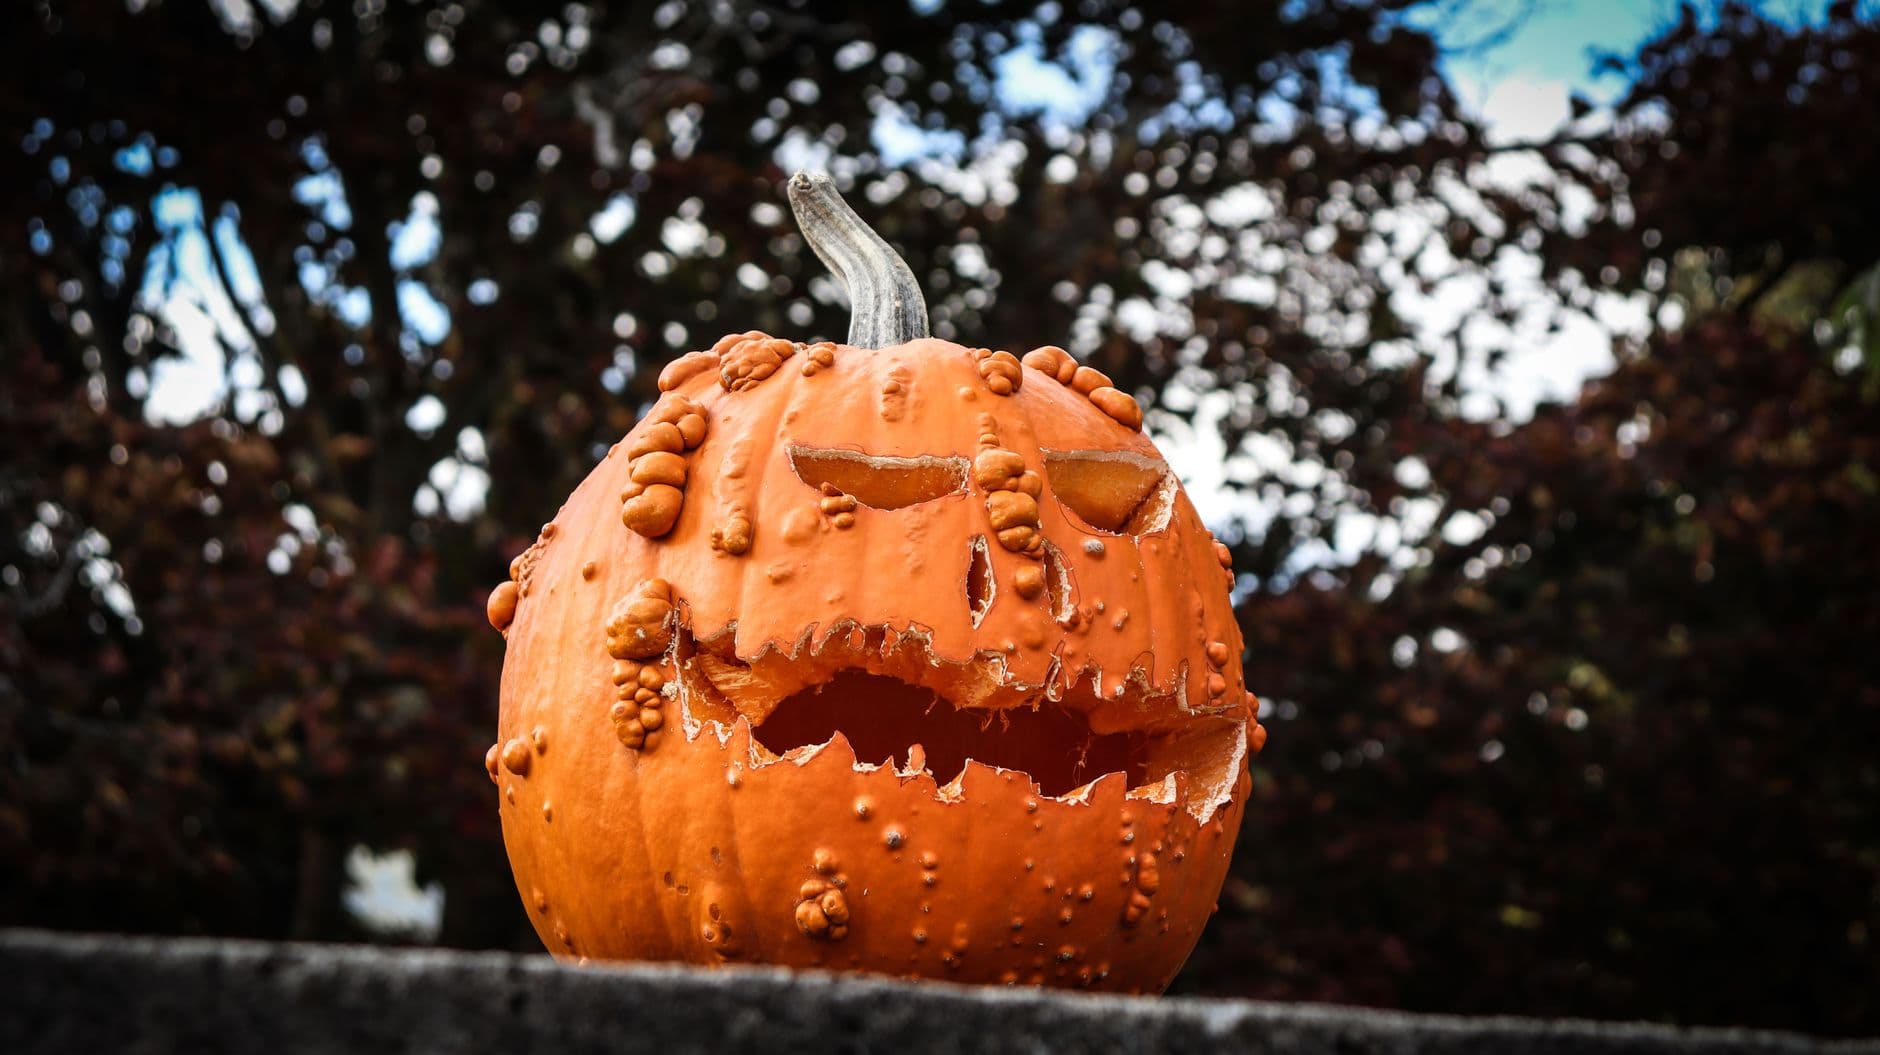
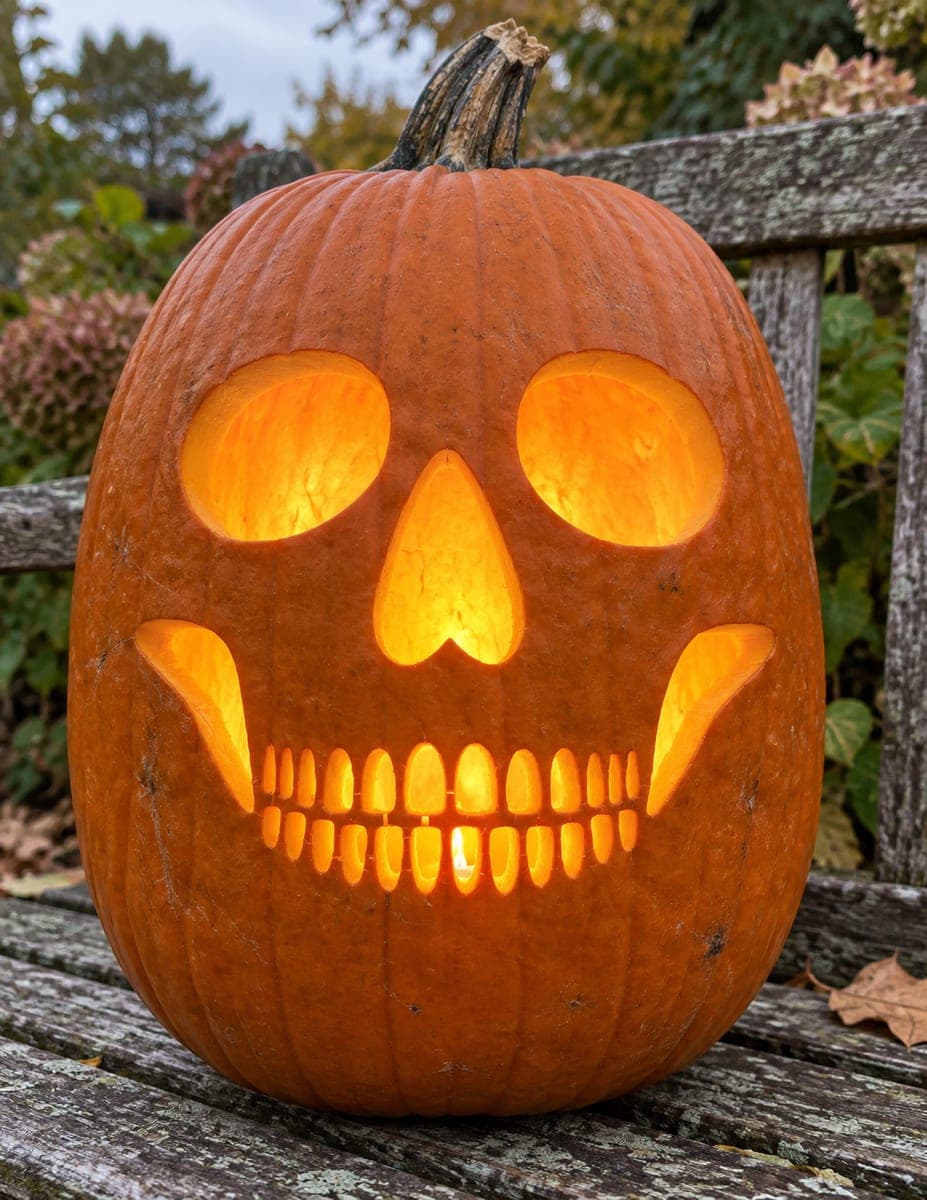
The trick here is letting a naturally warty, knobby pumpkin do the scary work while you carve a snarling face with rough, torn-looking edges. Keep the eyes and mouth as clean cutouts for glow, then leave the bumpy skin untouched so the texture reads as diseased or rotting. The angled eyebrows and jagged teeth give it the menacing expression.
Written by PumpkinCarvingIdeas.com, inspired by @harvestmoonhank's photo above. These are our suggestions, not instructions from the uploader, and this approach hasn't been tested on their exact carve.
Choose a pumpkin with plenty of natural warts and knobs, since that texture is the whole point of this look. Wipe it clean and dry it, then use a washable marker to sketch two angled slit eyes, a smaller nose gap, and a wide jagged mouth. Angle the eyebrows down toward the center for a mean expression. Keep the mouth and eyes away from the biggest wart clusters so you have clean skin to cut through.
Have an adult cut a lid or, better, a wide hole in the back or bottom so the warty front stays intact. Scoop out the seeds and pulp with a sturdy scraper, then thin the inside wall behind the face to about one inch. A thinner wall makes the cutouts much easier to carve and lets more light through. Save some pulp scraps in case you want to test light later.
Start with the two slit eyes using a small serrated carving saw, cutting on the marker lines with slow steady strokes. Push each piece inward and out rather than pulling hard so you do not crack the wall. Carve the narrow nose opening next. Doing these smaller shapes before the big mouth keeps the face stable while you work.
Save the mouth for last since it is the largest opening and weakens the front once it is gone. Carve the uneven teeth with short angled cuts so they look torn and snaggled rather than neat. Leave a couple of teeth a little thicker so they stay attached and do not snap. Clean up the ragged edges from the inside for a rough, gnawed look.
Use a small knife or a loop tool to nick and scratch the cut edges of the eyes and mouth so they look torn instead of smooth. You can peel a thin line of skin just outside the mouth to hint at a wound. Go lightly so you do not blow through the wall. Step back often to check the expression stays balanced.
Drop in a battery LED light, warm white or orange, and set it toward the back so the front glows evenly. Skip candles, since the warts and thin edges can scorch. Photograph it at dusk against dark foliage the way the pictured pumpkin sits, so the glow pops. Refrigerate it between showings to slow the wilting.
Check things off as you get ready.
Work on a stable surface, keep your free hand out of the cutting path, and have an adult handle sharp tools.
The bumpy, wart-covered skin across the face and body stays untouched and dark for that diseased texture.
A thin scraped line just outside the mouth or under the eyes glows dim orange like a wound.
The slit eyes, nose gap, and jagged mouth are cut all the way through for the brightest glow.
Only if you try to cut through them, so plan your eyes and mouth over the smoother patches of skin. The warts are the decoration, not something to carve away. Leave them raised and untouched and they add all the creepy texture for free.
Cut the teeth with short angled strokes rather than long smooth ones, and vary their size. Afterward, nick the edges with a small knife and scrape them a little from the inside. The uneven, rough finish reads as gnawed or rotting.
They can if you carve them too skinny, so leave a few teeth thicker and keep them anchored top and bottom. Thinning the inside wall first helps because you cut with less force. Handle the pumpkin from the base, not the mouth, once it is carved.
Changed a detail? Made it simpler? Share a photo of your version and tell the community what worked.
The best new carvings, ideas worth stealing, and how-tos for carving season. Short, seasonal, and gone by November.




Comments (0)