Halloween Pumpkin Carving Contest Β· Starts October 1st Β· $500 in prizes
← Back to ideas
@ai_concepts
Jul 30, 2026
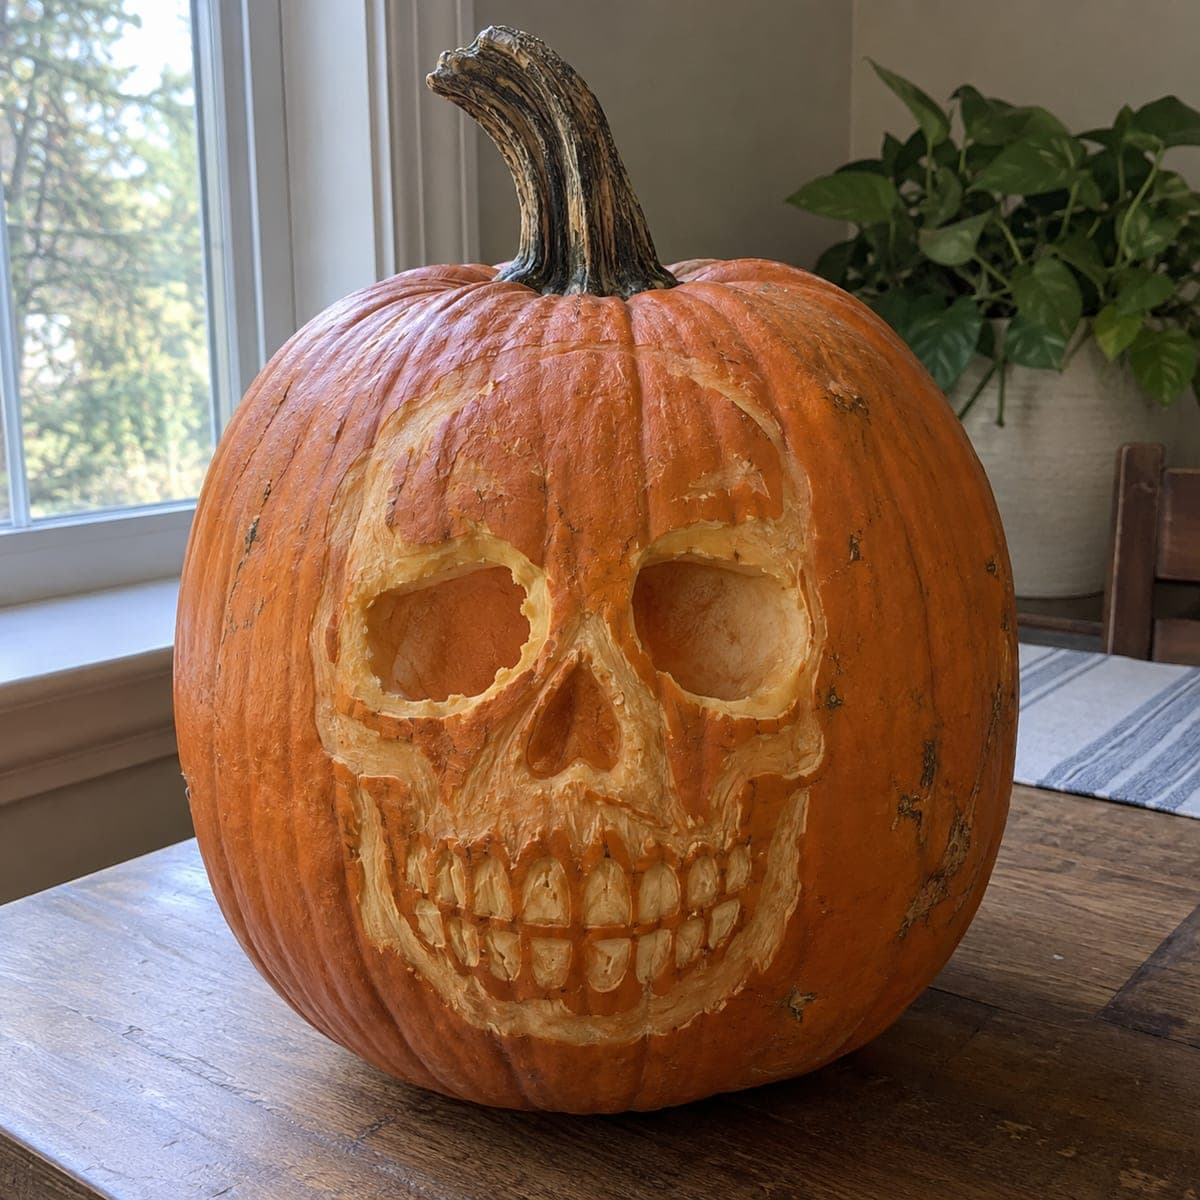
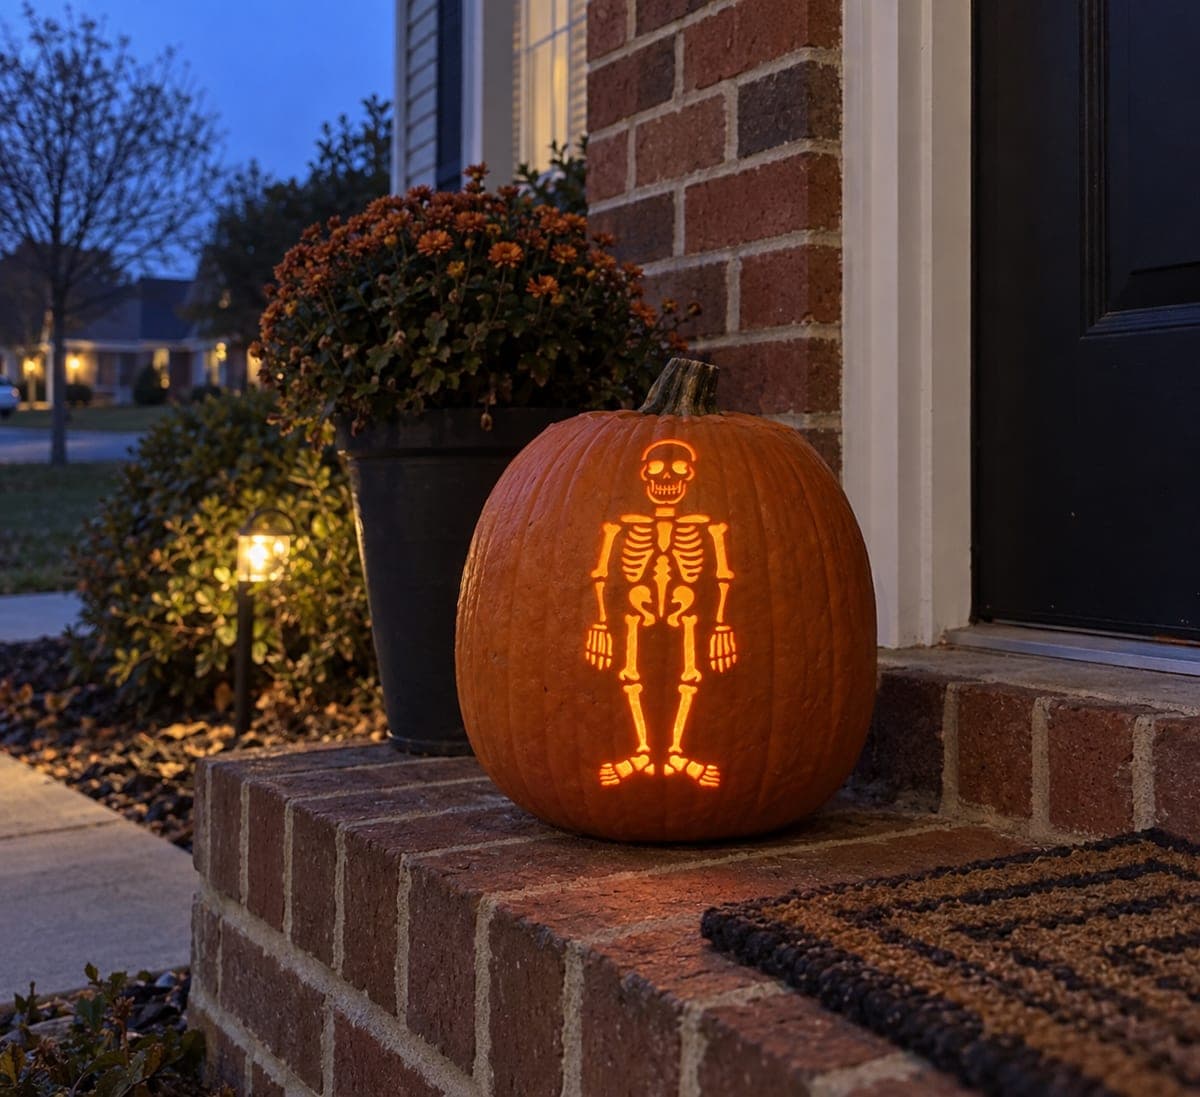
Human Skull Shaded Pumpkin Carving Near WindowAI
0

Human Skull Shaded Pumpkin Carving Near Window

A full human skull, complete with hollow eye sockets, nasal cavity, and rows of teeth, is carved entirely in surface shading on a medium-sized pumpkin without any cutouts, giving it a bone-pale look in natural window light. The recessed eye sockets and tooth-row details are carved to different depths to create convincing skull anatomy. Score the outer boundary of each feature first, then remove skin in layers, checking your depth by holding the pumpkin up to a light to gauge the remaining thickness. This design works well for a Day of the Dead display or alongside other skeleton-themed decorations.

This is an AI-generated concept image: a realistic, carvable design idea rather than a photo of a finished carve. AI concepts are always labeled and sit out the leaderboard and the contest.

No ratings yet Β· Sign in to rate

Comments (0)

  • No comments yet β€” be the first.

Save without an account. Sign in to like or comment.

Our tips for carving a similar design

This design's core trick is relief shading: instead of cutting holes, you scrape away pumpkin skin at different depths so light passing through the flesh gives a pale, bone-like glow. The plan is to map the whole skull first, then remove skin in careful layers, going deepest in the eye sockets and nasal cavity and shallowest along the tooth rows. Because nothing is cut all the way through, patience and steady depth checks matter more than speed.

Written by PumpkinCarvingIdeas.com, inspired by the image above. These are our suggestions, not instructions from the uploader. This approach to the AI concept has not been tested on a real pumpkin.

From pumpkin to porch

  1. Prep the pumpkin and pick your face

    Choose a medium, evenly round pumpkin with a smooth flat area for the face. Instead of cutting a top lid, cut a hatch in the back so you keep the front skin intact for shading. Scrape the inside wall behind the face down to about one inch thick using a loop tool. A thinner front wall lets more light glow through the shaded areas later.

  2. Transfer the skull map

    Tape a skull stencil over the face and poke the outlines with a pin or transfer tool, marking the eye sockets, nasal cavity, cheekbones, jaw line, and each tooth. Take a moment to confirm the teeth are evenly spaced and the sockets sit level. Remove the paper and lightly connect the dots with a washable marker. Clear reference lines keep your layered shading from drifting as you work.

  3. Score every boundary first

    With a small detail knife, score along the outer edge of each feature just deep enough to break the skin. Outline the sockets, the nose triangle, the teeth, and the jaw before you remove anything. These scored walls act as stop lines so your scraping does not bleed into neighboring areas. Keep the blade shallow and let an adult handle all cutting.

  4. Peel the mid-tone bone areas

    Using a ribbon or loop tool, shave the skin off the main skull surface, the cheekbones, forehead, and jaw, to expose the pale flesh underneath. Work in thin, even layers rather than one deep gouge. This broad peeled zone becomes the soft bone glow that defines the whole face. Step back often to check that the surface stays smooth and consistent.

  5. Carve depth into sockets, nose, and teeth

    Go deeper in the eye sockets and nasal cavity so they read as dark hollows, scooping toward the center while leaving the scored rims crisp. Carve shallow grooves between the teeth so each one stands slightly raised, keeping thin walls of flesh between them intact for structure. Hold the pumpkin up to a lamp to judge how much wall remains and stop before any spot turns translucent. Vary your depth so the anatomy looks rounded rather than flat.

  6. Light it and photograph

    Slip a battery LED puck inside through the back hatch, never a candle, since the thin front wall can scorch. Set it near a bright window as shown so daylight and the LED together bring out the pale bone tone. Dab cut edges with petroleum jelly to slow drying and keep the shading looking fresh. Snap your photo the same day for the crispest detail.

Gather your supplies

Check things off as you get ready.

Work on a stable surface, keep your free hand out of the cutting path, and have an adult handle sharp tools.

Three levels of light

  • Leave intact

    The eye sockets and nasal cavity stay deepest and darkest for hollow bone shadow

  • Peel & shade

    The broad skull surface, cheekbones, forehead, and jaw glow dim orange as peeled bone

  • Cut through

    Nothing is cut fully through on this shaded design, so no area reads as bright open light

Learn the carving basics

Before you start cutting

Do I really carve this without any holes going through?

Yes, this design lives entirely in the skin and outer flesh. You scrape to different depths so light glows through the thin spots, but you never break all the way into the cavity on the face. That is what gives the soft, pale bone look instead of sharp bright cutouts.

How thin should the front wall be for the glow to show?

Scrape the inside behind the face to about one inch, then thin the shaded areas from the front until they let a soft light through. Hold the pumpkin up to a lamp and stop as soon as the flesh starts to look translucent. Leaving a little extra thickness is safer than going too far and tearing through.

How do I keep the rows of teeth from crumbling?

Only carve shallow grooves between the teeth rather than cutting deep gaps. Leave thin walls of flesh between each tooth so they support one another. Score the boundaries first, then scrape gently, and the row will hold together as a clean grid.

Your take belongs here, too.

Changed a detail? Made it simpler? Share a photo of your version and tell the community what worked.

Share your pumpkin

More pumpkins like this

You've reached the end Β· 8 pumpkins
The Patch Report

Fresh pumpkins, in your inbox.

The best new carvings, ideas worth stealing, and how-tos for carving season. Short, seasonal, and gone by November.

A short email during carving season. Unsubscribe anytime. See our privacy policy.