Halloween Pumpkin Carving Contest · Starts October 1st · $500 in prizes
← Back to ideas
@ai_concepts
Jul 28, 2026
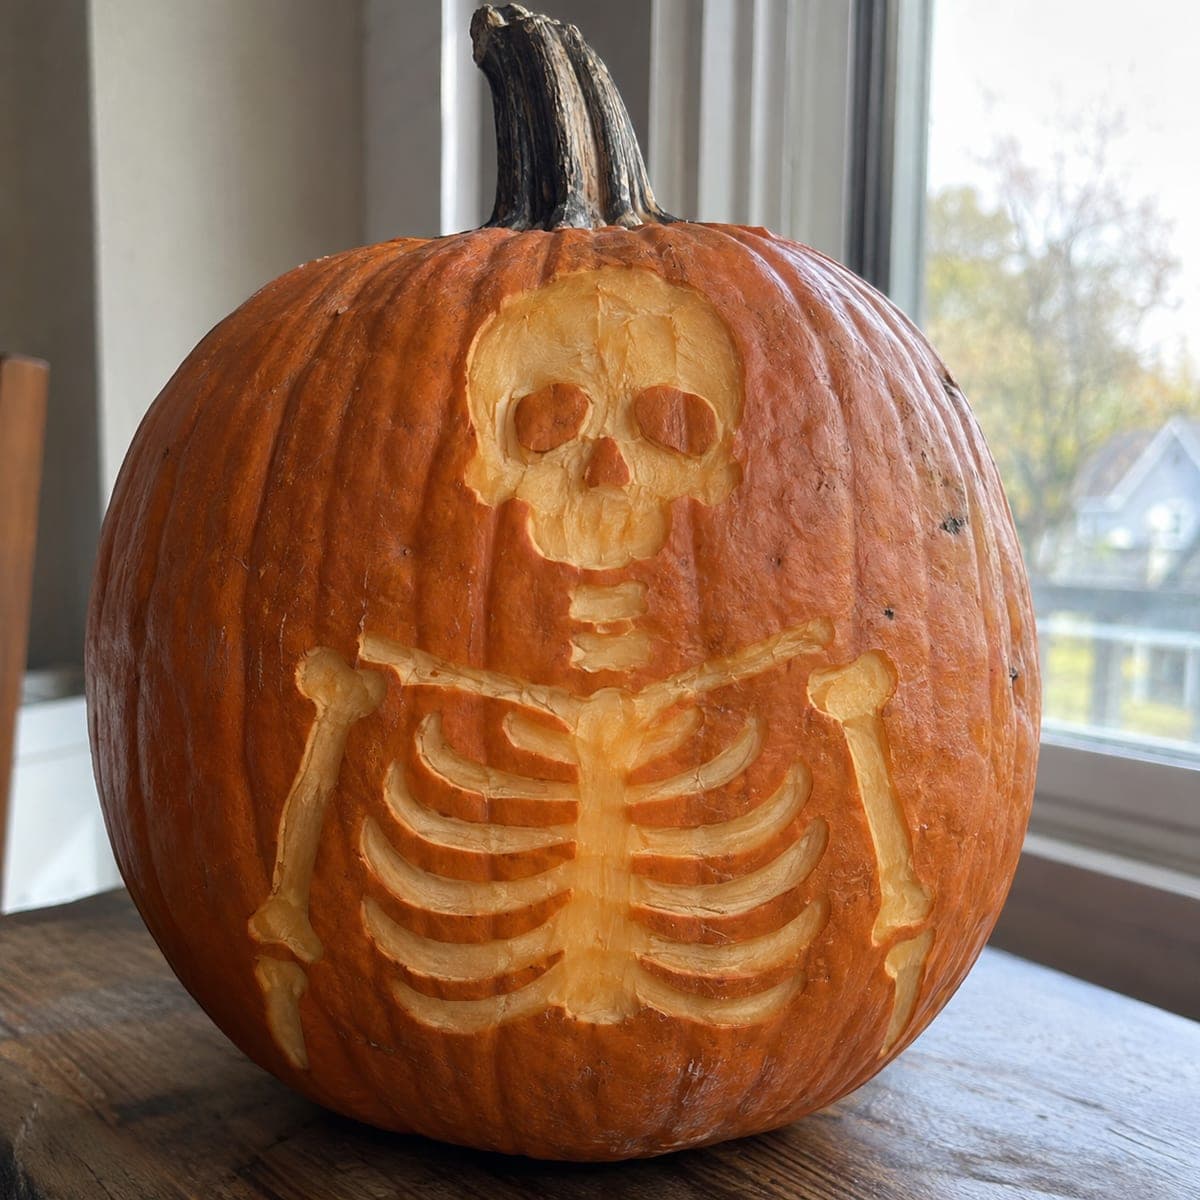
Full Skeleton Shaded Pumpkin Carving Beside WindowAI
0

Full Skeleton Shaded Pumpkin Carving Beside Window

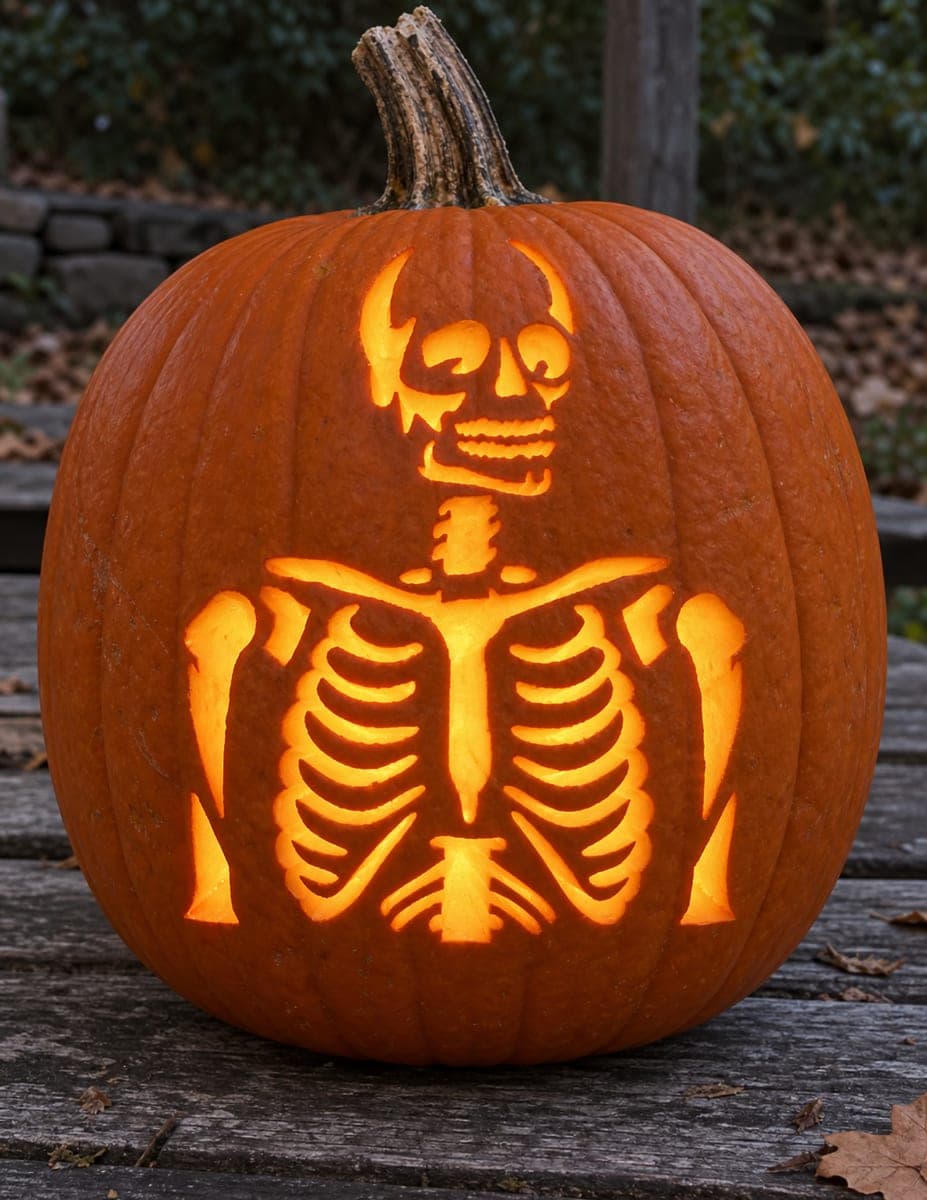
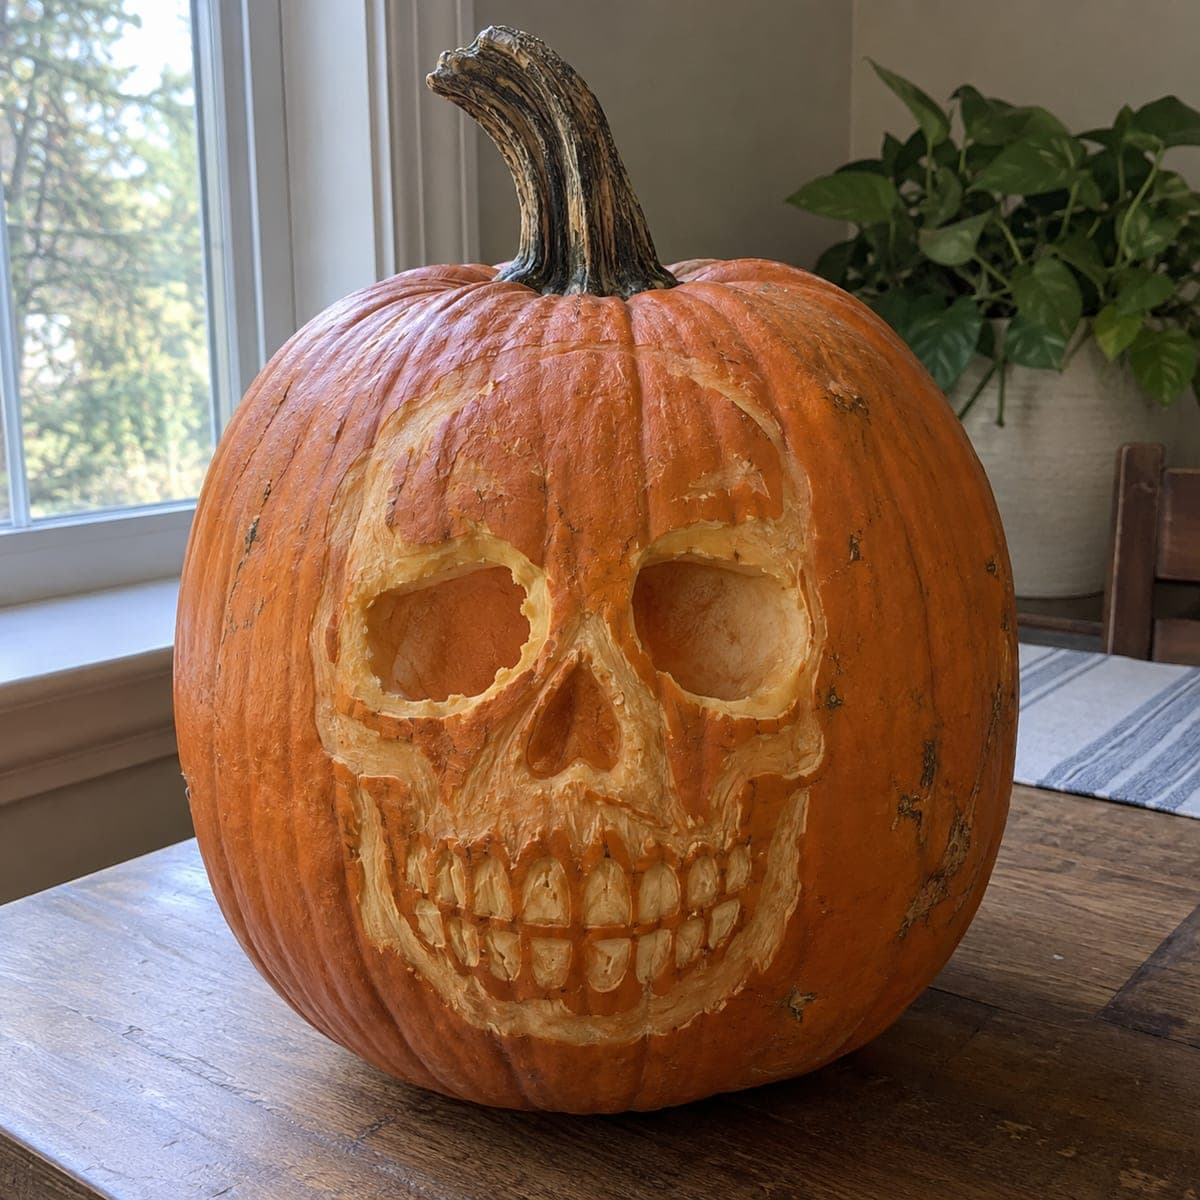
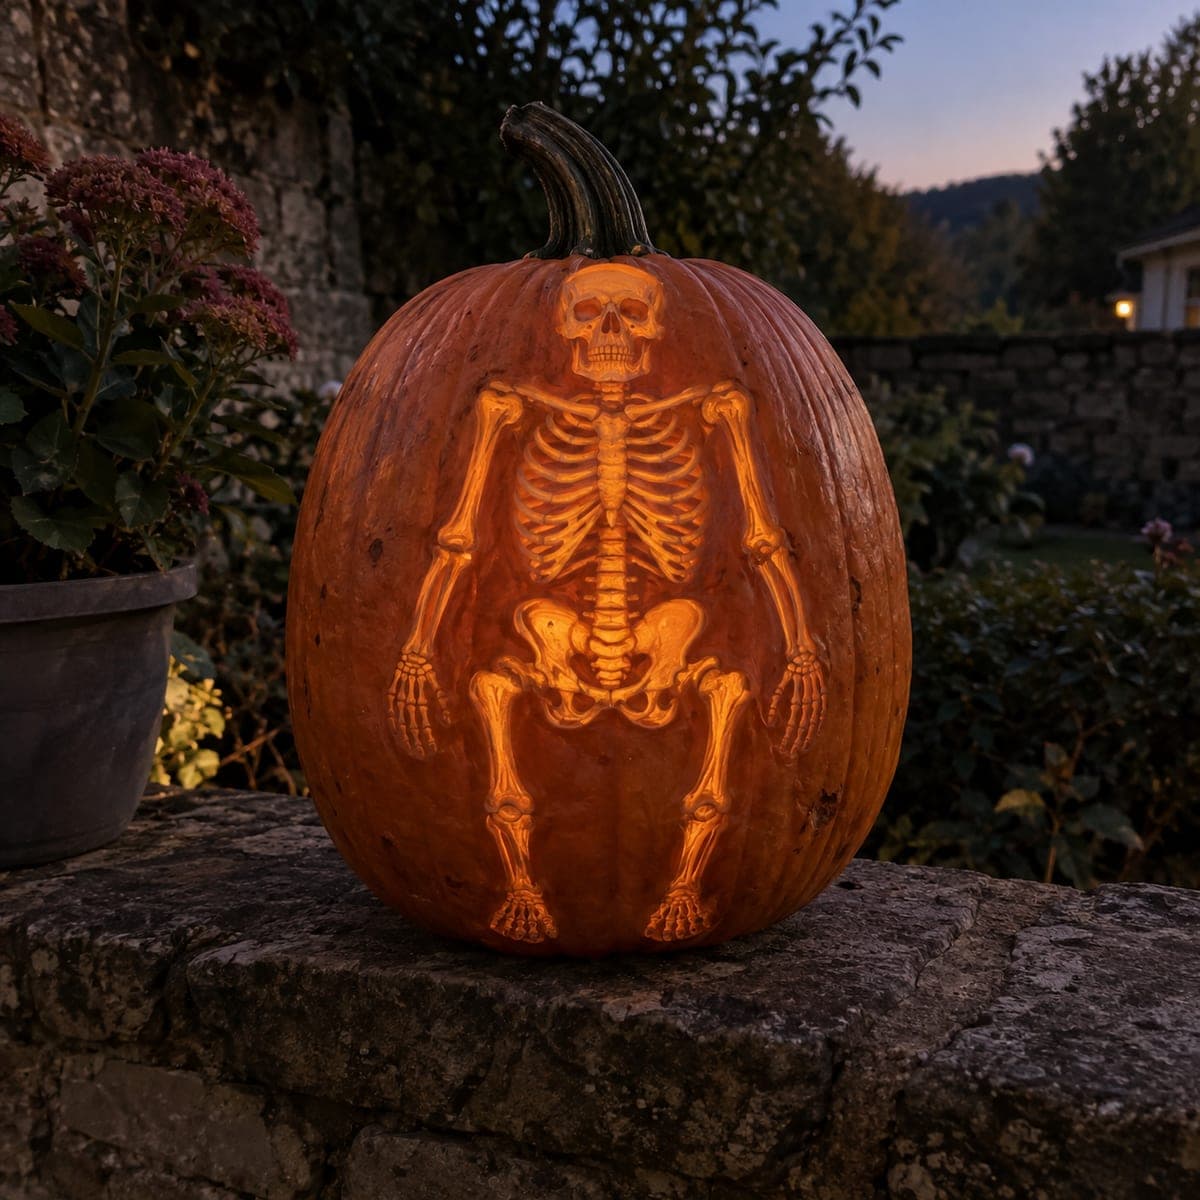
A cartoon skeleton from skull to ribcage is carved in clean surface shading on a medium pumpkin, the skull, collarbone, ribs, and arm bones all peeled to a single consistent depth against the darker uncarved background. The simplified style makes this a more accessible shading project than a realistic anatomy study while still looking impressive. Mark all the bone shapes with a scratch awl before committing to any cuts, then remove the background skin around the bones so they appear raised in relief. A battery-powered candle inside creates a soft backlit glow through the thinned rib sections.

This is an AI-generated concept image: a realistic, carvable design idea rather than a photo of a finished carve. AI concepts are always labeled and sit out the leaderboard and the contest.
No ratings yet · Sign in to rate

Comments (0)

  • No comments yet — be the first.

Save without an account. Sign in to like or comment.

Our tips for carving a similar design

The core trick here is relief shading: you keep the background skin dark and peel only the bone shapes down to a single even depth so they glow. Because the skeleton is drawn in a simplified cartoon style, you are shaving broad, forgiving shapes rather than sculpting realistic anatomy. A battery LED inside pushes soft light through the thinned bone areas for that backlit look.

Written by PumpkinCarvingIdeas.com, inspired by the image above. These are our suggestions, not instructions from the uploader. This approach to the AI concept has not been tested on a real pumpkin.

From pumpkin to porch

  1. Pick and prep the pumpkin

    Choose a medium pumpkin with a wide, fairly smooth front panel so the skull and ribcage have room to sit vertically. Cut a lid from the bottom or the back rather than the top, which keeps the clean front intact. Scoop the front wall down to about one inch thick so light can pass through your shaded areas. A thinner wall makes peeling faster and glows more evenly.

  2. Transfer and scratch in the design

    Tape your skeleton stencil over the front and trace every bone edge with a scratch awl, marking the skull, collarbone, ribs, spine, and arm bones. Poke closely spaced dots along each outline so you have a dotted map once the paper comes off. Step back and confirm the skull sits high and centered with the ribcage below it. Fix any spacing now, before you cut anything.

  3. Peel the bones to one even depth

    Using a loop or ribbon tool, shave the skin off each bone shape down to the pale flesh, aiming for one consistent depth across all of them. Work the large skull and ribcage first, then the thinner arm bones and spine. Keep every bone connected to its neighbors so nothing becomes a fragile floating piece. Consistency matters more than speed, since uneven depth reads as blotchy light.

  4. Deepen the brightest spots

    For the eye sockets, nose, and the small gaps between ribs, shave a little deeper or thin the wall further so those spots glow strongest. You can go nearly translucent here without cutting fully through. Leave a thin skin bridge between adjacent ribs so the ribcage stays one solid unit. This layered depth is what gives the flat design its dimension.

  5. Clean the edges and background

    Go back around each bone with a small detail tool and sharpen the outlines so the dark background reads crisply against the peeled bone. Brush away pulp shavings and check the shapes under a light. Wipe the surface with a damp cloth and coat the exposed flesh with a little petroleum jelly to slow drying. Sharp borders are what make the skeleton pop.

  6. Light it and photograph

    Set a battery-powered LED candle or puck light inside and test in a dark room. If any bone looks dim, shave that spot slightly thinner from the inside. Photograph it near a window at dusk for the mix of soft daylight and inner glow seen here. Refrigerate the pumpkin overnight between displays to keep the shading fresh.

Gather your supplies

Check things off as you get ready.

Work on a stable surface, keep your free hand out of the cutting path, and have an adult handle sharp tools.

Three levels of light

  • Leave intact

    The background skin around and between the bones stays untouched for a dark orange body.

  • Peel & shade

    The skull, collarbone, ribs, spine, and arm bones are peeled to one even depth for a warm mid glow.

  • Cut through

    The eye sockets, nose, and narrow rib gaps are thinned deepest for the brightest backlit spots.

Learn the carving basics

Before you start cutting

Do I need to cut all the way through anywhere?

No, this design works almost entirely as shading, which is what makes it approachable. You only thin the flesh, keeping the wall intact so the bones glow rather than shine as open holes. If you want a little extra brightness, shave the eye sockets and rib gaps very thin instead of cutting through.

How do I keep the ribs from breaking apart?

Treat the ribcage as one connected shape rather than separate floating ribs. Leave thin skin bridges between each rib so the whole panel stays supported. Since you are peeling and not cutting through, the wall behind the ribs also holds everything together.

Is this really easier than a realistic skeleton?

Yes, the cartoon style uses simplified, chunky bone shapes that forgive uneven edges. You are shaving broad areas to one depth instead of sculpting fine anatomical detail. That said, it takes patience to keep the depth consistent, so plan on an unhurried afternoon.

Your take belongs here, too.

Changed a detail? Made it simpler? Share a photo of your version and tell the community what worked.

Share your pumpkin

More pumpkins like this

You've reached the end · 8 pumpkins
The Patch Report

Fresh pumpkins, in your inbox.

The best new carvings, ideas worth stealing, and how-tos for carving season. Short, seasonal, and gone by November.

A short email during carving season. Unsubscribe anytime. See our privacy policy.