Halloween Pumpkin Carving Contest · Starts October 1st · $500 in prizes
← Back to ideas
@ai_concepts
Jul 9, 2026
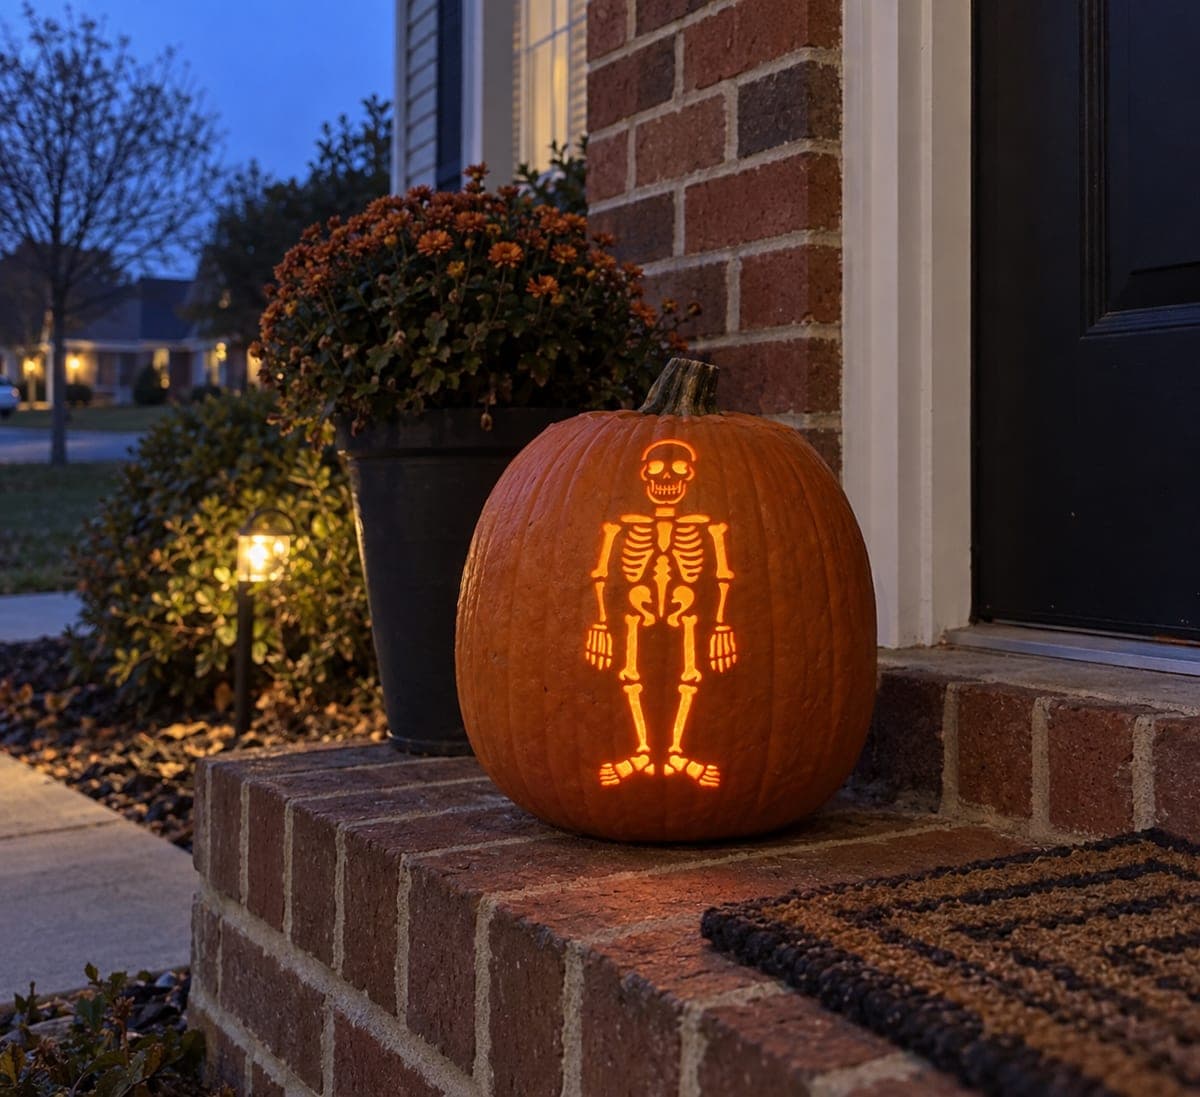
Skeleton Face Jack-O-Lantern with Bone TeethAI
0

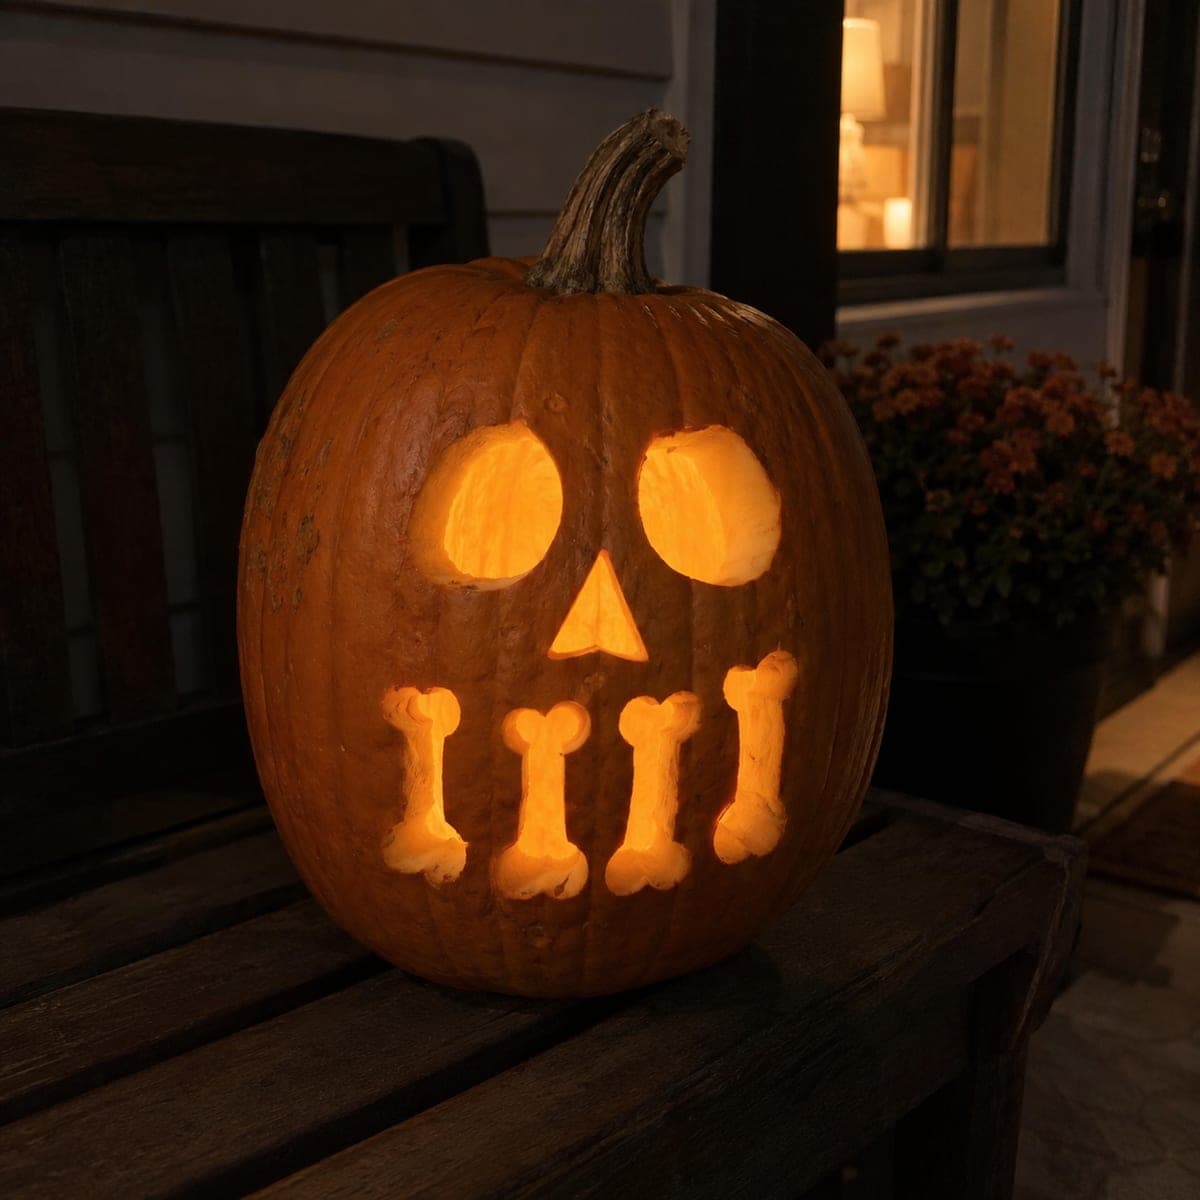
Skeleton Face Jack-O-Lantern with Bone Teeth

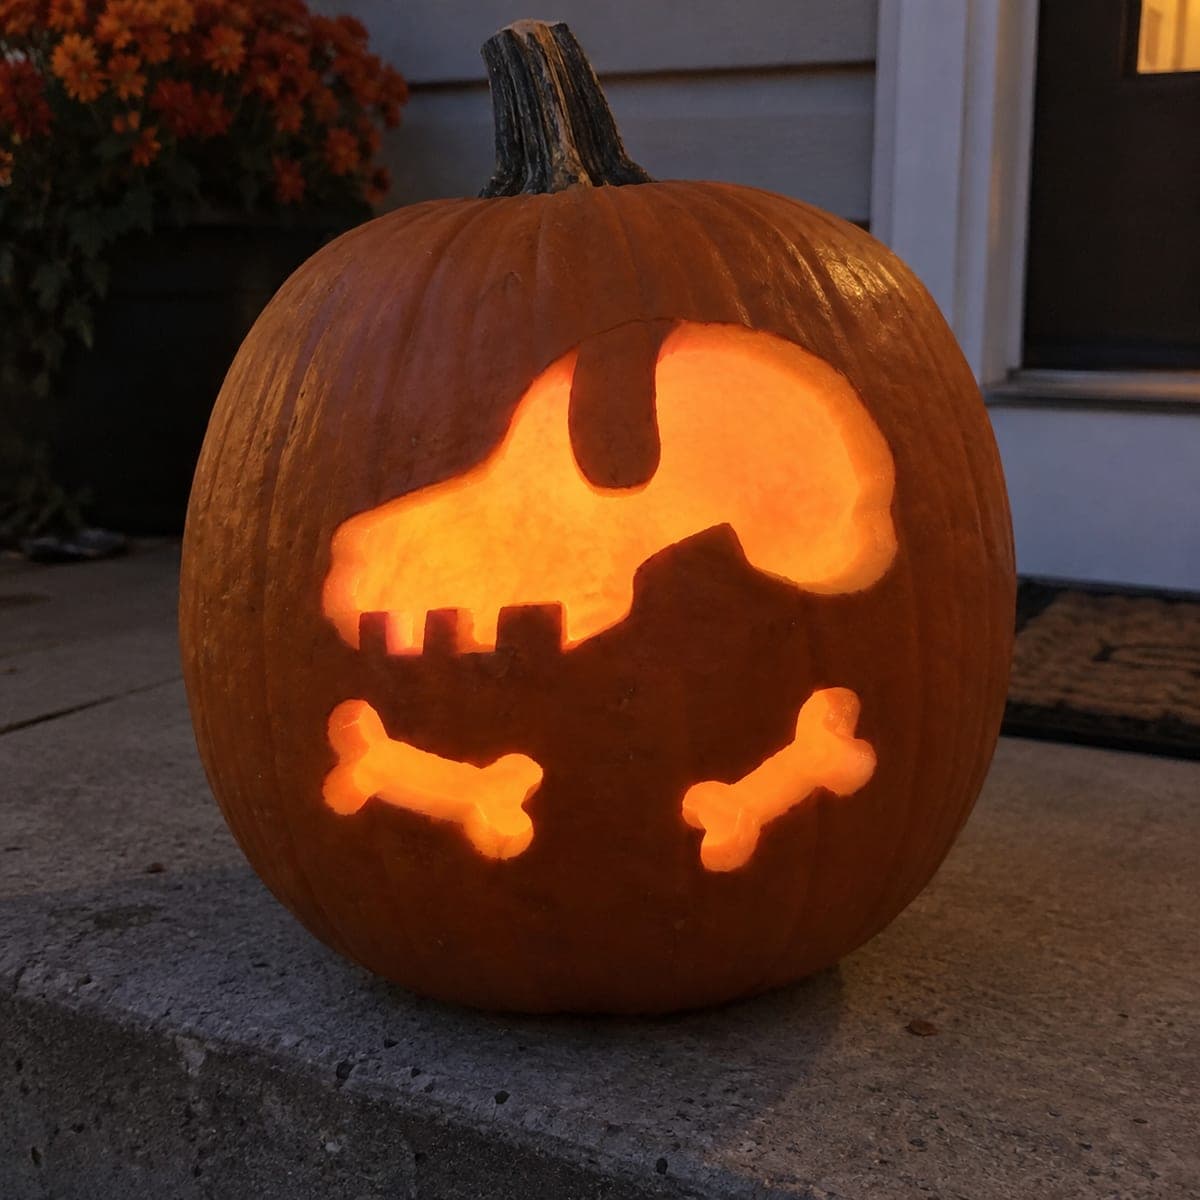
Round eye sockets, a triangular nose cutout, and four rectangular bone shapes for teeth turn this pumpkin into a grinning skull face that glows softly in the dark. The simple geometric cutout design makes it one of the most approachable skull pumpkin carving ideas for family carving nights. Cut each bone by making two parallel vertical slots and connecting them with small horizontal cuts at top and bottom. A battery-operated tea light gives a steady flicker-free glow that keeps the skull effect consistent throughout the evening.

This is an AI-generated concept image: a realistic, carvable design idea rather than a photo of a finished carve. AI concepts are always labeled and sit out the leaderboard and the contest.

No ratings yet · Sign in to rate
Comments (0)

  • No comments yet — be the first.

Save without an account. Sign in to like or comment.

Our tips for carving a similar design

This design is all clean cutouts, so the trick is keeping the shapes simple and evenly spaced: two round eye sockets, a small triangle nose, and a row of dog-bone teeth. Draw everything first so the teeth line up, then cut the small pieces before the big ones.

Written by PumpkinCarvingIdeas.com, inspired by the image above. These are our suggestions, not instructions from the uploader. This approach to the AI concept has not been tested on a real pumpkin.

From pumpkin to porch

  1. Pick a smooth pumpkin and open the lid

    Choose a pumpkin with a broad, flat front so the face reads clearly. Cut a lid around the stem at an angle so it drops back in without falling through, then scoop the seeds and scrape the front wall down to an even thickness. A thinner front wall is much easier to cut cleanly.

  2. Draw the face before you cut anything

    Sketch two circles for the eye sockets, a small triangle for the nose, and four dog-bone teeth in a row below. Step back and check the spacing. A washable marker lets you wipe and redraw until the teeth look evenly spread across the smile line.

  3. Cut the round eyes and triangle nose

    Start with a small pilot hole inside each shape, then saw along your lines with a fine pumpkin saw. Keep the saw upright and let it do the work instead of forcing it. Push the cut pieces inward and out so you do not tear the edges.

  4. Shape the bone teeth carefully

    Each bone is two little rounded knobs at the ends joined by a straight bar. Cut the two end circles first, then connect them with the straight middle so the shape holds together. Leave a bit of extra rind between neighboring teeth so the wall between them stays strong.

  5. Clean up and light it

    Trim any ragged edges with a small knife and test the fit of the lid. Set a battery LED inside and check the face in a dark room. If a tooth or the nose looks dim, gently bevel the inside edge of the cut so more light spills through.

Gather your supplies

Check things off as you get ready.

Work on a stable surface, keep your free hand out of the cutting path, and have an adult handle sharp tools.

Three levels of light

  • Leave intact

    The whole orange face stays intact around the shapes.

  • Peel & shade

    Optional: shave a thin bevel inside each cut for a soft glowing edge.

  • Cut through

    Eyes, nose, and every bone tooth are cut clean through for bright light.

Learn the carving basics

Before you start cutting

How do I keep the bone teeth from breaking?

Leave a solid strip of pumpkin between each tooth and do not cut them too close together. Cut the rounded ends first, then the straight bar. If the wall feels thin, make the bones a little smaller rather than crowding them.

Can young kids help with this one?

Yes, this is one of the easier designs. Kids can scoop seeds and draw the shapes, while an adult handles the saw. Let children push the cut pieces out once the sawing is done.

Do I need a real stencil?

No. The shapes are simple enough to draw freehand, but a printed skull or bone stencil taped on and traced makes the spacing easier if you want it exact.

Your take belongs here, too.

Changed a detail? Made it simpler? Share a photo of your version and tell the community what worked.

Share your pumpkin

More pumpkins like this

You've reached the end · 8 pumpkins
The Patch Report

Fresh pumpkins, in your inbox.

The best new carvings, ideas worth stealing, and how-tos for carving season. Short, seasonal, and gone by November.

A short email during carving season. Unsubscribe anytime. See our privacy policy.