@octoberoak
Sep 7, 2026

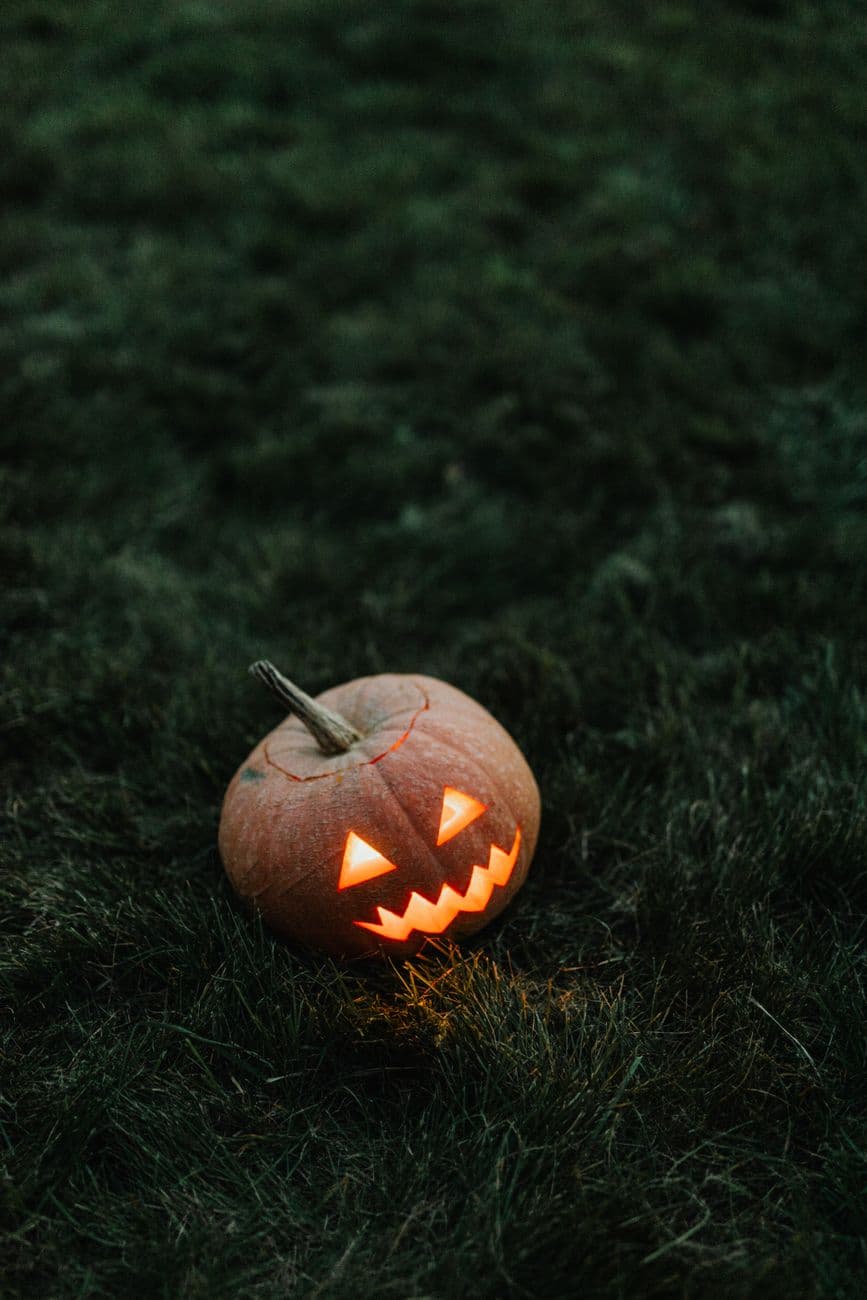
The core trick here is the timeless jack-o'-lantern face built from clean geometric shapes: triangle eyes, a triangle nose, and a wide grinning mouth with a few chunky teeth. The plan is to keep every opening simple and boldly cut so the LED glow reads clearly from across the yard. Leaving small bridges of skin between the teeth keeps the smile strong and stops the front from sagging.
Written by PumpkinCarvingIdeas.com, inspired by @octoberoak's photo above. These are our suggestions, not instructions from the uploader, and this approach hasn't been tested on their exact carve.
Choose a pumpkin with a smooth, flat-ish front and a sturdy stem. Wipe it down and set it on a towel at table height so it will not roll. Sketch triangle eyes, a small triangle nose, and a wide toothy mouth with a marker before you cut anything. Keep the shapes large and spaced apart so the walls between them stay strong.
An adult should cut a lid around the stem at an angle so it rests back in place later. Scoop out the seeds and pulp with a sturdy spoon or scraper. Thin the inside of the front wall to about one inch so your tools push through easily. A thinner wall also lets more light pass and makes the cuts cleaner.
Start with the smaller shapes while the pumpkin is still solid and strong. Use a small serrated carving saw and let the blade do the work with gentle back-and-forth strokes. Push the cut pieces out from the inside rather than pulling them from the front. Cutting the small features first keeps the shell rigid for the bigger mouth.
Save the wide mouth for last since it removes the most material. Cut the outer smile line first, then shape the teeth by leaving short blocks of skin between the gaps. Keep each tooth thick at the base so it does not snap. Support the shell with your free hand as you work near the bottom of the grin.
Trim any ragged edges with a paring knife so the openings look crisp. A little petroleum jelly on the cut edges slows drying if you carve early. Drop in a battery LED tea light or puck light, never a candle, and set the lid back on. Test it in a dark room and widen any opening that looks dim.
Group your finished pumpkins on a hay bale or in a pile of fallen leaves for a moody outdoor scene. Shoot at dusk so the glow shows but you still see the pumpkin texture. Turn the brightest faces slightly toward the camera. Take a few shots from low angles for a classic spooky look.
Check things off as you get ready.
Work on a stable surface, keep your free hand out of the cutting path, and have an adult handle sharp tools.
The outer skin across the pumpkin face stays dark for contrast around the glow.
You can shave a thin halo around the eyes or mouth for a soft dim ring if you want a worn look.
The triangle eyes, nose, and toothy grin are cut fully through for the brightest light.
Keep each tooth thick and rooted to solid skin on both the top and bottom of the mouth. Avoid making them tall and thin. If one feels wobbly, leave a little extra pumpkin at its base for support.
A medium round pumpkin gives you enough room for large eyes and a wide grin without crowding. Very small pumpkins force the features close together and weaken the walls. Pick one with a smooth front so your saw glides cleanly.
Yes, but expect edges to soften and curl as they dry. Coat all cut edges with petroleum jelly and store the pumpkins in a cool spot or the fridge overnight. Light them just before shooting for the freshest look.
Changed a detail? Made it simpler? Share a photo of your version and tell the community what worked.
The best new carvings, ideas worth stealing, and how-tos for carving season. Short, seasonal, and gone by November.




Comments (0)