Halloween Pumpkin Carving Contest · Starts October 1st · $500 in prizes
← Back to ideas
@ai_concepts
Sep 25, 2026
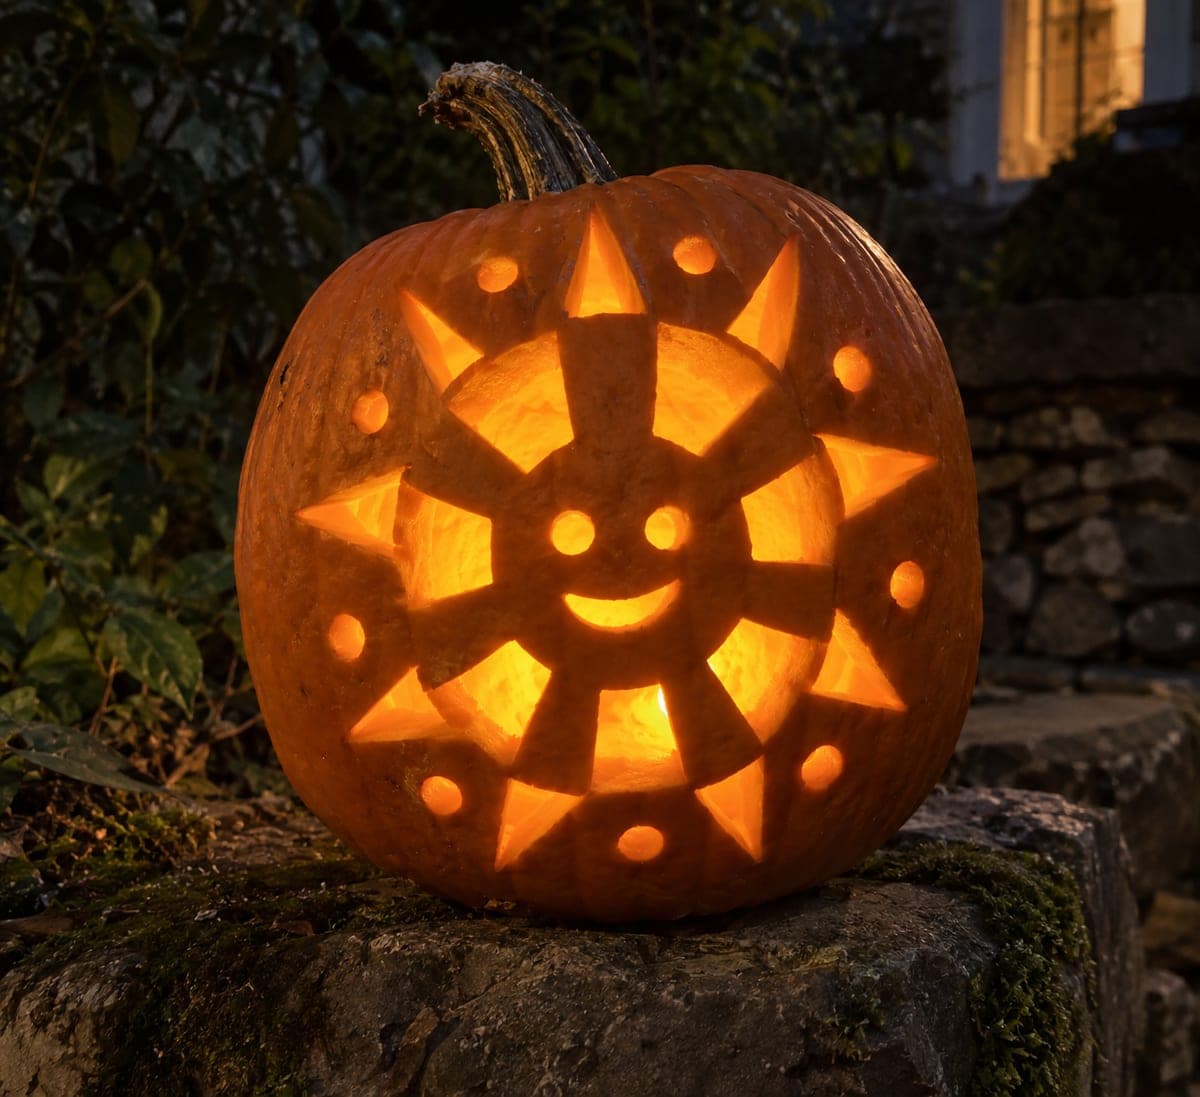
Detailed Smiling Sunburst Pumpkin With Connected SpokesAI
0

Report this carving

Tell us what is wrong. Reports are private.

Detailed Smiling Sunburst Pumpkin With Connected Spokes

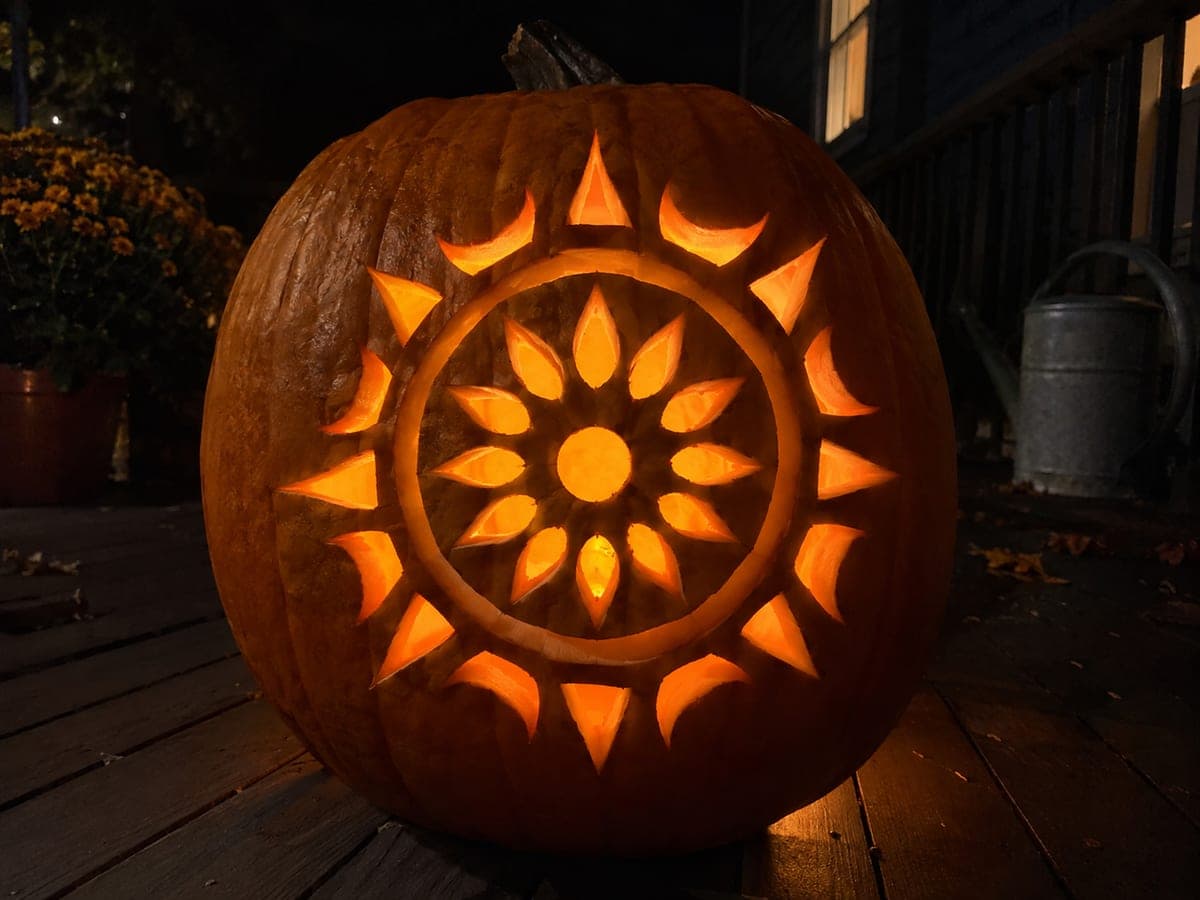
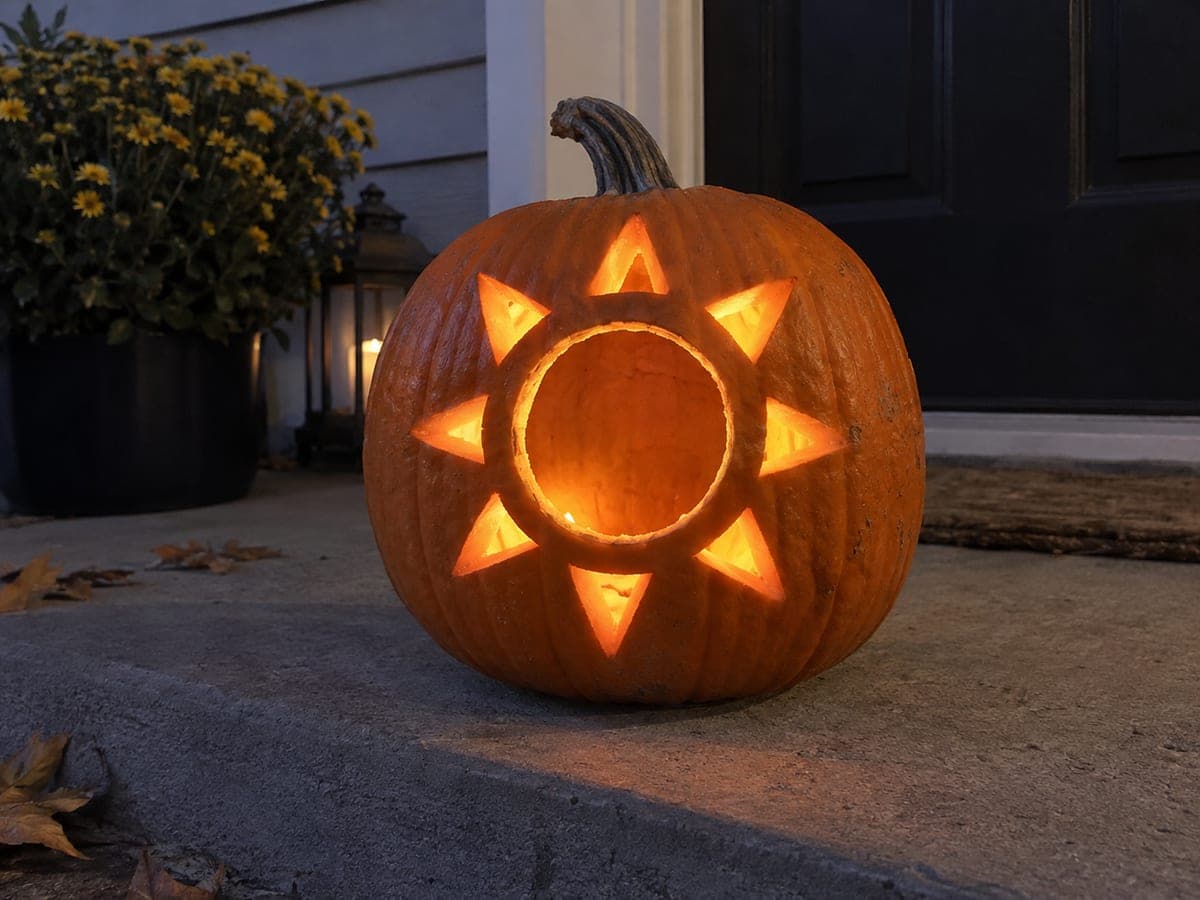
Eight broad spokes support a central smiling face on this hard sun pumpkin carving, with separate wedge, ray, and facial apertures all cut between the structural supports. Because the spokes do all the structural work, the facial cutouts and ray wedges can be quite open without destabilizing the design. Cut the eight wedge openings between the spokes first to establish the radial structure, then refine the face with eye and smile cutouts. Display on a lit porch at night where the sunburst rays cast long shadow lines on surrounding walls.

No ratings yet · Sign in to rate
Comments (0)

  • No comments yet — be the first.

Save without an account. Sign in to like or comment.

Our tips for carving a similar design

Eight broad spokes do all the load-bearing work, allowing the wedge openings between them and the facial cutouts within the face to be quite large and open. Cutting the eight wedge openings first establishes the complete radial structure before any facial detail is added to the center. This sequence means each phase of the carving is supported by a stable, fully-intact framework underneath.

From pumpkin to porch

  1. Prepare and plan the eight-spoke layout

    Scoop the interior to a firm inch-thick wall. Divide the pumpkin face into eight equal segments with a pencil and ruler, drawing light lines through the center to mark spoke positions. Confirm the eight spokes will all be at least three-quarters of an inch wide before transferring the rest of the template.

  2. Transfer the full template

    Perforate the boundaries of all eight wedge apertures, the outer ray shapes, and the facial features. The spoke lines themselves are not cut and do not need perforating. Remove the paper and review the complete layout before cutting.

  3. Cut all eight wedge apertures between spokes

    Begin at the first wedge and work clockwise around the design, cutting each wedge opening between adjacent spokes. Each wedge should be fully isolated. After all eight are cut, step back and confirm the eight spokes are intact and roughly equal in width.

  4. Cut the outer ray shapes if present

    If the template includes shorter outer ray openings beyond the main wedges, cut these next while the structure is still firm from the uncut face. Keep these outer ray cuts small and well away from the spoke tips to avoid weakening the outer rim.

  5. Cut the facial features

    With the radial structure fully established, cut the eye openings and smile cutout in the center face area. Both the eyes and smile should be surrounded by solid face rind on all sides. Clean the edges with a detail knife for a friendly, readable expression.

  6. Display at night for wall shadow effect

    Place a bright LED tea light deep inside the pumpkin toward the back of the cavity so the light source is well behind the spokes. Placing the pumpkin at mid-height on a lit porch allows the eight spokes to cast long shadow lines on nearby walls and fence panels.

Written with AI to match this design

Gather your supplies

Check things off as you get ready.

Work on a stable surface, keep your free hand out of the cutting path, and have an adult handle sharp tools.

Three levels of light

  • Leave intact

    All eight broad spokes and the solid central face disc remain dark and connected.

  • Peel & shade

    None, all illuminated areas are full through-cuts.

  • Cut through

    The eight wedge apertures between spokes, any outer ray shapes, and the facial eye and smile openings are cut through for full backlit glow.

Learn the carving basics

Before you start cutting

How do I divide the face into exactly eight equal wedge segments?

Draw two lines through the center at 90 degrees to each other to create four equal quarters. Then bisect each quarter with a diagonal line to create eight segments. A protractor confirms each segment is 45 degrees if you want to be precise. Small spacing errors are much less visible once the design is lit.

What if one of my spokes turns out thinner than the others?

A slightly thinner spoke is usually not a structural problem as long as it is still at least half an inch wide. If it is narrower than that, narrow the adjacent wedge apertures by a few millimeters on each side to reclaim some width for the spoke. Visible asymmetry in spoke width is less noticeable on a lit pumpkin at normal display distance.

Can I add a back-carved detail ring around the smiling face?

Yes, a shallow back-carved ring just inside the spoke tips, using a linoleum gouge, adds a nice finishing detail that glows faintly between the solid face and the through-cut wedges. Keep it no deeper than a third of the wall thickness and stay well away from the spoke junction points.

Your take belongs here, too.

Changed a detail? Made it simpler? Share a photo of your version and tell the community what worked.

Share your pumpkin

More pumpkins like this

You've reached the end · 8 pumpkins
The Patch Report

Fresh pumpkins, in your inbox.

The best new carvings, ideas worth stealing, and how-tos for carving season. Short, seasonal, and gone by November.

A short email during carving season. Unsubscribe anytime. See our privacy policy.