Halloween Pumpkin Carving Contest · Starts October 1st · $500 in prizes
← Back to ideas
@ai_concepts
Sep 25, 2026
Simple Glowing Sun Circle and Rays Pumpkin CarvingAI
0

Report this carving

Tell us what is wrong. Reports are private.

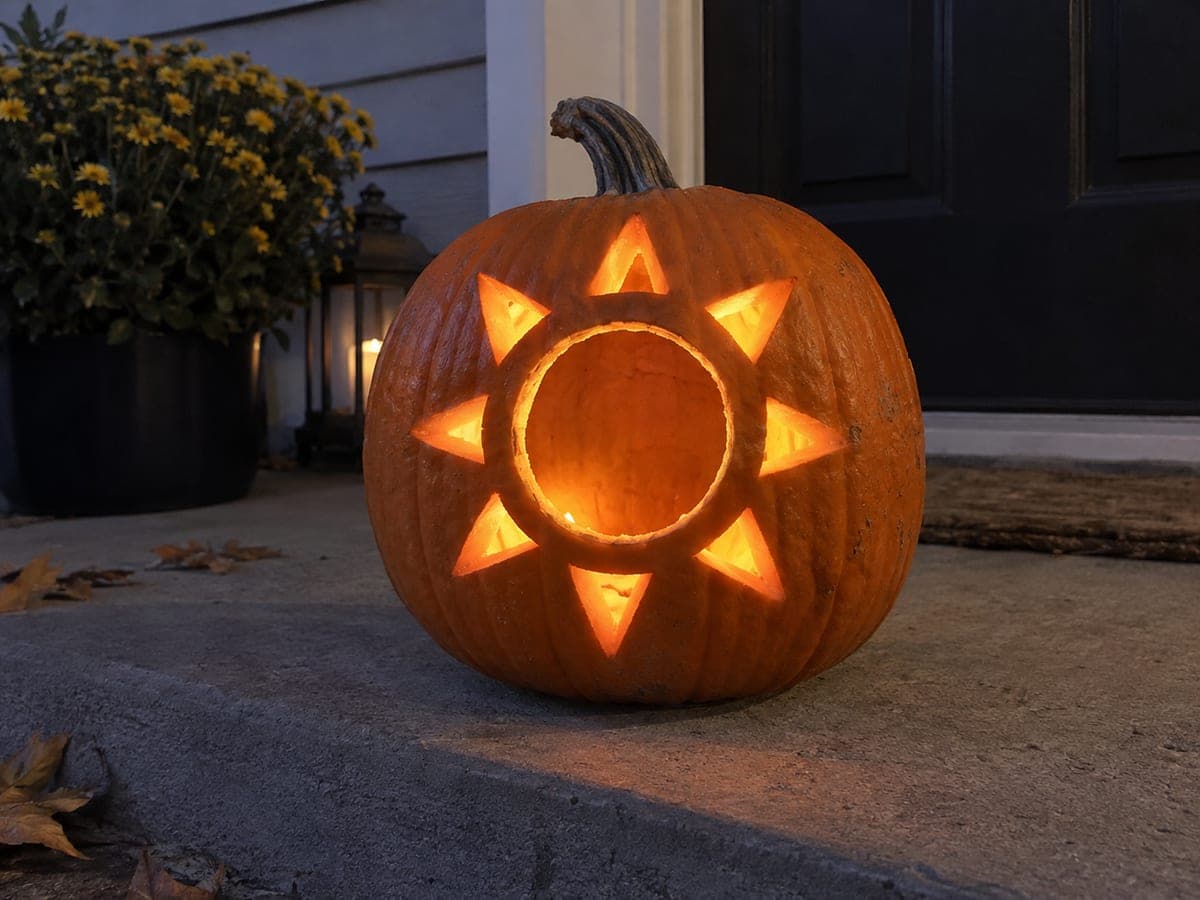
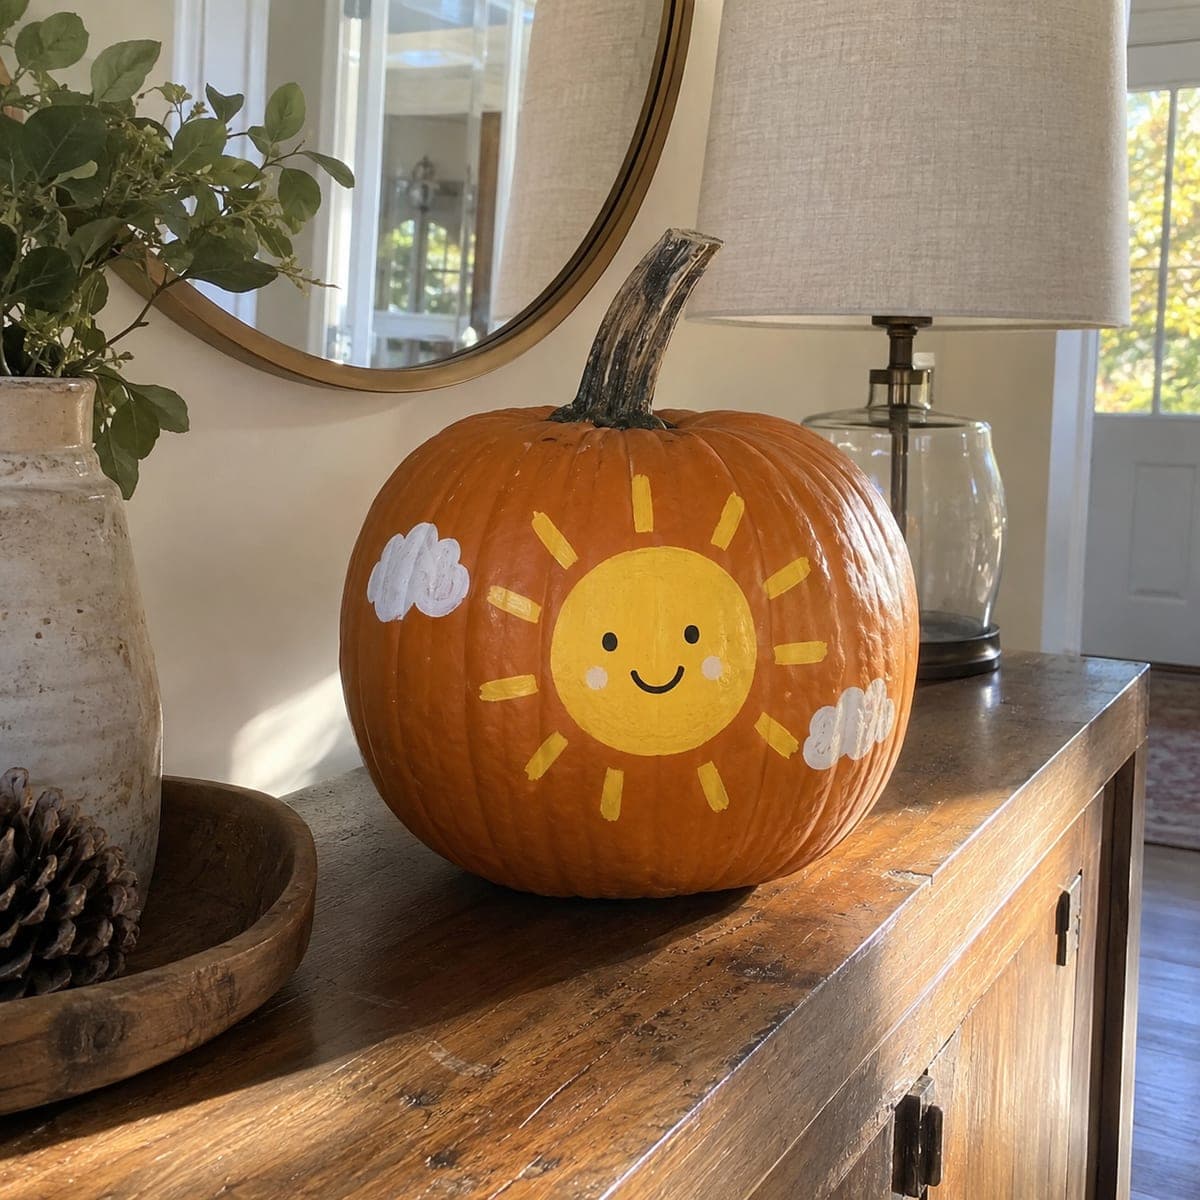
Simple Glowing Sun Circle and Rays Pumpkin Carving

A circular center and triangular ray apertures glow together on this easy sun pumpkin carving idea, with no retained interior pieces to complicate the cuts. Each element is a fully empty through-cut, making this a great beginner pumpkin carving idea that requires only a basic jab saw. Cut the center circle first, then space the ray triangles evenly around it using a ruler to mark the angles before cutting. A bright LED tea light placed directly below the center circle maximizes the radial glow effect.

No ratings yet · Sign in to rate
Comments (0)

  • No comments yet — be the first.

Save without an account. Sign in to like or comment.

Our tips for carving a similar design

Two element types, one circle and several ray triangles, are each cut as fully empty through-holes with no interior islands to worry about. The simplicity makes this an ideal first pumpkin for someone who has never carved before. Measuring and marking the ray angles before cutting is the single most important step for a tidy, symmetrical result.

From pumpkin to porch

  1. Prep and scoop the pumpkin

    Cut a lid at the back of the pumpkin and scoop the interior until the front wall is a consistent inch thick. A smooth front face gives the cleanest background for the geometric circle-and-rays design. Wipe the face dry before transferring the template.

  2. Mark the center circle

    Find the center of the pumpkin face and use a compass or traced bottle cap to draw a circle two to three inches in diameter. Score around it lightly with a pushpin perforation. The circle will become the sun's bright core opening.

  3. Divide and mark the rays

    Use a ruler to draw lines radiating outward from the circle edge to mark where each ray triangle will sit. Divide the space into even segments, aiming for six to eight rays depending on pumpkin size. Mark both outer edges of each triangle before cutting any of them.

  4. Cut the center circle

    Insert a small jab saw at the circle perimeter and cut all the way around to remove the disc cleanly. Go slowly and keep the blade perpendicular to the rind. Pop out the circle piece and clean any rough interior edges with a detail knife.

  5. Cut each ray triangle

    Cut each ray triangle working from the base nearest the circle outward to the point. Keep the triangle cuts fully isolated from the circle opening and from each other by leaving solid rind between them. Pointed tips benefit from a single smooth draw of the blade rather than multiple short strokes.

  6. Place the light and display

    Center a bright LED tea light directly below the circle opening inside the pumpkin. The centered position maximizes equal brightness across all ray triangles. Display the pumpkin so the sun faces outward toward foot traffic.

Written with AI to match this design

Gather your supplies

Check things off as you get ready.

Work on a stable surface, keep your free hand out of the cutting path, and have an adult handle sharp tools.

Three levels of light

  • Leave intact

    The solid rind between each ray triangle and around the outer tips stays dark.

  • Peel & shade

    None, this design has only through-cut openings.

  • Cut through

    The center circle and every ray triangle are cut through for full radial backlit glow.

Learn the carving basics

Before you start cutting

How many rays should I use for a first attempt?

Six rays is a good number for a first carving because the segments are wide enough to mark and cut comfortably and the result still reads clearly as a sun. Eight rays look slightly more refined but require more precise marking to keep all the triangle widths even. Fewer than five rays can look like a cartoon star rather than a sun.

How do I keep the ray tips from cracking?

Chill the pumpkin before carving to firm the flesh, and cut each tip point with a single smooth draw of the blade rather than a sawing motion. If a tip cracks slightly, a small dab of craft glue on the crack will hold it together for a few nights of display.

Can I add a face inside the sun circle?

You can, but once the circle is cut out, adding a face requires a separate retained piece which makes the design more complex than easy-level. A simpler approach is to carve a slightly smaller circle and leave a thin rind ring around it, then add small eye and smile holes in that retained ring. This keeps all elements connected and structurally sound.

Your take belongs here, too.

Changed a detail? Made it simpler? Share a photo of your version and tell the community what worked.

Share your pumpkin

More pumpkins like this

You've reached the end · 8 pumpkins
The Patch Report

Fresh pumpkins, in your inbox.

The best new carvings, ideas worth stealing, and how-tos for carving season. Short, seasonal, and gone by November.

A short email during carving season. Unsubscribe anytime. See our privacy policy.