Halloween Pumpkin Carving Contest · Starts October 1st · $500 in prizes
← Back to ideas
@ai_concepts
Sep 25, 2026
Easy Beetlejuice Pumpkin With Green HairAI
0

Report this carving

Tell us what is wrong. Reports are private.

Easy Beetlejuice Pumpkin With Green Hair

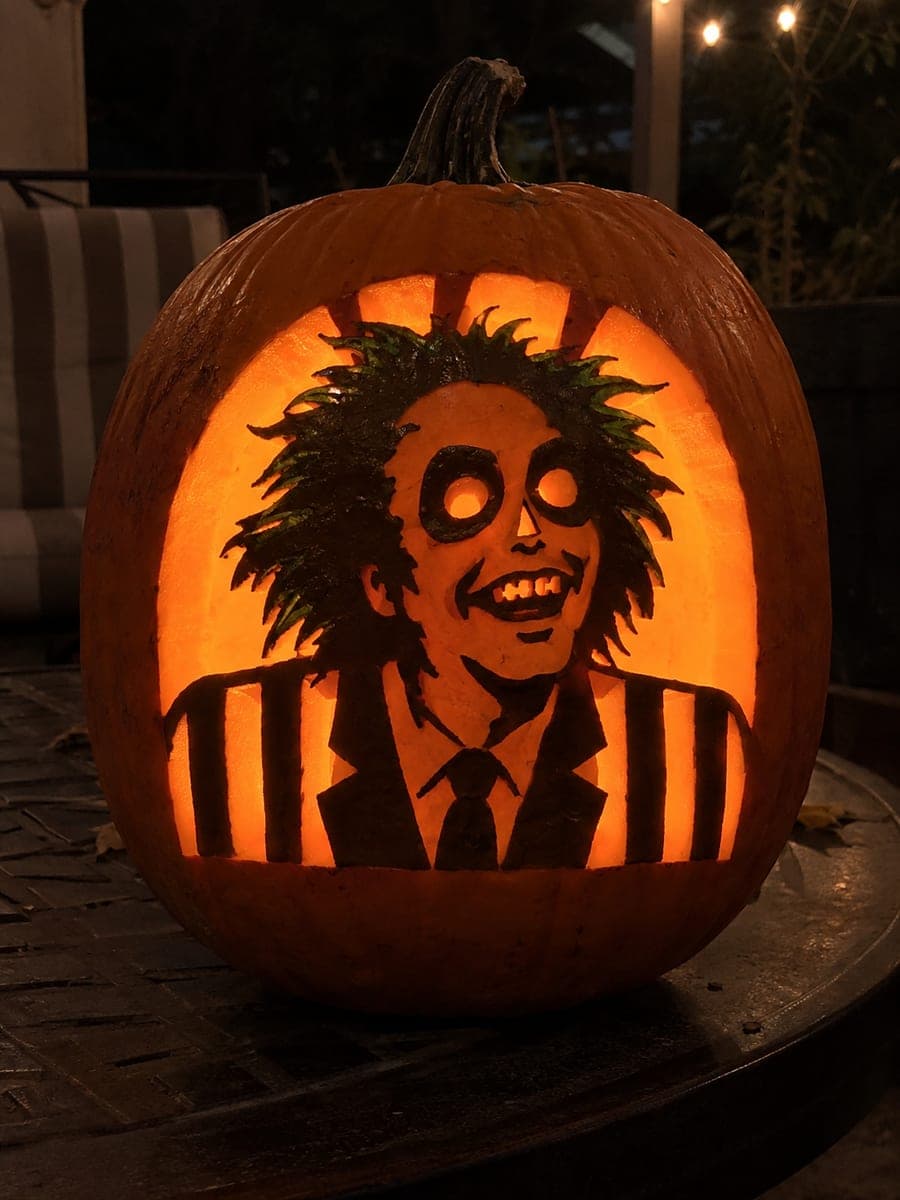
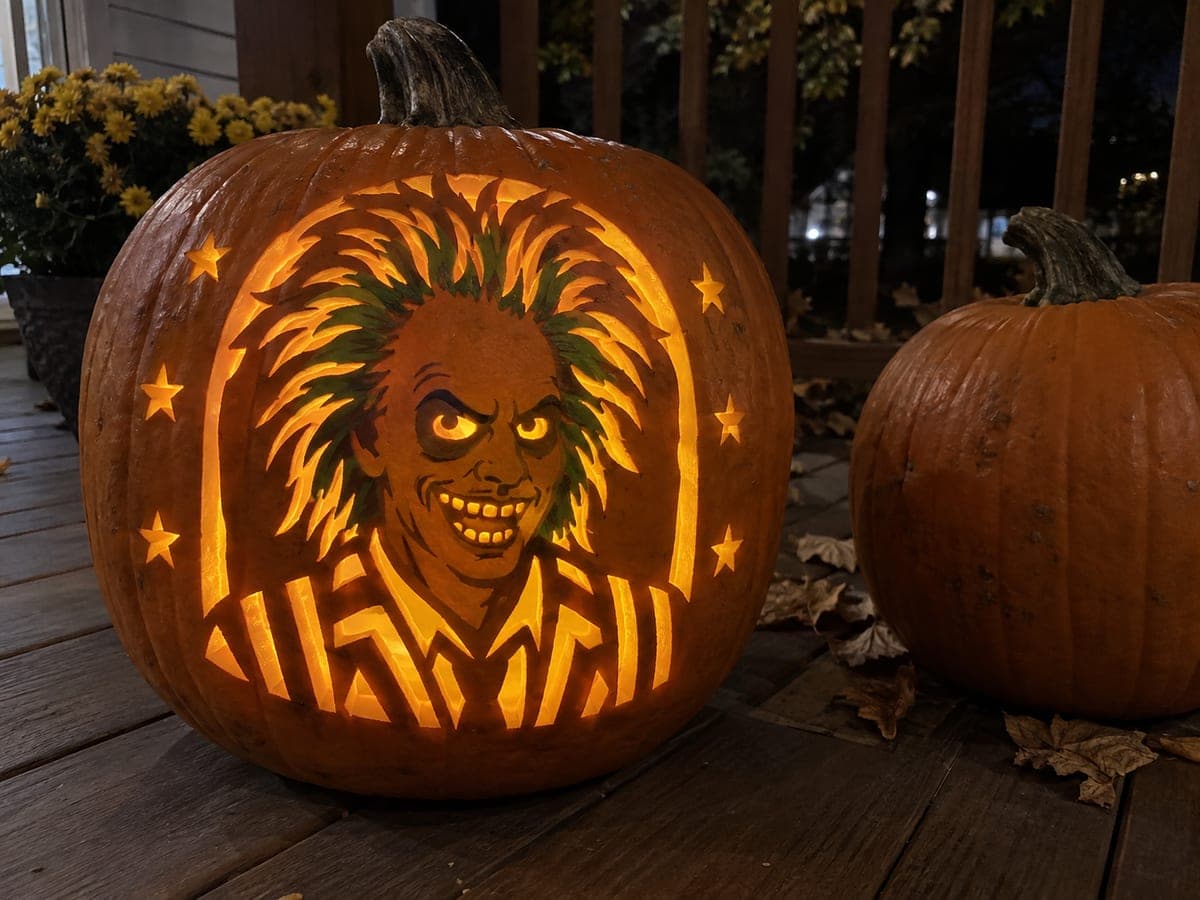
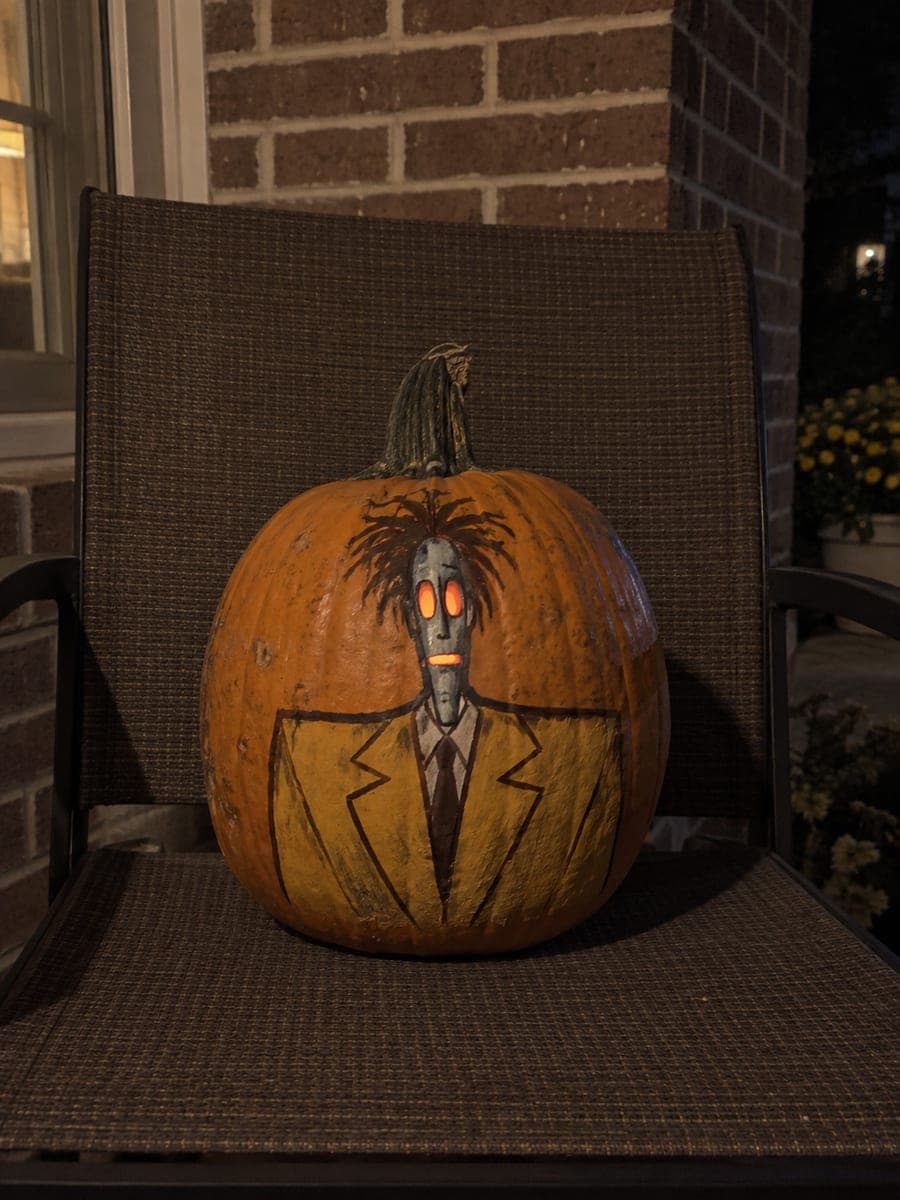
Three simple cutouts handle the eyes and mouth on this easy Beetlejuice pumpkin, while painted green hair and a striped collar bring the character to life on the intact rind. Cut the mouth first, then center the eyes above it, keeping all three openings well separated so the face stays solid. Place a warm candle inside to make the glowing eyes and grin pop against the dark painted hair.

No ratings yet · Sign in to rate

Comments (0)

  • No comments yet — be the first.

Save without an account. Sign in to like or comment.

Our tips for carving a similar design

Three simple cutouts handle all the carving on this design: two eye holes and one mouth opening create the classic jack-o-lantern effect, while painted green hair and a striped collar supply the character-specific detail on intact rind. Cutting the mouth first and then centering the eyes above it ensures the facial proportions stay recognizable. All three openings need generous rind separation to keep the face solid.

From pumpkin to porch

  1. Prep the pumpkin

    Clean the pumpkin, cut a back lid, and scrape the interior to about 2 cm wall thickness. The three simple openings do not require a precisely uniform wall, but a thinner wall in the face area gives a warmer glow through the carved shapes.

  2. Paint the hair and collar first

    Before cutting any holes, use acrylic paint to apply the green spiked-hair shape at the top and the black-and-white striped collar at the base of the face area. This lets you use the intact rind as a stable painting surface and ensures the cut openings land in the right position relative to the painted elements.

  3. Mark and cut the mouth

    Draw the mouth opening in the lower third of the face area and cut it with a thin-blade saw. This opening is the largest of the three, so cutting it first gives you a proportional reference for placing the eyes above it. Keep the opening simple, a wide rounded rectangle or slightly curved shape works well.

  4. Mark and cut the eyes

    Position the two eye openings above the mouth, spaced comfortably apart with at least 2 cm of rind between each eye and between the eyes and the mouth. Cut each eye with a thin-blade saw. Round or slightly oval eyes suit the character's wide-eyed look.

  5. Touch up the painted details

    Once the cutting is done, refine any painted elements that were disturbed by handling the pumpkin during carving. Add the striped-collar lines with a small liner brush if the collar needs detail, and sharpen the green hair spikes with a fresh coat if needed.

  6. Light and display

    Place a warm candle or LED inside and view from the front. The three glowing openings should read clearly as a face against the painted hair and collar. Position the pumpkin so the green hair is in shadow for a moodier effect, or under a direct light for a brighter display.

Written with AI to match this design

Gather your supplies

Check things off as you get ready.

Work on a stable surface, keep your free hand out of the cutting path, and have an adult handle sharp tools.

Three levels of light

  • Leave intact

    Rind between the three openings and around the painted hair and collar areas

  • Peel & shade

    None needed for this simple design

  • Cut through

    Two eye holes and one mouth opening cut fully through

Learn the carving basics

Before you start cutting

Should I paint before or after carving?

For this design, painting first is recommended. The intact rind gives you a firm, stable surface to rest your brush hand against, and the painted elements serve as visual guides for where to place the cutouts. If you carve first, handling the pumpkin while painting becomes slightly more awkward.

What shade of green should I use for the hair?

A bright, slightly yellow-tinted green rather than a forest or olive green reads most clearly as the character's electric hair color. If you only have a dark green, mix a small amount of yellow into it on a palette before applying. The spiked silhouette shape matters more than hitting an exact shade.

My striped collar looks wobbly. How do I get even stripes on a curved surface?

Wrap a thin strip of painter's tape at the top and bottom edges of the collar zone to create clean boundaries. Then paint alternating black and white vertical stripes freehand within that masked band. Remove the tape while the paint is still slightly damp to get clean edges. Let dry and seal.

Your take belongs here, too.

Changed a detail? Made it simpler? Share a photo of your version and tell the community what worked.

Share your pumpkin

More pumpkins like this

You've reached the end · 8 pumpkins
The Patch Report

Fresh pumpkins, in your inbox.

The best new carvings, ideas worth stealing, and how-tos for carving season. Short, seasonal, and gone by November.

A short email during carving season. Unsubscribe anytime. See our privacy policy.