Halloween Pumpkin Carving Contest · Starts October 1st · $500 in prizes
← Back to ideas
@ai_concepts
Sep 25, 2026
Easy Beetlejuice Sandworm Pumpkin With Teal LipsAI
0

Report this carving

Tell us what is wrong. Reports are private.

Easy Beetlejuice Sandworm Pumpkin With Teal Lips

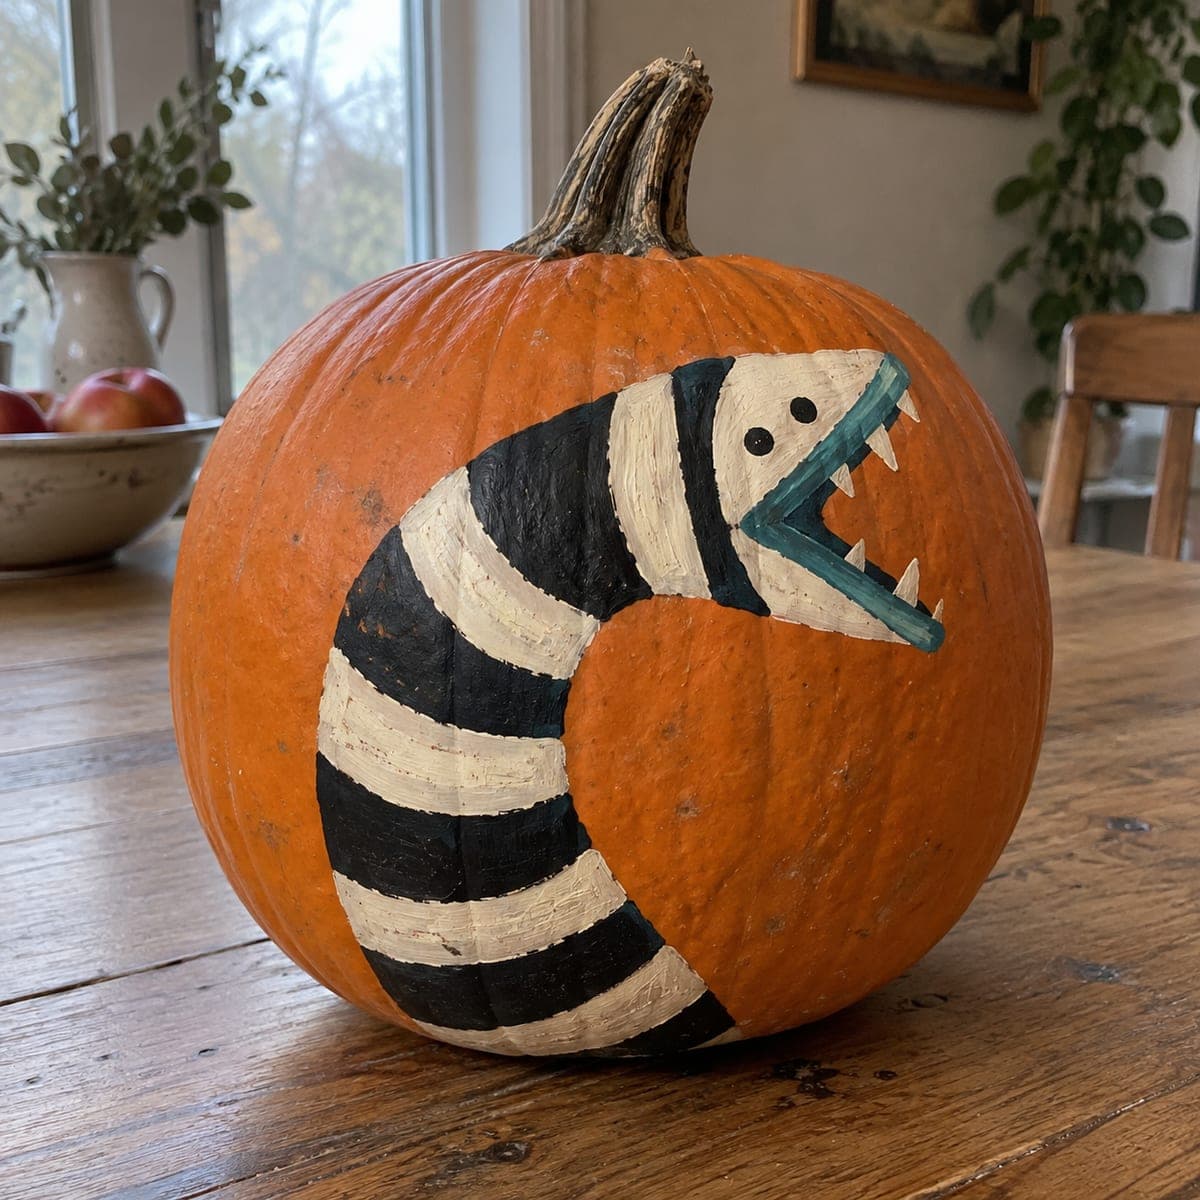
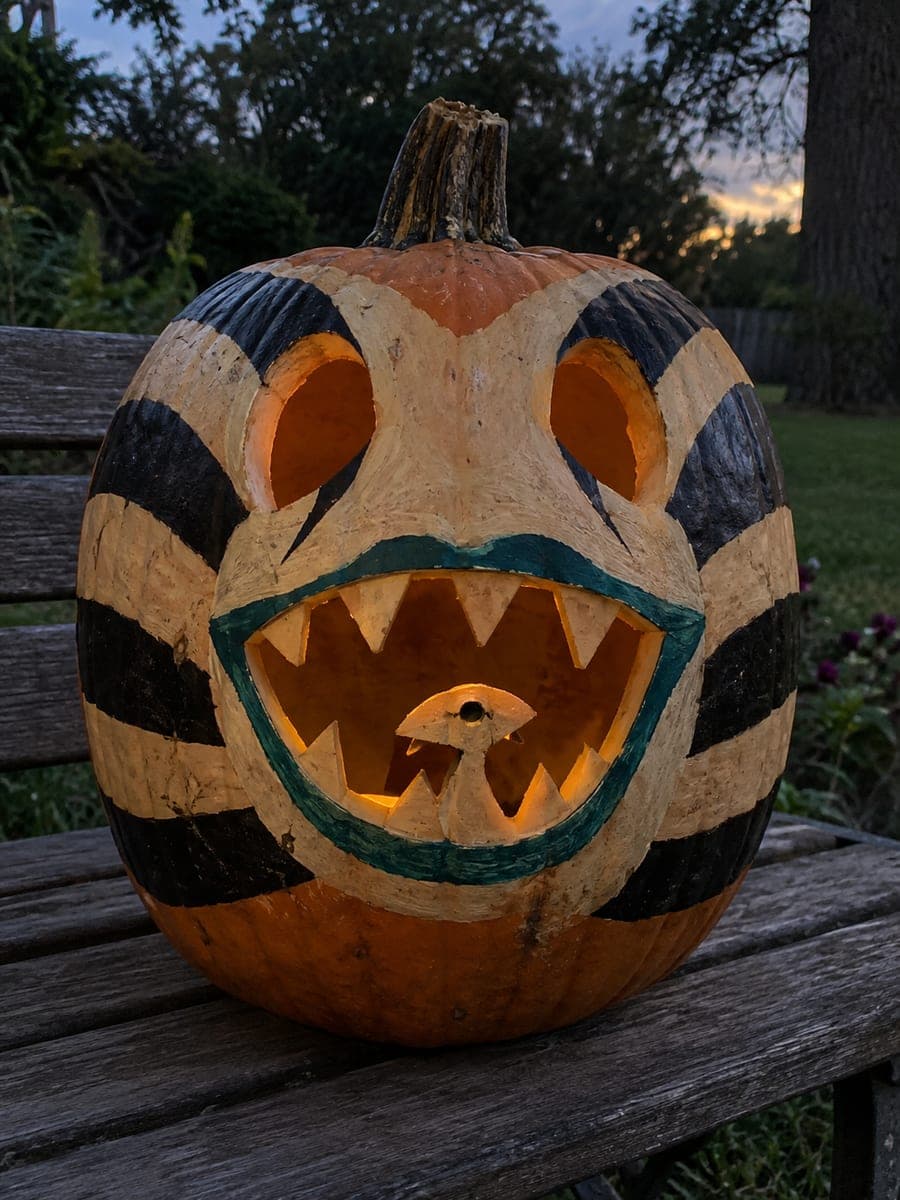
This easy sandworm pumpkin carving idea shapes the creature's broad cream-painted wedge head on the intact rind, then cuts just two oval eyes and one wide horizontal mouth with two chunky triangular teeth rooted at the upper edge. Paint the teal lip outline and black side stripes after carving so the color frames the glowing openings. Three total cutouts make this a great first-timer pumpkin carving idea.

No ratings yet · Sign in to rate
Comments (0)

  • No comments yet — be the first.

Save without an account. Sign in to like or comment.

Our tips for carving a similar design

The design keeps things to three total cutouts: two oval eyes and one wide horizontal mouth with only two broad triangular teeth rooted at the top edge. A painted cream wedge head and teal lip outline on intact rind give the character its Beetlejuice identity without adding carving complexity. Painting the design before cutting means the color stays right up to each opening edge.

From pumpkin to porch

  1. Scoop and thin the walls

    Cut a plug from the bottom and scoop the interior to about 3/4 inch thickness. A thinner wall lets the cream paint show as a warmer glow around the cutouts. Dry the exterior before painting.

  2. Paint the head and stripes

    Use a wide flat brush to fill the broad cream wedge shape on the front of the pumpkin. Once the cream is dry, add black stripes along each side of the wedge with a medium flat brush. Keep the stripes bold so they read clearly from several feet away.

  3. Mark and paint the teal lip outline

    Draw the wide horizontal mouth opening in pencil, then paint a teal outline around it before cutting. The teal color needs to be on intact rind; once you cut the opening it disappears, so paint first and cut second.

  4. Cut the mouth opening

    Use a detail saw to cut the wide horizontal mouth, leaving both chunky triangular teeth rooted firmly at the upper jaw edge. Cut the bottom of the mouth first and work up the sides so the teeth remain supported until the last moment. An adult should handle all sawing steps.

  5. Cut the oval eyes

    Cut the two oval eye openings above the mouth. Because the mouth is already open, you can see the LED light inside and use it to check your eye proportions from outside. Round, smooth oval cuts read better than jagged ones here, so take your time with small saw strokes.

  6. Light and display

    Place a battery-powered LED tea light inside and set the pumpkin at eye level so viewers look directly into the glowing mouth. The teal paint around the opening reflects the inner light and makes the grin look especially vibrant after dark.

Written with AI to match this design

Gather your supplies

Check things off as you get ready.

Work on a stable surface, keep your free hand out of the cutting path, and have an adult handle sharp tools.

Three levels of light

  • Leave intact

    The painted cream wedge and black side stripes stay on solid dark rind

  • Peel & shade

    None needed on this simple design

  • Cut through

    Both oval eyes and the wide horizontal mouth are cut fully through for bright light

Learn the carving basics

Before you start cutting

How wide should the two triangular teeth be?

Make each tooth at least 3/4 inch wide at the base where it connects to the upper jaw. Narrow teeth snap off easily when the pumpkin dries and contracts over several days. Err on the chunky side; the sandworm's teeth in the film are broad and blunt rather than needle-like.

Does the teal paint need to go on before or after I carve the mouth?

Paint the teal lip outline before cutting. Once the mouth is open, the teal border on the inner cut edge disappears inside the pumpkin wall. Painting on the intact rind surface first gives you a clean frame that stays visible from outside.

What if the cream paint looks too orange on my pumpkin?

Apply a thin white acrylic base coat over the wedge area first and let it dry before adding the cream. The white layer blocks the orange rind color so the cream reads true. One thin white coat is usually enough for this large wedge shape.

Your take belongs here, too.

Changed a detail? Made it simpler? Share a photo of your version and tell the community what worked.

Share your pumpkin

More pumpkins like this

You've reached the end · 8 pumpkins
The Patch Report

Fresh pumpkins, in your inbox.

The best new carvings, ideas worth stealing, and how-tos for carving season. Short, seasonal, and gone by November.

A short email during carving season. Unsubscribe anytime. See our privacy policy.