Halloween Pumpkin Carving Contest · Starts October 1st · $500 in prizes
← Back to ideas
@ai_concepts
Sep 25, 2026
Expert Sandworm Pumpkin With Looping Body and StarsAI
0

Report this carving

Tell us what is wrong. Reports are private.

Expert Sandworm Pumpkin With Looping Body and Stars

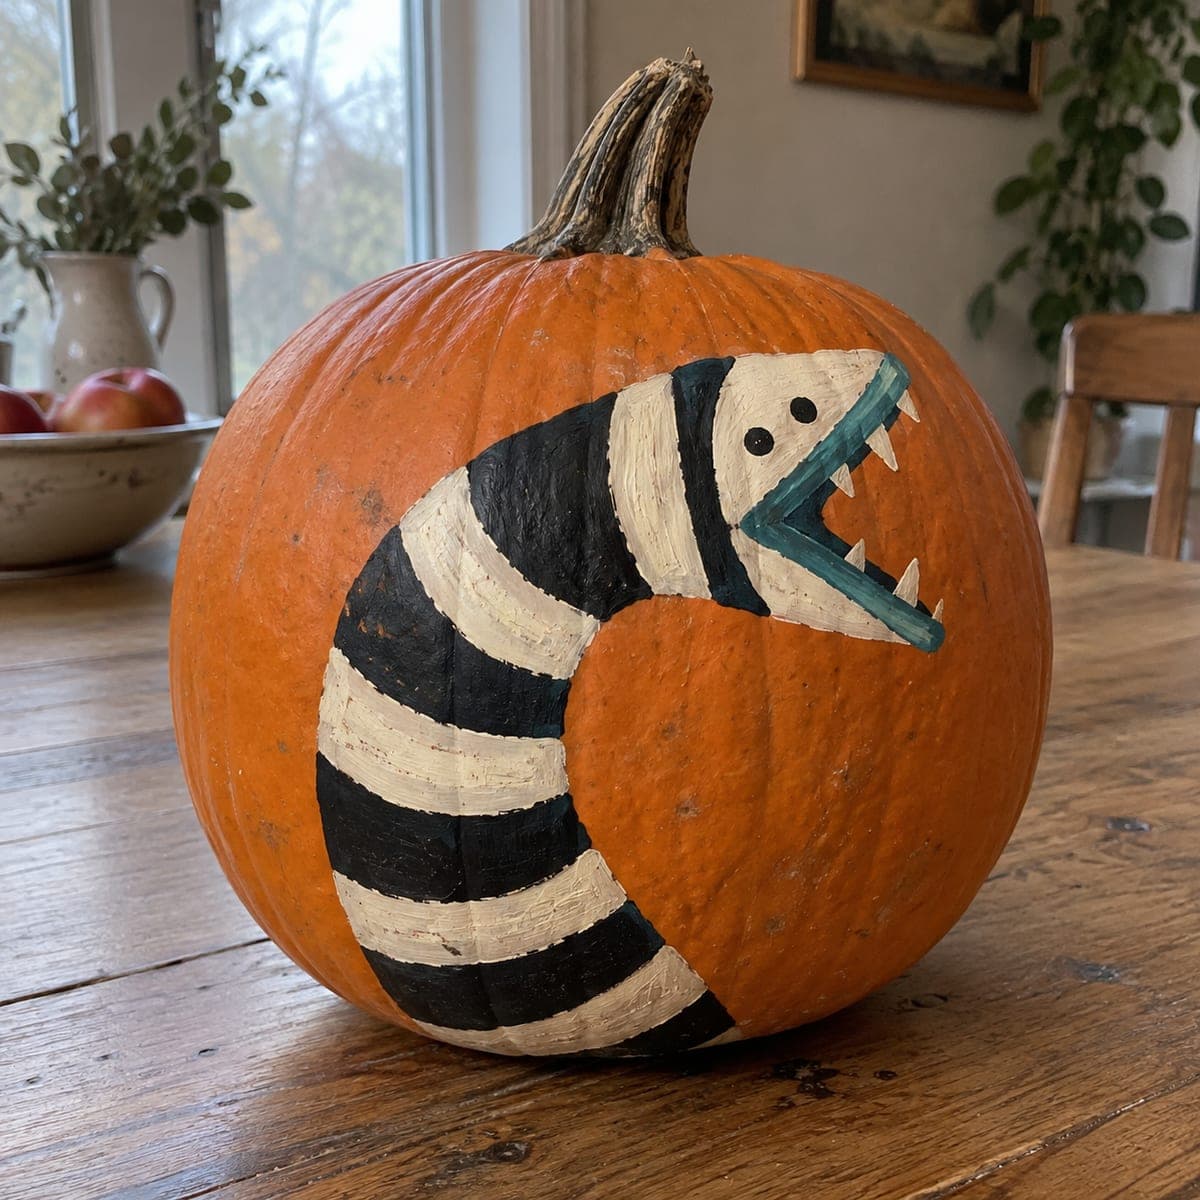
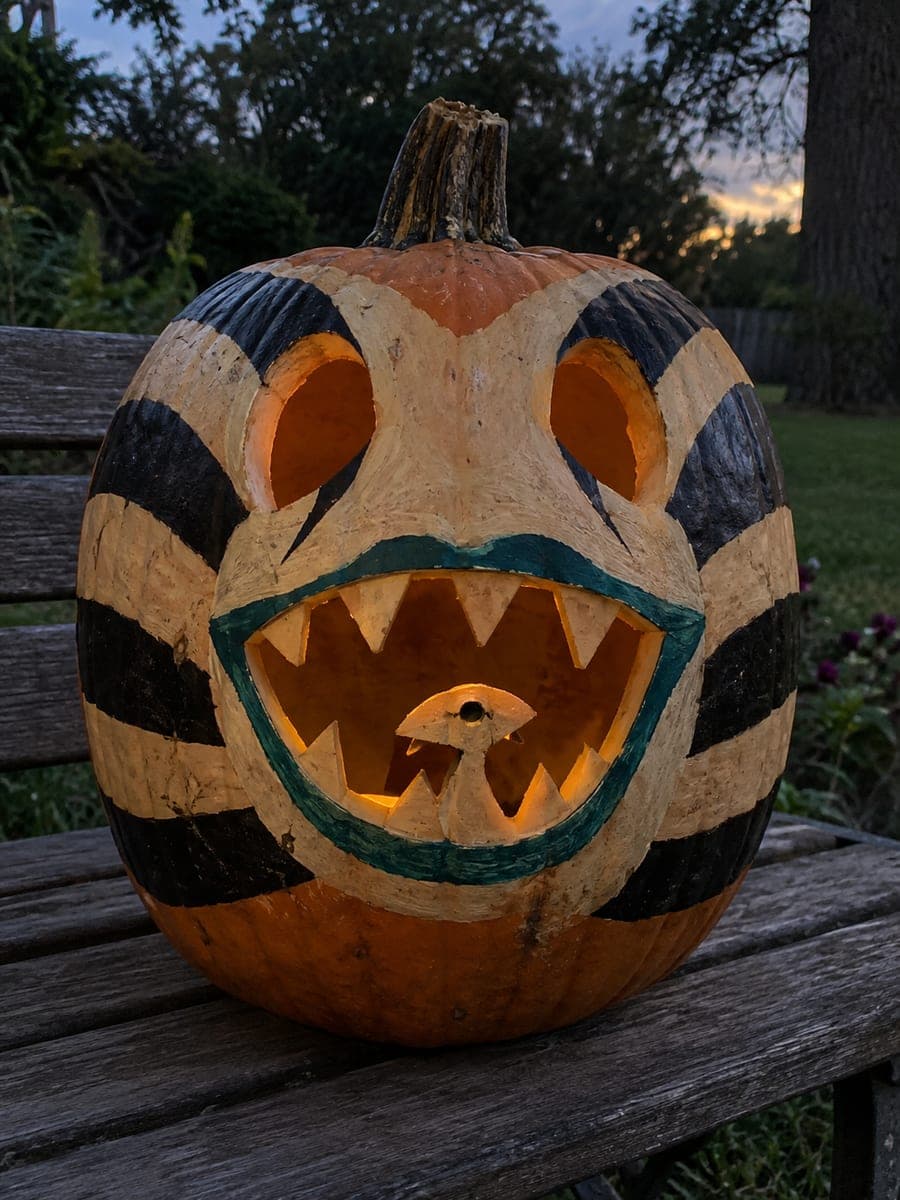
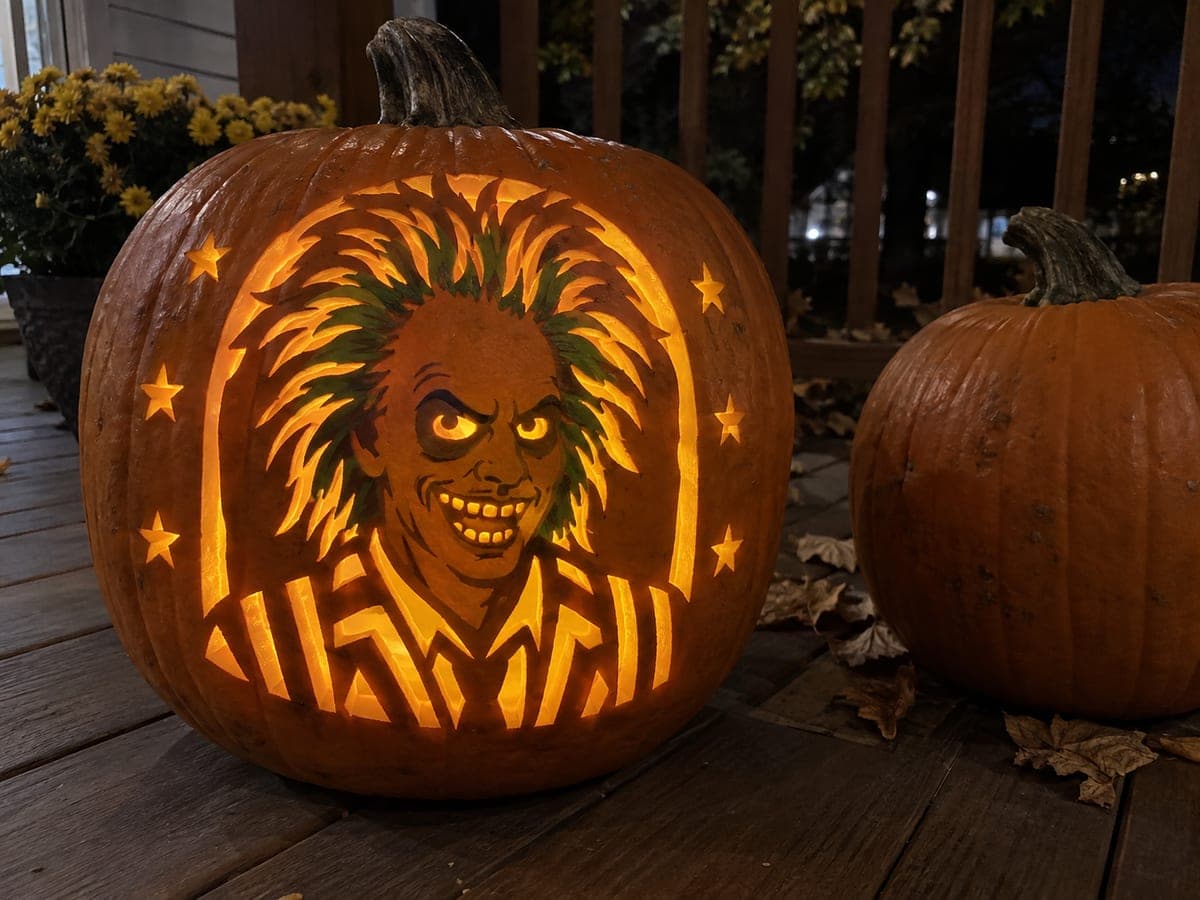
This expert sandworm pumpkin carving idea features a retained looping striped body bridged at the top, left, and bottom, with a secondary smaller head rising from the lower body and rooted teeth on both sets of jaws. A main oval background and separate star cutouts are the only fully open areas. Eyes are painted on solid rind rather than carved, keeping the head solid enough to support the looping body above.

No ratings yet · Sign in to rate

Comments (0)

  • No comments yet — be the first.

Save without an account. Sign in to like or comment.

Our tips for carving a similar design

The looping body stays connected at the top, left, and bottom bridges while a secondary smaller head rises from the lower body and the main oval background and star holes provide most of the light. Eyes are painted on solid rind rather than cut, which keeps the head solid and strong enough to support the heavy looping body above. Both sets of jaws have rooted teeth, and secondary surfaces are shallow-backed for depth.

From pumpkin to porch

  1. Map bridges and sequence

    Before any cutting, identify and mark the top, left, and bottom bridge points on the transferred stencil. Write the cut sequence on a piece of paper: shallow-back first, then stars, then the main oval, then the jaws. Following a written sequence prevents you from inadvertently removing a bridge mid-session.

  2. Scoop and prepare

    Cut a bottom plug and scoop to a consistent 3/4 inch wall. The looping body puts uneven stress on different parts of the shell, so uniform thickness reduces weak points. Dry the exterior before beginning any surface work.

  3. Shallow-back the body surface details

    Use a V-gouge or linoleum cutter to carve the stripe lines and secondary surface accents into the retained body. Work while the shell is still fully intact for maximum grip and stability. These shallow-backed areas glow at a softer level than the open oval and stars.

  4. Cut the star holes and main oval

    Open the separate star holes around the frame first, then cut the large main oval background. Stars are small isolated cuts that do not affect the bridge structure. The main oval is the largest opening; cut it last among the background elements so the body retains full support until that point.

  5. Open the jaw areas and add the secondary head

    Cut both sets of jaw openings with teeth rooted at each jaw edge. Leave the secondary head's full perimeter connected to the lower body at a broad base. All cutting in and around the secondary head requires a narrow blade and slow, controlled strokes. Adults should handle this stage.

  6. Paint eyes and display

    Paint the eyes on solid rind with black iris, white sclera, and a fine black pupil. LED lighting from inside will silhouette the painted eyes gently against the glowing oval background. Place the pumpkin at chest height on a stable platform so the looping body is fully visible.

Written with AI to match this design

Gather your supplies

Check things off as you get ready.

Work on a stable surface, keep your free hand out of the cutting path, and have an adult handle sharp tools.

Three levels of light

  • Leave intact

    The looping body silhouette, all three bridges, and the painted eye areas stay as solid dark rind

  • Peel & shade

    Stripe lines and body accents are shallow-backed for a diffuse mid-level glow

  • Cut through

    The main oval background, separate star holes, and both jaw openings are cut fully through

Learn the carving basics

Before you start cutting

Why are the eyes painted rather than cut on this expert design?

Cutting eye holes into the head would remove rind that is structurally critical for holding the looping body above. Painting the eyes on intact rind preserves that structural mass while still giving the face a finished look. The painted eyes appear as dark shapes against the glowing backdrop, which actually looks very dramatic from outside.

How far apart should the star holes be from the main oval edge?

Leave at least 3/4 inch of solid rind between any star hole and the edge of the main oval. Too little material between a star and the oval edge can cause the rind between them to crack. Spacing the stars in an arc further from the oval also looks more deliberate and decorative.

The looping body feels loose after I opened the main oval. What should I do?

Check that all three bridges are still solid. If the body has slight play, press a small wooden skewer horizontally through the rind on the interior side of the loosest bridge, bridging across the cut gap, and secure it with petroleum jelly. Do not try to add new cuts once the body is already showing flex.

Your take belongs here, too.

Changed a detail? Made it simpler? Share a photo of your version and tell the community what worked.

Share your pumpkin

More pumpkins like this

You've reached the end · 8 pumpkins
The Patch Report

Fresh pumpkins, in your inbox.

The best new carvings, ideas worth stealing, and how-tos for carving season. Short, seasonal, and gone by November.

A short email during carving season. Unsubscribe anytime. See our privacy policy.