Halloween Pumpkin Carving Contest · Starts October 1st · $500 in prizes
← Back to ideas
@ai_concepts
Sep 25, 2026
Hard Sandworm Pumpkin With S-Shaped Striped BodyAI
0

Report this carving

Tell us what is wrong. Reports are private.

Hard Sandworm Pumpkin With S-Shaped Striped Body

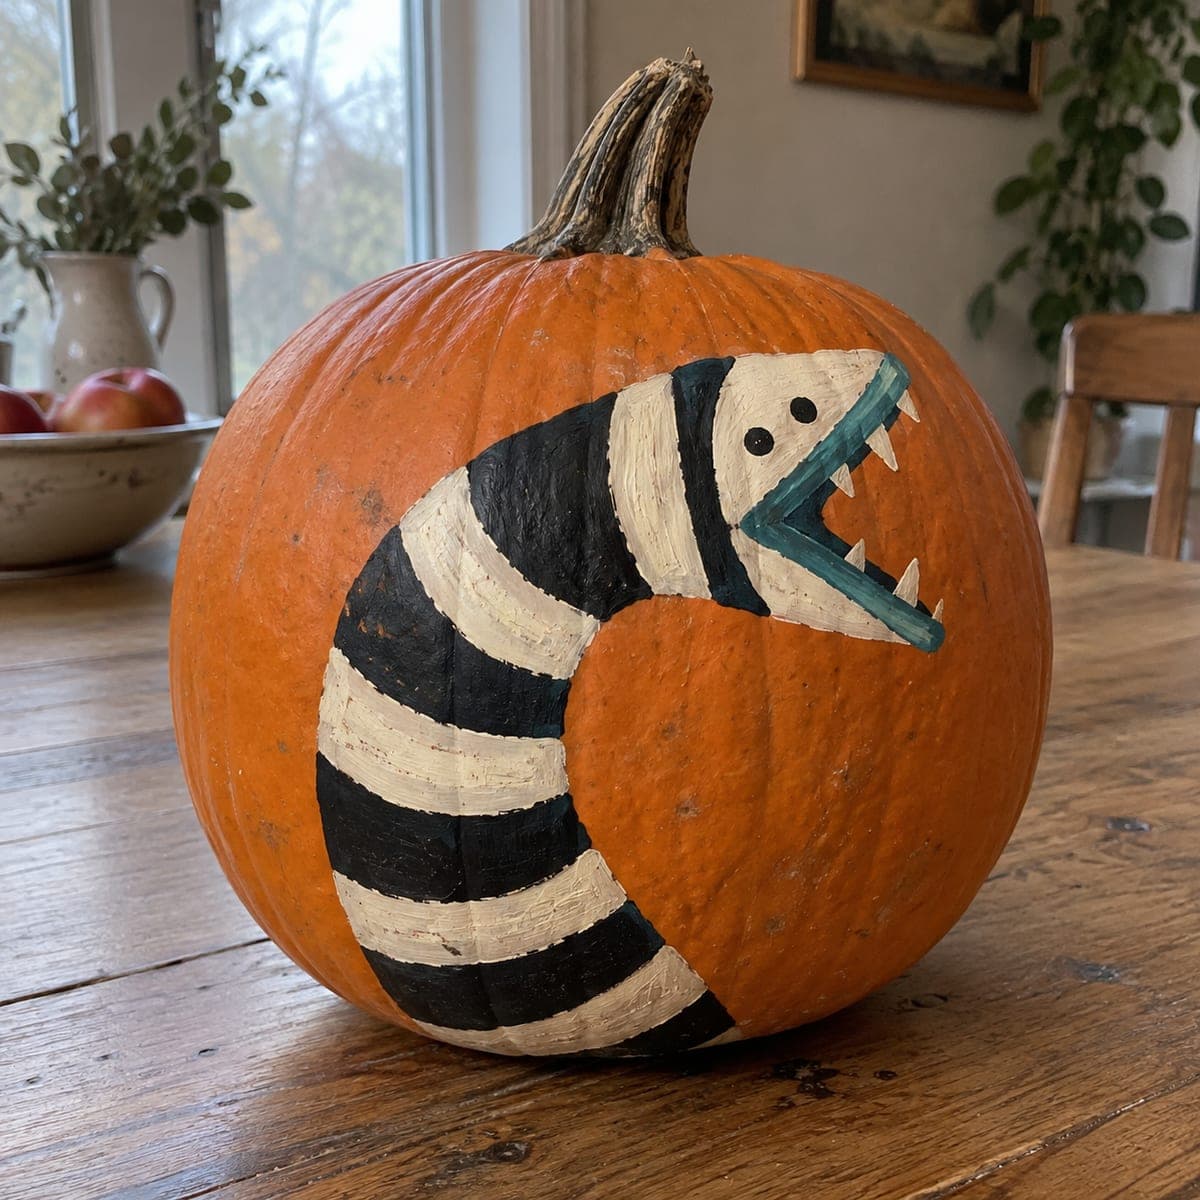
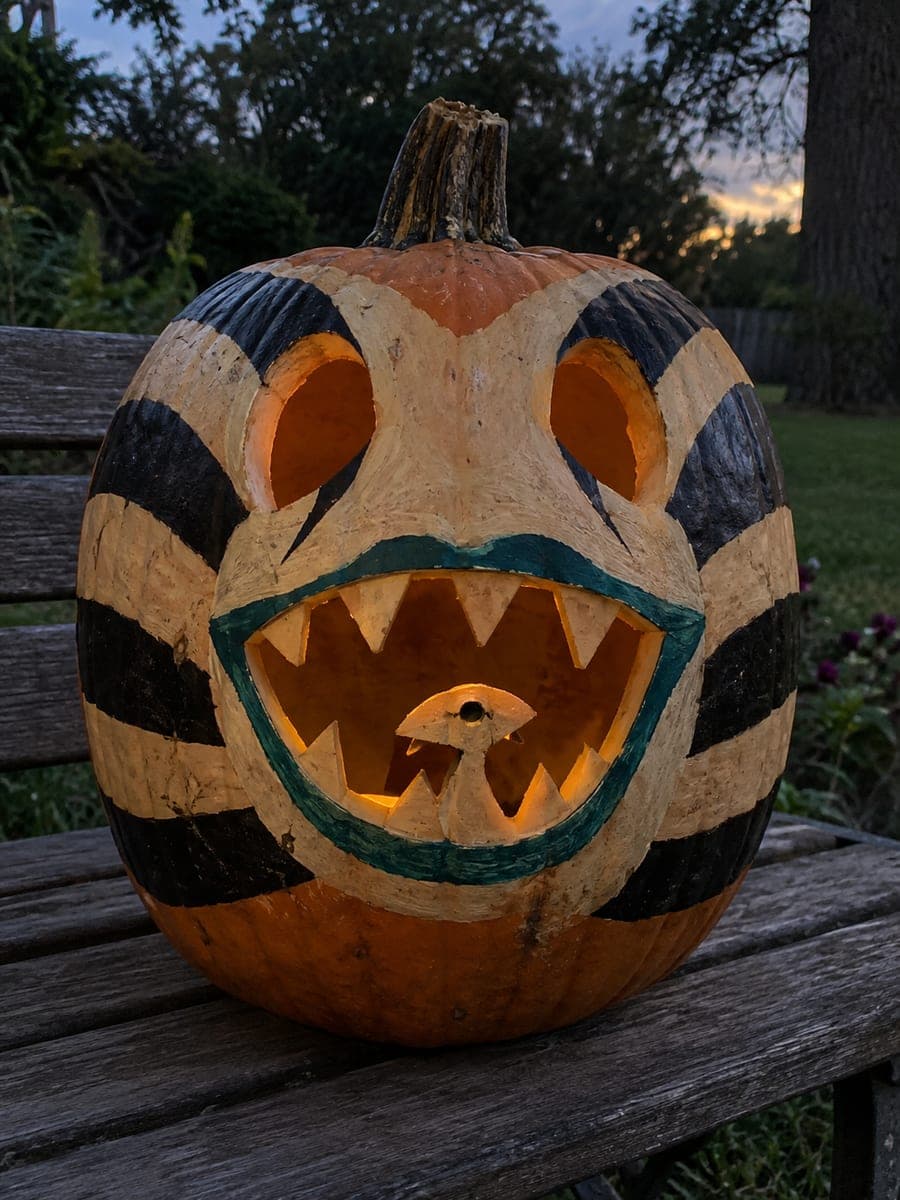
The hard sandworm pumpkin carving idea retains the full S-shaped striped body connected at the upper frame, broad base, and left side, with both the main and inner heads kept attached. Mouth and eye holes are cut fully through while teeth remain rooted to the jaws. Carve the connecting bridges on the body first so you understand the load path before opening up the mouth area.

No ratings yet · Sign in to rate

Comments (0)

  • No comments yet — be the first.

Save without an account. Sign in to like or comment.

Our tips for carving a similar design

The design preserves the entire S-curved striped body as a retained rind piece connected at the upper frame, a broad base, and the left side of the shell, so the body never floats free. Both the main and inner heads stay attached; mouths and eyes are open holes while teeth root into the jaw edges. Understanding the load path through the body before any cut is the key to keeping this complex carving intact.

From pumpkin to porch

  1. Plan the bridges before you cut

    With the stencil transferred, trace the three attachment points where the body touches the frame (top, base, and left side) and mark them with tape or a marker. These bridges must never be cut. Knowing their locations prevents accidental over-cutting while you are focused on the body detail.

  2. Scoop the interior

    Remove the interior through a bottom plug, keeping walls at a consistent 3/4 inch. The retained S-body spans a large surface area, so even wall thickness is important to avoid weak spots. Wipe exterior dry before transferring the stencil.

  3. Score the stripe pattern

    Shallow-score the alternating stripe lines on the body using a linoleum cutter. These scores thin the rind so the stripes glow at a mid intensity against the fully open areas later. Work from the body's outer edge inward.

  4. Open the background areas

    Cut the open background sections around the S-body first, leaving all three bridge points intact. Use a narrow saw and follow the body outline carefully. The body silhouette will begin to emerge as each background section is removed.

  5. Cut the mouth and eye openings

    With the background open and the body supported at three points, cut the mouth opening and eye holes. Leave all teeth rooted to their respective jaw edges. The inner head remains attached and its mouth opening is cut in the same pass. Adults should handle all saw work throughout.

  6. Light and check structural integrity

    Place an LED light inside and inspect all bridge points from outside. Any crack or flex at a bridge point is a warning sign; support it with a small piece of food-safe pumpkin tape or a wooden toothpick inserted across the crack from inside before display.

Written with AI to match this design

Gather your supplies

Check things off as you get ready.

Work on a stable surface, keep your free hand out of the cutting path, and have an adult handle sharp tools.

Three levels of light

  • Leave intact

    The full S-shaped body silhouette and the three bridge connections stay as solid dark rind

  • Peel & shade

    The stripe lines on the body are shallow-scored for a mid-level glow across the creature's surface

  • Cut through

    The background areas around the body, plus the mouth and eye holes, are fully cut through

Learn the carving basics

Before you start cutting

What happens if one of the three bridge points cracks while I am carving?

Stop cutting immediately and assess the damage. A hairline crack can be stabilized with a toothpick inserted through the rind from the inside across the crack line, plus a thin bead of petroleum jelly to seal moisture in. If the bridge breaks fully, the S-body will lose structural support and the design cannot be safely displayed.

How do I keep the stencil aligned on a rounded pumpkin surface?

Cut the stencil paper with relief slits every two inches along the curved edges so it conforms to the round surface without bubbling. Use multiple pieces of tape to hold each flap flat before running the pin wheel over the lines. Accurate transfer dots make the bridge locations much easier to identify.

Can I add paint to the body stripes instead of scoring them?

Yes, painting the stripes with black or cream acrylic on the solid rind is a safer alternative to scoring on a hard carving. The visual effect is slightly different since painted stripes do not glow but they add strong graphic contrast in daylight. If you paint instead of score, do it after all cuts are complete so the paint does not chip off during sawing.

Your take belongs here, too.

Changed a detail? Made it simpler? Share a photo of your version and tell the community what worked.

Share your pumpkin

More pumpkins like this

You've reached the end · 8 pumpkins
The Patch Report

Fresh pumpkins, in your inbox.

The best new carvings, ideas worth stealing, and how-tos for carving season. Short, seasonal, and gone by November.

A short email during carving season. Unsubscribe anytime. See our privacy policy.