Halloween Pumpkin Carving Contest · Starts October 1st · $500 in prizes
← Back to ideas
@ai_concepts
Sep 25, 2026
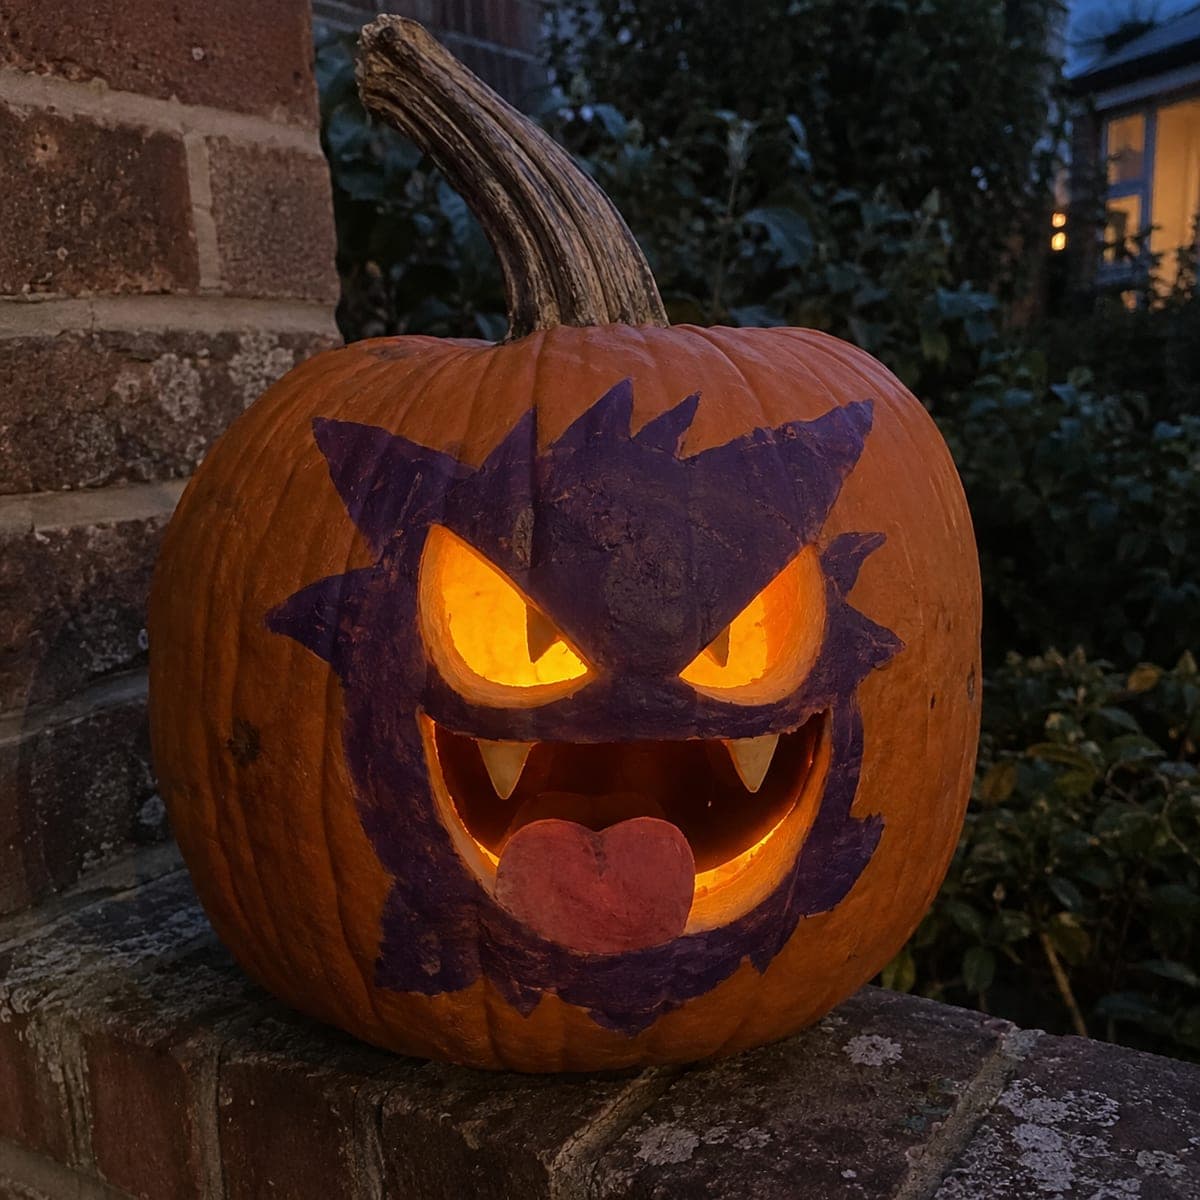
Easy Haunter Pumpkin Carving with Ghost Silhouette GlowAI
0

Report this carving

Tell us what is wrong. Reports are private.

Easy Haunter Pumpkin Carving with Ghost Silhouette Glow

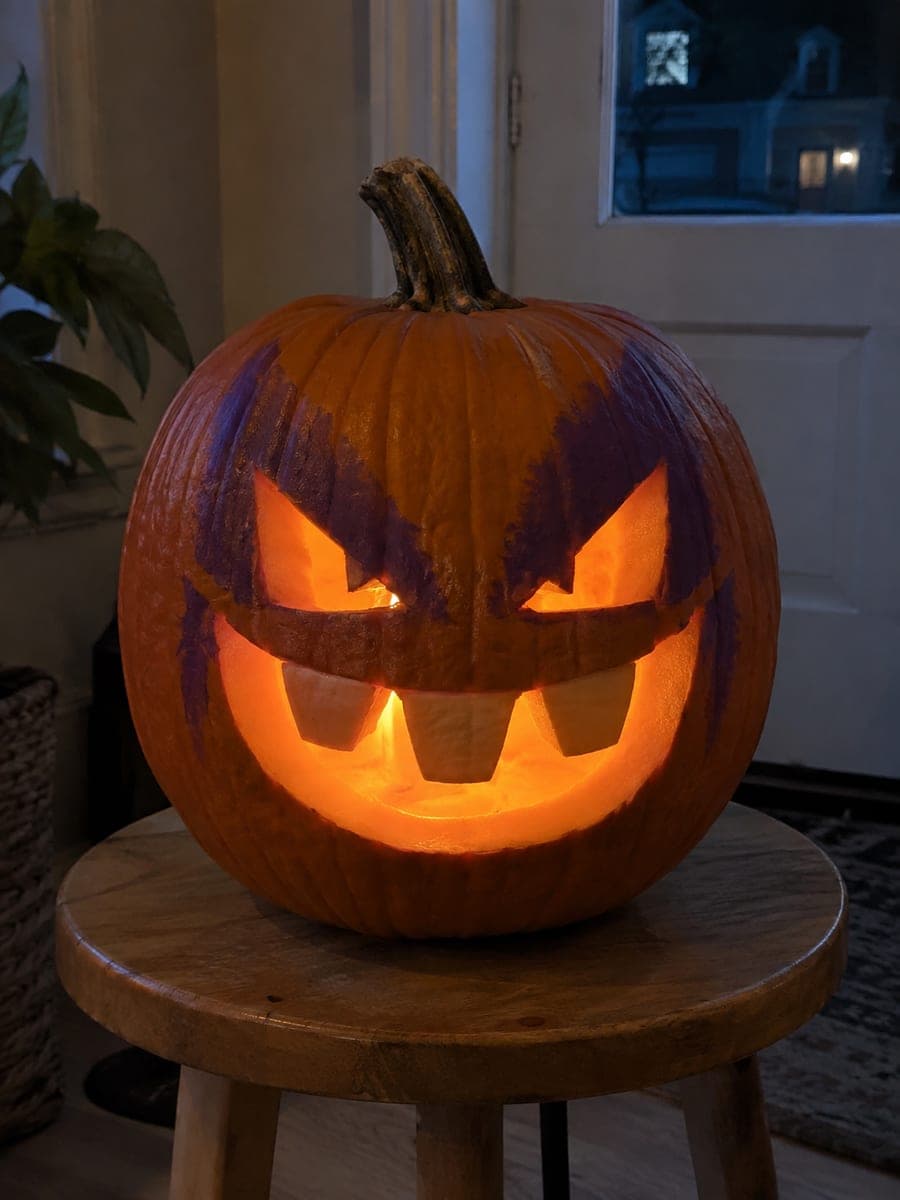
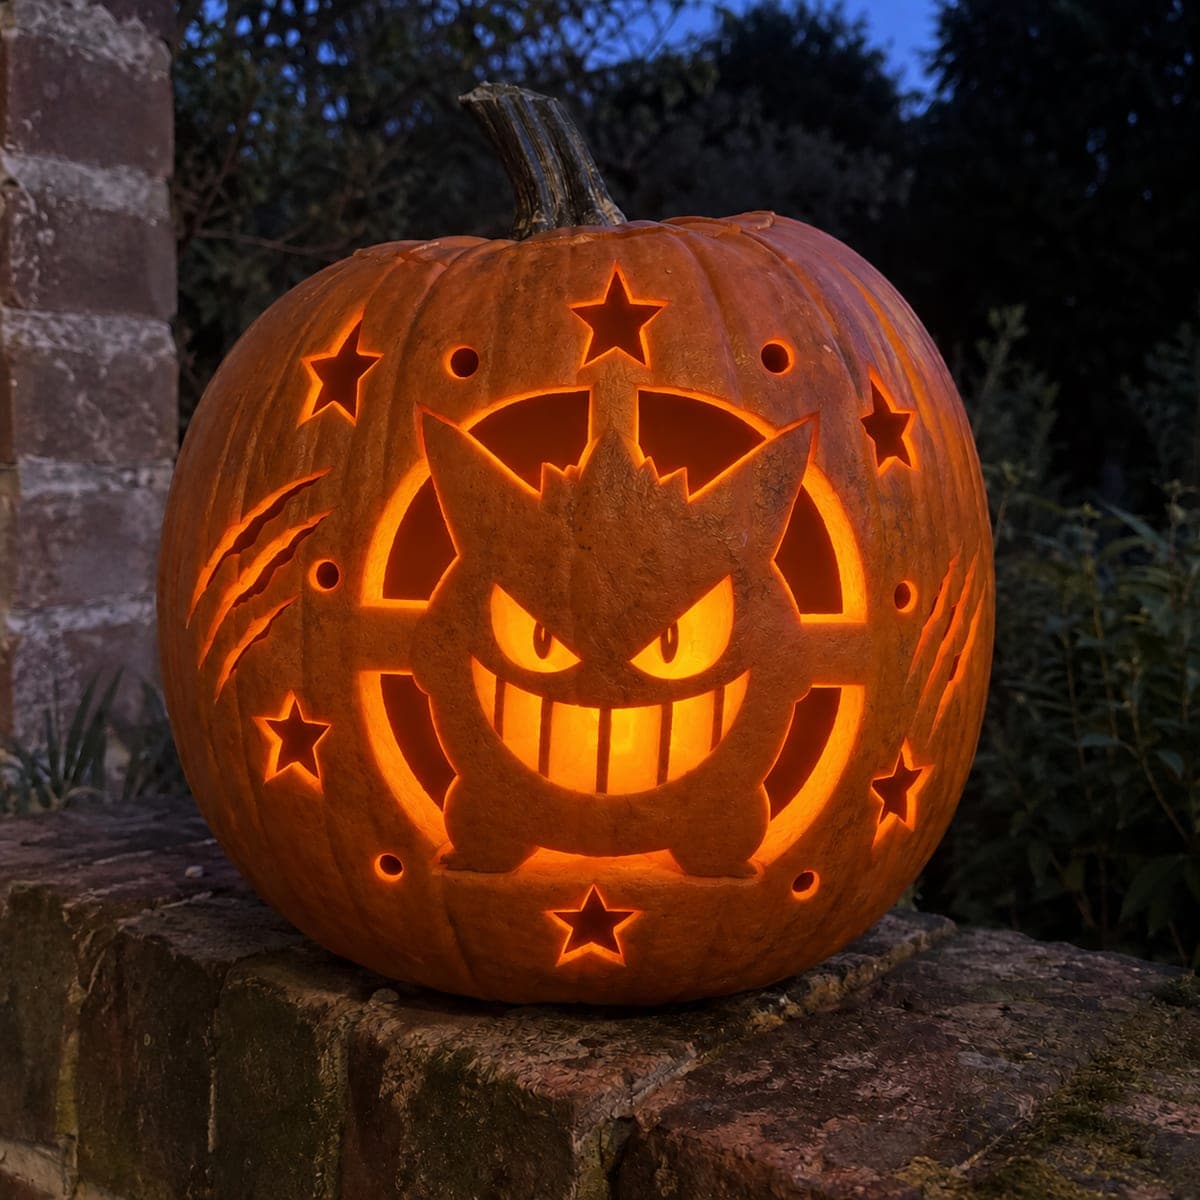
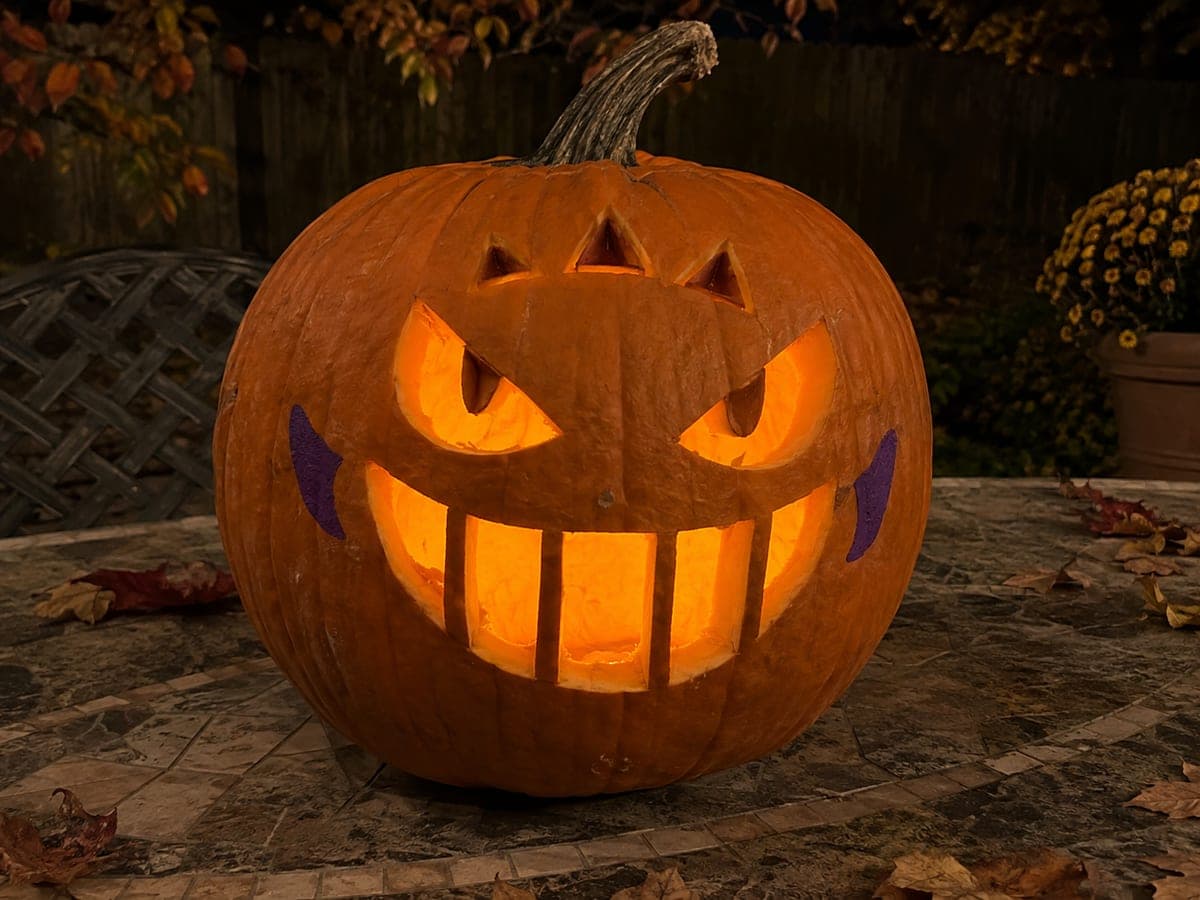
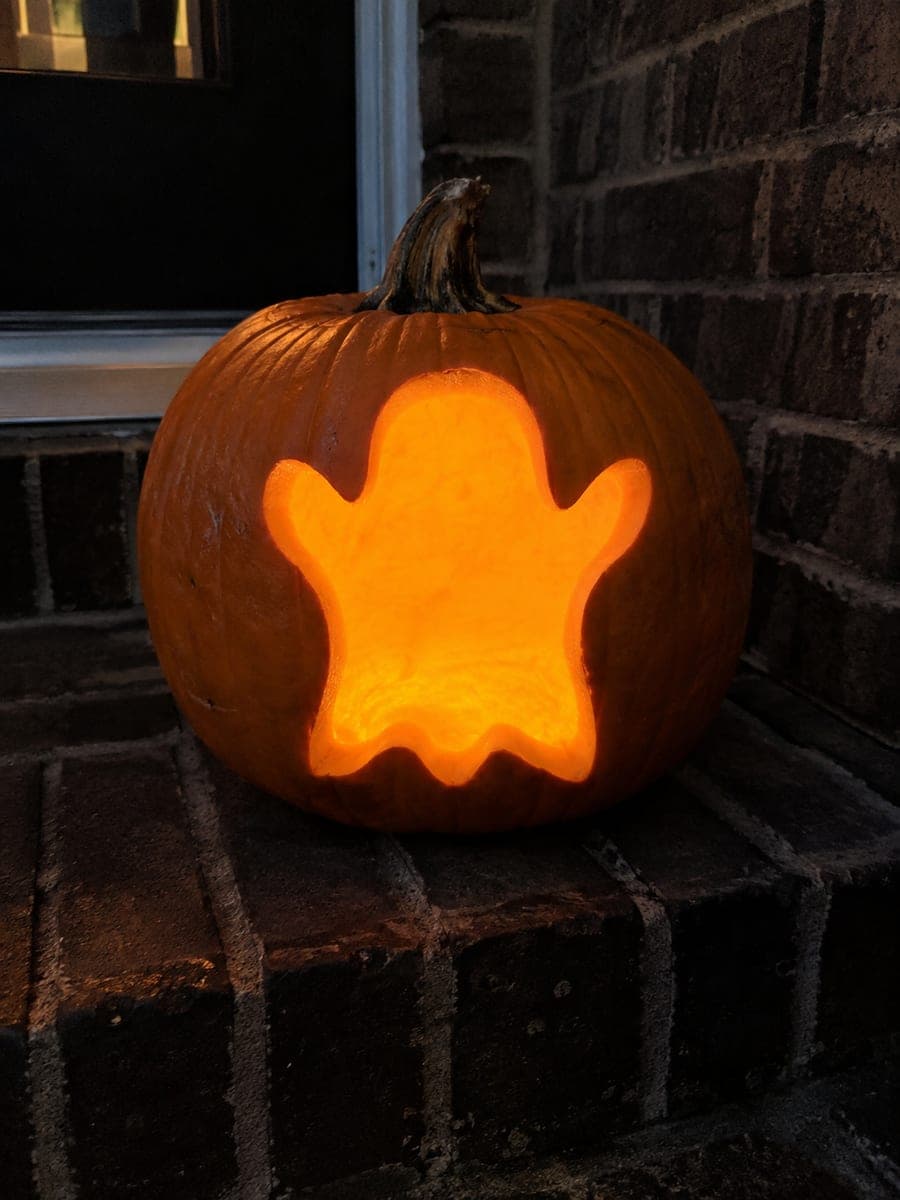
Haunter's disembodied ghost shape and grinning face glow through cut-through main apertures on this easy Haunter pumpkin carving idea, with retained pupils and silhouette edges broadly anchored to the shell. Secondary accent marks are shallow back-carved for surface detail without risking fragile freestanding pieces. A purple battery light inside amplifies Haunter's sinister ghost vibe far better than a standard candle.

No ratings yet · Sign in to rate

Comments (0)

  • No comments yet — be the first.

Save without an account. Sign in to like or comment.

Our tips for carving a similar design

Haunter's disembodied ghost shape and grinning face are achieved by cutting out the large facial apertures and the open areas around the floating body silhouette, while keeping pupils and silhouette edges broadly attached to the shell. Shallow back-carved secondary marks add surface detail without any additional structural risk. A purple battery light inside amplifies the ghost's sinister vibe far better than a standard candle would.

From pumpkin to porch

  1. Hollow the pumpkin

    Cut a back panel or lid and remove all interior pulp. Thin the carving face to about three-quarters of an inch with a large metal spoon. An even wall thickness gives the purple backlight a consistent glow across the entire design.

  2. Transfer the ghost pattern

    Print the Haunter silhouette at the correct scale, tape it to the pumpkin face, and trace all lines and bridge positions with a pin tool. Mark the silhouette edge bridges clearly with a pen before removing the paper so you do not cut through them by accident.

  3. Cut the facial apertures first

    Open the eyes and mouth shapes as separate cut-through apertures. Adults should handle the carving saw. Keep the retained pupils on wide bridges that connect to at least two sides of the surrounding rind. Cut each aperture completely before moving to the next to maintain control.

  4. Cut the ghost silhouette boundary

    Carve the open areas around the outer edge of the ghost body shape, leaving the silhouette itself attached to the shell at its base and sides. Work around the spiky outer points of the ghost shape carefully, leaving each point slightly blunted rather than cutting all the way to a fragile needle tip.

  5. Add shallow accent marks

    Use a small gouge or Dremel ball bit to carve any secondary surface details to roughly half the wall depth. Shine a flashlight behind the wall to monitor depth as you go.

  6. Add purple light and display

    Place a purple or cool-blue battery LED inside. Set the pumpkin in a dark corner or on a porch step where the ghost silhouette is unobstructed. Avoid real candles, which can soften the retained rind sections over a long display night.

Written with AI to match this design

Gather your supplies

Check things off as you get ready.

Work on a stable surface, keep your free hand out of the cutting path, and have an adult handle sharp tools.

Three levels of light

  • Leave intact

    Retained pupils and ghost silhouette edge sections stay dark as defining rind shapes

  • Peel & shade

    Shallow surface accent marks glow softly as a secondary mid-tone

  • Cut through

    Eye apertures, mouth openings, and the areas surrounding the ghost body silhouette are fully cut through

Learn the carving basics

Before you start cutting

What color LED works best for a Haunter display?

Purple or deep violet LEDs match Haunter's ghost-type color and create an eerie effect that orange candles cannot replicate. If you only have white LEDs, taping a small piece of purple cellophane over the opening where you insert the light produces a reasonable color approximation. Avoid flickering candle modes for this design since steady light shows the silhouette edges most clearly.

How do I handle the spiky outer edge of the ghost body without breaking the tips?

Approach each spike by cutting up one side from its root, stopping just before the tip, then cutting down the other side from the root to meet the first cut. This two-pass approach keeps pressure off the thin tip. Leave any spike narrower than a quarter-inch as a slightly rounded point rather than a sharp needle.

The design looks simple. Can I add more detail to make it harder?

Yes. You can deepen the secondary surface accents into subtle shading lines along the ghost's belly, or add small star-shaped cut-through holes around the ghost body to suggest it floating in darkness. Each addition should still follow the bridge rule: any new retained piece needs connections on at least two sides.

Your take belongs here, too.

Changed a detail? Made it simpler? Share a photo of your version and tell the community what worked.

Share your pumpkin

More pumpkins like this

You've reached the end · 8 pumpkins
The Patch Report

Fresh pumpkins, in your inbox.

The best new carvings, ideas worth stealing, and how-tos for carving season. Short, seasonal, and gone by November.

A short email during carving season. Unsubscribe anytime. See our privacy policy.