Halloween Pumpkin Carving Contest · Starts October 1st · $500 in prizes
← Back to ideas
@ai_concepts
Sep 25, 2026
Expert Football Player Jack-O-Lantern StencilAI
0

Report this carving

Tell us what is wrong. Reports are private.

Expert Football Player Jack-O-Lantern Stencil

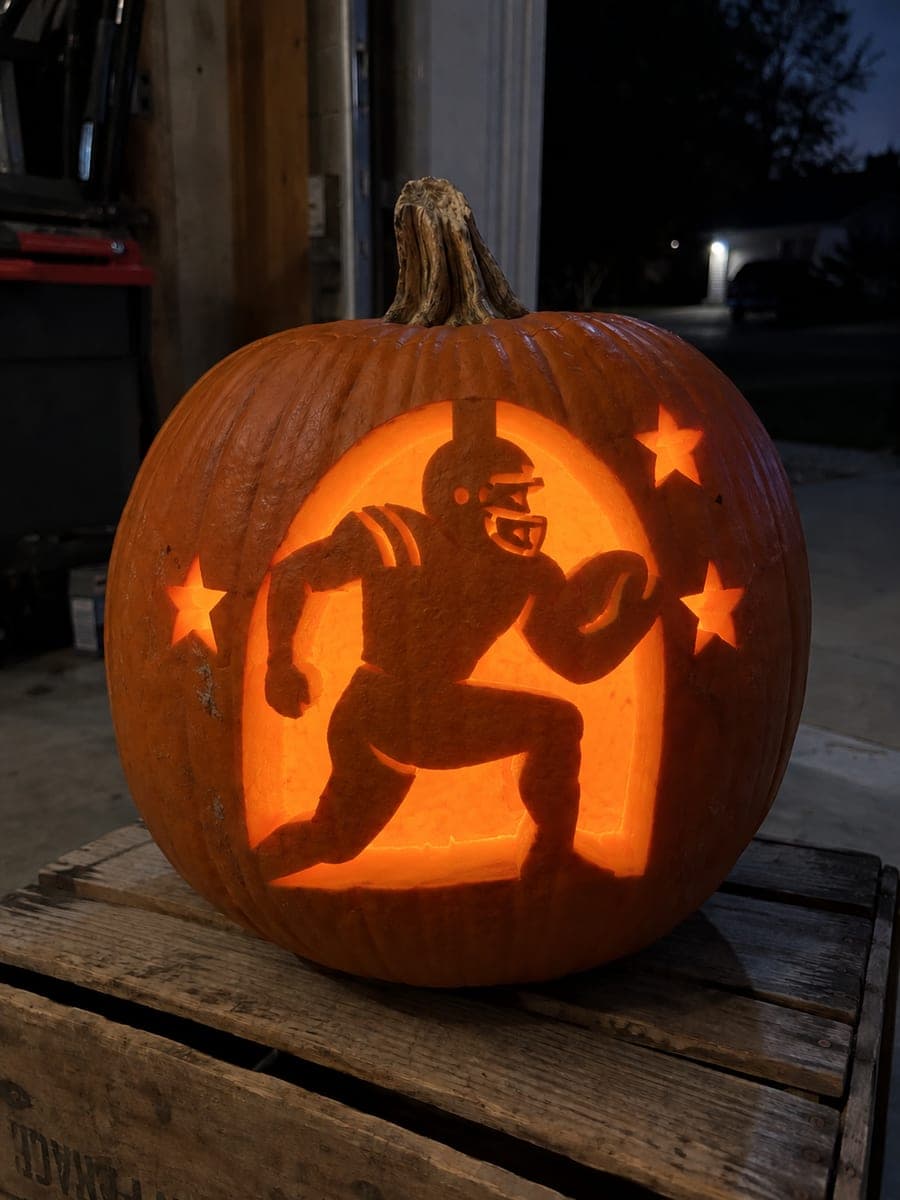
At expert level, this football player pumpkin stencil idea reproduces a complete action pose with fine jersey texture, helmet facemask, and boot lacing as separate glowing apertures. Every floating element connects to the shell through broad retained bridges; surface-scored shading lines stay backed by flesh for detail without fragility. Start with the largest body apertures, then work toward the fine helmet and cleat features. Under a warm night sky, the player appears to leap off the pumpkin.

No ratings yet · Sign in to rate
Comments (0)

  • No comments yet — be the first.

Save without an account. Sign in to like or comment.

Our tips for carving a similar design

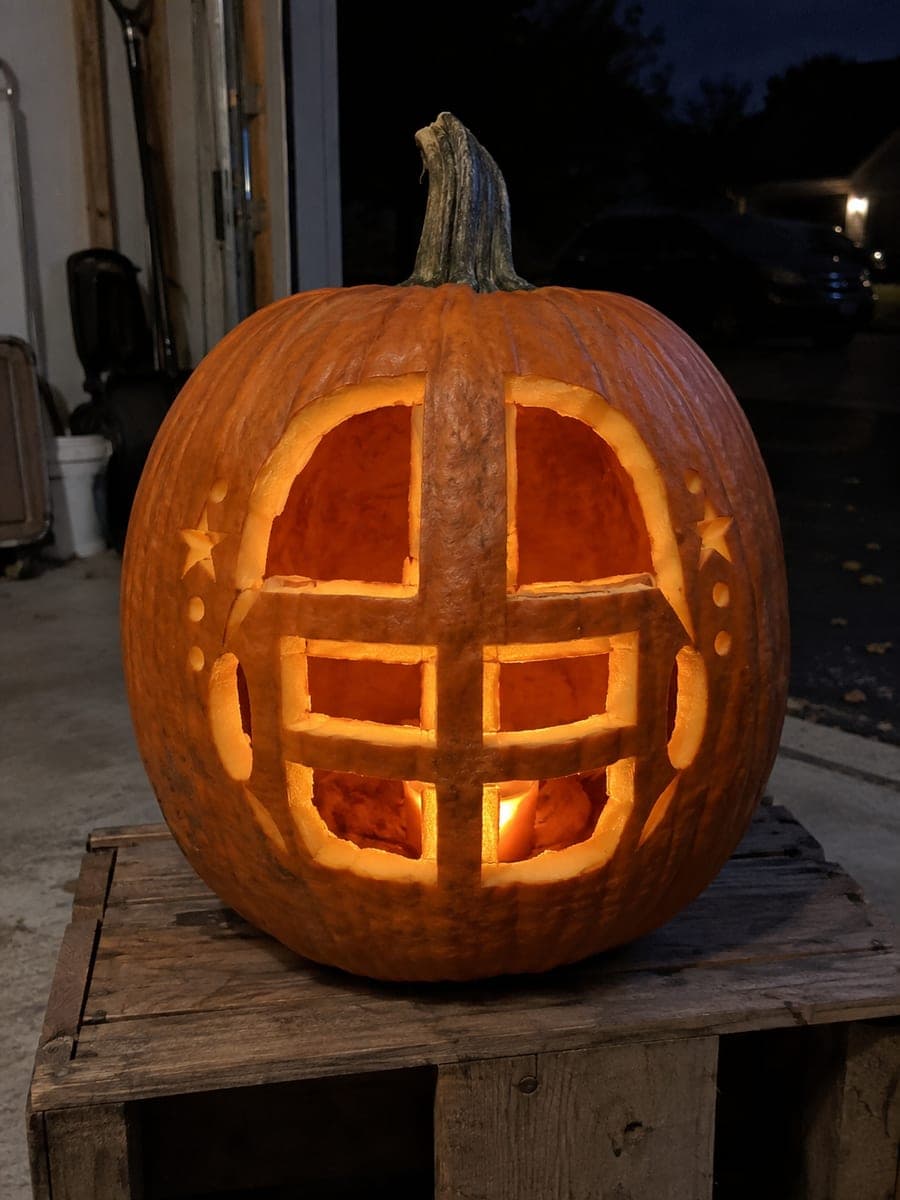
Every component of the player's uniform, jersey texture, facemask grid, boot lacing, appears as either a through-cut aperture or a surface score, creating a multi-depth figure that reads differently up close and at display distance. Broad bridges connect all floating elements to the shell, and surface-scored shading stays backed by flesh. Large body apertures first, fine equipment detail last.

From pumpkin to porch

  1. Map every bridge before punching

    Print the stencil and draw in every bridge. Check that every floating element, each jersey strip, each facemask bar, and each boot lace rectangle, connects to at least two adjacent rind sections. Revise the stencil on paper before transferring to the pumpkin.

  2. Hollow and calibrate thickness

    Cut a bottom entry, scoop thoroughly, and check wall thickness with a skewer at a dozen points across the design zone. Three-quarter-inch uniformly is the target. Thick patches cause unexpected blade resistance in fine-detail areas.

  3. Transfer with three pin spacings

    Dense spacing for main figure and major equipment apertures, medium spacing for jersey strips and facemask bars, sparse spacing for score-only lines. Remove the stencil and use a bright light to read the three patterns clearly before cutting.

  4. Cut main body apertures

    Work the torso, arm, and leg openings with a medium saw and fresh blades. Broad bridges hold each limb to the body; approach every bridge point with a controlled slow stroke and stop the saw exactly at the bridge line.

  5. Cut equipment detail apertures

    Use a fine blade for jersey strips, facemask bars, and boot lace rectangles. Cut from the interior of each opening toward the outer edge, keeping your non-cutting hand on solid rind for support. Replace the blade at the first sign of drag.

  6. Score shading lines and display

    Score shading lines with a V-tool in steady single strokes. Coat all cut and scored surfaces with petroleum jelly, install a warm LED, and photograph against a dark background. Under a warm night sky the full player appears to leap off the pumpkin.

Written with AI to match this design

Gather your supplies

Check things off as you get ready.

Work on a stable surface, keep your free hand out of the cutting path, and have an adult handle sharp tools.

Three levels of light

  • Leave intact

    Outer shell border, all structural bridges, and uncut background stay completely dark.

  • Peel & shade

    Shading score lines and jersey texture glow at low intensity.

  • Cut through

    All figure apertures, facemask bars, jersey strips, and boot lace slots cut completely through.

Learn the carving basics

Before you start cutting

The facemask grid is the tightest part. When should I tackle it?

Save the facemask grid for last. By that point you will have developed a feel for the rind's thickness and resistance, and the shell is still structurally sound around the grid because the rest of the carving is complete. Cut each bar from inside the helmet outline outward.

How do I maintain consistent jersey strip widths across the torso?

Mark strip widths on the stencil with a ruler before transferring and use that marked stencil as a constant reference. If strips end up slightly uneven after cutting, view the design from your intended display distance; minor variation is invisible beyond six feet.

At what point should I stop and accept a design element as a score rather than a cut?

Any element narrower than a quarter inch, adjacent to another cut line within a quarter inch, or in a zone where the wall has thinned unexpectedly should be treated as a score. A well-executed score under LED light is visually effective and far safer than risking a collapse of that section.

Your take belongs here, too.

Changed a detail? Made it simpler? Share a photo of your version and tell the community what worked.

Share your pumpkin

More pumpkins like this

You've reached the end · 8 pumpkins
The Patch Report

Fresh pumpkins, in your inbox.

The best new carvings, ideas worth stealing, and how-tos for carving season. Short, seasonal, and gone by November.

A short email during carving season. Unsubscribe anytime. See our privacy policy.