Halloween Pumpkin Carving Contest · Starts October 1st · $500 in prizes
← Back to ideas
@ai_concepts
Sep 25, 2026
Glowing Football Player Pumpkin Stencil DesignAI
0

Report this carving

Tell us what is wrong. Reports are private.

Glowing Football Player Pumpkin Stencil Design

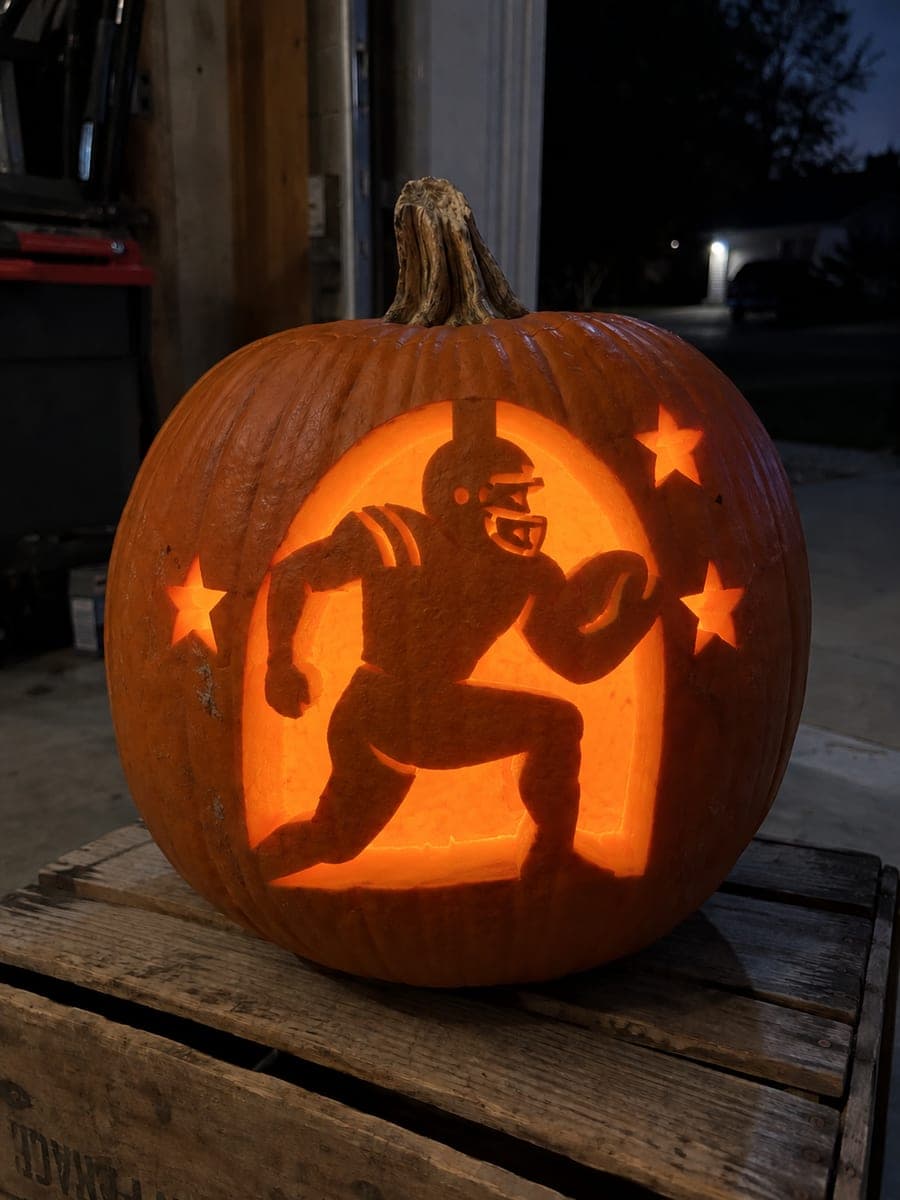
An athletic football player pose, cut through with wide rind bands intact, gives this intermediate pumpkin carving idea great visual impact. Transfer the football player stencil carefully so the jersey numbers and arm positions stay in proportion. Cut the largest body shapes first, then refine the helmet and cleat details with a narrow blade. Warm amber LED lighting makes the player silhouette glow like stadium lights.

No ratings yet · Sign in to rate

Comments (0)

  • No comments yet — be the first.

Save without an account. Sign in to like or comment.

Our tips for carving a similar design

The intermediate version adds jersey number apertures and cleat detail alongside the main figure silhouette, requiring careful stencil registration so proportions stay accurate. Largest body shapes come first, then helmet and cleat refinements. Warm amber LED lighting turns the layered apertures into a convincing stadium-glow display.

From pumpkin to porch

  1. Hollow and thin

    Cut a bottom entry, remove all pulp, and scrape the interior wall to about three-quarter-inch thickness. Consistent thinning is especially important for the small jersey number slots, which need evenly thinned rind to cut without binding.

  2. Transfer stencil with care for proportions

    Tape the stencil firmly to prevent any shift as you punch. Pin all body outlines first, then the jersey number positions, then the cleat detail. Transfer each element zone fully before moving on so alignment errors can be caught early.

  3. Cut main body silhouette

    Remove the primary figure aperture with a medium saw, keeping broad rind bridges at any narrow limb junctions. Jersey number and cleat slots should remain unpunched while you establish the main shape.

  4. Cut jersey numbers

    Use a narrow blade for each number slot. Numbers are typically rectangular apertures; cut both long sides, then the short caps, and ease the piece free with a toothpick. Keep at least a quarter inch between adjacent number elements.

  5. Refine helmet and cleat details

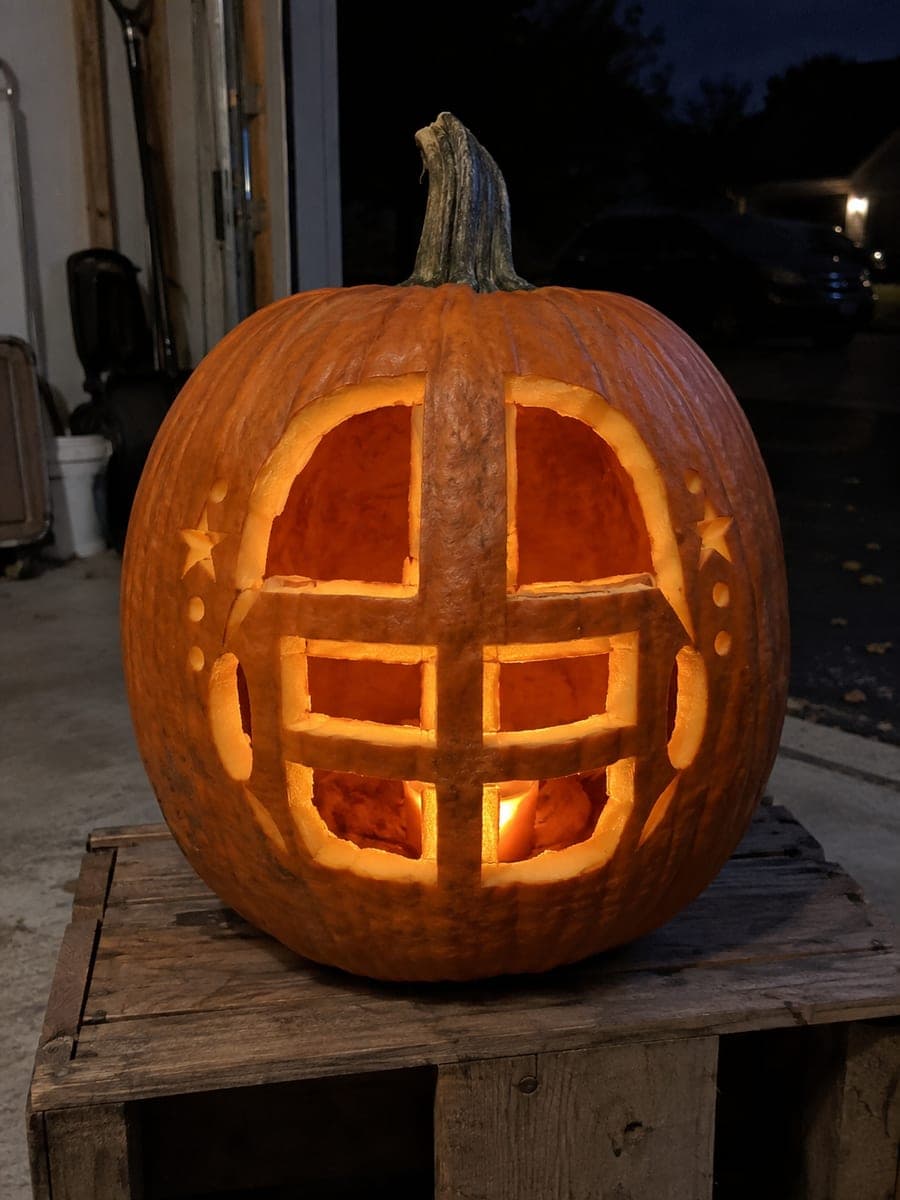
    Switch to a detail blade for any helmet face-mask slots or cleat outline on the foot. Work these last so the main body stays rigid throughout. Cleat marks may be scored rather than cut if the slots would be too narrow.

  6. Light and display

    Place a warm amber LED puck inside, dim the room, and view from across the space. The layered apertures should read as a complete player figure. Coat cut edges with petroleum jelly and position the pumpkin near your game-viewing spot.

Written with AI to match this design

Gather your supplies

Check things off as you get ready.

Work on a stable surface, keep your free hand out of the cutting path, and have an adult handle sharp tools.

Three levels of light

  • Leave intact

    Broad rind bridges, outer shell border, and space between jersey elements stay dark.

  • Peel & shade

    None. All light comes from full cut-throughs.

  • Cut through

    Main figure silhouette, jersey number slots, and cleat apertures all cut completely through.

Learn the carving basics

Before you start cutting

The jersey numbers are falling out before I can finish cutting. How do I hold them in place?

Do not cut both long sides of a number slot and both short ends in sequence; instead, cut one long side and one short end, then pause and stabilize the interior piece with a toothpick from inside before completing the second long side and final short end.

My stencil shifted slightly mid-transfer and the numbers look off-center. Is it ruined?

Numbers slightly off-center on the jersey still read correctly from viewing distance. If the shift is dramatic, consider centering one number on the chest as a single large cutout rather than two side-by-side digits, which is also a valid design choice.

What is the safest way to cut curved cleat outlines near the foot of the design?

Treat cleats as short rectangular slots rather than curved shapes; angular cuts are far easier to execute cleanly than curves at small scale. If the foot of your player figure is close to the bottom of the pumpkin where the rind curves, score the cleat marks rather than cutting them through to avoid cracking thin edge rind.

Your take belongs here, too.

Changed a detail? Made it simpler? Share a photo of your version and tell the community what worked.

Share your pumpkin

More pumpkins like this

You've reached the end · 8 pumpkins
The Patch Report

Fresh pumpkins, in your inbox.

The best new carvings, ideas worth stealing, and how-tos for carving season. Short, seasonal, and gone by November.

A short email during carving season. Unsubscribe anytime. See our privacy policy.