@squashbuckler
Sep 5, 2026
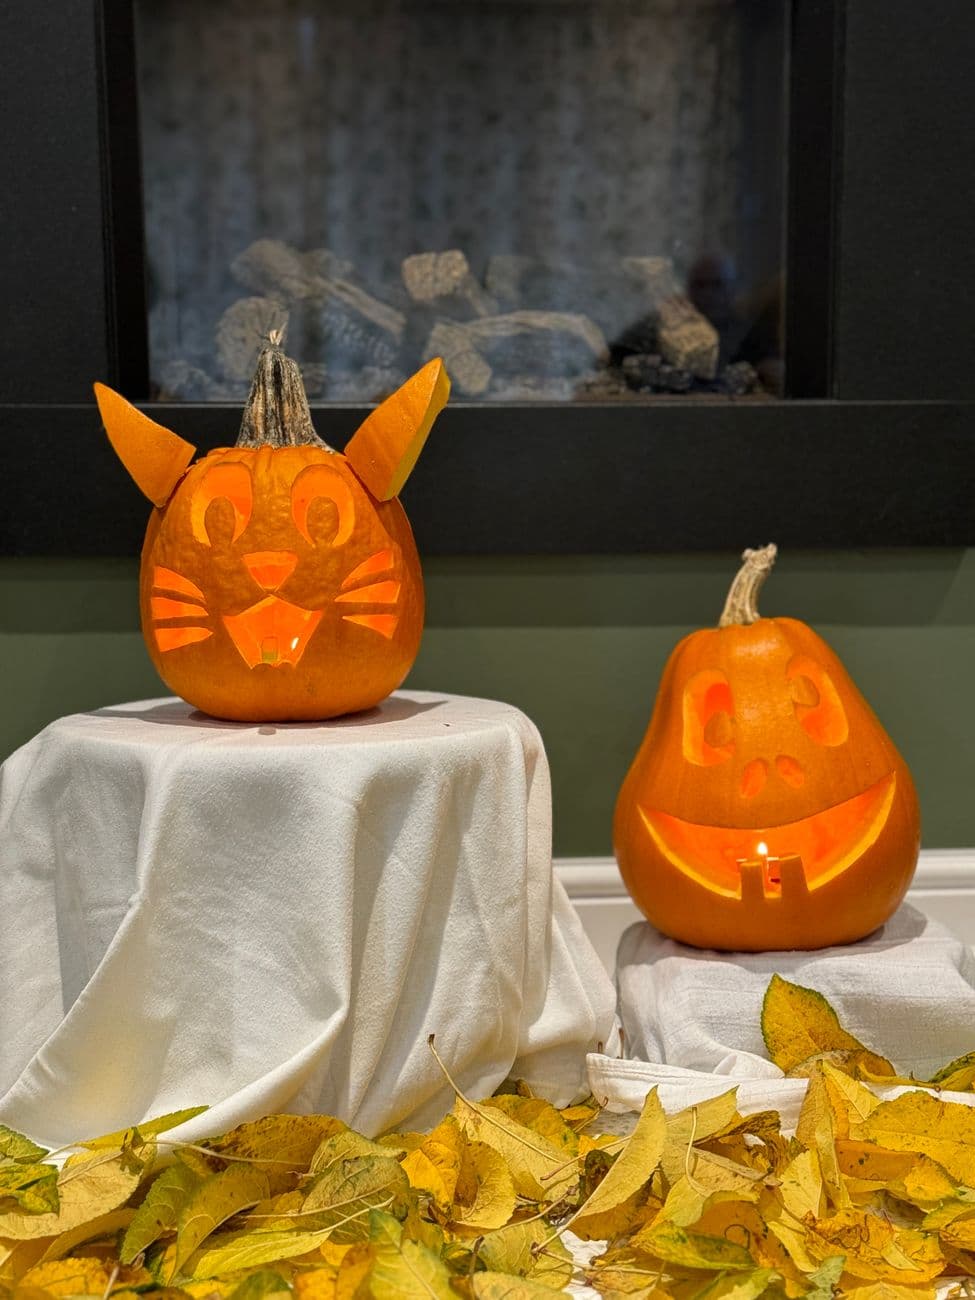
Fireside cat
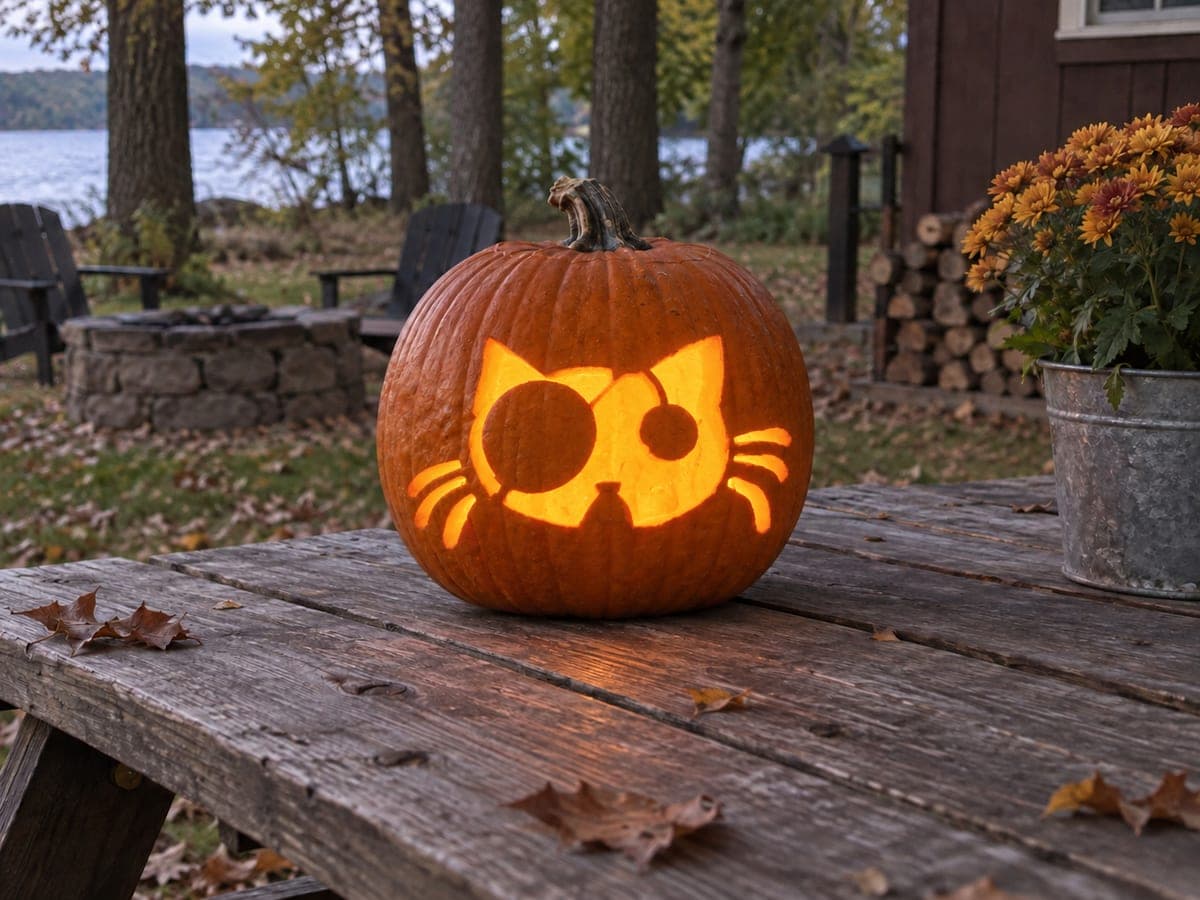
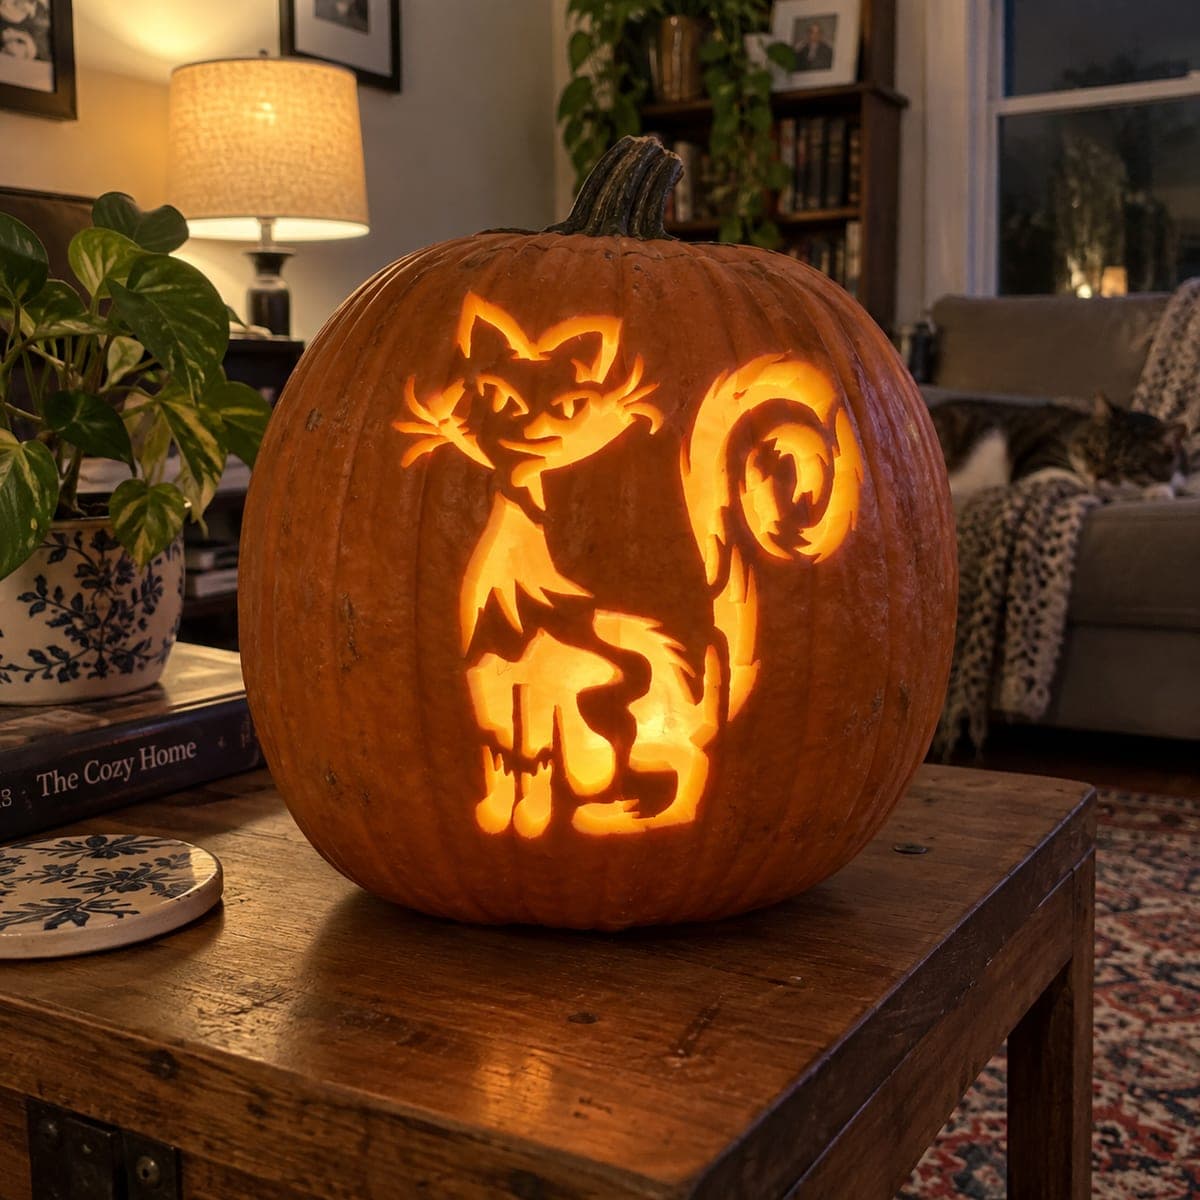
A cat with rind ears, carved whiskers, and one visible fang, holding the mantel spot beside a smiley friend.
No ratings yet · Sign in to rate
A cat with rind ears, carved whiskers, and one visible fang, holding the mantel spot beside a smiley friend.
The core trick here is using slices of the pumpkin's own rind, stuck into slots at the top, to make upright pointed ears. Everything else is a mix of clean cutouts for the eyes, nose, and mouth plus thin skinny channels for whiskers. Plan the ears first, then keep the face simple and symmetrical so the cute look reads clearly.
Written by PumpkinCarvingIdeas.com, inspired by @squashbuckler's photo above. These are our suggestions, not instructions from the uploader, and this approach hasn't been tested on their exact carve.
Pick a short, round pumpkin so the face has a wide, friendly shape. Cut a lid from the bottom or the back rather than the top, since the stem here stays in place between the ears. Scoop out the seeds and scrape the front wall down to about one inch thick so light passes through easily. A thinner wall makes the whisker channels and cutouts much easier to carve.
Tape your stencil to the front and poke the outlines with a pin or transfer tool. Mark two large rounded eyes, a small triangle nose, a curved mouth with one fang, and three whisker lines on each side. Step back and check that both eyes and both whisker sets line up before you cut. Adults should handle all the sharp tools from here on.
Use a small serrated saw to cut fully through the eyes, nose, and mouth so they glow brightest. Cut the eyes first while the pumpkin is still strong, then the nose, and save the wider mouth for last so the face does not weaken early. Leave a small tab of rind for the single fang so it stays attached and does not snap off. Ease each piece out gently by pushing from the inside.
For the thin whisker lines, only skin the surface instead of cutting through. Peel away the outer skin along each whisker so it glows a soft dim orange without a full opening. Keep the channels shallow and even, and do not connect them to the mouth cut or the rind between will get fragile. Three per side is plenty.
Cut two triangular slices from a scrap piece of pumpkin rind, or from the lid you removed. Near the top of the head, cut a short angled slot on each side and push the flat base of each triangle into it. Angle them upright and outward so they read as cat ears. If a slot is too loose, use a toothpick to pin the ear firmly in place.
Set a battery LED tea light or a small puck light inside, never a real flame near the rind ears. Dim the room so the bright cutout eyes and mouth pop and the peeled whiskers give a gentle glow. Style it on a cloth with a few autumn leaves as shown for a cozy fireside look. Snap the photo slightly off to the side so the ears stay in frame.
Check things off as you get ready.
Work on a stable surface, keep your free hand out of the cutting path, and have an adult handle sharp tools.
The main face and cheeks stay untouched skin and read dark
The six whisker lines are skin-peeled for a soft dim glow
The eyes, nose, and mouth with fang are cut through for the brightest light
Cut them from firm scrap rind and slide the flat base into a short angled slot near the top of the head. Angle the slot so the ear leans slightly outward like a real cat ear. If it wobbles, pin it with a toothpick pushed through the base into the pumpkin wall.
It can if you cut all the way around it, so leave the fang attached to the top edge of the mouth as one solid tab of rind. Carve the mouth opening around it rather than isolating it. Keeping it thick and short makes it far more durable.
Full cuts that thin would weaken the cheeks and could crack toward the mouth. Peeling only the surface skin gives you clean whisker lines that glow dimly without risking the structure. It also keeps the cute, soft look rather than harsh bright slashes.
Changed a detail? Made it simpler? Share a photo of your version and tell the community what worked.
The best new carvings, ideas worth stealing, and how-tos for carving season. Short, seasonal, and gone by November.
Comments (0)