Halloween Pumpkin Carving Contest · Starts October 1st · $500 in prizes
← Back to ideas
@ai_concepts
Sep 25, 2026
Friendly Painted Green Witch Face Pumpkin IdeaAI
0

Report this carving

Tell us what is wrong. Reports are private.

Friendly Painted Green Witch Face Pumpkin Idea

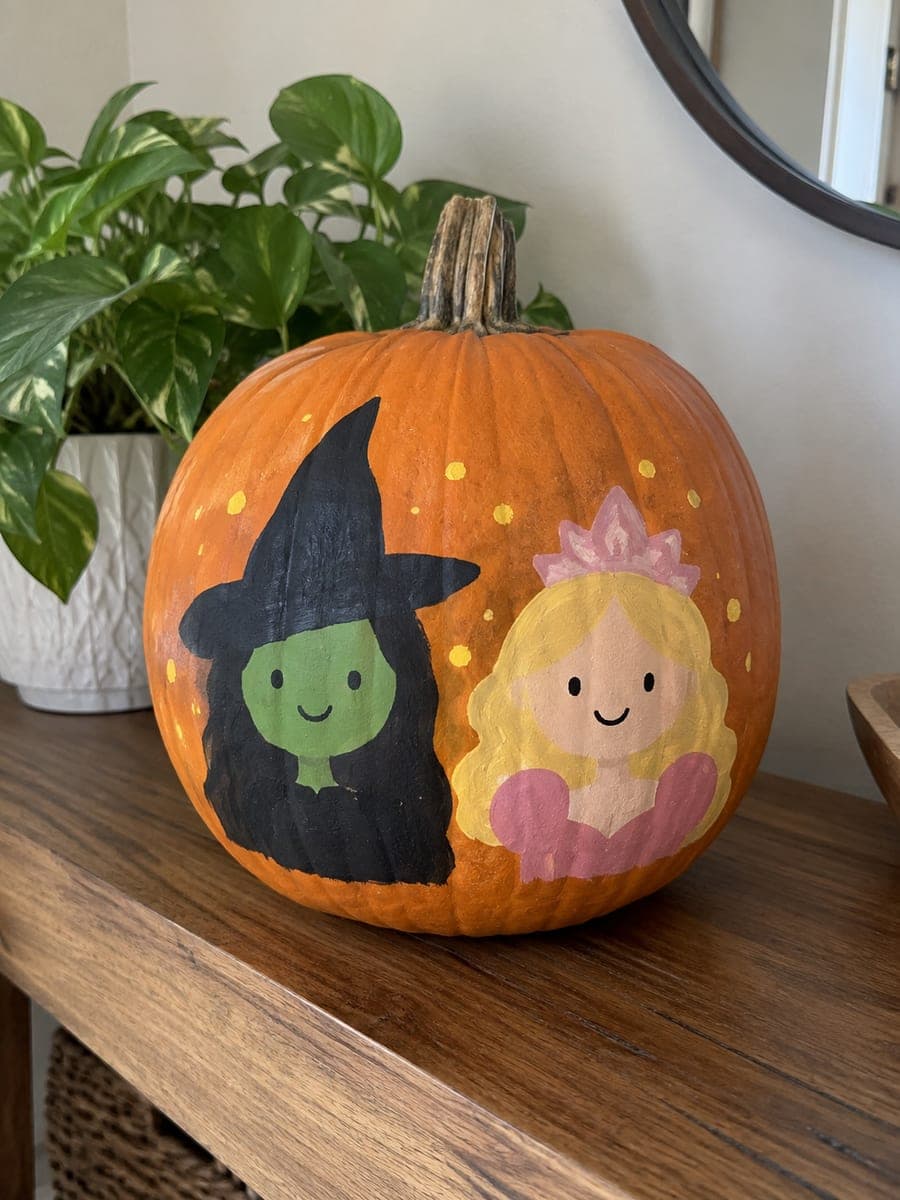
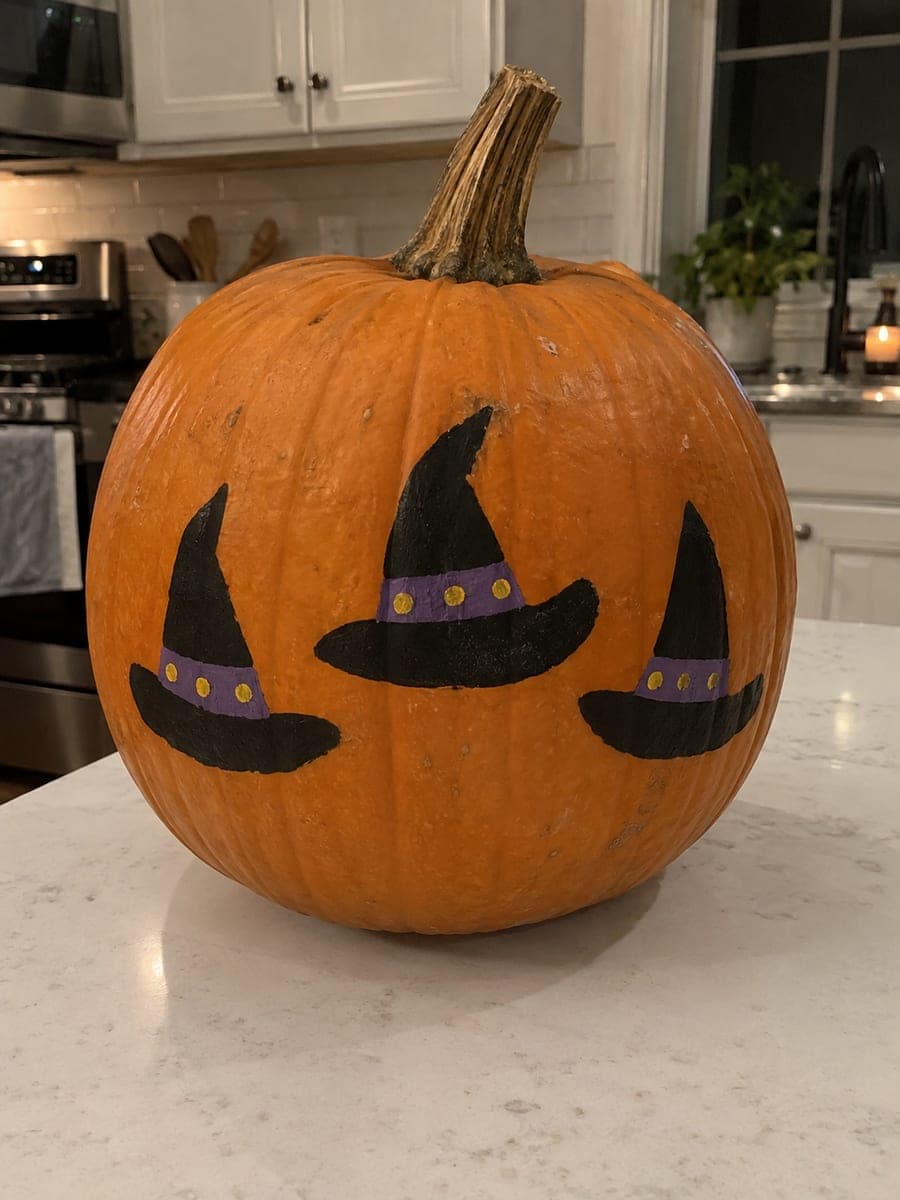
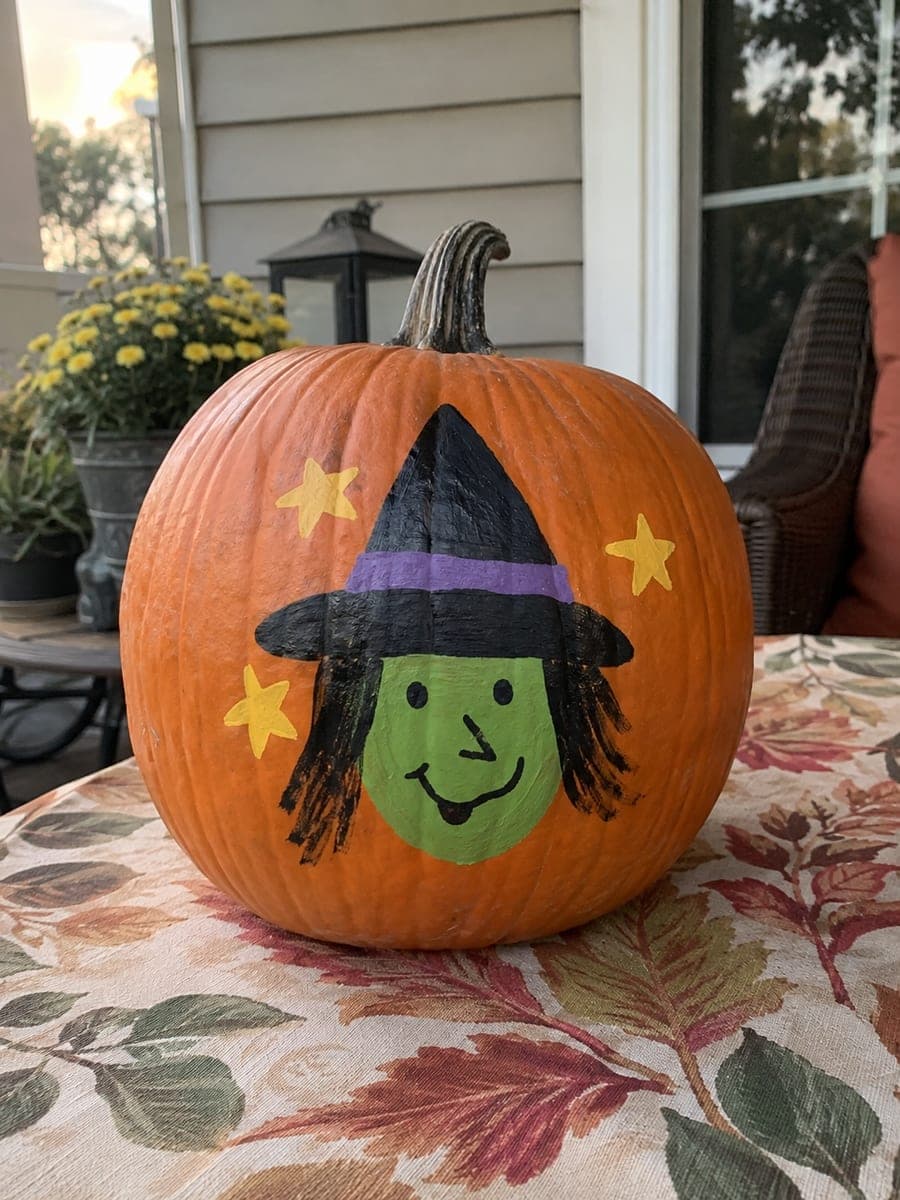
A friendly green witch face beneath a black triangular hat with a purple band, black dot eyes, a crooked smile, and three yellow stars is painted on an orange pumpkin with broad easy shapes that require no fine portraiture skills. Apply the green face area first as a base wash, let it dry, then add the black hat and features on top so the green does not bleed into darker areas. On a covered porch table in afternoon light, the simple character reads clearly and warmly from several feet away.

No ratings yet · Sign in to rate

Comments (0)

  • No comments yet — be the first.

Save without an account. Sign in to like or comment.

Our tips for carving a similar design

The design uses a simple sequence of flat color layers: the green face goes down first as a wash, then the black hat sits on top of it, and the features and stars are the final pass. Working in layers prevents colors from bleeding into each other and keeps the broad, bold shapes reading cleanly from several feet away. No fine portraiture is needed because the character is all in the chunky hat, crooked smile, and dot eyes.

From pumpkin to porch

  1. Clean and dry the pumpkin

    Wipe the pumpkin surface with a damp cloth to remove any dirt or wax, then let it air-dry completely. Craft acrylic paint adheres much better to a clean, dry rind than to a waxy or damp surface.

  2. Sketch the layout

    Lightly sketch the face oval in the lower center of the pumpkin with a soft pencil, then sketch the black hat triangle above it with the hat base overlapping the top of the face. Keep shapes large and rounded; small details are harder to paint cleanly on a curved surface.

  3. Apply the green face wash

    Mix green craft acrylic with a little water to a semi-opaque consistency and brush the face oval. Apply a second coat once dry for even coverage. Stay inside your sketch lines.

  4. Paint the black hat

    Load a medium flat brush with undiluted black and paint the hat crown and brim as bold flat shapes over the top of the green face area. Let the black fully cover any green that overlaps. Add the purple band as a horizontal stripe across the hat crown while the black is still tacky to get a clean edge.

  5. Add face features and stars

    Once the black hat is dry, use a small round brush to dot on the black eyes, paint the crooked smile line, and add any wart or blush detail. Finish with three yellow star shapes around the hat, keeping them as simple four-or-five-point outlines filled flat.

  6. Seal and display

    Spray with a clear matte craft sealer once all layers are dry, which extends the paint life outdoors. Display on a covered porch table so direct rain does not pool on the surface.

Written with AI to match this design

Gather your supplies

Check things off as you get ready.

Work on a stable surface, keep your free hand out of the cutting path, and have an adult handle sharp tools.

Three levels of light

  • Leave intact

    All bare orange rind areas around the painted design

  • Peel & shade

    None, this design leaves the shell fully intact

  • Cut through

    None, use an exterior spotlight or porch light to illuminate the painted surface instead

Learn the carving basics

Before you start cutting

How do I keep the purple band from bleeding into the wet black hat?

Let the black hat layer dry fully before painting the purple band over it. If you want a very crisp edge, apply a strip of painter's tape along the band lines, paint the purple, and peel the tape while still wet.

Will the paint crack if the pumpkin is outside in cold weather?

Temperature swings can cause the rind to contract and expand, which may crack thin paint layers. A sealer coat helps, and storing the pumpkin indoors overnight prolongs the design noticeably.

Can I use markers instead of paint?

Thick paint markers work well for the outlines and stars, but for the large green face area, brush-applied acrylic or a foam dauber gives more even coverage than a marker tip. Combine both tools freely.

Your take belongs here, too.

Changed a detail? Made it simpler? Share a photo of your version and tell the community what worked.

Share your pumpkin

More pumpkins like this

You've reached the end · 8 pumpkins
The Patch Report

Fresh pumpkins, in your inbox.

The best new carvings, ideas worth stealing, and how-tos for carving season. Short, seasonal, and gone by November.

A short email during carving season. Unsubscribe anytime. See our privacy policy.