Halloween Pumpkin Carving Contest · Starts October 1st · $500 in prizes
← Back to ideas
@ai_concepts
Sep 25, 2026
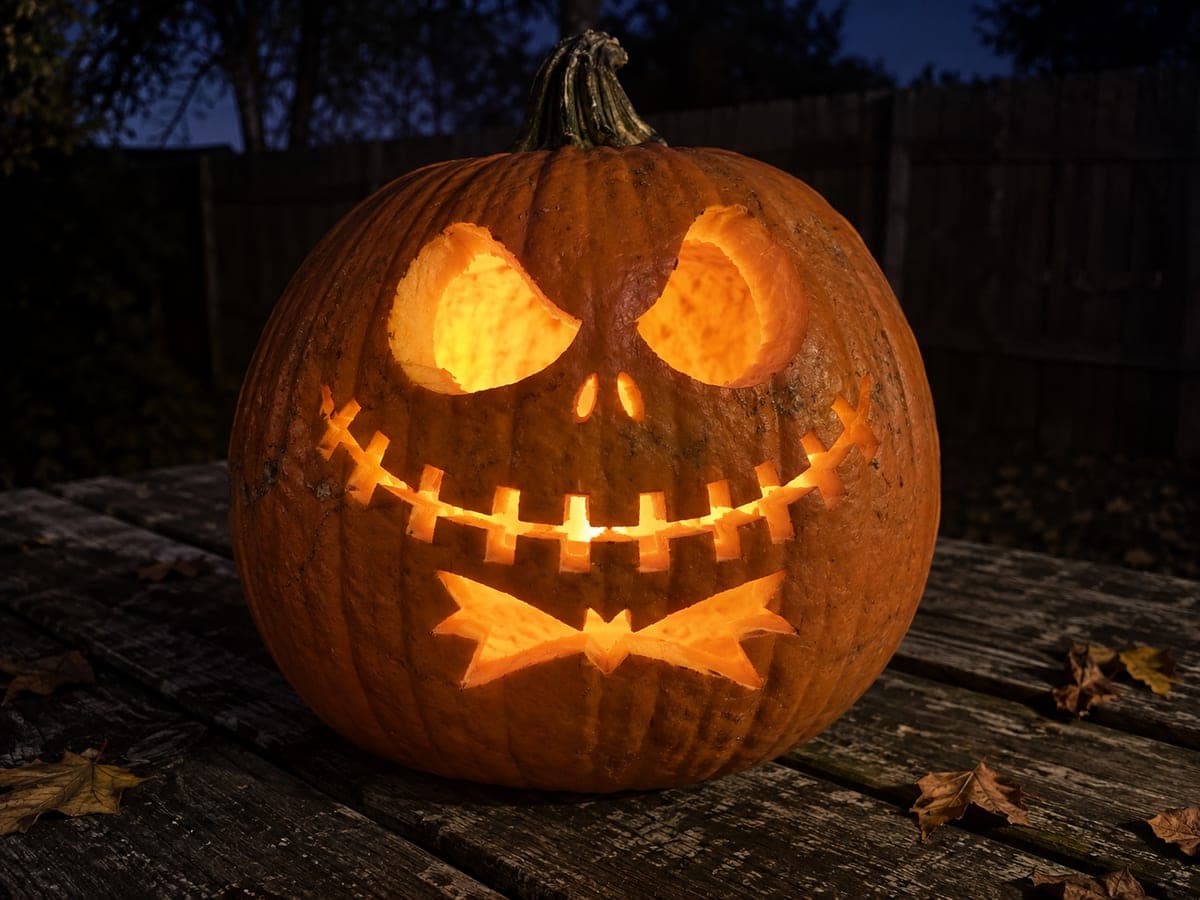
Full Portrait Jack Skellington Pumpkin with Jacket DetailAI
0

Report this carving

Tell us what is wrong. Reports are private.

Full Portrait Jack Skellington Pumpkin with Jacket Detail

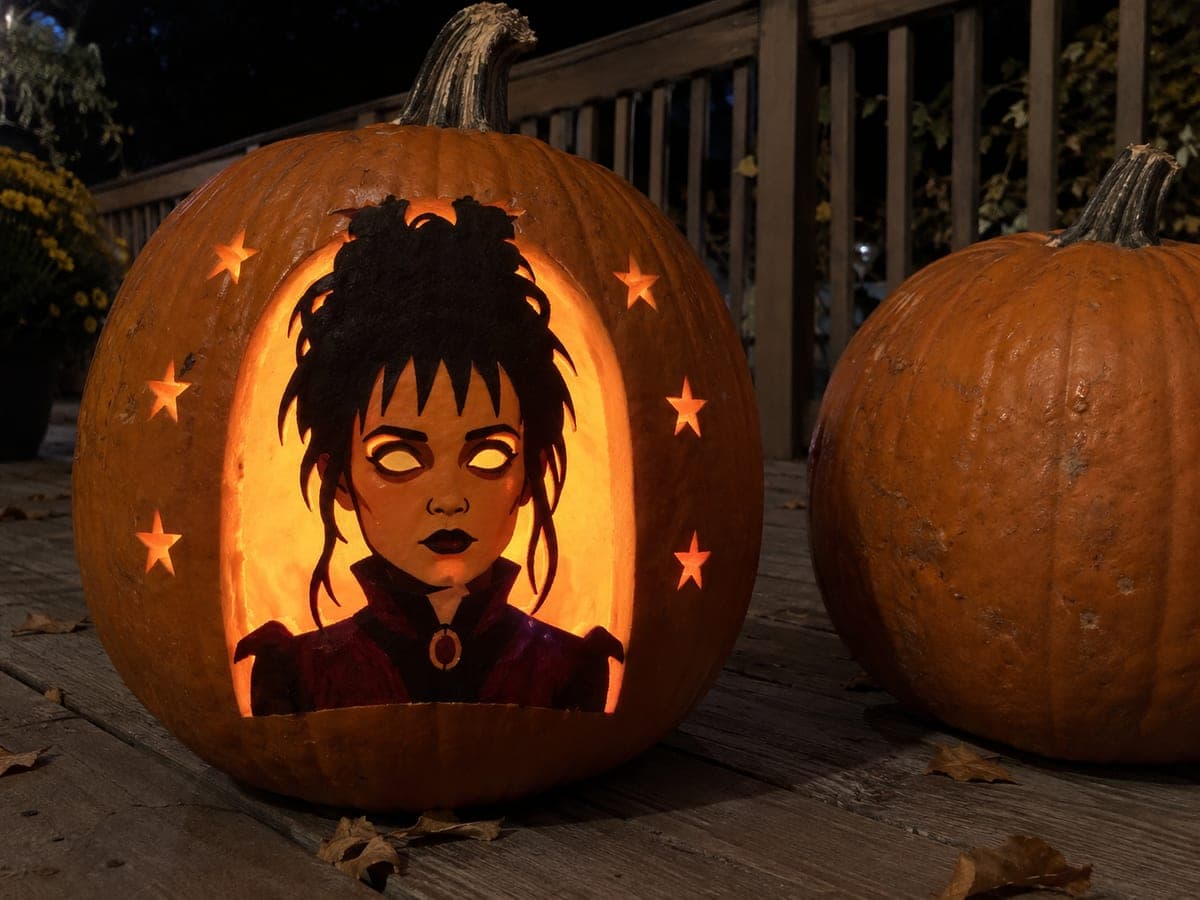
Jack Skellington's full portrait, skull, bat bow tie, and pinstripe jacket with small star and hand details, is carved with face and jacket openings separated by connected rind on this expert pumpkin carving idea. The top skull bridge, side shoulder joins, and broad lower jacket base provide the structural skeleton before any detail cuts begin. Some star and hand accents use shallow backing, so a linoleum gouge or V-tool works better than a serrated saw for those elements.

No ratings yet · Sign in to rate

Comments (0)

  • No comments yet — be the first.

Save without an account. Sign in to like or comment.

Our tips for carving a similar design

Jack's full portrait combines face openings, the bat bow tie as a lateral anchor, and the pinstripe jacket as a broad lower mass, all supported by a top skull bridge, side shoulder connections, and a wide base. Small star and hand details within the jacket use shallow groove technique rather than full cuts because they are too fine to cut cleanly through at scale. Getting every structural anchor in place before adding any fine detail is the rule that keeps this expert design intact.

From pumpkin to porch

  1. Plan the structural skeleton on paper

    Sketch the portrait and label every connection point: top skull bridge, both shoulder-to-side connections, bat bow tie lateral joins, and the lower jacket base. Confirm every major element touches the frame or an adjacent element at two or more points. Adjust the stencil proportions before transferring if any element has only one contact.

  2. Hollow and calibrate wall thickness

    Scoop to a consistent five-eighths of an inch. Expert designs push the rind structure hard; consistent thickness means grooves reach the same visual depth across all zones and fine detail cuts behave predictably.

  3. Transfer with three marker designations

    Perforate all lines and use three marker colors: one for full cuts through open areas, one for retained rind connections, and one for groove lines in the jacket details. Keeping these visually distinct during cutting prevents the most common expert-level mistake, which is accidentally cutting through a groove line.

  4. Establish all frame and base connections first

    Cut the outer frame, remove the border rind, and establish the broad lower jacket base before opening any interior panels. Adults handle all saw work. After this step the retained portrait should feel completely solid and unmovable.

  5. Open face, bow tie, and jacket apertures

    Remove the open face features, the openings in the bow tie area, and the large open panels within the jacket in order from largest to smallest. After each large panel is removed, check all connection points. Use a detail drill for entry points in small enclosed areas.

  6. Score star and hand grooves last, then light

    Use a V-tool or linoleum gouge to score the star and hand detail grooves to half wall depth. Work in short strokes outward from the center of each motif. Insert two LED candles for even coverage across the tall portrait and photograph from a level head-on angle.

Written with AI to match this design

Gather your supplies

Check things off as you get ready.

Work on a stable surface, keep your free hand out of the cutting path, and have an adult handle sharp tools.

Three levels of light

  • Leave intact

    The retained skull, neck, bat bow tie, jacket body, and shoulders all stay solid and dark

  • Peel & shade

    Star and hand grooves in the jacket area are scored to half depth for mid-level glow accents

  • Cut through

    Background areas outside the portrait, eye sockets, nose, mouth slots, bow tie openings, and jacket panel openings all glow at full brightness

Learn the carving basics

Before you start cutting

The jacket has both open panel areas and groove detail. How do I decide which is which?

Any area larger than roughly one inch across that is enclosed on all sides by retained rind should be a full cut-through open panel. Any motif smaller than that, stars, hand marks, pinstripe lines, should be a shallow groove. The rule of thumb is: if cutting through would leave a floating island of rind with no connection to the frame, make it a groove instead.

How do I keep the pinstripe jacket detail legible after carving?

Score pinstripe grooves at consistent depth with a V-tool and keep them parallel. Spacing them about three-eighths of an inch apart is enough to read as a stripe pattern from a normal viewing distance. Finer spacing blurs together once the pumpkin is lit and is harder to execute consistently.

The portrait is very tall. Will a single LED candle light the full design evenly?

A single candle will bias light toward the bottom of the pumpkin and leave the skull area dimmer. Use two LED candles or a small LED strip positioned vertically inside for more even illumination from base to skull. Alternatively, place a single candle at the midpoint of the pumpkin's interior height by resting it on a small riser.

Your take belongs here, too.

Changed a detail? Made it simpler? Share a photo of your version and tell the community what worked.

Share your pumpkin

More pumpkins like this

You've reached the end · 8 pumpkins
The Patch Report

Fresh pumpkins, in your inbox.

The best new carvings, ideas worth stealing, and how-tos for carving season. Short, seasonal, and gone by November.

A short email during carving season. Unsubscribe anytime. See our privacy policy.