Halloween Pumpkin Carving Contest · Starts October 1st · $500 in prizes
← Back to ideas
@ai_concepts
Sep 25, 2026
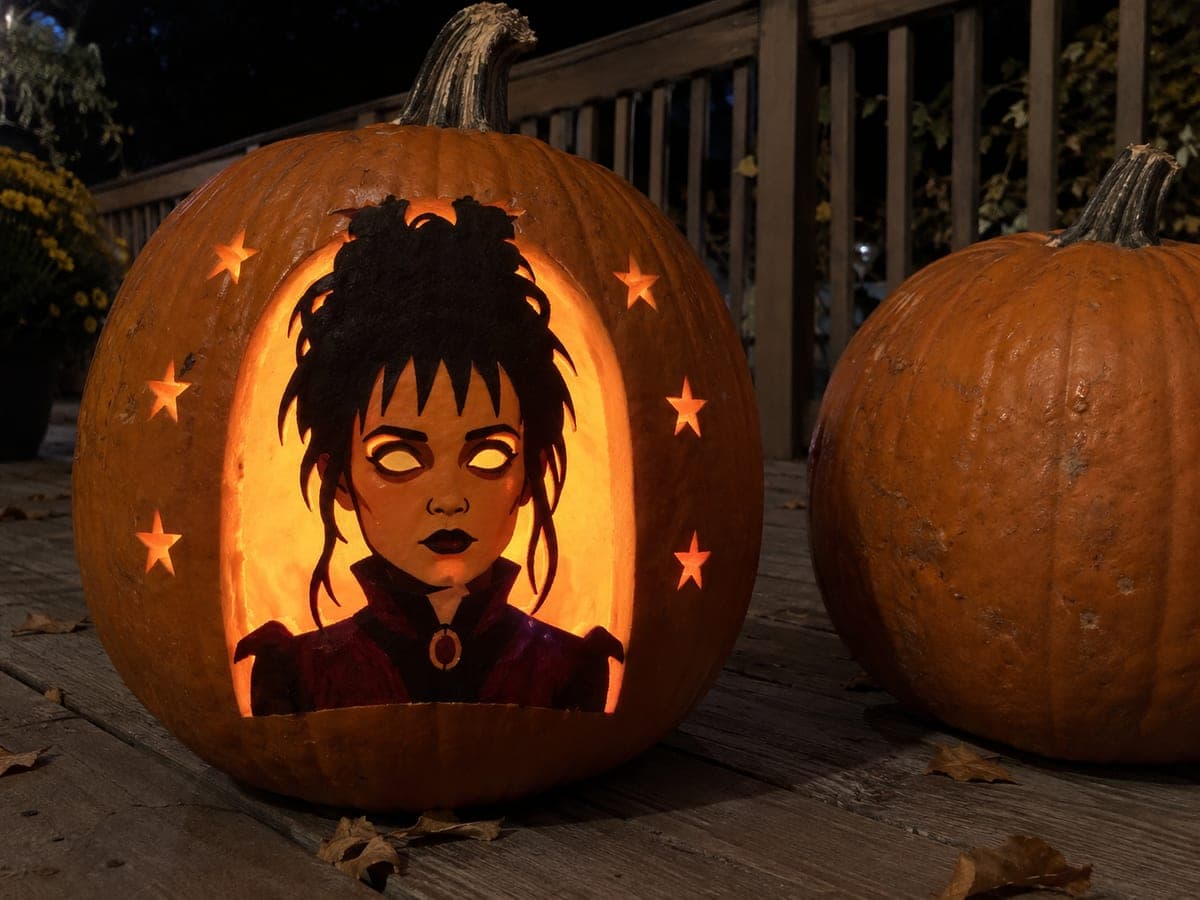
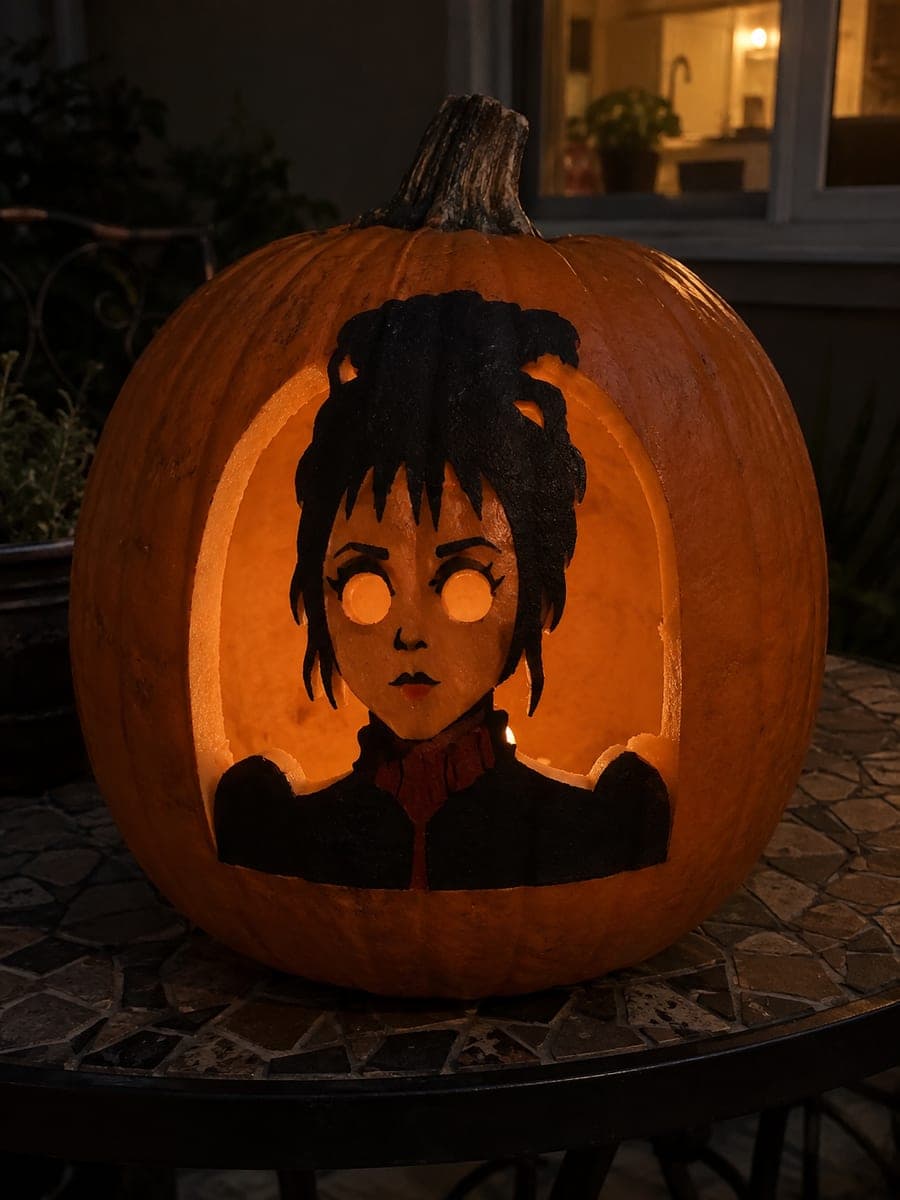
Expert Lydia Deetz Portrait Pumpkin With Dress DetailAI
0

Report this carving

Tell us what is wrong. Reports are private.

Expert Lydia Deetz Portrait Pumpkin With Dress Detail

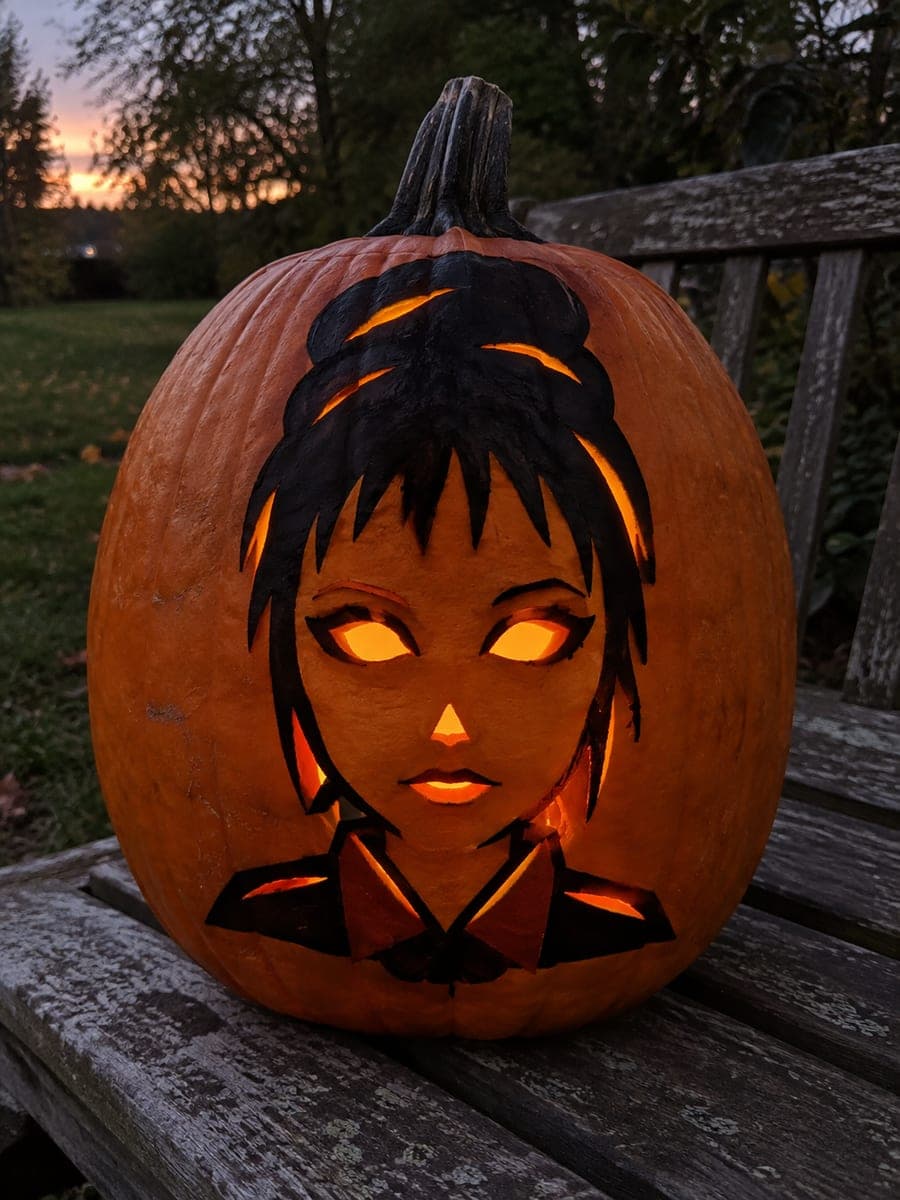
This expert Lydia Deetz pumpkin carving idea retains a full portrait with broad hair tabs at the top and a torso base below, with delicate hair strands rooted into the scalp, an open arch, eye holes, and separate star accents. Face, lips, dress, and collar details are painted on the supported rind. Carve the open arch and star holes first, then shallow-cut the hair strands from the center outward to the already-open arch.

No ratings yet · Sign in to rate
Comments (0)

  • No comments yet — be the first.

Save without an account. Sign in to like or comment.

Our tips for carving a similar design

This design keeps the entire portrait attached: broad hair tabs anchor the top, a torso base roots the bottom, and delicate hair strands run from the scalp outward to the already-open arch without floating free. The open arch and star holes are the main light sources, while painted face, lips, dress, and collar details live on supported rind between the cuts. The trick is sequencing, open the arch and stars first so the shell stays rigid while you carve the fragile hair strands last.

From pumpkin to porch

  1. Scoop and stabilize

    Cut a bottom entry plug and scoop the interior down to about 3/4 inch of wall thickness. Thicker walls hold the delicate hair strands better, so do not over-thin. Wipe the exterior dry before transferring the stencil.

  2. Transfer the stencil

    Tape the full portrait stencil firmly to the pumpkin and poke the outline with a pin wheel or poker tool. Pay close attention to the hair strand paths and the arch edge so the transfer dots are dense enough to follow accurately. Remove the paper and connect the dots with a fine marker.

  3. Open the arch and star holes

    Using a narrow detail saw, cut the outer arch opening and all separate star holes first. These are the only fully open background areas. Removing them early gives light access so you can see the interior while working on finer details, and keeps the shell structurally sound while it still holds the portrait mass.

  4. Cut the eye holes and main portrait openings

    With the arch open, move to the two eye holes. Keep your saw perpendicular to the rind surface and use short strokes. Adults should handle all cutting; the thin portrait wall demands steady control throughout.

  5. Shallow-carve the hair strands

    Use a linoleum cutter or narrow V-gouge to carve each hair strand from the scalp inward toward the open arch. The strands do not detach; they thin the rind so light bleeds through at a lower intensity than the full-cut holes. Work from the center outward and keep each strand at least 3/16 inch wide to prevent breakage.

  6. Paint and display

    Apply black, deep red, and cream acrylic to the face, lips, dress, and collar areas on the supported rind. Let paint dry fully before placing an LED tea light inside. Set the pumpkin slightly back from foot traffic so the delicate hair strands are not bumped during the evening.

Written with AI to match this design

Gather your supplies

Check things off as you get ready.

Work on a stable surface, keep your free hand out of the cutting path, and have an adult handle sharp tools.

Three levels of light

  • Leave intact

    The full face, hair tabs, torso, collar, and dress rind stay solid and dark except where painted

  • Peel & shade

    Each hair strand is shallow-carved so it glows at a soft mid-level rather than a full beam

  • Cut through

    The outer arch background and separate star holes are cut fully through for bright fill light

Learn the carving basics

Before you start cutting

How do I stop the hair strands from snapping while I carve them?

Keep each strand at least 3/16 inch wide and carve from the scalp outward toward the open arch in one continuous shallow pass. Wetting the rind briefly with a damp cloth before carving softens it slightly and reduces cracking. Avoid sawing back and forth across the strand grain.

Should I paint before or after carving?

Paint the face, lips, collar, and dress after all cuts are done. Wet paint softens the rind surface, and a knife can drag through a painted area and ruin the clean edge. Once the cuts are complete and the interior is dry, acrylics adhere well to the rind.

Can I add real accessories like a veil or miniature hat?

A small fabric veil pinned lightly above the open arch can look great and does not stress the carving. Avoid heavy or rigid attachments that press on the hair strand area. A low-tack removable adhesive or a pin through the very top of the arch keeps fabric in place without damaging the rind.

Your take belongs here, too.

Changed a detail? Made it simpler? Share a photo of your version and tell the community what worked.

Share your pumpkin

More pumpkins like this

You've reached the end · 8 pumpkins
The Patch Report

Fresh pumpkins, in your inbox.

The best new carvings, ideas worth stealing, and how-tos for carving season. Short, seasonal, and gone by November.

A short email during carving season. Unsubscribe anytime. See our privacy policy.