Halloween Pumpkin Carving Contest · Starts October 1st · $500 in prizes
← Back to ideas
@ai_concepts
Jul 27, 2026
Glowing Hound Dog Portrait Pumpkin CarvingAI
0

Glowing Hound Dog Portrait Pumpkin Carving

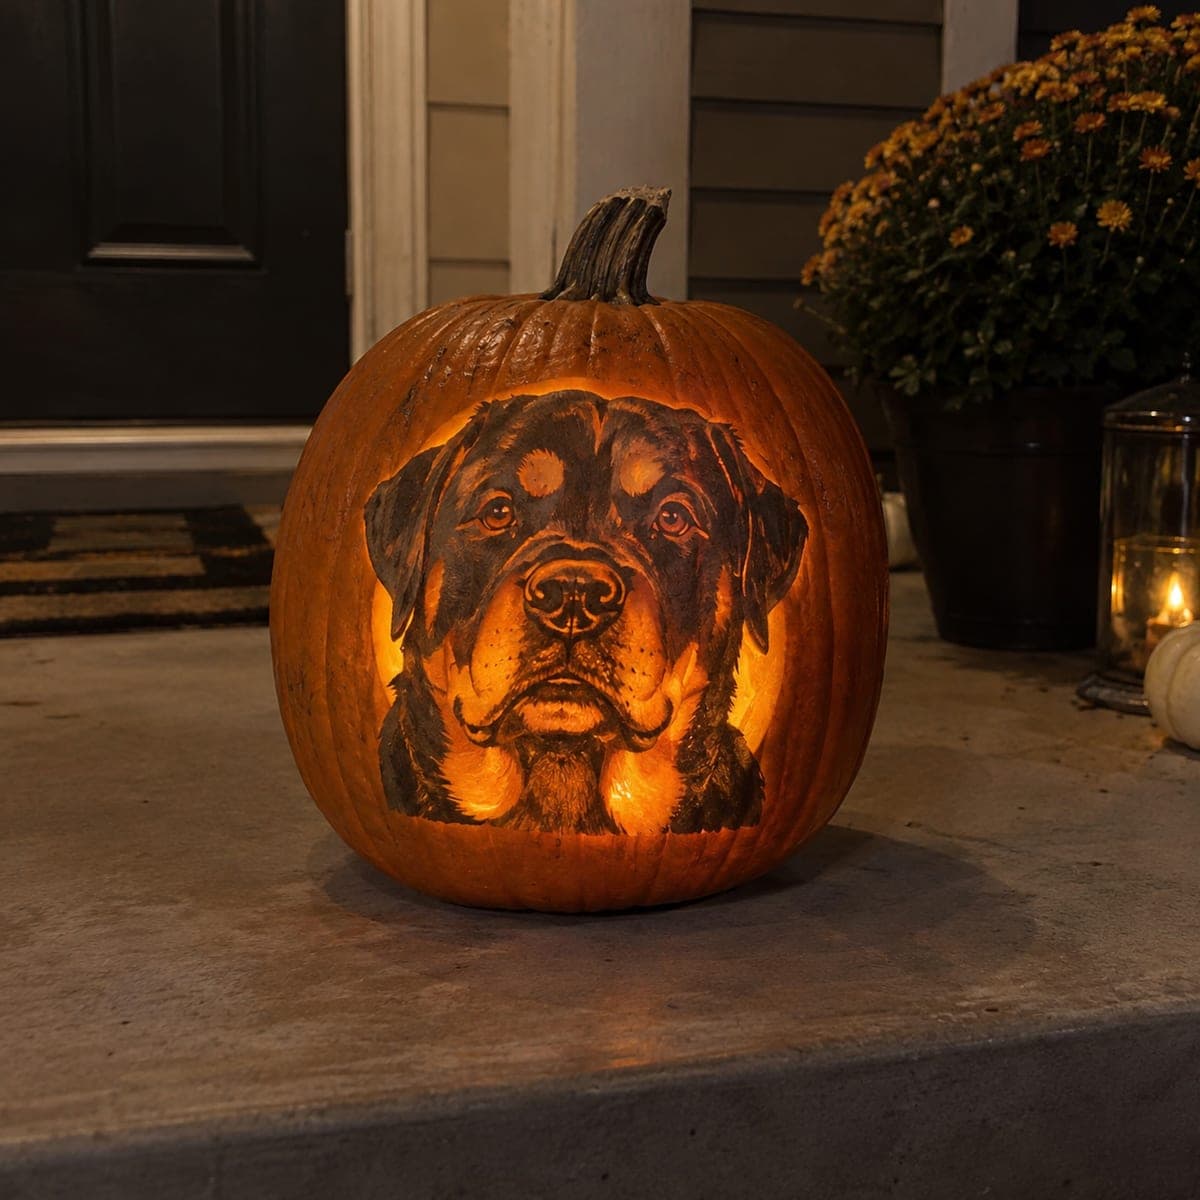
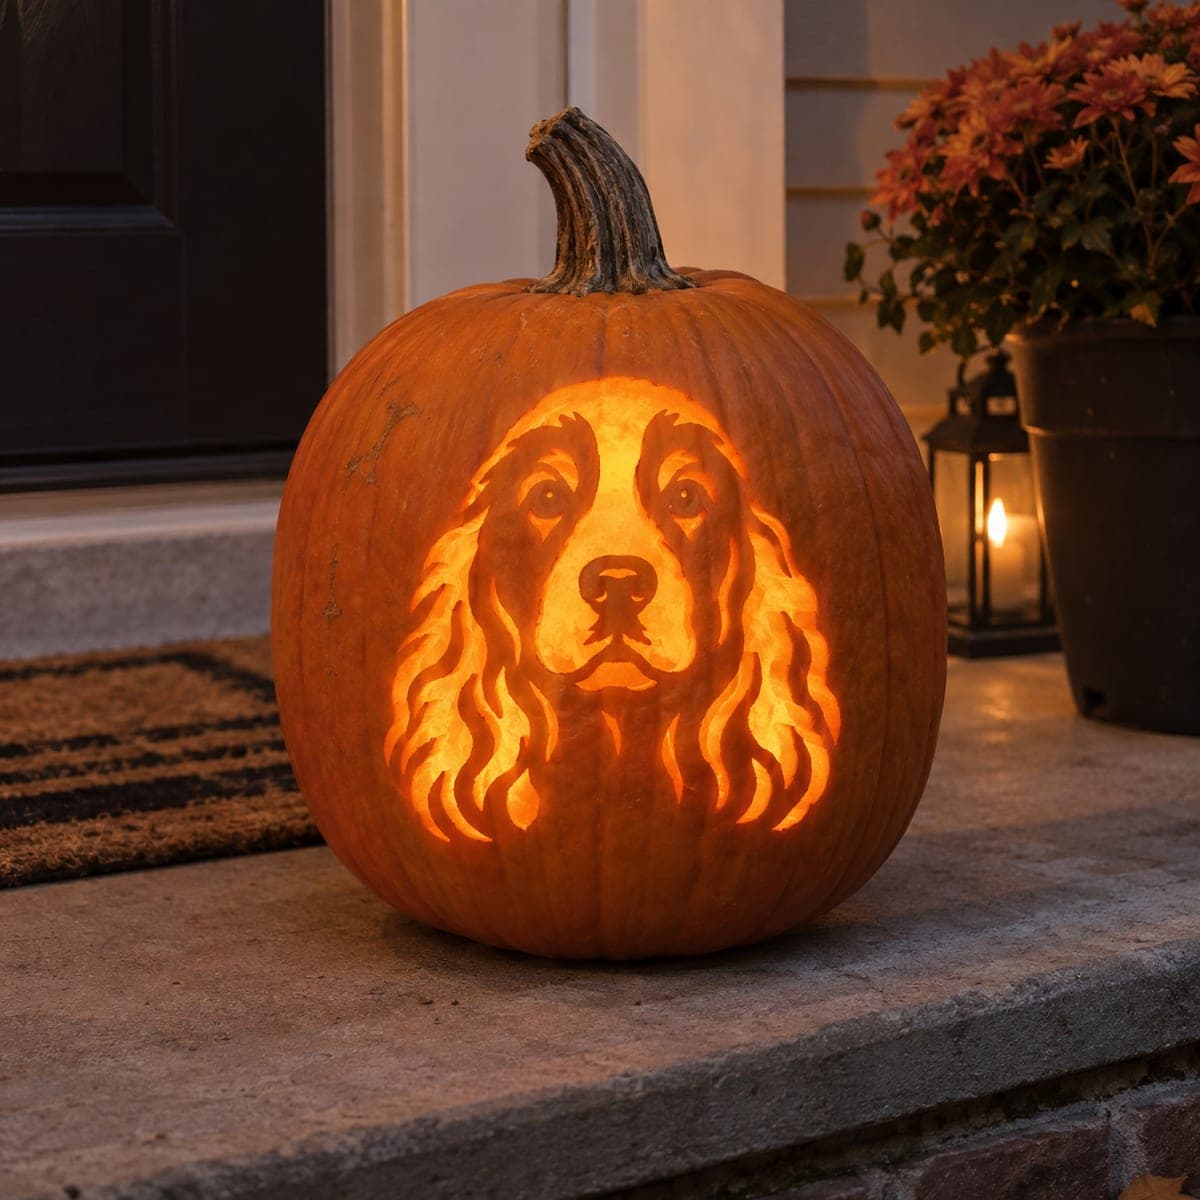
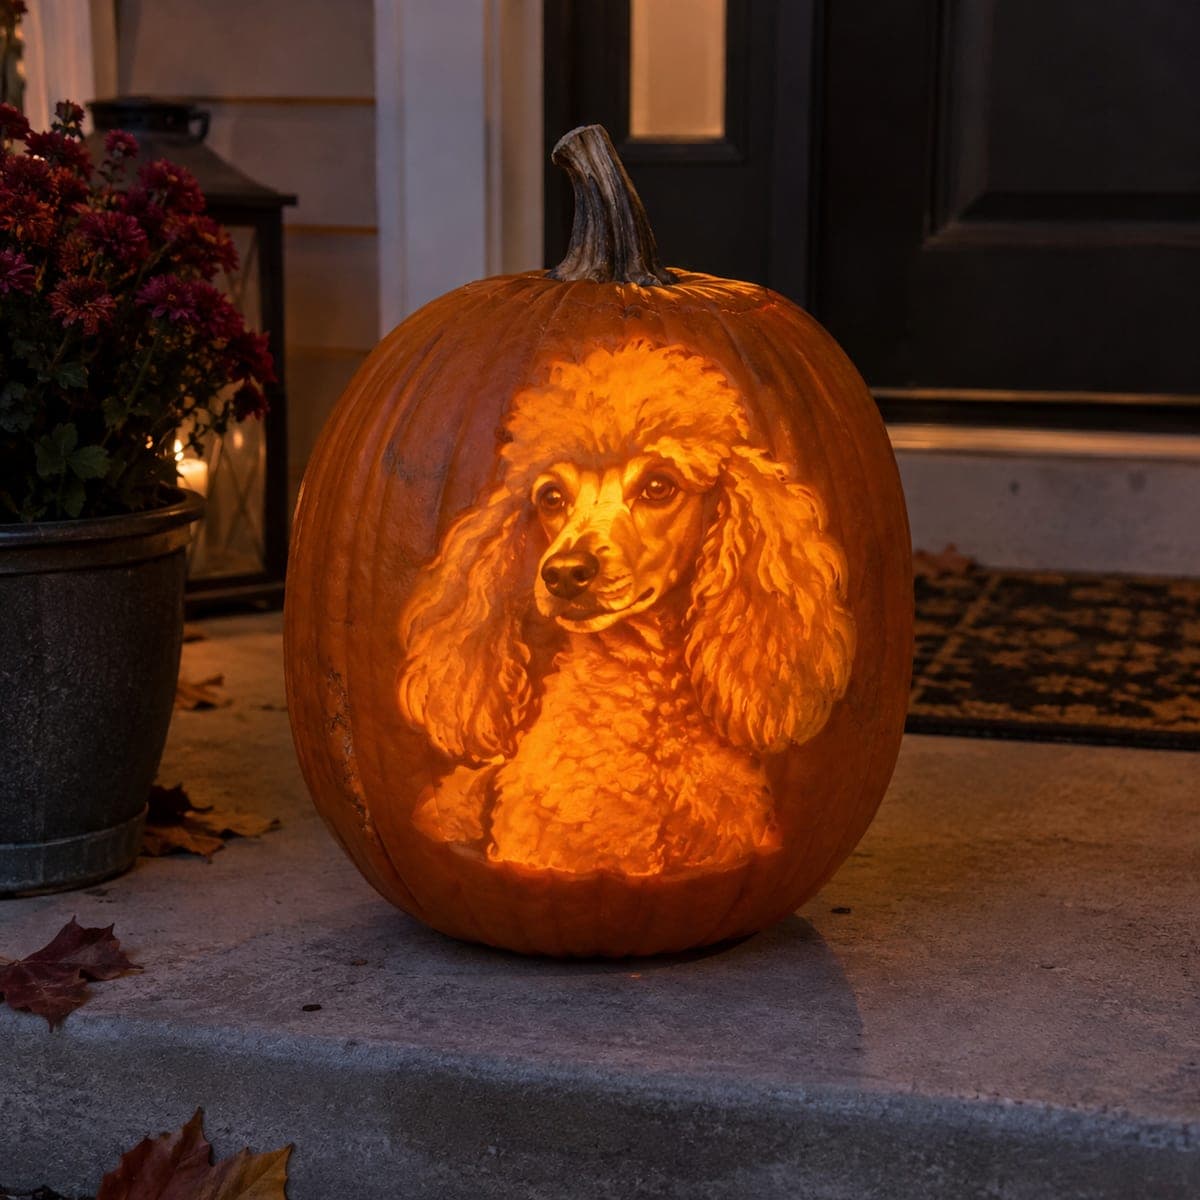
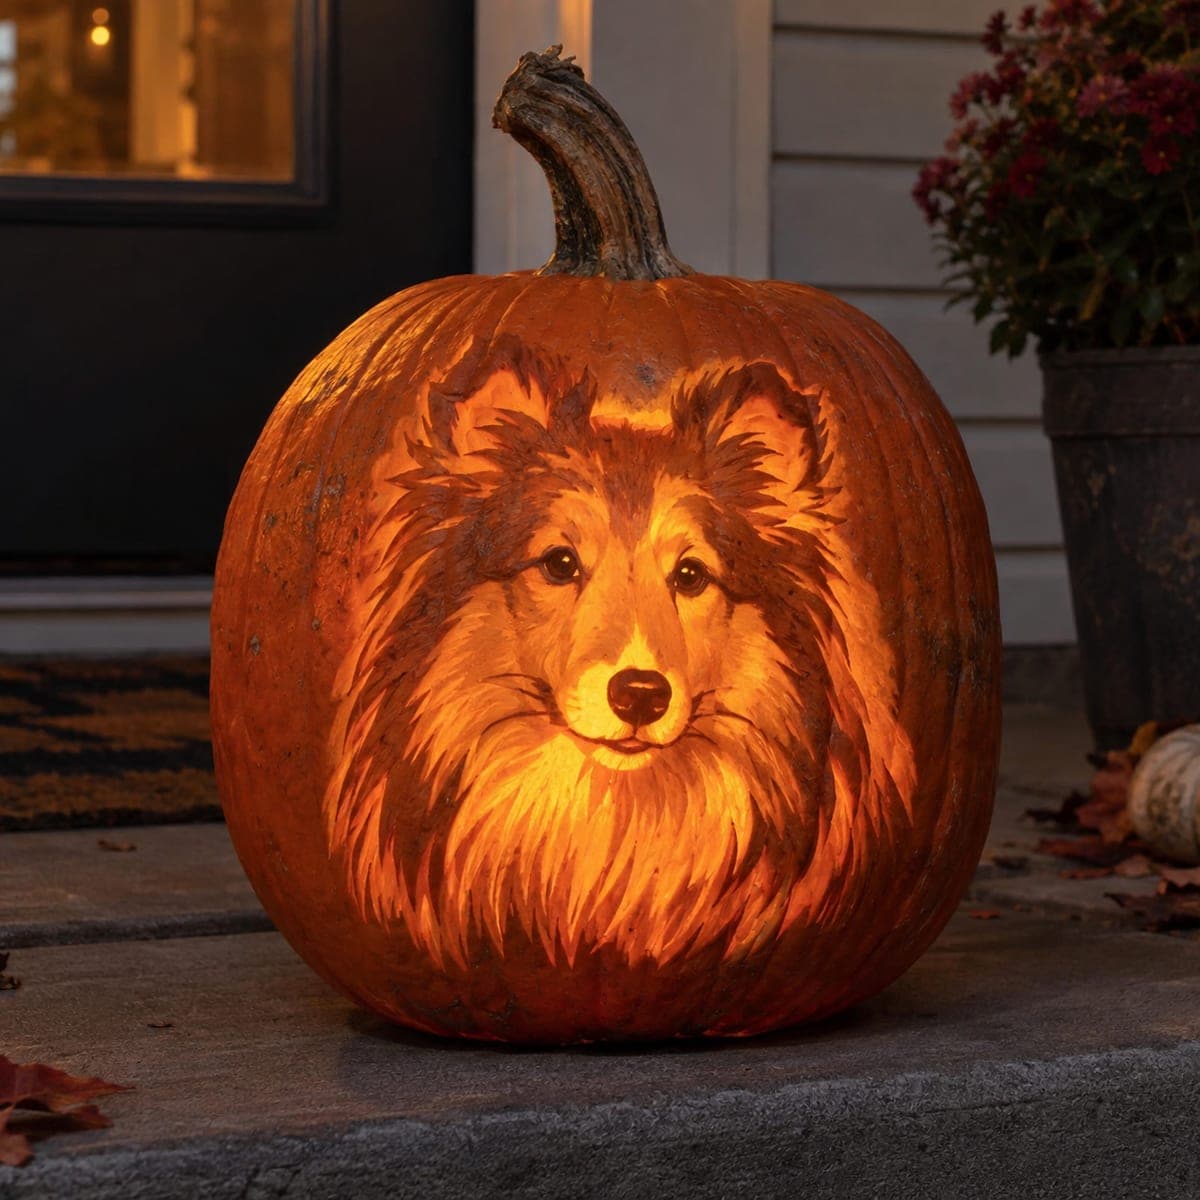
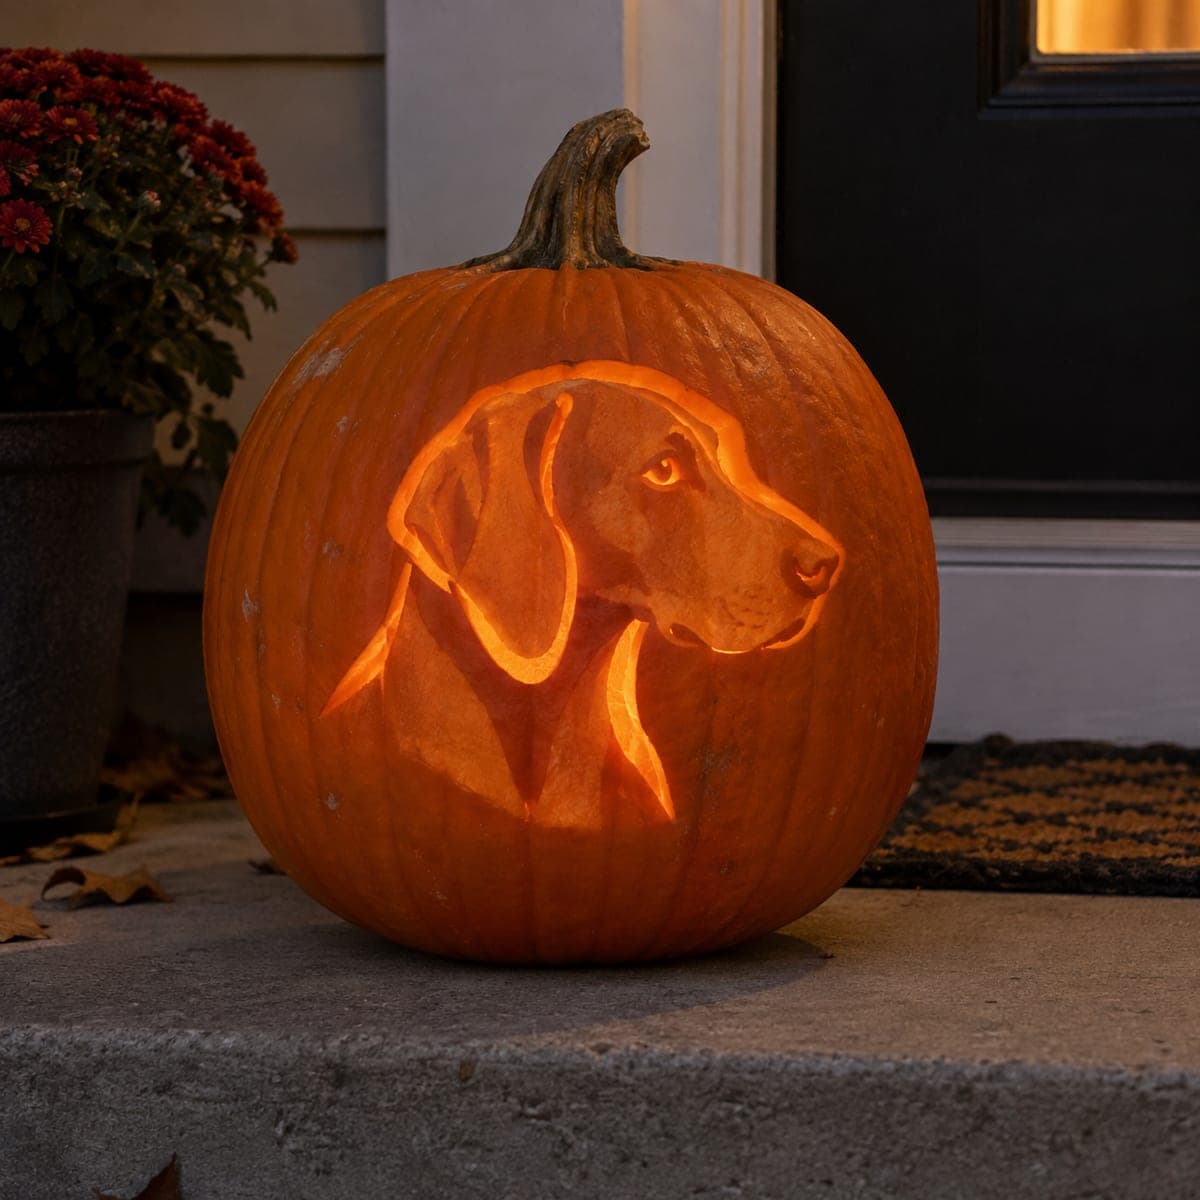
This noble hound's head glows from the pumpkin in smooth gradients, with the deepest carving reserved for the bright brow, muzzle, and chest. Long floppy ears frame the face and are left darker so the profile stays readable from the street. A design like this rewards slow, even peeling; work in thin layers and hold a light inside the pumpkin periodically to check your tones before you commit to going deeper.

This is an AI-generated concept image: a realistic, carvable design idea rather than a photo of a finished carve. AI concepts are always labeled and sit out the leaderboard and the contest.

No ratings yet · Sign in to rate
Comments (0)

  • No comments yet — be the first.

Save without an account. Sign in to like or comment.

Our tips for carving a similar design

The core trick here is shading through skin removal, letting the pumpkin wall act like a dimmer switch instead of relying on cut-through holes. You would leave the ears and background as untouched dark skin, peel the face and neck to varying depths for soft gradients, and reserve the deepest carving for the brightest highlights on the brow, muzzle, and chest. Think of it as painting with light, building tone slowly rather than cutting shapes.

Written by PumpkinCarvingIdeas.com, inspired by the image above. These are our suggestions, not instructions from the uploader. This approach to the AI concept has not been tested on a real pumpkin.

From pumpkin to porch

  1. Pick a tall pumpkin and prep it

    Choose a pumpkin with a smooth, fairly flat area on the front big enough for the dog's head and neck. Cut a lid from the bottom rather than the top so the shell stays strong and the design sits high. Scoop the inside until the front wall is about one inch thick and even, scraping with a loop tool so you have a consistent surface to shade into. A uniform wall thickness is what makes clean gradients possible.

  2. Transfer the hound profile

    Tape your stencil flat against the front and poke the main outlines with a pin or a transfer tool, marking the ear edges, the eye, the muzzle line, and the chest. Add a few dots inside to remind yourself where the light and dark zones fall. Peel the paper and connect the dots lightly with a washable marker. Take a moment to confirm the profile reads clearly before you touch a blade.

  3. Score the outlines and protect the ears

    With a small detail saw or gouge, lightly score along the outer edges of the ears, jaw, and neck so your shaded areas have crisp boundaries. Leave the ears as full dark skin so the floppy shape frames the face and keeps the profile readable from the street. Do not cut all the way through anywhere yet. These scored lines are just fences that keep your peeling neat.

  4. Peel the mid tones

    Switch to a shallow ribbon or loop tool and remove only the top skin across the face and neck, thinning the wall a little to create a dim orange glow. Work in thin, even layers and keep your strokes following the direction of the dog's fur. This is where patience pays off, so resist the urge to dig deep early. Peel broad areas first, then come back for the subtler transitions.

  5. Deepen the highlights and check with light

    Now thin the wall further on the brow, the bridge of the muzzle, the cheek, and the chest to make those areas glow brightest. Drop an LED tea light or puck light inside and check your tones often in a dim room, since the pumpkin will always look darker than the finished glow suggests. Shave a little more where you want more brightness, going gradually because you cannot put material back. Keep the eye as a small, carefully thinned point of light so it feels alive.

  6. Add a few true cutouts and photograph

    If you want extra pop, cut fully through only in the tiniest spots, such as a glint in the eye or a sliver along the muzzle, saving these openings for last so the shell stays firm. Clean up any ragged edges with a fresh blade and wipe the marker away with a damp cloth. Set an LED light inside, place the pumpkin on a step at dusk, and photograph it in low light so the gradients show. Rub the cut edges with a little petroleum jelly to slow drying.

Gather your supplies

Check things off as you get ready.

Work on a stable surface, keep your free hand out of the cutting path, and have an adult handle sharp tools.

Three levels of light

  • Leave intact

    The floppy ears, the outer background, and the darkest shadow along the underside of the jaw stay as untouched skin.

  • Peel & shade

    The bulk of the face, cheek, and neck get a shallow skin peel for a soft mid glow that reads as fur.

  • Cut through

    The brow, muzzle bridge, chest highlight, and a tiny eye glint are carved thinnest or cut through for the brightest light.

Learn the carving basics

Before you start cutting

How do I keep the gradients from looking blotchy?

Work in thin, even layers and always follow the direction of the fur with your tool. Peel whole zones to one tone before deepening any single spot, and check with a light inside frequently. Blotchiness usually comes from digging deep in one area too early, so go slow and build up gradually.

Should the ears really stay dark instead of glowing?

Yes, leaving the floppy ears as untouched skin is what frames the face and keeps the profile readable from a distance. If everything glows evenly, the shape gets muddy and the dog loses its silhouette. The contrast between dark ears and a bright face is the whole effect.

This is a concept image, so is a shaded portrait like this actually carvable?

Absolutely, shading pumpkins is a real and well proven technique that relies on thinning the wall rather than cutting holes. Keep your wall an even inch thick to start, and only cut fully through in a few tiny highlight spots so the shell stays strong. Use an LED light rather than a candle, since steady, cool light shows gradients best and is safer.

Your take belongs here, too.

Changed a detail? Made it simpler? Share a photo of your version and tell the community what worked.

Share your pumpkin

More pumpkins like this

You've reached the end · 8 pumpkins
The Patch Report

Fresh pumpkins, in your inbox.

The best new carvings, ideas worth stealing, and how-tos for carving season. Short, seasonal, and gone by November.

A short email during carving season. Unsubscribe anytime. See our privacy policy.