Halloween Pumpkin Carving Contest · Starts October 1st · $500 in prizes
← Back to ideas
@ai_concepts
Sep 25, 2026
Glowing Skull Reaper Pumpkin with Scythe Blade CutoutAI
0

Report this carving

Tell us what is wrong. Reports are private.

Glowing Skull Reaper Pumpkin with Scythe Blade Cutout

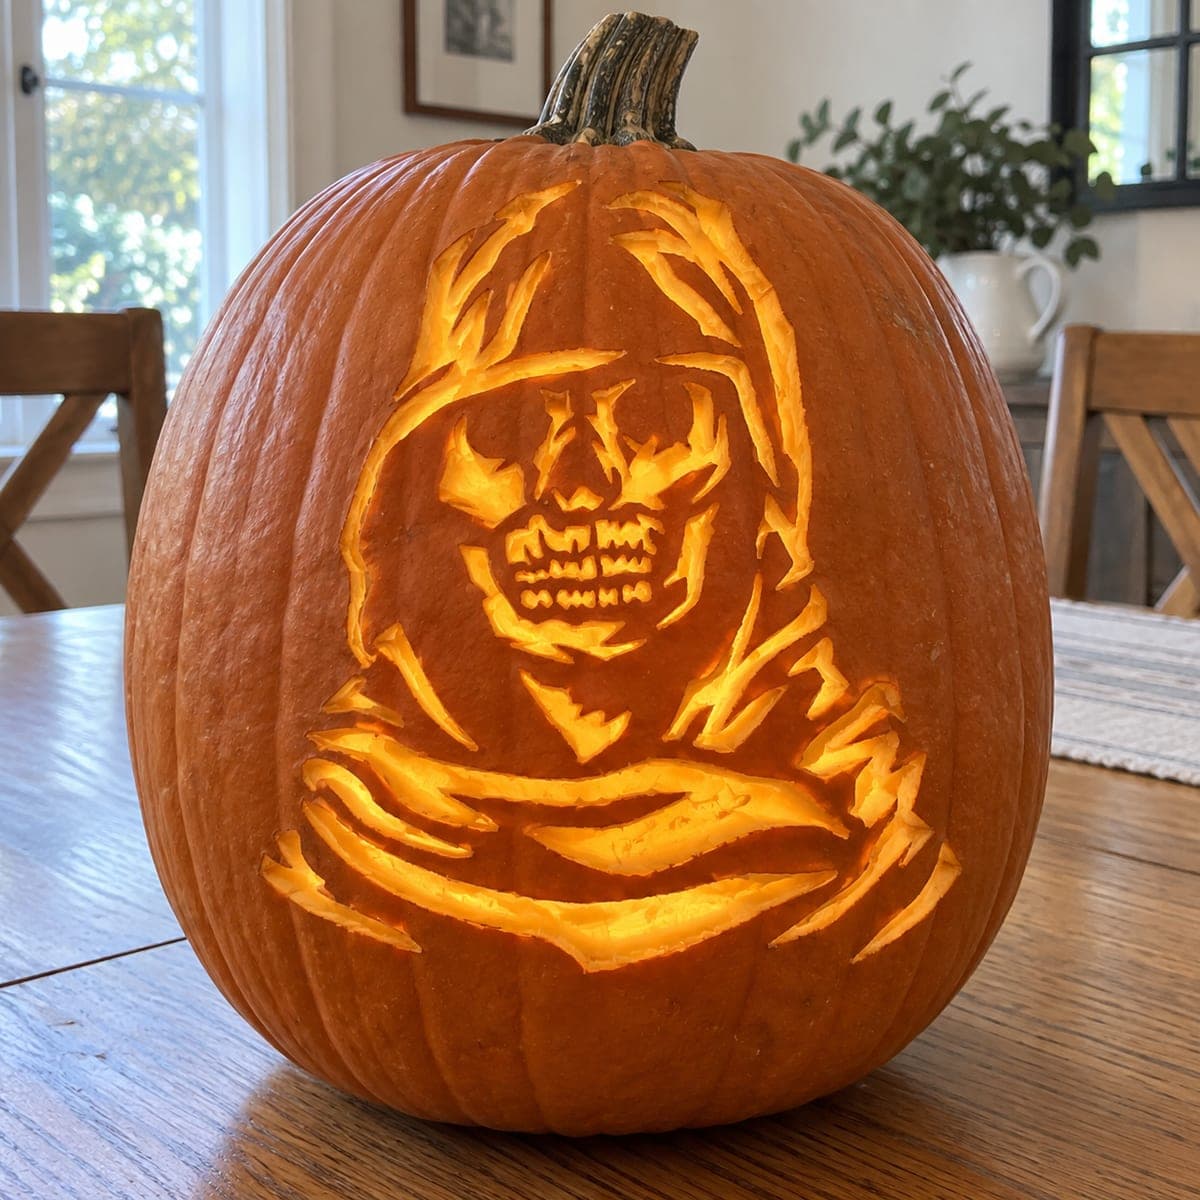
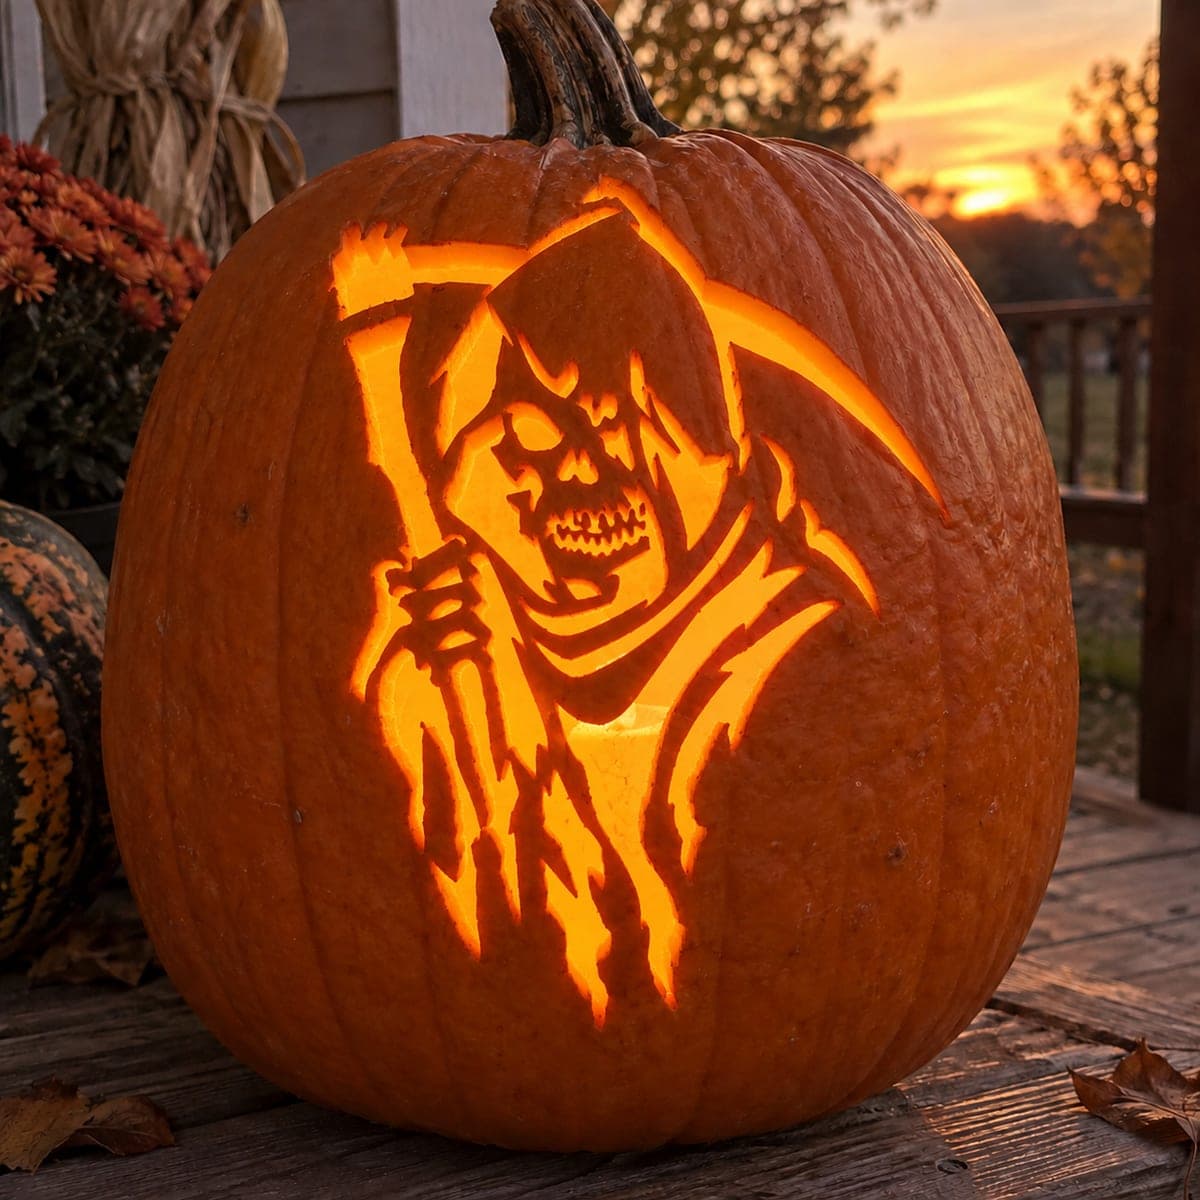
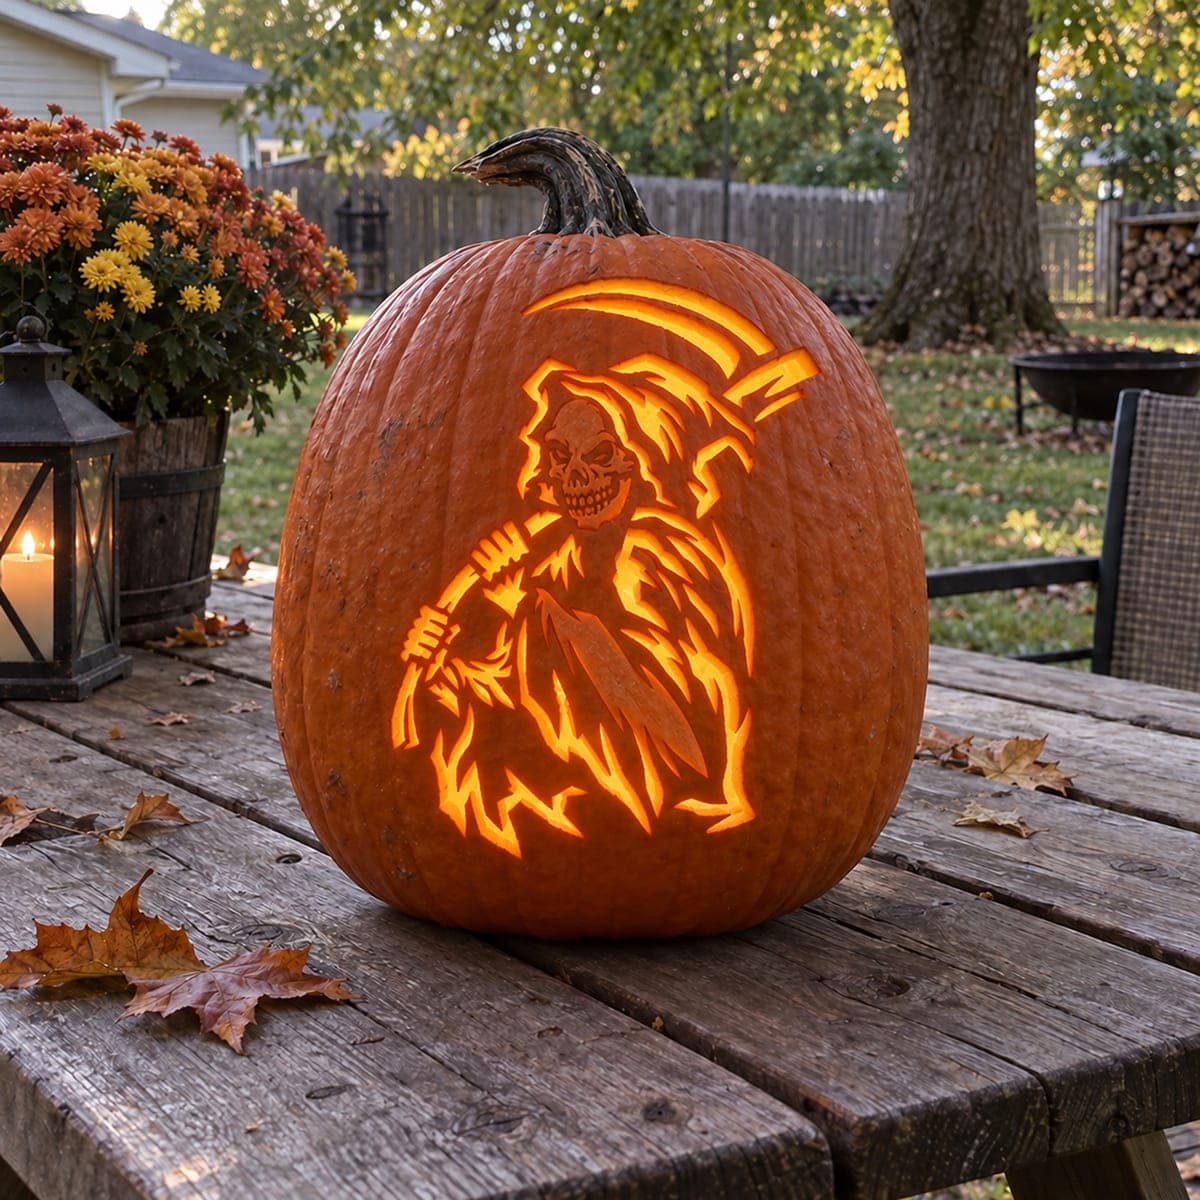
A hooded skull face with a separate scythe blade cutout and shaft opening makes this grim reaper pumpkin carving idea one of the most recognizable silhouette designs available for intermediate-to-advanced carvers. Break the hood outline at key points to keep the face zone supported, then add the facial detail holes as isolated apertures within the hood. Cut the scythe blade and shaft as completely separate elements with clear rind bridges separating them from the body. Lit from inside, the scythe slot appears to arc across the pumpkin like a real blade edge.

No ratings yet · Sign in to rate

Comments (0)

  • No comments yet — be the first.

Save without an account. Sign in to like or comment.

Our tips for carving a similar design

The design splits into two visual zones: the hooded skull face with its interior detail apertures, and the scythe blade and shaft as completely separate elements on the pumpkin. Breaking the hood outline at key points keeps the face zone supported, while the scythe slot and shaft are isolated cuts connected to the outer shell by clear rind bridges on each end. Completing the hood structure first, then adding the scythe elements, ensures the most important visual narrative piece is secure before the more decorative elements are cut.

From pumpkin to porch

  1. Hollow and plan both design zones

    Cut a back-angled lid and scoop walls to three-quarters of an inch. Sketch the hooded skull outline with the deliberate breaks in the hood arc marked. Draw the scythe blade and shaft positions separately, marking the rind bridges that connect each to the outer shell.

  2. Cut the hood with intentional breaks

    Carve the hood silhouette outline, deliberately stopping at the marked break points so the face zone remains attached to the outer shell at multiple spots. Each break in the hood arc is a rind bridge; plan them in pairs or threes so the face zone has stable support on all sides.

  3. Add the facial detail apertures

    Cut the skull eye sockets and any nose or mouth openings as isolated apertures within the retained hood zone. These holes define the skull character and glow as points of light within the solid hood silhouette. Adults should manage all cuts, keeping blades clear of the face zone boundary.

  4. Cut the scythe blade as an isolated aperture

    Carve the scythe blade slot on the relevant area of the pumpkin as a clean arc-shaped opening. The blade aperture should have clear rind between it and the hood zone above. Move the blade in a smooth arc for clean curved edges. Confirm rind bridges connect each blade end to the outer shell.

  5. Cut the scythe shaft opening

    Carve the shaft as a separate elongated rectangle or narrow slot, isolated from the blade with a rind gap between them. The shaft visual element reads as a separate line from the blade. Keep shaft edges clean and straight using a narrow, stiff-bladed saw.

  6. Seal and light for the arc effect

    Coat all cut surfaces with petroleum jelly. Place a warm LED inside and step back: the scythe blade slot appears to arc across the pumpkin like a real blade edge in the light. Reapply petroleum jelly every two days.

Written with AI to match this design

Gather your supplies

Check things off as you get ready.

Work on a stable surface, keep your free hand out of the cutting path, and have an adult handle sharp tools.

Three levels of light

  • Leave intact

    The solid retained hood zone and the rind bridges at all break points stay dark, forming the reaper silhouette.

  • Peel & shade

    None; all glow comes from full cut-throughs.

  • Cut through

    The large negative space around the hood outline (between breaks), the skull facial apertures, the scythe blade arc, and the shaft slot are all cut completely through for full glow.

Learn the carving basics

Before you start cutting

How many breaks should the hood outline have?

Three or four evenly spaced breaks around the hood arc is a reliable range. Fewer than three means the face zone has fewer connection points and is more likely to droop as the pumpkin dries. More than five breaks can make the hood outline look fragmented. Mark the break positions during layout before cutting.

What is the best way to cut a clean arc for the scythe blade?

Use a thin flexible blade and move in one continuous smooth arc from one blade end to the other. Score the arc line lightly with a stylus first to give the blade a path to follow. Stopping and restarting mid-arc leaves a visible kink in the curved edge.

Should the scythe blade and shaft apertures touch or stay separated?

They should stay separated by a visible rind bridge so they read as two distinct elements: the wide blade and the narrow handle. Merging them into one opening loses the narrative clarity of the scythe silhouette. A gap of at least three-eighths of an inch between them is a good working minimum.

Your take belongs here, too.

Changed a detail? Made it simpler? Share a photo of your version and tell the community what worked.

Share your pumpkin

More pumpkins like this

You've reached the end · 8 pumpkins
The Patch Report

Fresh pumpkins, in your inbox.

The best new carvings, ideas worth stealing, and how-tos for carving season. Short, seasonal, and gone by November.

A short email during carving season. Unsubscribe anytime. See our privacy policy.