Halloween Pumpkin Carving Contest Β· Starts October 1st Β· $500 in prizes
← Back to ideas
@ai_concepts
Sep 14, 2026

Sideways Grim Reaper With Flowing Hood Pumpkin
1/2
AI
0

Sideways Grim Reaper With Flowing Hood Pumpkin

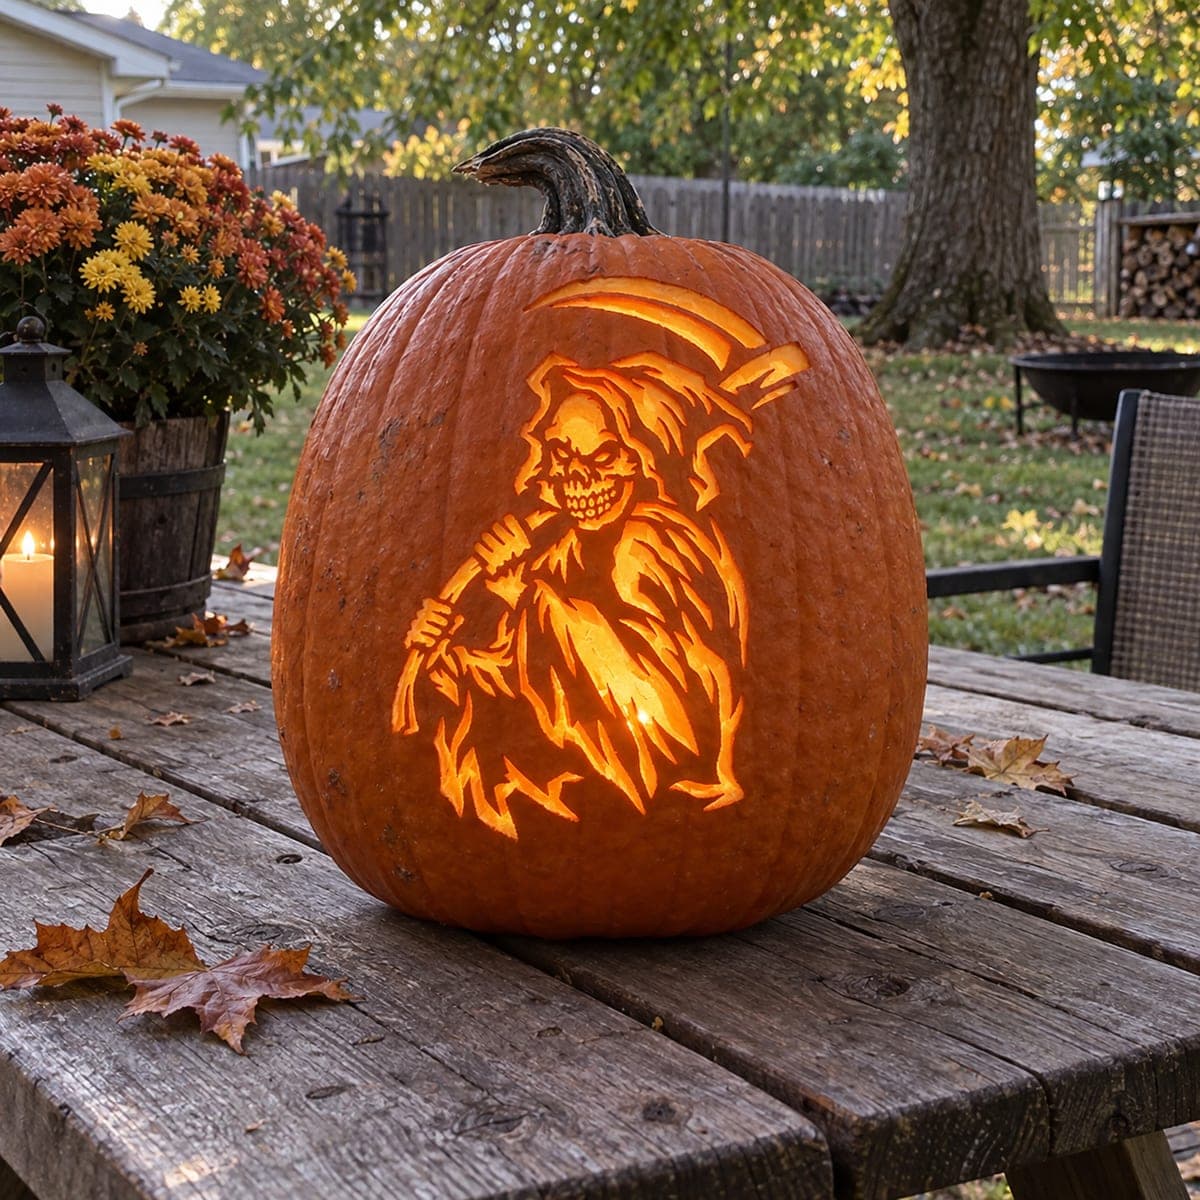
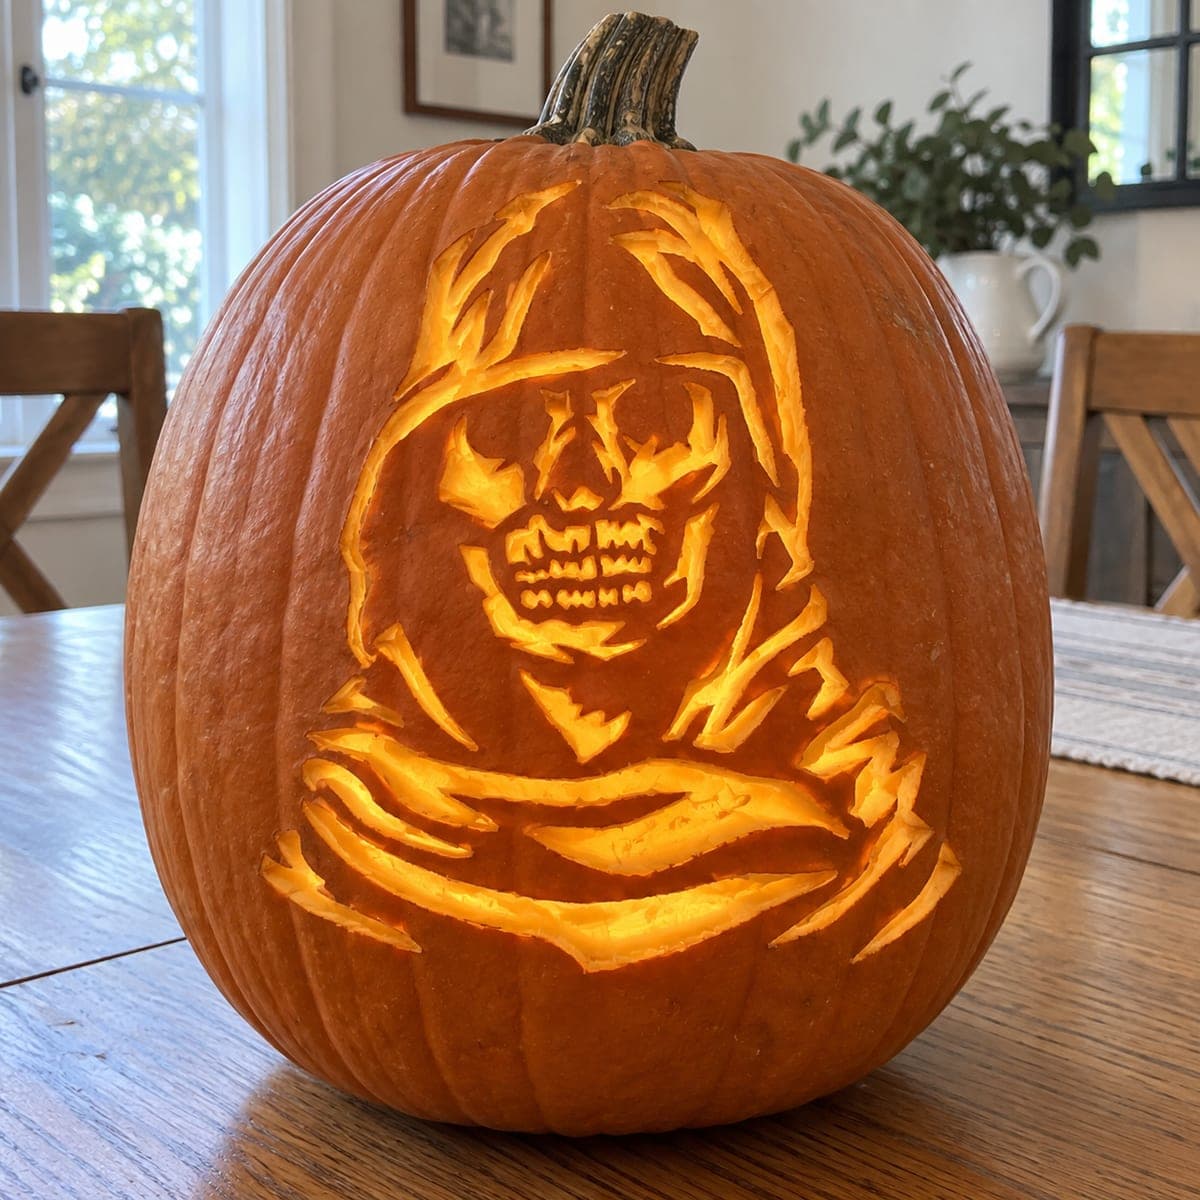
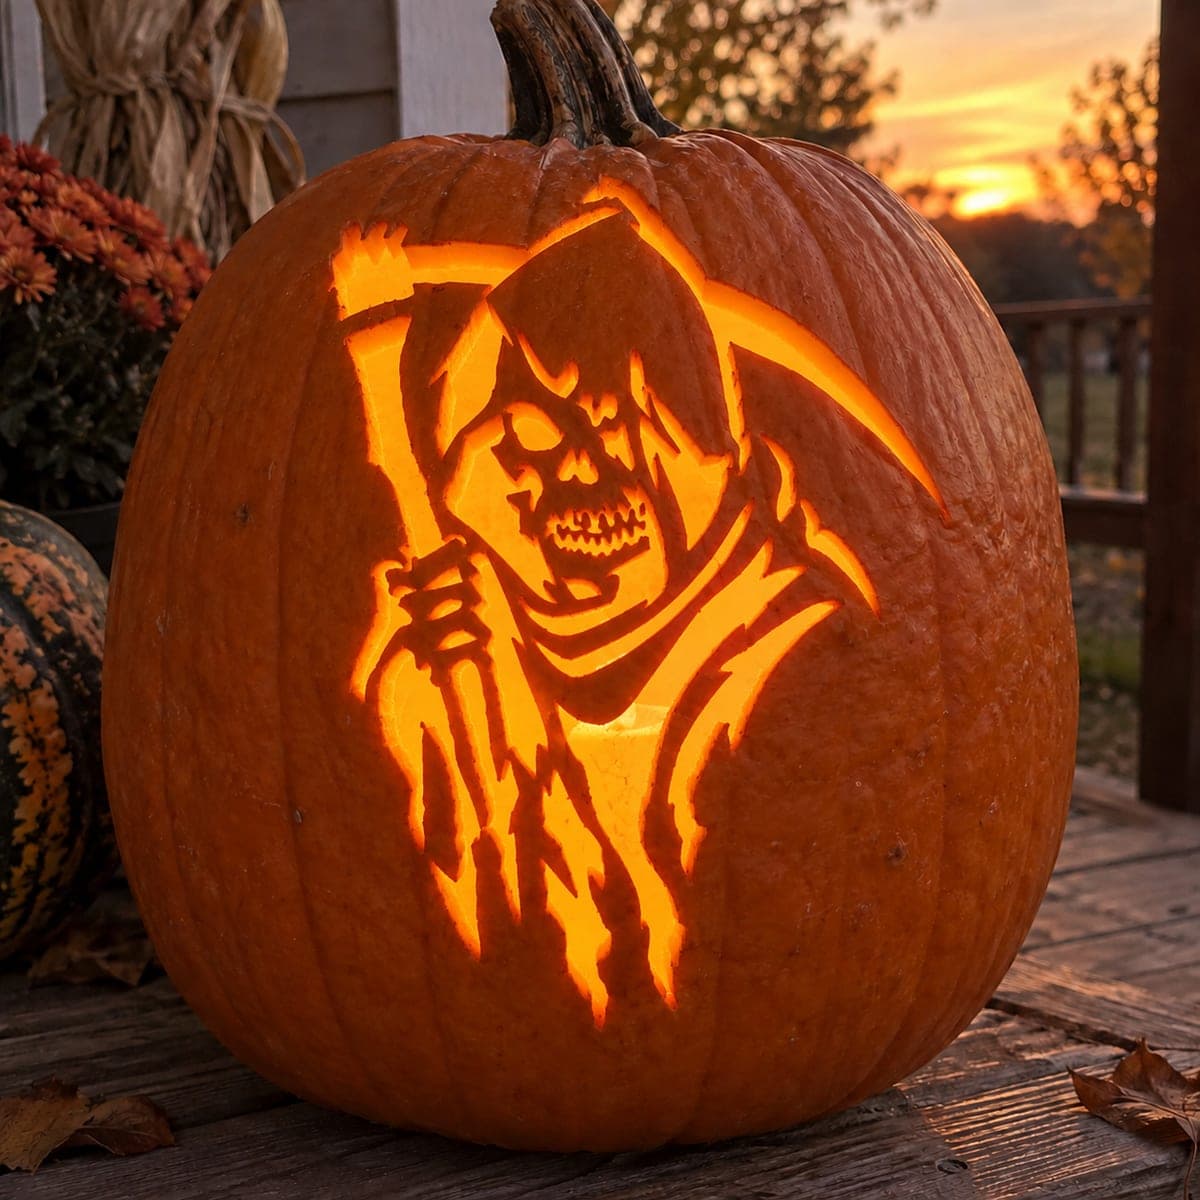
A narrow skull in three-quarter view turns sideways under a wide swept hood with fabric flowing behind it in a long diagonal sweep in this shading pumpkin carving idea. The glowing cheek and lower jaw read as the brightest carved areas while the top of the hood remains unpeeled and dark, giving the composition strong contrast without any cutout gaps. Scrape the jawline and cheekbone highlights first to anchor the face, then work the hood's midtone areas in gradual layers, testing with a flashlight before committing to deeper cuts.

This is an AI-generated concept image: a realistic, carvable design idea rather than a photo of a finished carve. AI concepts are always labeled and sit out the leaderboard and the contest.

No ratings yet Β· Sign in to rate

Comments (0)

  • No comments yet β€” be the first.

Save without an account. Sign in to like or comment.

Our tips for carving a similar design

The whole design rides on shading rather than open cutouts, so the glow comes from peeling skin to different depths instead of slicing all the way through. The plan is to build the brightest face on the cheek and jaw, then step the hood and flowing robe back into darker midtones and untouched skin. Because this is a concept image and no real pumpkin exists, treat it as a target look you build up slowly, testing the light as you go.

Written by PumpkinCarvingIdeas.com, inspired by the image above. These are our suggestions, not instructions from the uploader. This approach to the AI concept has not been tested on a real pumpkin.

From pumpkin to porch

  1. Transfer the reaper outline

    Pick a hollowed pumpkin with a broad, smooth face panel and tape your printed pattern flat against it. Poke the main outlines with a pin or a poker tool: the skull, the hood edge, the scythe handle, and the sweep of the robe. Peel the paper away and connect any faint dots with a washable marker. Keep the whole scene on one side so the curve does not distort the long diagonal sweep.

  2. Thin the wall behind the face

    From the inside, scrape the pumpkin wall down to about one inch across the whole design area so light passes evenly. A loop tool or a large spoon works well for this. An even wall is what makes shading read cleanly, since thick spots stay stubbornly dark. Do the sharp detail carving from the outside after this thinning.

  3. Scrape the brightest highlights first

    Using a small ribbon or loop tool, gently peel the skin off the cheekbone and lower jaw where the face should glow strongest. Go slow and shallow, removing only the orange skin and a thin layer beneath. These are your lightest areas, so thin the flesh here more than anywhere else. Check with an LED light inside to confirm the face lands as the focal point.

  4. Build the hood and robe in midtones

    Move to the hood folds, the arm, and the flowing robe, peeling these areas less deeply so they glow a softer orange. Work in gradual layers and stop often to test with a flashlight before committing to deeper cuts. Leave clear skin bridges between folds so the fabric reads as separate ridges. The top of the hood stays fully unpeeled and dark to frame the face.

  5. Add the scythe and fine texture

    Lightly peel the scythe handle and blade so they glow at a medium level, keeping the blade edge crisp with a fine detail tool. Scratch a few shallow lines into the robe to suggest tattered cloth and frayed edges. Keep these strokes thin and connected so nothing crumbles. Resist cutting any part all the way through; the effect here is entirely surface shading.

  6. Light it and photograph

    Drop in an LED puck or string light rather than a candle, since shaded walls run thin and warm easily. View it in a dark room and touch up any spot that reads too flat by scraping a hair deeper. Rub a little petroleum jelly on the cut edges to slow drying and keep the glow crisp. Shoot it at dusk on a porch or table for the strongest contrast.

Gather your supplies

Check things off as you get ready.

Work on a stable surface, keep your free hand out of the cutting path, and have an adult handle sharp tools.

Three levels of light

  • Leave intact

    The top of the hood and the deepest robe shadows stay as untouched skin so they read dark and frame the skull.

  • Peel & shade

    The hood folds, arm, scythe, and flowing robe get a shallow skin-peel for a soft midtone glow.

  • Cut through

    Nothing is cut fully through; the brightest look comes from peeling the cheek and lower jaw very thin, not from open holes.

Learn the carving basics

Before you start cutting

Do I need to cut any holes for this to glow?

No, this design works entirely through shading, so you peel skin to different depths instead of slicing openings. The brightest cheek and jaw are simply scraped very thin so light glows through the flesh. Keeping it all surface work is what gives the smooth, gapless contrast.

How do I keep the face from getting lost against the dark hood?

Thin the cheek and lower jaw more than anything else so they become the lightest points. Leave the top of the hood completely unpeeled so it stays dark and pushes the face forward. Test with an LED inside frequently, since the eye is drawn to the biggest jump between light and dark.

What if I scrape a spot too thin and it starts to tear?

Stop peeling that area and let it be a highlight rather than pushing deeper. If a patch feels fragile, leave a little extra flesh around it as a natural bridge. A thin coat of petroleum jelly on the scraped surface helps slow drying and keeps weak spots from cracking overnight.

Your take belongs here, too.

Changed a detail? Made it simpler? Share a photo of your version and tell the community what worked.

Share your pumpkin

More pumpkins like this

You've reached the end Β· 8 pumpkins
The Patch Report

Fresh pumpkins, in your inbox.

The best new carvings, ideas worth stealing, and how-tos for carving season. Short, seasonal, and gone by November.

A short email during carving season. Unsubscribe anytime. See our privacy policy.