Halloween Pumpkin Carving Contest · Starts October 1st · $500 in prizes
← Back to ideas
@ai_concepts
Sep 14, 2026

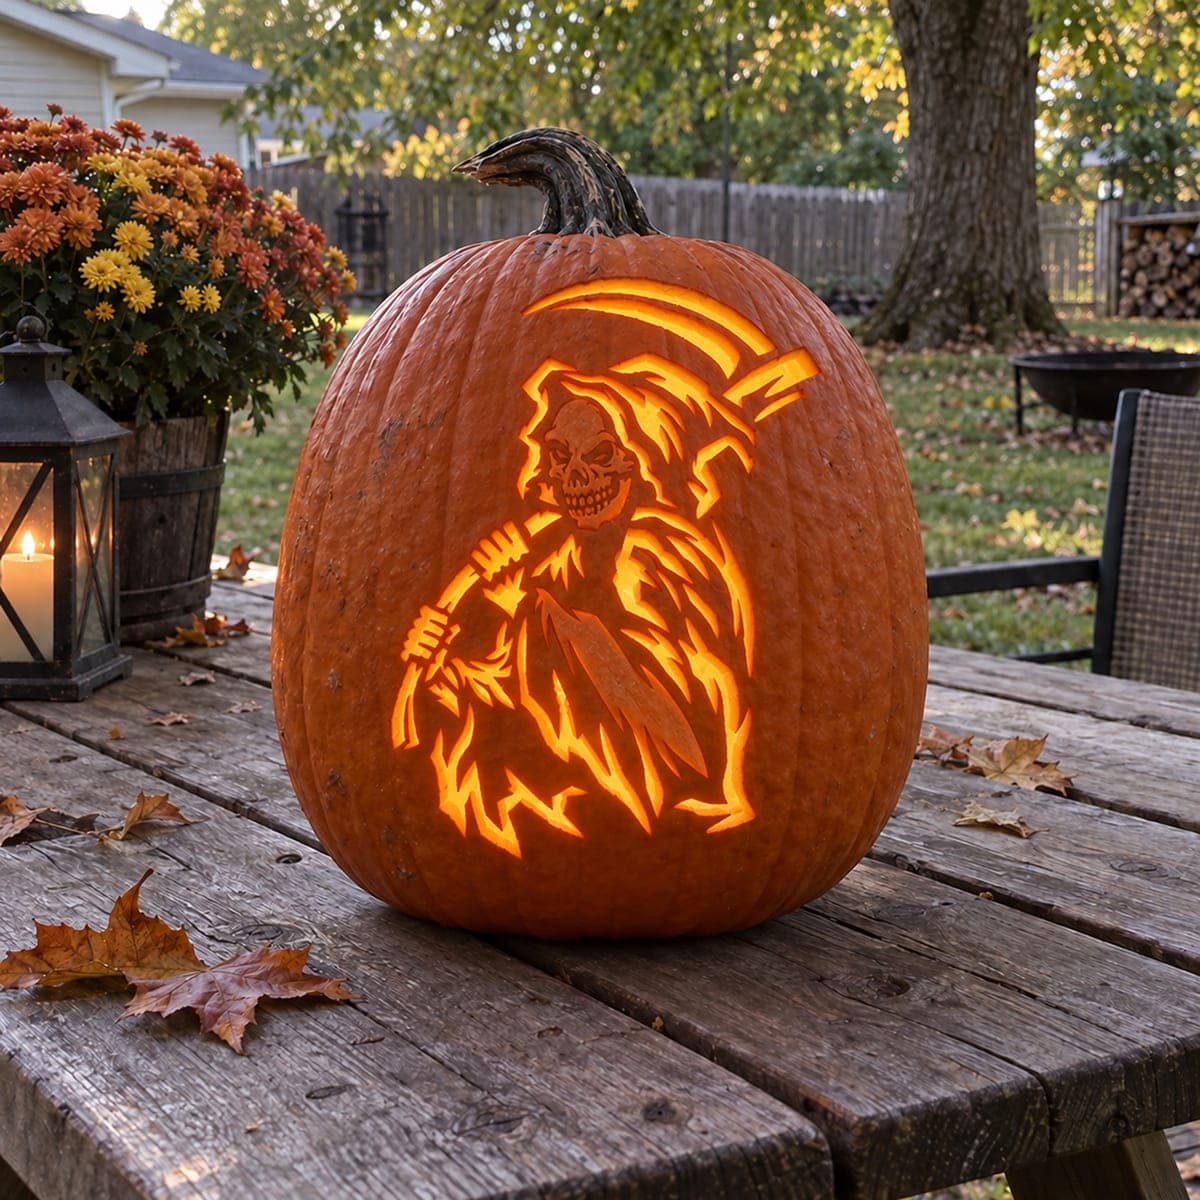
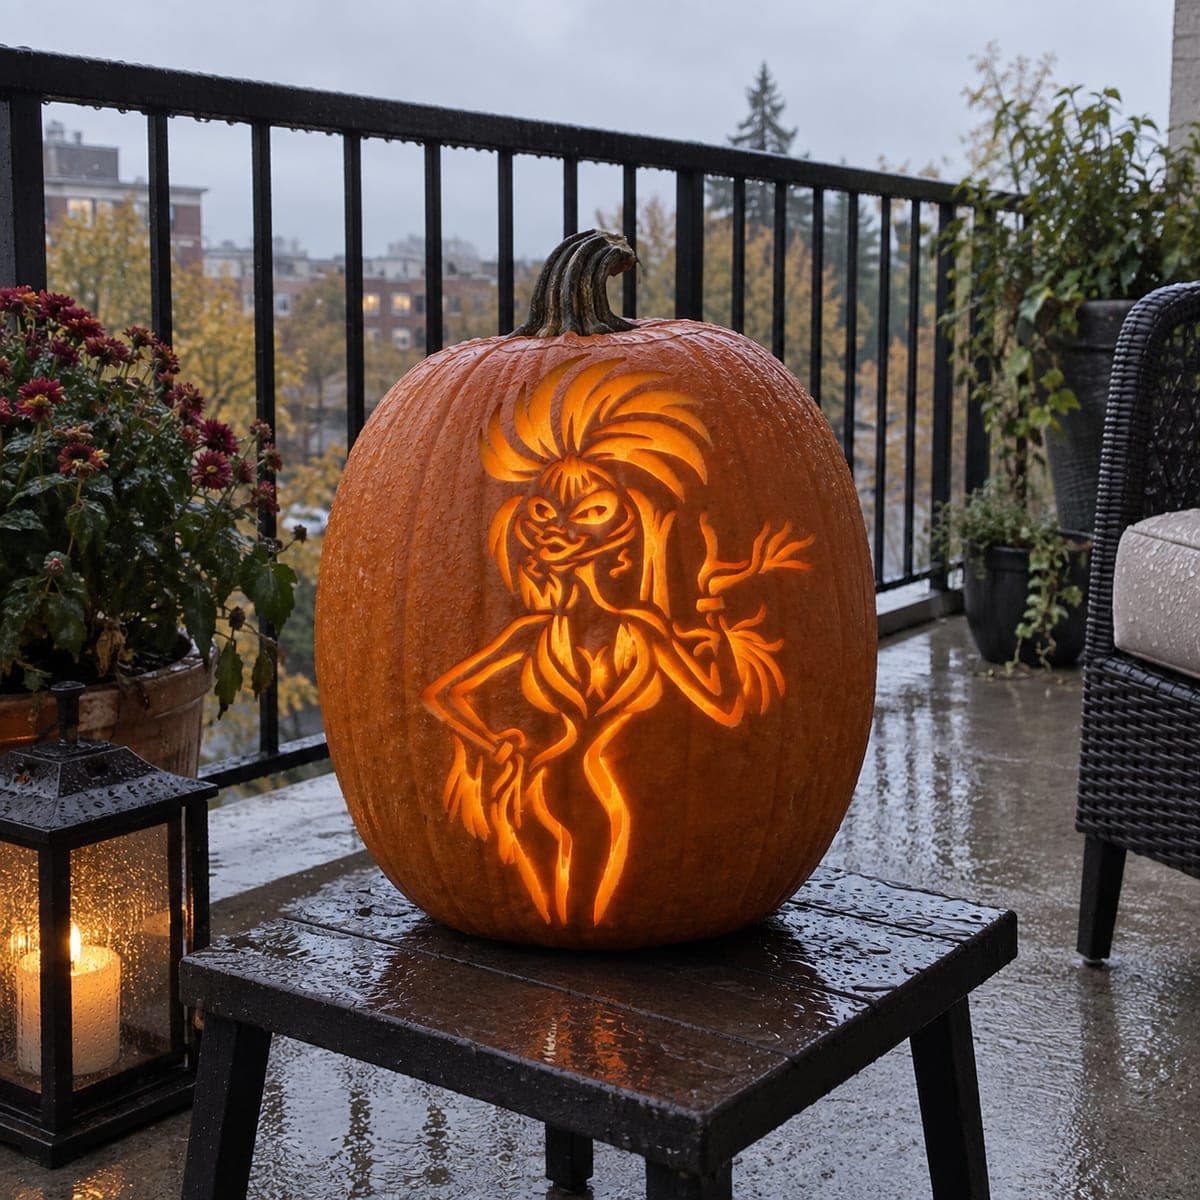
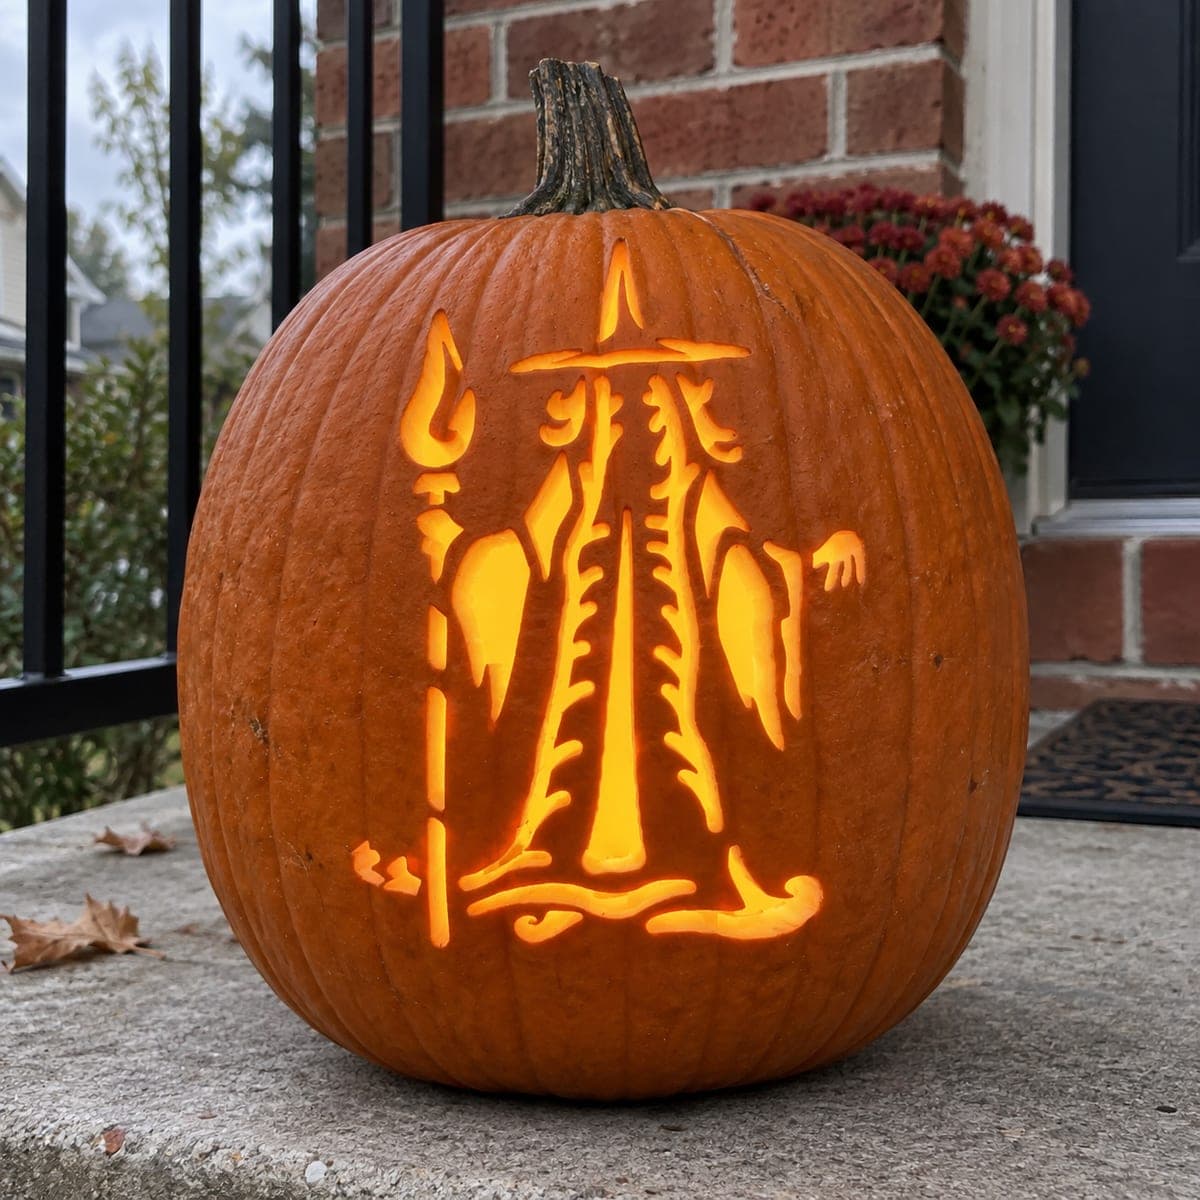
Floating Reaper With Horizontal Scythe Pumpkin
1/2
AI
0

Floating Reaper With Horizontal Scythe Pumpkin

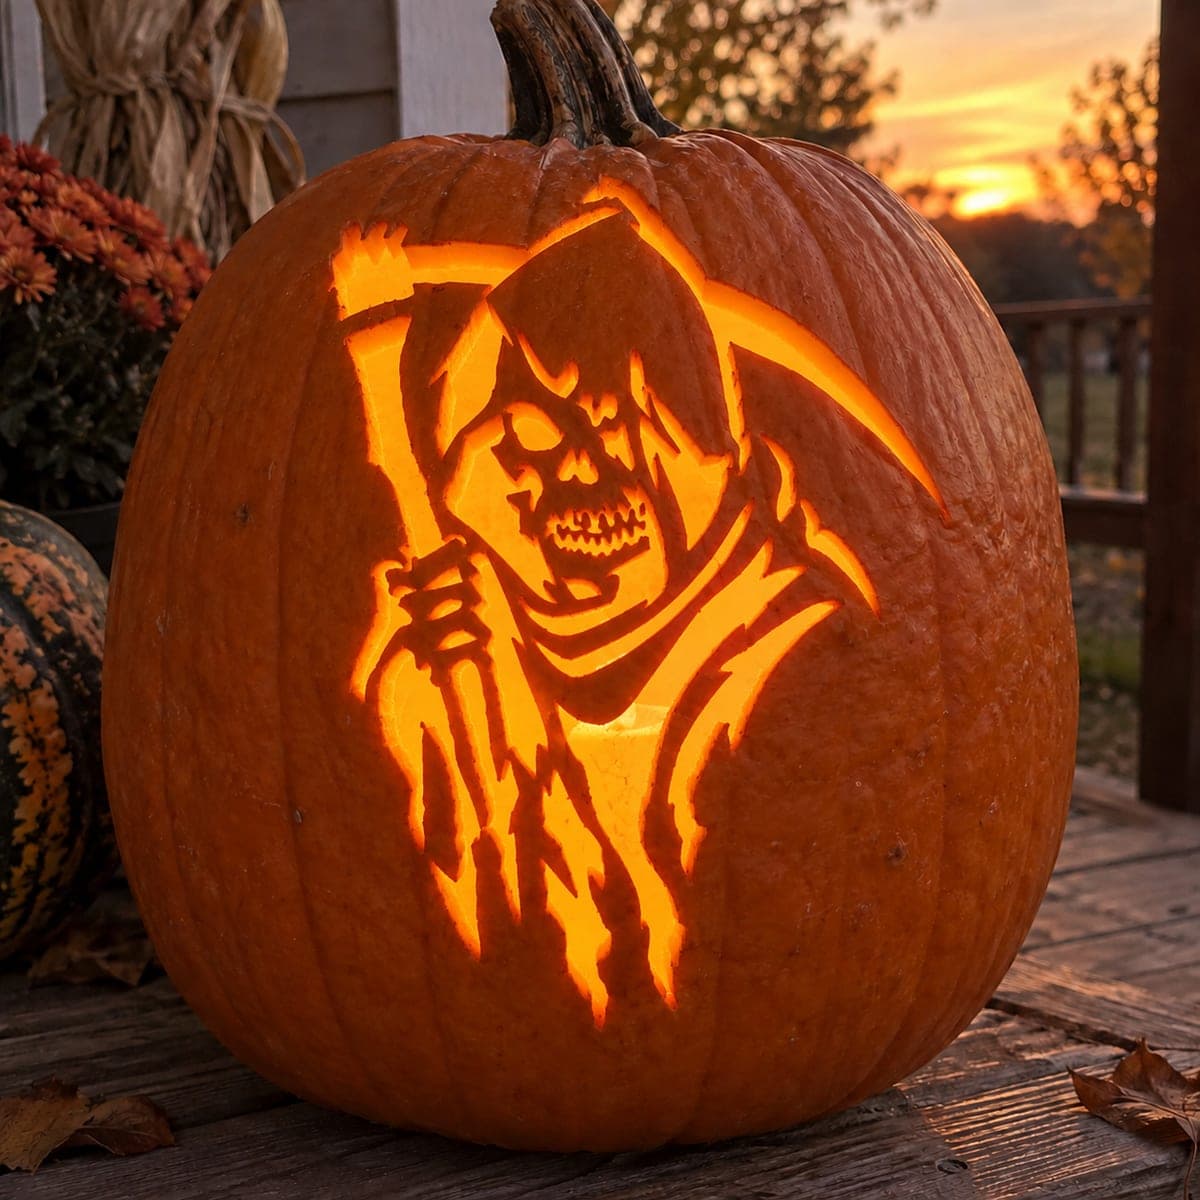
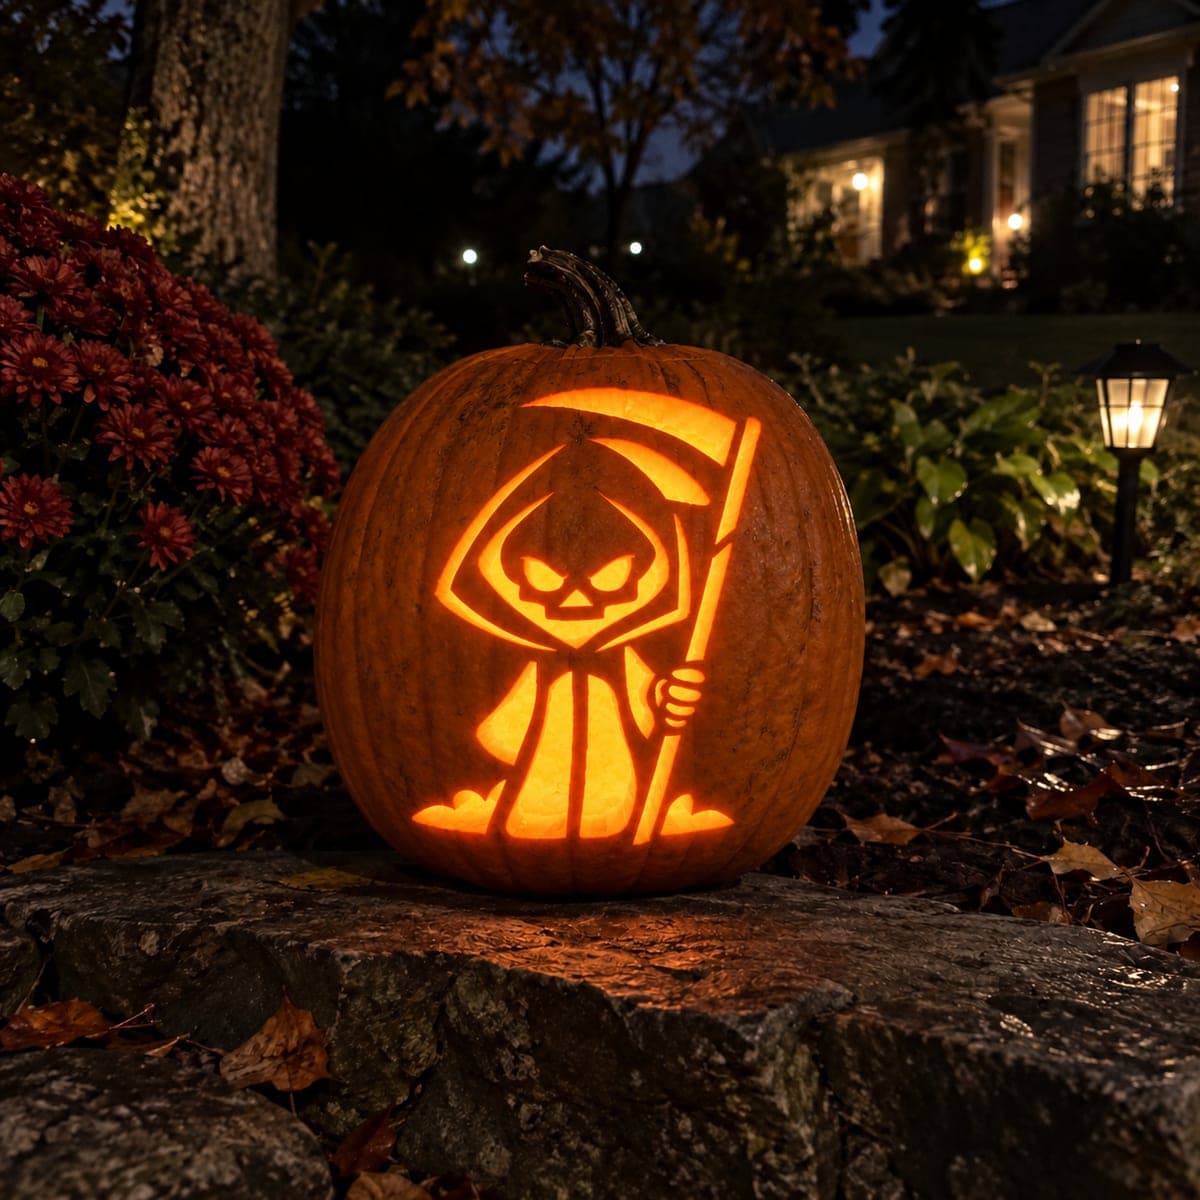
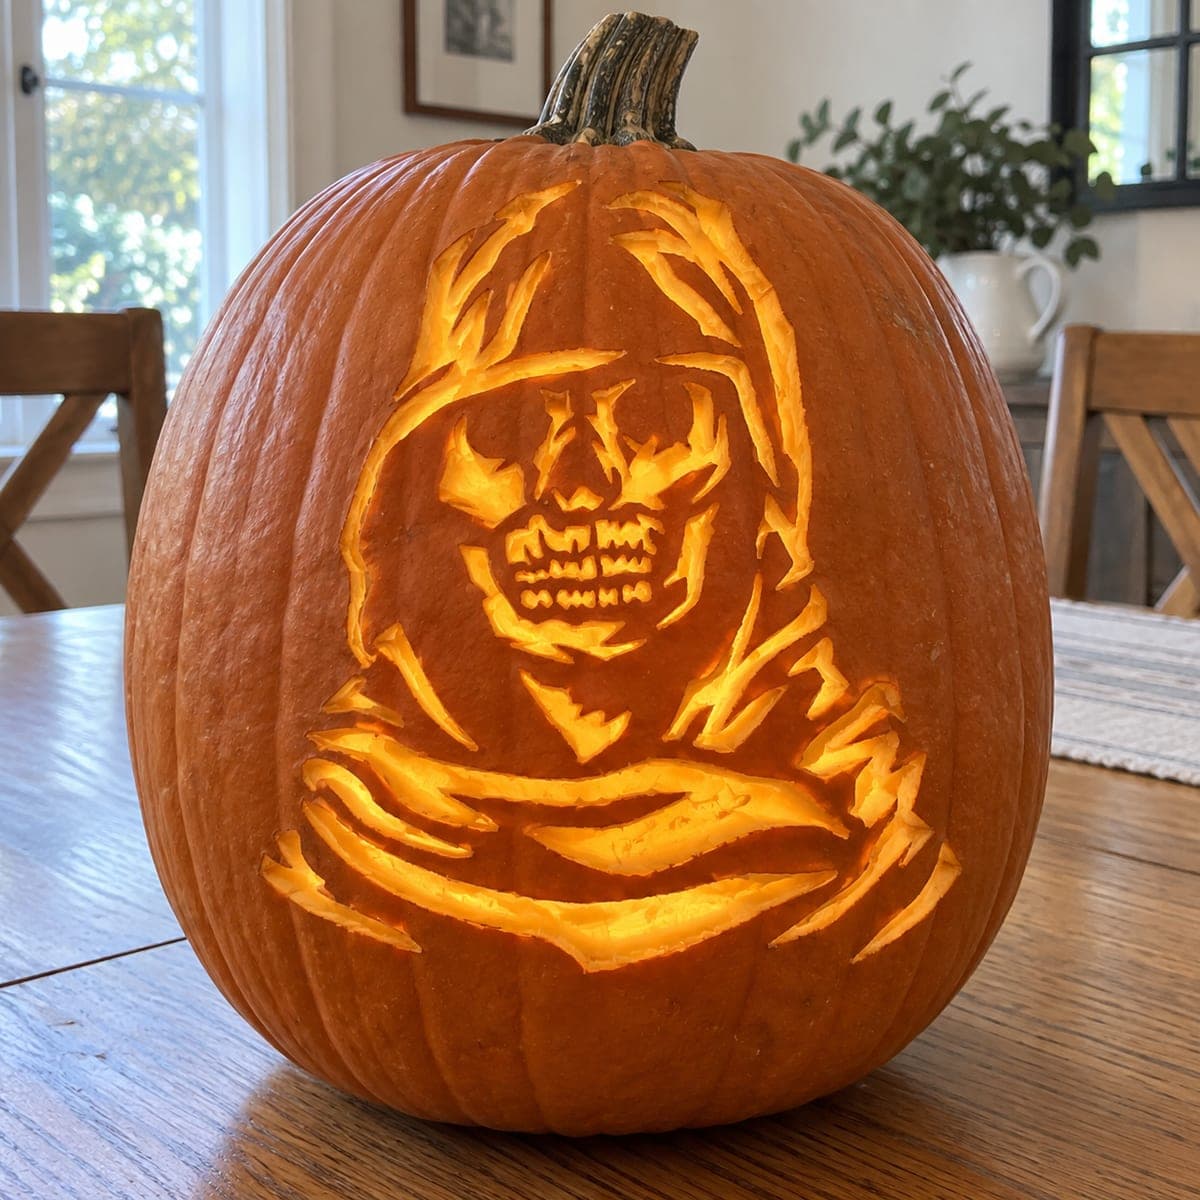
A hooded reaper floats with its robe billowing downward while gripping a long scythe held horizontally across its body, carved as a bold cutout jack-o-lantern pumpkin carving idea. The diagonal scythe blade creates a strong compositional line, so position the design so the blade passes through a smooth rib-free section of the pumpkin wall. Carve the interior of the hood opening and the scythe blade first, then open the robe body so the figure remains stable throughout the process.

This is an AI-generated concept image: a realistic, carvable design idea rather than a photo of a finished carve. AI concepts are always labeled and sit out the leaderboard and the contest.

No ratings yet · Sign in to rate

Comments (0)

  • No comments yet — be the first.

Save without an account. Sign in to like or comment.

Our tips for carving a similar design

The core trick here is a big negative-space cutout where the fully open areas form the glowing reaper and the untouched skin becomes the dark hood, robe, and crescent scythe blade. The scythe is held horizontally across the body, so its long diagonal line needs a smooth section of pumpkin wall to read cleanly. Plan the whole thing as one silhouette, keep the thin scythe pole and blade attached with small bridges, and open the largest areas last so the wall stays strong while you work.

Written by PumpkinCarvingIdeas.com, inspired by the image above. These are our suggestions, not instructions from the uploader. This approach to the AI concept has not been tested on a real pumpkin.

From pumpkin to porch

  1. Pick a smooth wall and prep the pumpkin

    Choose a tall, round pumpkin with a broad, rib-free face so the long scythe line stays straight. Cut a lid from the bottom or back rather than the top, which keeps the stem intact and makes it easy to set over an LED. Scoop the insides and thin the carving wall to about one inch so light passes through evenly. A consistent wall thickness matters most where the fine scythe details will sit.

  2. Transfer the reaper stencil

    Tape your printed stencil onto the flattest part of the face and mark it with a poking tool or a washable pen. Keep the horizontal scythe blade aligned across a smooth panel so it does not warp over a rib. Double check that the hood opening, the scythe pole, and the robe folds are all mapped before you cut. Step back and confirm the whole silhouette looks balanced on the curve.

  3. Carve the hood opening and scythe blade first

    Start with the interior detail work while the pumpkin wall is still fully intact and rigid. Cut through the small opening inside the hood where the face shadow shows, and open the thin crescent of the scythe blade at the top. Use a fine detail saw for the tight curves and go slowly on the blade so it stays crisp. Leaving these small cuts for the beginning means the pumpkin is at its strongest for the delicate parts.

  4. Keep the scythe pole thin and bridged

    The long pole crossing the body should be a narrow open channel, so cut it in short sections and leave small skin bridges where the gripping hands cross it. These little bridges hold the pole visually and keep the surrounding wall from sagging. Do not try to open the entire pole in one continuous slot. If a section feels flimsy, leave an extra bridge and trim it back later.

  5. Open the robe body last

    Save the biggest cutout, the billowing robe, for the end. Cut it in a few connected pieces rather than one giant hole so the wall does not flex or crack. Ease each piece out gently by pushing from the inside. With the large opening done last, the figure stays stable through all the finer work before it.

  6. Light it and take the photo

    Drop in a bright LED puck or a string of LEDs, never a candle, since the big robe cutout will glow strongly. Rotate the light until the hood shadow and scythe read clearly from a few feet away. Shoot at dusk with the pumpkin at eye level for the strongest silhouette. Rub cut edges with a little petroleum jelly to slow drying and keep the fine lines sharp for a few extra days.

Gather your supplies

Check things off as you get ready.

Work on a stable surface, keep your free hand out of the cutting path, and have an adult handle sharp tools.

Three levels of light

  • Leave intact

    The hood, the billowing robe folds, the crescent scythe blade, and the gripping hands stay as untouched dark skin.

  • Peel & shade

    Shave a thin skin layer on the inner hood shadow or robe hem if you want a soft dim glow separating shapes.

  • Cut through

    The open space around the figure and the negative gaps that shape the robe and pole are cut fully through for the brightest light.

Learn the carving basics

Before you start cutting

How do I keep the long horizontal scythe from breaking?

Cut it as a thin open channel in short segments rather than one long slot. Leave small skin bridges where the hands wrap the pole so it stays supported. Choose a smooth, rib-free panel so the line does not run over a ridge that could crack.

This is shown as a concept image, so can a real pumpkin actually hold these details?

Yes, if you keep the thin parts attached. No real pumpkin exists in this picture, so treat it as a design to adapt. Widen the scythe pole slightly from a photo-thin line and add bridges, and it will carve and glow reliably.

Should I carve the big robe opening early to save time?

No, open it last. The large robe cutout removes a lot of supporting wall, so doing it early makes the whole face flex while you carve the fine hood and scythe. Finishing the detail work first keeps the pumpkin rigid when you need it most.

Your take belongs here, too.

Changed a detail? Made it simpler? Share a photo of your version and tell the community what worked.

Share your pumpkin

More pumpkins like this

You've reached the end · 8 pumpkins
The Patch Report

Fresh pumpkins, in your inbox.

The best new carvings, ideas worth stealing, and how-tos for carving season. Short, seasonal, and gone by November.

A short email during carving season. Unsubscribe anytime. See our privacy policy.