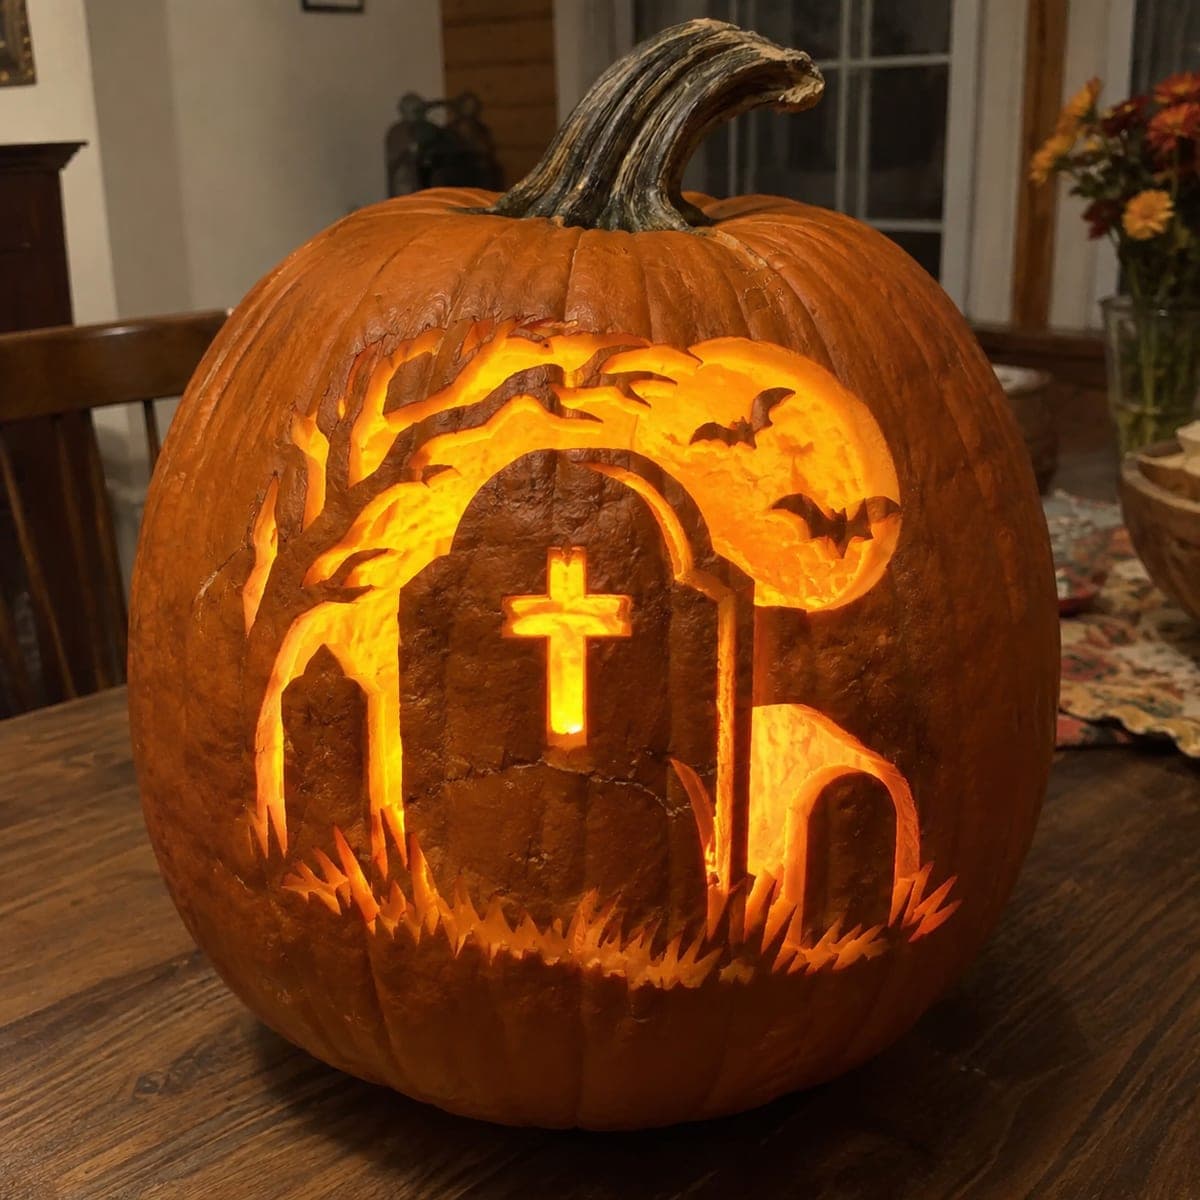
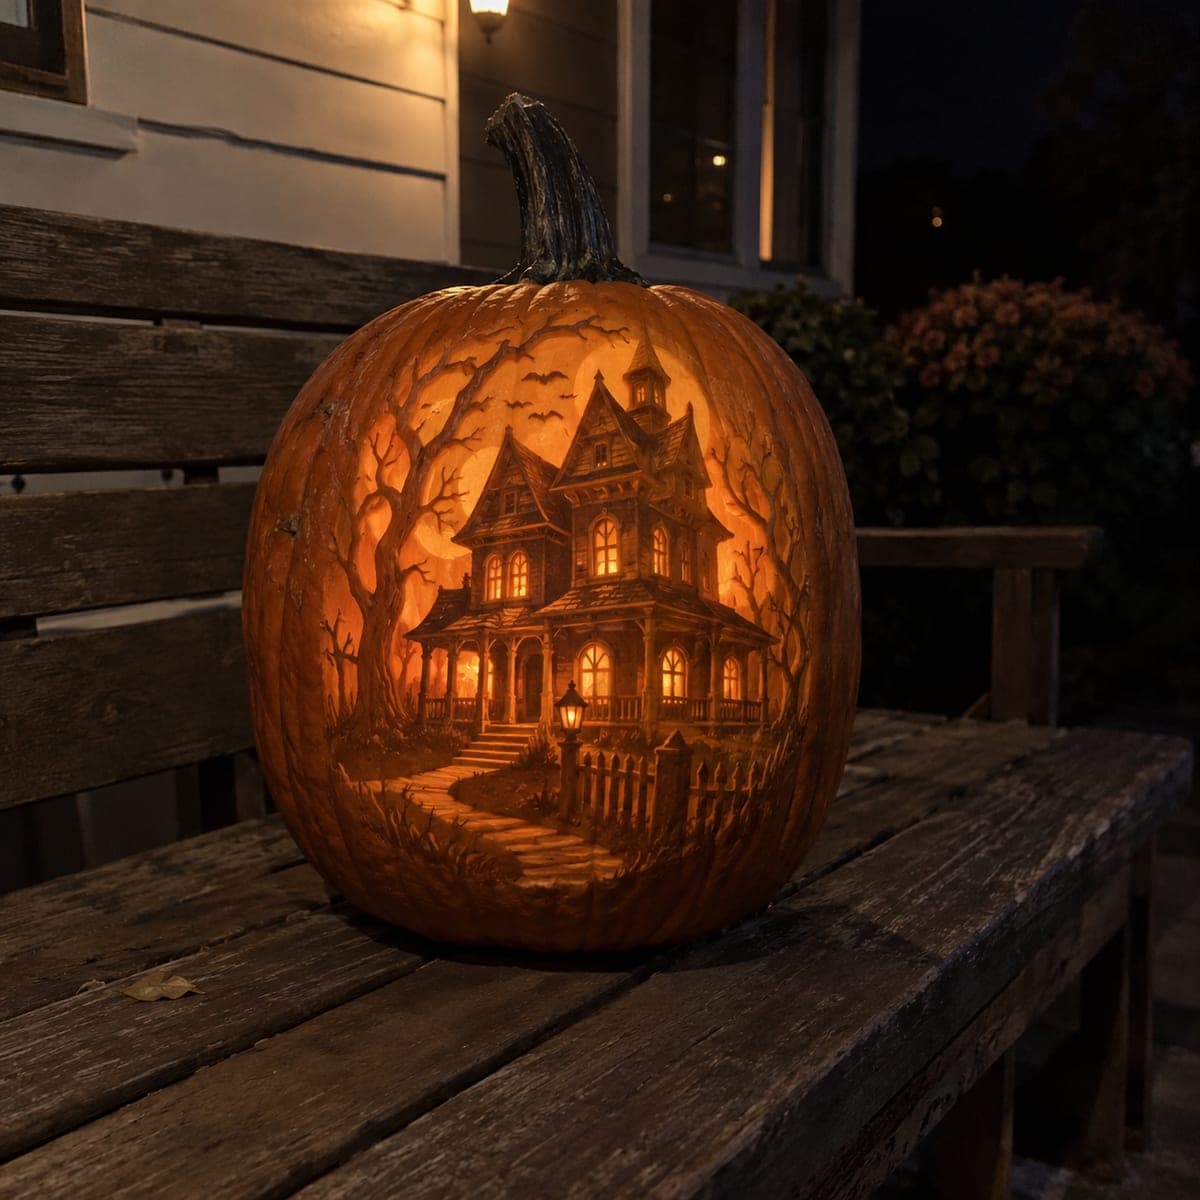
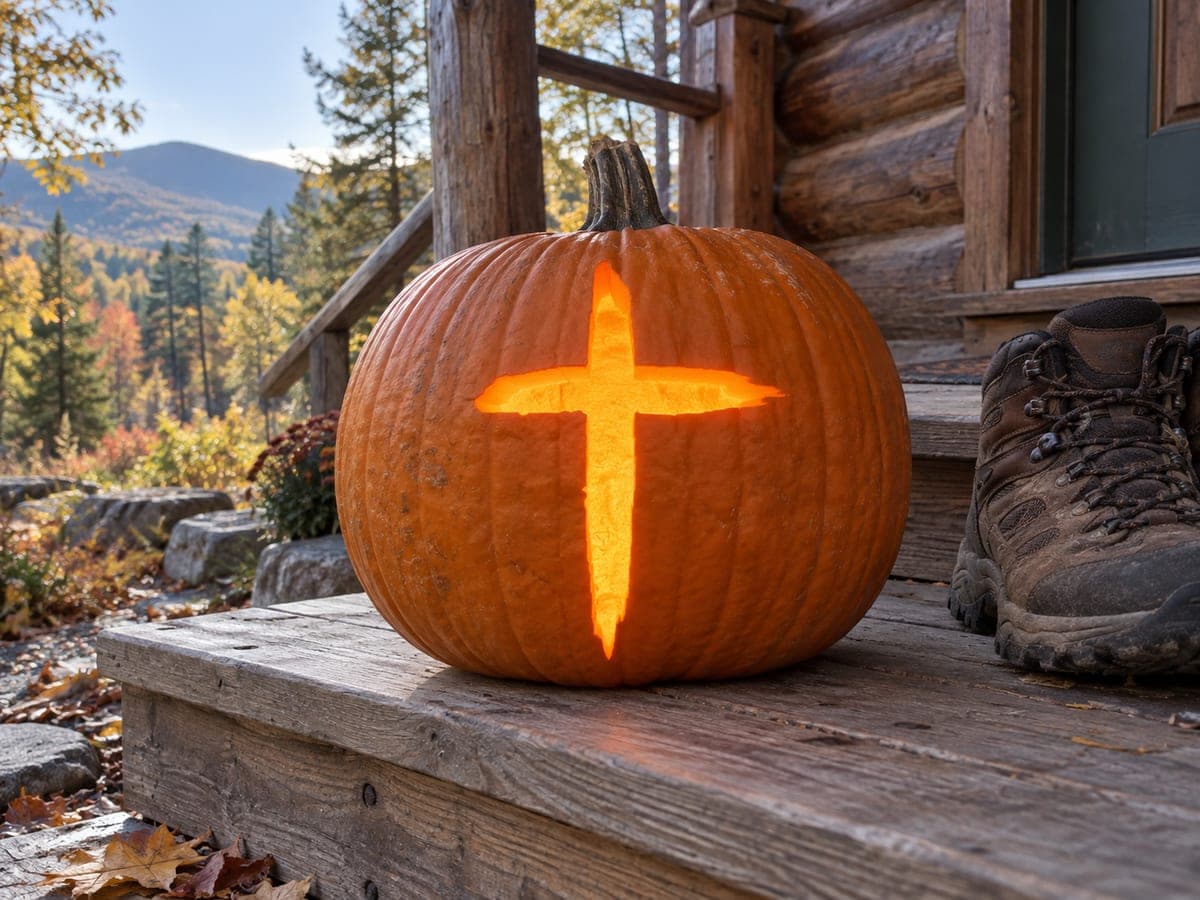
Halloween Pumpkin Carving Contest Β· Starts October 1st Β· $500 in prizes
← Back to ideas
@ai_concepts
Jul 10, 2026
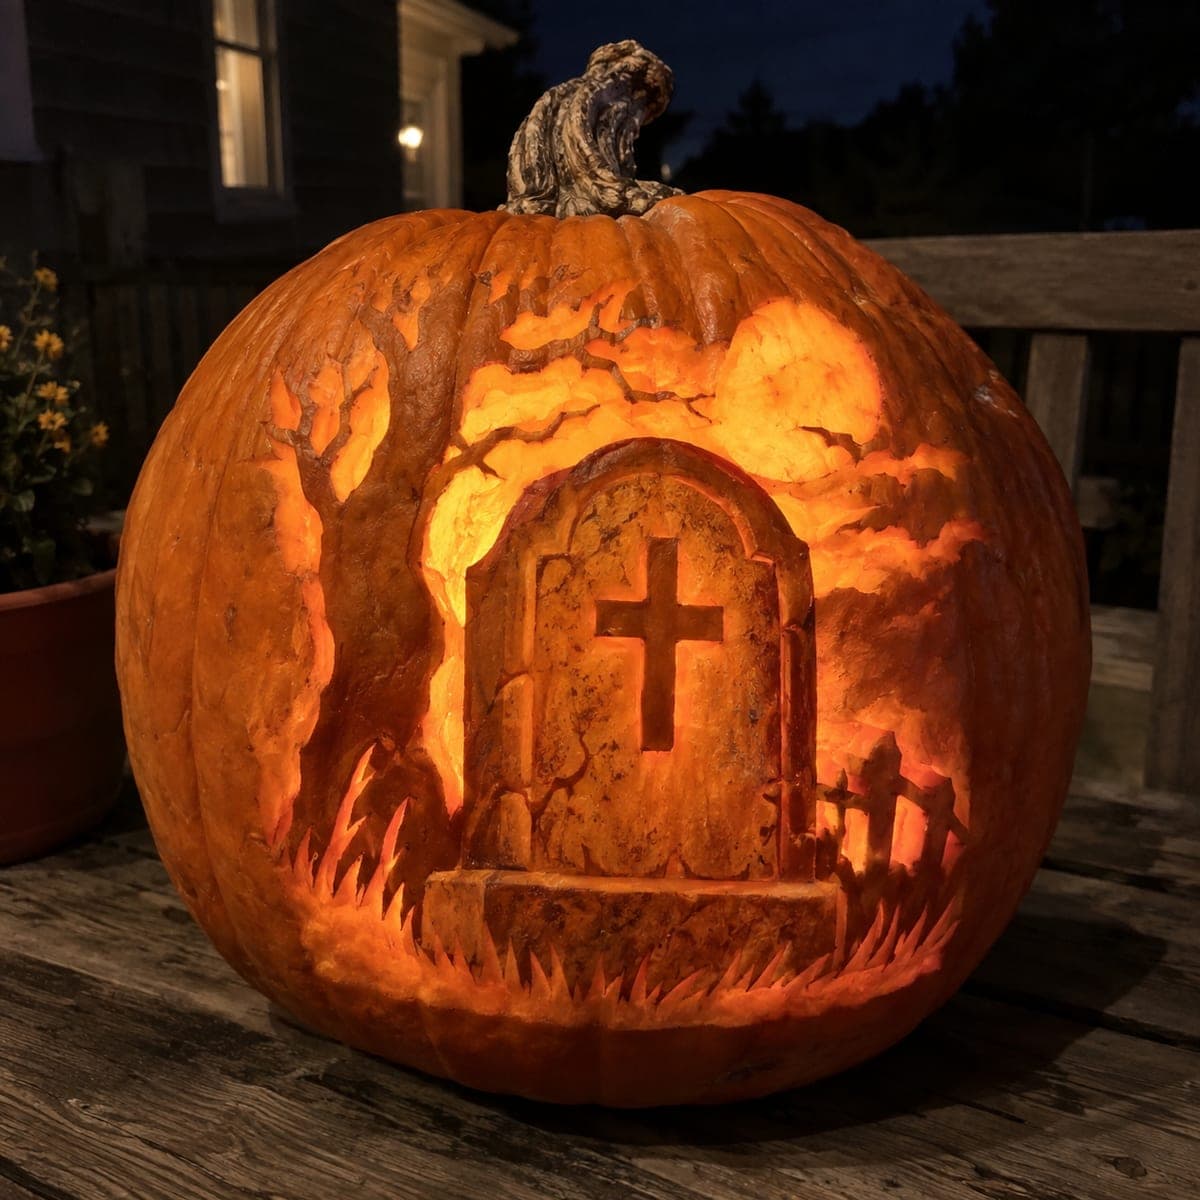
Gravestone Cross and Bats Spooky Scene PumpkinAI
0

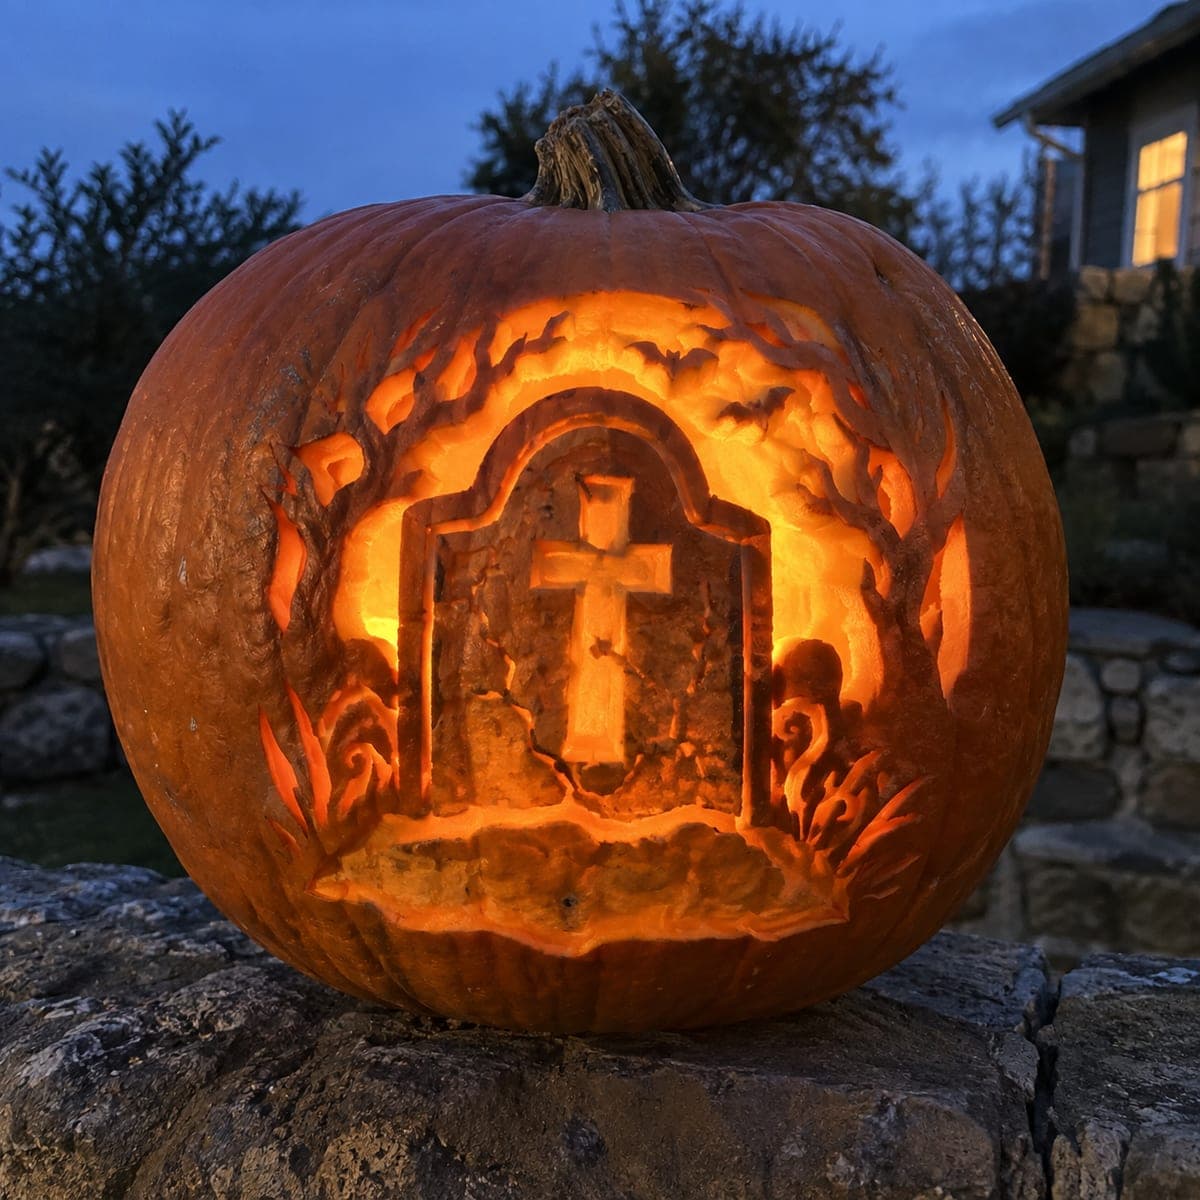
Gravestone Cross and Bats Spooky Scene Pumpkin

An arched gravestone bearing a carved cross glows at the center of this pumpkin, framed by gnarled trees, swooping bats, and tufts of cemetery grass. The scene uses a bright backlit window behind the stone with darker etched framing, so the tomb appears lit from beyond. Carve the central window through first, then etch the border details shallow so they stay in shadow.

This is an AI-generated concept image: a realistic, carvable design idea rather than a photo of a finished carve. AI concepts are always labeled and sit out the leaderboard and the contest.

No ratings yet Β· Sign in to rate

Comments (0)

  • No comments yet β€” be the first.

Save without an account. Sign in to like or comment.

Our tips for carving a similar design

The core trick here is depth from a single bright cutout. You carve the arched gravestone's center as a full opening so it reads as a glowing window, then keep the tombstone shape, trees, bats, and grass as shallow shaded etching so they stay dim and frame the glow. This layered contrast makes the stone look lit from behind while everything around it sits in shadow.

Written by PumpkinCarvingIdeas.com, inspired by the image above. These are our suggestions, not instructions from the uploader. This approach to the AI concept has not been tested on a real pumpkin.

From pumpkin to porch

  1. Transfer the scene and open the pumpkin

    Print the stencil sized to your pumpkin's flattest face and tape it in place. Poke the outlines with a pin or transfer tool, paying attention to the arched stone, the cross, the bats, and the grass. Cut a lid or a wide bottom opening and scoop the wall on the carving side down to about one inch so light passes through. A thinner wall makes the shaded areas glow more evenly.

  2. Shade the tombstone face and cross

    Use a ribbon or loop tool to peel just the skin off the arched stone, leaving the surface a soft dim orange. Carve the cross a little deeper than the surrounding stone so it catches more light and stands out. Add shallow cracks and texture across the stone to sell the aged look. Keep these cuts gentle since this whole panel should read as mid glow, not full brightness.

  3. Etch the border details shallow

    Skin-peel the gnarled trees, the swooping bats, and the cemetery grass so they stay in shadow against the brighter center. Vary your peel depth a touch to hint at branches and blades without cutting through. Leave narrow ridges of untouched skin between shapes so each element stays crisp. These framing details should stay darker than the stone.

  4. Cut the glowing window last

    Once all shading is done, cut a full opening in the recessed area behind and around the stone so it becomes the brightest light source. Work from the center outward and leave small bridges of skin where the stone edges and cross need support. Cutting this opening last keeps the wall firm while you do the delicate etching. Round the inside edges slightly so the light spreads.

  5. Light it and photograph

    Drop in an LED puck or string light rather than a candle, since the thin shaded wall can scorch. Position the light low and toward the back so it pushes brightness through the window and grazes the shaded border. Test in a dark room and adjust the light angle until the stone looks lit from beyond. Shoot at dusk for the best balance of sky and glow.

Gather your supplies

Check things off as you get ready.

Work on a stable surface, keep your free hand out of the cutting path, and have an adult handle sharp tools.

Three levels of light

  • Leave intact

    The gnarled trees, bat silhouettes, and grass tufts stay as untouched or barely peeled skin so they read dark

  • Peel & shade

    The arched tombstone face and its cross get skin-peeled for a soft mid orange glow

  • Cut through

    The recessed window behind and around the stone is cut fully through for the brightest light

Learn the carving basics

Before you start cutting

This is shown as a concept image, so can a real pumpkin actually hold this much detail?

Yes, with care. Keep the thin cross and stone edges attached with small skin bridges, and carve on a wall thinned to about one inch so shading glows. The trickiest part is balancing one bright cutout against a lot of shallow etching, so give yourself time.

How do I make the gravestone look lit from behind instead of just cut out?

Shade the stone face so it glows softly, then place the full cutout behind and around it. The light spilling through the opening rims the stone and pushes past it, which fakes a backlit effect. Keeping the border trees and bats dark increases that contrast.

How do I keep the bats from tearing while I etch them?

Carve the bats as shallow skin peels rather than cutouts, so there are no fragile floating pieces. Leave a thin ridge of skin between each bat and the sky around it. If a wing feels weak, stop cutting and leave it slightly thicker for support.

Your take belongs here, too.

Changed a detail? Made it simpler? Share a photo of your version and tell the community what worked.

Share your pumpkin

More pumpkins like this

You've reached the end Β· 8 pumpkins
The Patch Report

Fresh pumpkins, in your inbox.

The best new carvings, ideas worth stealing, and how-tos for carving season. Short, seasonal, and gone by November.

A short email during carving season. Unsubscribe anytime. See our privacy policy.