Halloween Pumpkin Carving Contest · Starts October 1st · $500 in prizes
← Back to ideas
@ai_concepts
Aug 6, 2026
Headless Horseman No-Carve Pumpkin with Paper CutoutAI
0

Headless Horseman No-Carve Pumpkin with Paper Cutout

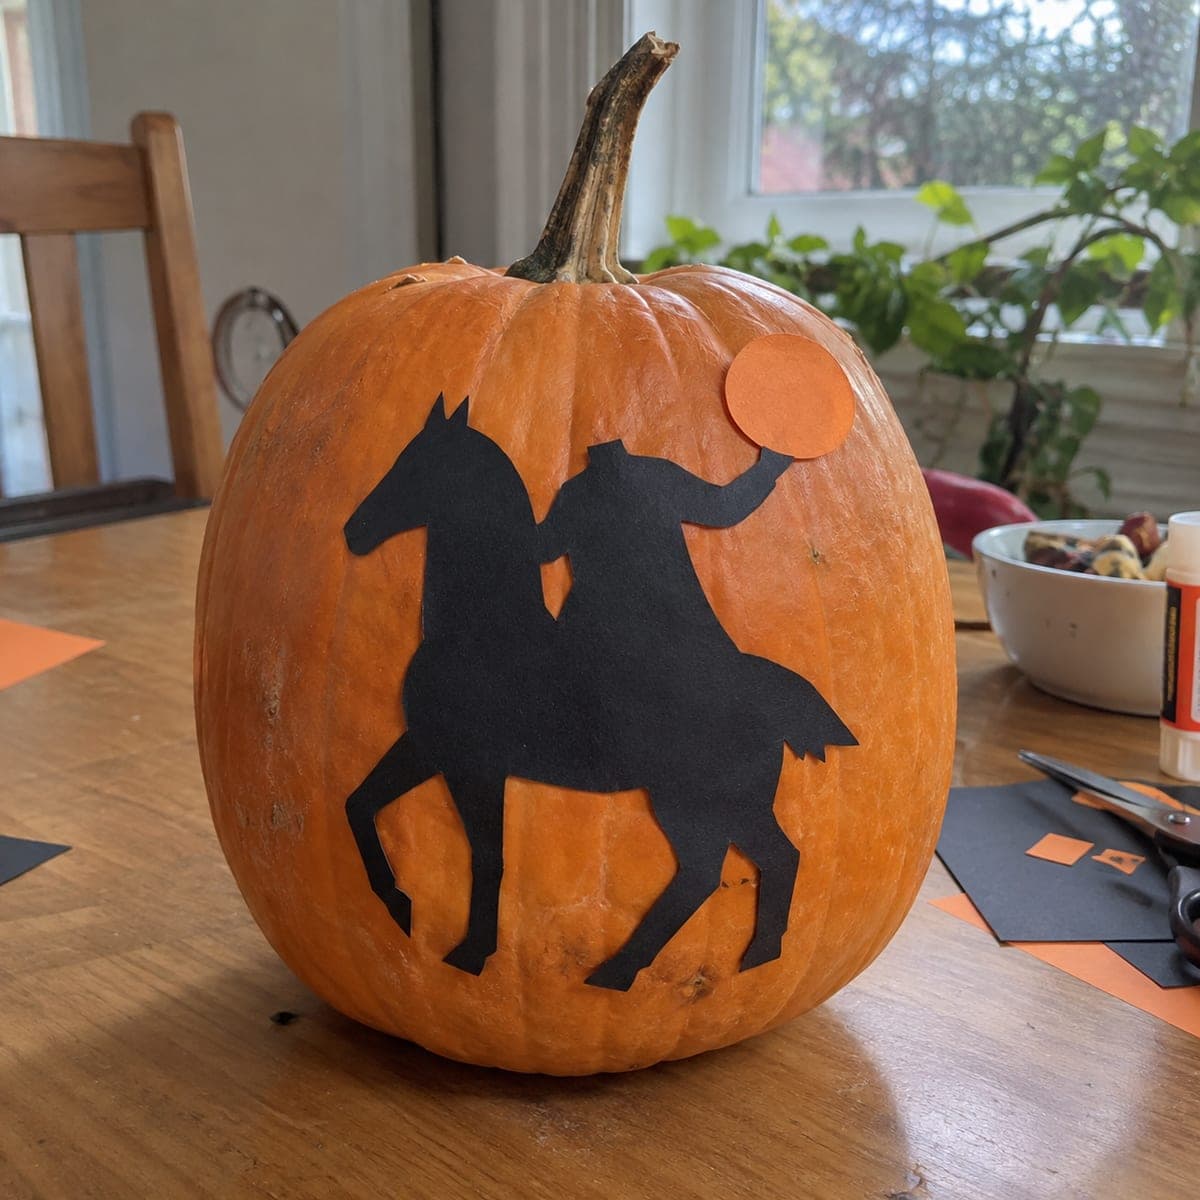
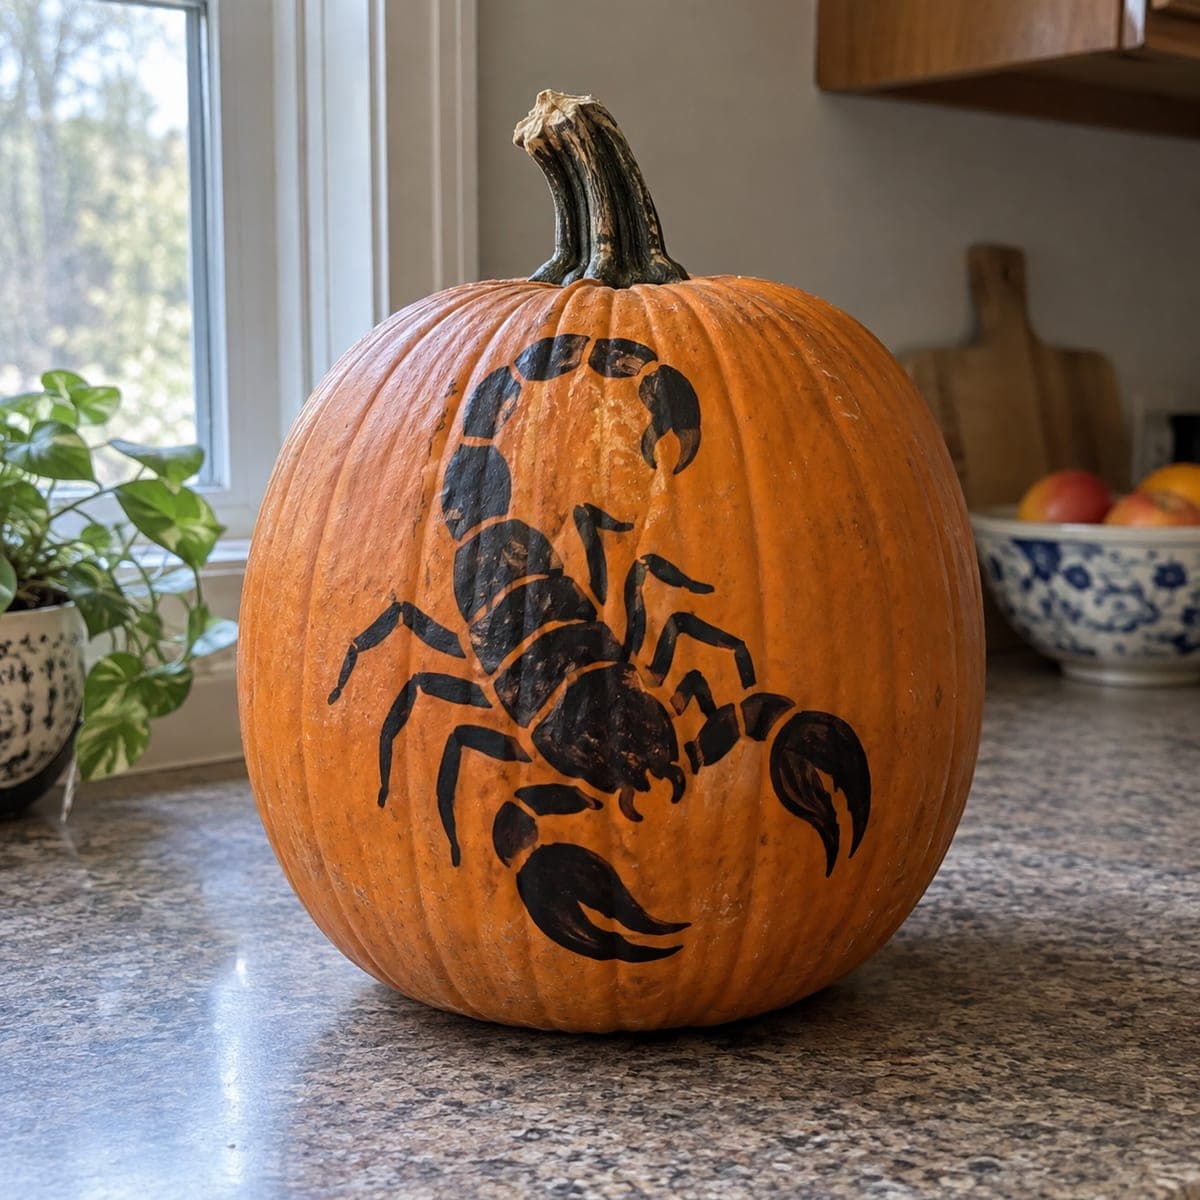
A bold black paper silhouette of the Headless Horseman on horseback is glued directly to an uncut orange pumpkin, with a small orange circle standing in for the flaming pumpkin he throws. This craft-table-friendly no-carve pumpkin idea uses scissors and craft paper, making it safe for all ages and mess-free. Cut the horseman shape from black cardstock, attach with a glue stick, and add the round orange accent last. It looks best displayed indoors or in a sheltered spot to keep the paper crisp.

This is an AI-generated concept image: a realistic, carvable design idea rather than a photo of a finished carve. AI concepts are always labeled and sit out the leaderboard and the contest.

No ratings yet · Sign in to rate
Comments (0)

  • No comments yet — be the first.

Save without an account. Sign in to like or comment.

Our tips for carving a similar design

The core trick here is a crisp black paper silhouette glued straight onto an uncut pumpkin, so the orange skin becomes the background instead of the light. A tiny orange paper circle stands in for the flaming pumpkin the horseman hurls. Keep every line clean and press the paper flat against the curve for a bold, mess-free result.

Written by PumpkinCarvingIdeas.com, inspired by the image above. These are our suggestions, not instructions from the uploader. This approach to the AI concept has not been tested on a real pumpkin.

From pumpkin to porch

  1. Print and size your silhouette

    Choose a Headless Horseman on horseback silhouette and scale it to fill the front face of your pumpkin. Print it on regular paper first as a test template. Hold it against the pumpkin to check that the legs and rider fit within the flattest area. Adjust the size before you cut anything from cardstock.

  2. Cut the horseman from black cardstock

    Tape the paper template onto black cardstock and cut along the outline with sharp scissors. Take your time around thin spots like the legs, tail, and the raised arm so they stay connected to the body. For tight inner curves, an adult can use a craft knife on a cutting mat. Cut the small orange circle separately from orange paper.

  3. Clean and dry the pumpkin

    Wipe the whole pumpkin with a dry cloth to remove dust and any waxy residue. Glue sticks best to a smooth, dry surface, so let it sit a few minutes if it feels damp. Pick the flattest panel between the ribs as your display face. A clean surface keeps the paper from lifting at the edges.

  4. Glue down the horseman

    Apply a thin, even layer of glue stick across the back of the cardstock, working out to every edge and thin leg. Press the silhouette onto the pumpkin from the center outward, smoothing the paper into the curve as you go. Hold the fragile legs and tail down for a few seconds each so they bond. A dab of extra glue on any lifting tip keeps the outline crisp.

  5. Add the flaming pumpkin accent

    Place the small orange circle last, near the horseman's raised hand where he would throw it. Glue it flat and press firmly. This tiny pop of color reads as the fiery jack-o-lantern and finishes the scene. Step back to check spacing before the glue fully sets so you can nudge it if needed.

  6. Display and photograph

    Set the finished pumpkin indoors or in a covered porch spot to keep the paper crisp and dry. Position a small LED spotlight to one side so the silhouette pops without glare. Snap your photo in soft, even light to show the clean black shape against the orange skin. Avoid rain and candles, which would ruin the paper.

Gather your supplies

Check things off as you get ready.

Work on a stable surface, keep your free hand out of the cutting path, and have an adult handle sharp tools.

Three levels of light

  • Leave intact

    The whole pumpkin stays uncut, so the natural orange skin is your background and the black paper reads as pure shadow.

  • Peel & shade

    If you want a glow version later, lightly peel the skin just outside the horseman to make a dim halo around the shape.

  • Cut through

    For a carved take, cut fully through only the small orange circle so the thrown pumpkin becomes the single bright point of light.

Learn the carving basics

Before you start cutting

How do I keep the thin horse legs from tearing?

Cut slowly and leave the legs slightly wider than they look on screen for extra strength. Support each leg with your fingertip while you glue it down. If a leg does tear, a dab of glue stick on both edges usually rejoins it cleanly.

Do I need to carve anything at all?

No, this is a no-carve project built entirely from paper and glue. That makes it safe for kids and quick to finish on a craft table. If you want light later, you can switch to a carved silhouette version instead.

Will the paper survive outdoors?

Paper wilts fast in rain and dew, so this design looks best indoors or in a sheltered, covered spot. If you must place it outside, keep it under a porch roof and bring it in overnight. Skip candles entirely, since only a cool LED is safe near paper.

Your take belongs here, too.

Changed a detail? Made it simpler? Share a photo of your version and tell the community what worked.

Share your pumpkin

More pumpkins like this

You've reached the end · 8 pumpkins
The Patch Report

Fresh pumpkins, in your inbox.

The best new carvings, ideas worth stealing, and how-tos for carving season. Short, seasonal, and gone by November.

A short email during carving season. Unsubscribe anytime. See our privacy policy.