Halloween Pumpkin Carving Contest · Starts October 1st · $500 in prizes
← Back to ideas
@ai_concepts
Sep 25, 2026
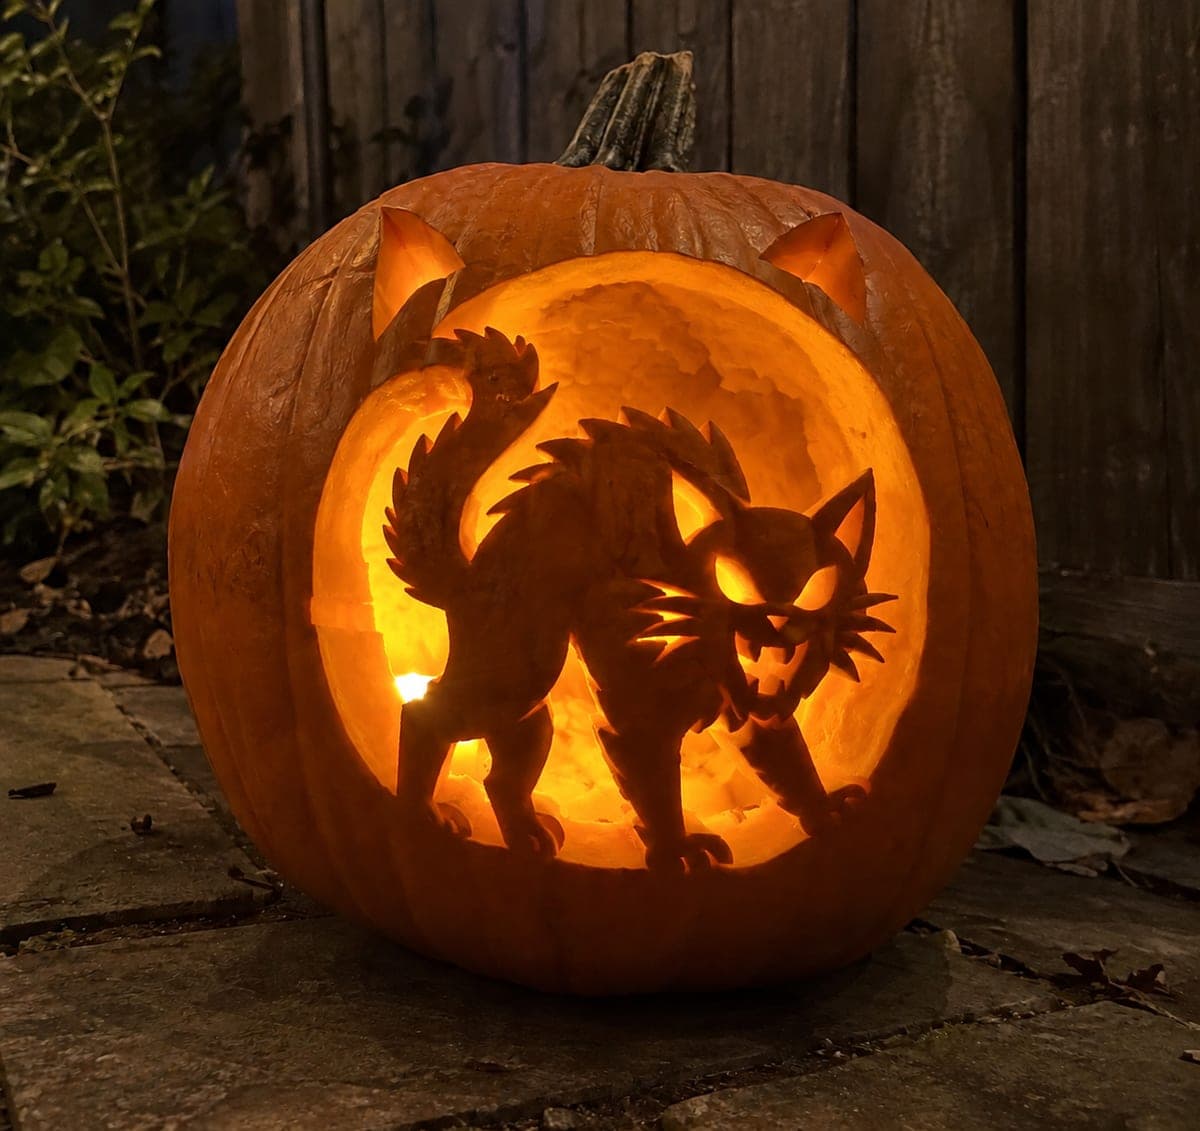
Hissing Cat Pumpkin with Curling Tail and WindowAI
0

Report this carving

Tell us what is wrong. Reports are private.

Hissing Cat Pumpkin with Curling Tail and Window

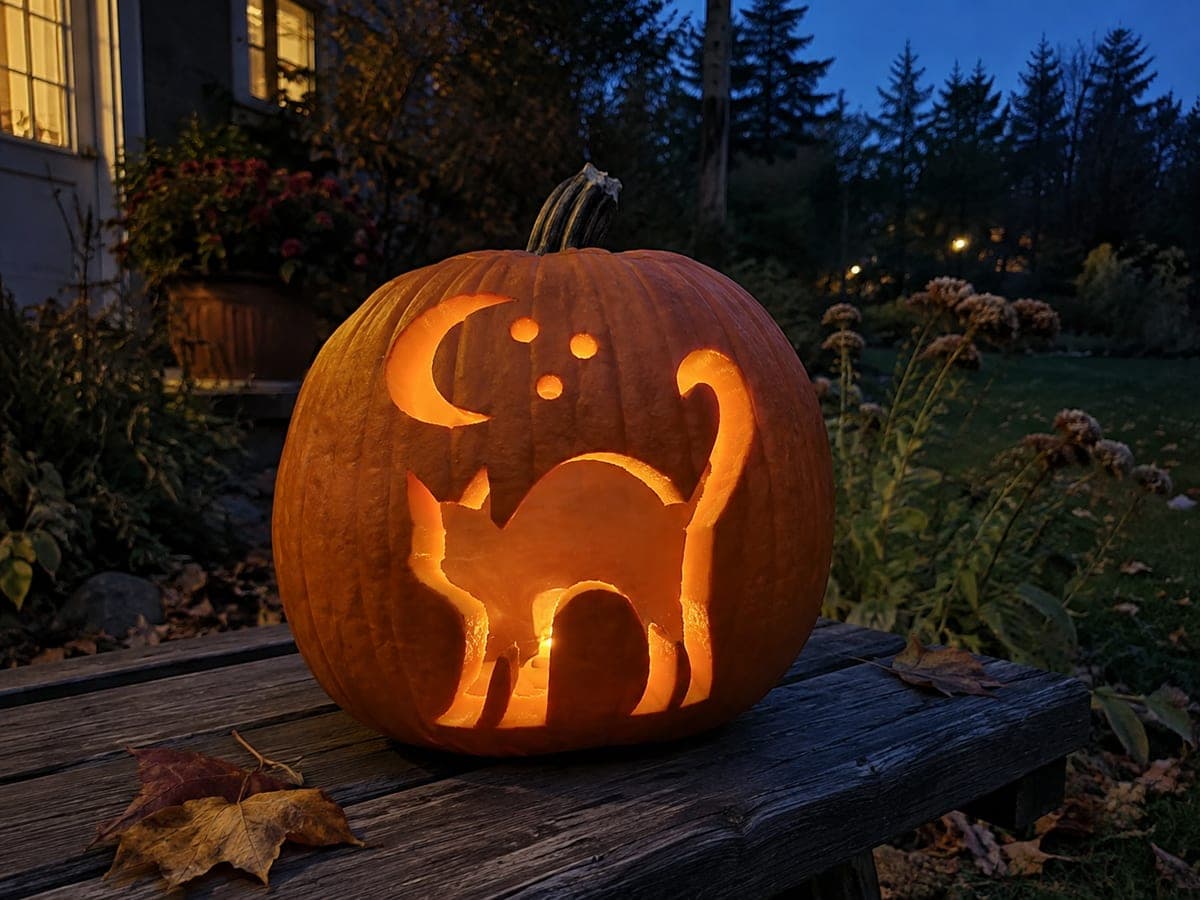
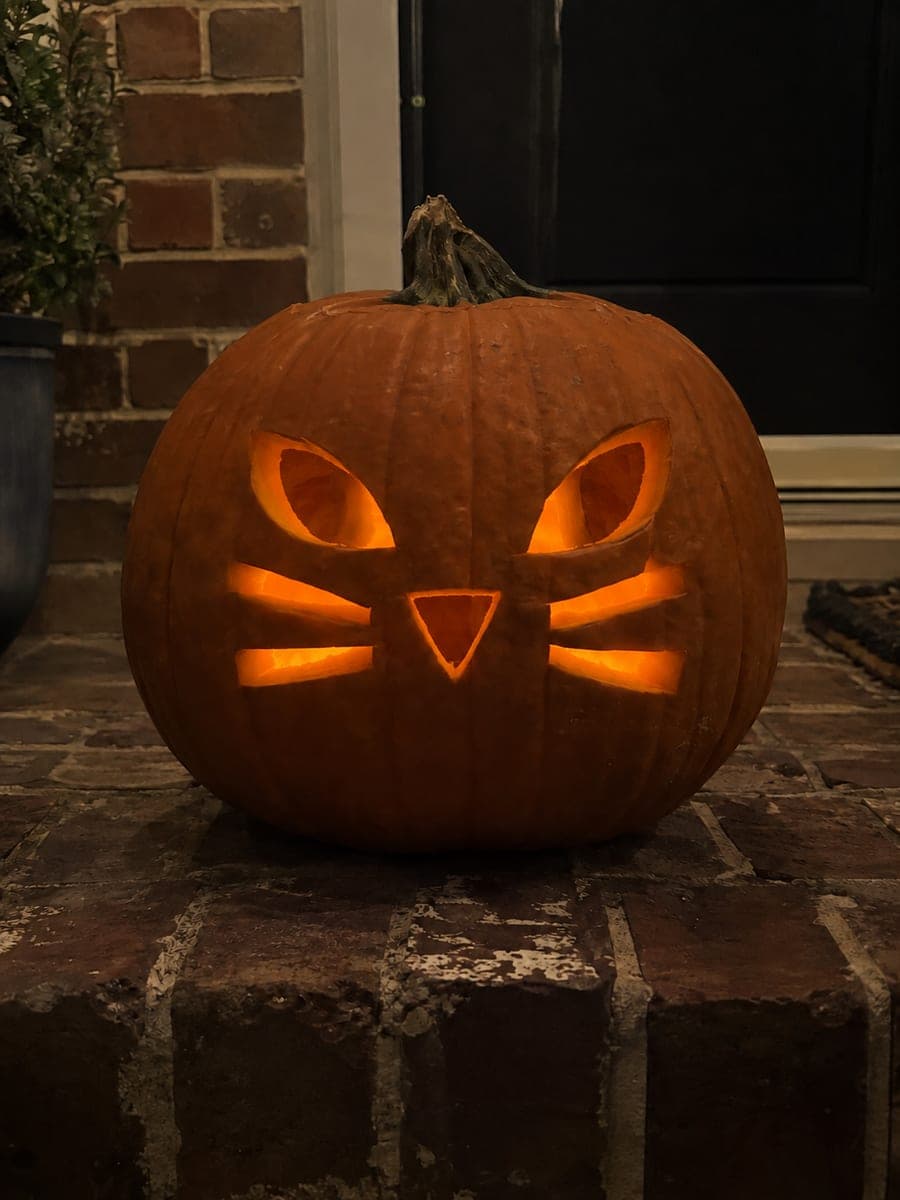
A detailed hissing cat with cut-through eyes, attached teeth and a connected curling tail is framed by an open glowing window in this expert spooky cat pumpkin carving, placed beside a fence for full atmosphere. The cat attaches through its paws, tail and the window frame, with eye and mouth holes cut through the retained body and teeth rooted at the gum line to prevent them from falling free. Work from the frame inward, securing all four cat attachment points before detailing the face. A cool-blue LED inside makes the hissing expression especially chilling.

No ratings yet · Sign in to rate
Comments (0)

  • No comments yet — be the first.

Save without an account. Sign in to like or comment.

Our tips for carving a similar design

The retained cat in this design is held by four structural connections: paws at the base, a curling tail to the frame side, and the window border itself. Eye and mouth holes cut through the retained body add the hissing expression, and teeth are rooted at the gum line so none become floating pieces. Working frame-first, then the cat outline, then the facial detail, is the only safe sequence at this complexity level.

From pumpkin to porch

  1. Map every connection point

    Draw the full pattern on paper and label each of the four cat attachment points, both paws, the curling tail, and the ear-to-frame connection. Mark the rooted teeth on the pattern and confirm each tooth root is at least 8 mm wide. Only transfer the pattern to the pumpkin once this paper plan is complete and validated.

  2. Prep and thin strategically

    Scoop the interior clean and thin the front wall to about 1.2 cm using a melon baller. Thinner walls let the cool-blue LED glow through the eye and mouth holes more vividly. Use a toothpick depth gauge to monitor wall thickness as you scrape.

  3. Cut the window frame opening

    Cut the open glowing window border first, working around its perimeter and leaving all four cat attachment zones completely intact. Remove rind in small sections. The window frame defines the shape that holds the cat, so its dimensions must be cut precisely before you touch the cat outline.

  4. Carve the cat outline

    With the window frame open, work carefully along the cat body outline: start at the broad paw bases and work up toward the narrower ear-frame connection and the curling tail connection. Use a thin blade for the tight curve of the tail. The cat must feel completely rigid throughout; stop and reinforce with tape if any flex develops.

  5. Carve the hissing face

    Cut the eye holes through the retained cat head, then the open mouth cavity, keeping each tooth rooted to the gum line. Work the inter-tooth gaps with a detail cutter rather than a saw to avoid snapping the roots. A cool-blue LED inside during this step helps you check the expression as you work.

  6. Light and display beside a fence

    Insert a cool-blue LED inside and position the pumpkin beside a fence as described in the image for full atmosphere. The cold blue glow through the hissing cat's eyes and mouth creates a genuinely chilling effect that warm orange light would undercut. Apply petroleum jelly to all cut edges.

Written with AI to match this design

Gather your supplies

Check things off as you get ready.

Work on a stable surface, keep your free hand out of the cutting path, and have an adult handle sharp tools.

Three levels of light

  • Leave intact

    The entire retained hissing cat silhouette, all bridge rind, and the rooted teeth stay solid and dark.

  • Peel & shade

    None. All light effects are from cut-through openings.

  • Cut through

    The full glowing window border, both eye holes and the open mouth cavity (with rooted teeth) are cut through for full light.

Learn the carving basics

Before you start cutting

How do I prevent the cat teeth from snapping off?

Each tooth must root into the gum line at both its left and right base sides, not just at one edge. Cut the inter-tooth gaps from the open mouth interior toward the gum line, stopping before you cut completely through the base of the tooth. A detail cutter is far safer than a saw for these narrow gaps. Even slightly over-wide teeth are better than fragile ones.

Is a cool-blue LED really necessary or can I use a standard warm-white LED?

A cool-blue LED creates a genuinely unsettling quality that makes this design uniquely effective. A warm-white LED will still light the design, but warm orange glow from a hissing cat reads as cozy rather than threatening. Blue LED bulbs or color-changing LED pucks with a blue setting are widely available at craft stores before Halloween.

How do I make the curling tail attachment strong enough to hold?

The tail attachment at the frame side should be at least 2 cm wide where it meets the frame. When cutting the cat outline near the tail, curve your saw path gently into the frame material rather than cutting perpendicularly, so the connection widens as it approaches the frame. A wider, flatter join is far more durable than a thin curved point.

Your take belongs here, too.

Changed a detail? Made it simpler? Share a photo of your version and tell the community what worked.

Share your pumpkin

More pumpkins like this

You've reached the end · 8 pumpkins
The Patch Report

Fresh pumpkins, in your inbox.

The best new carvings, ideas worth stealing, and how-tos for carving season. Short, seasonal, and gone by November.

A short email during carving season. Unsubscribe anytime. See our privacy policy.