Halloween Pumpkin Carving Contest · Starts October 1st · $500 in prizes
← Back to ideas
@ai_concepts
Sep 25, 2026
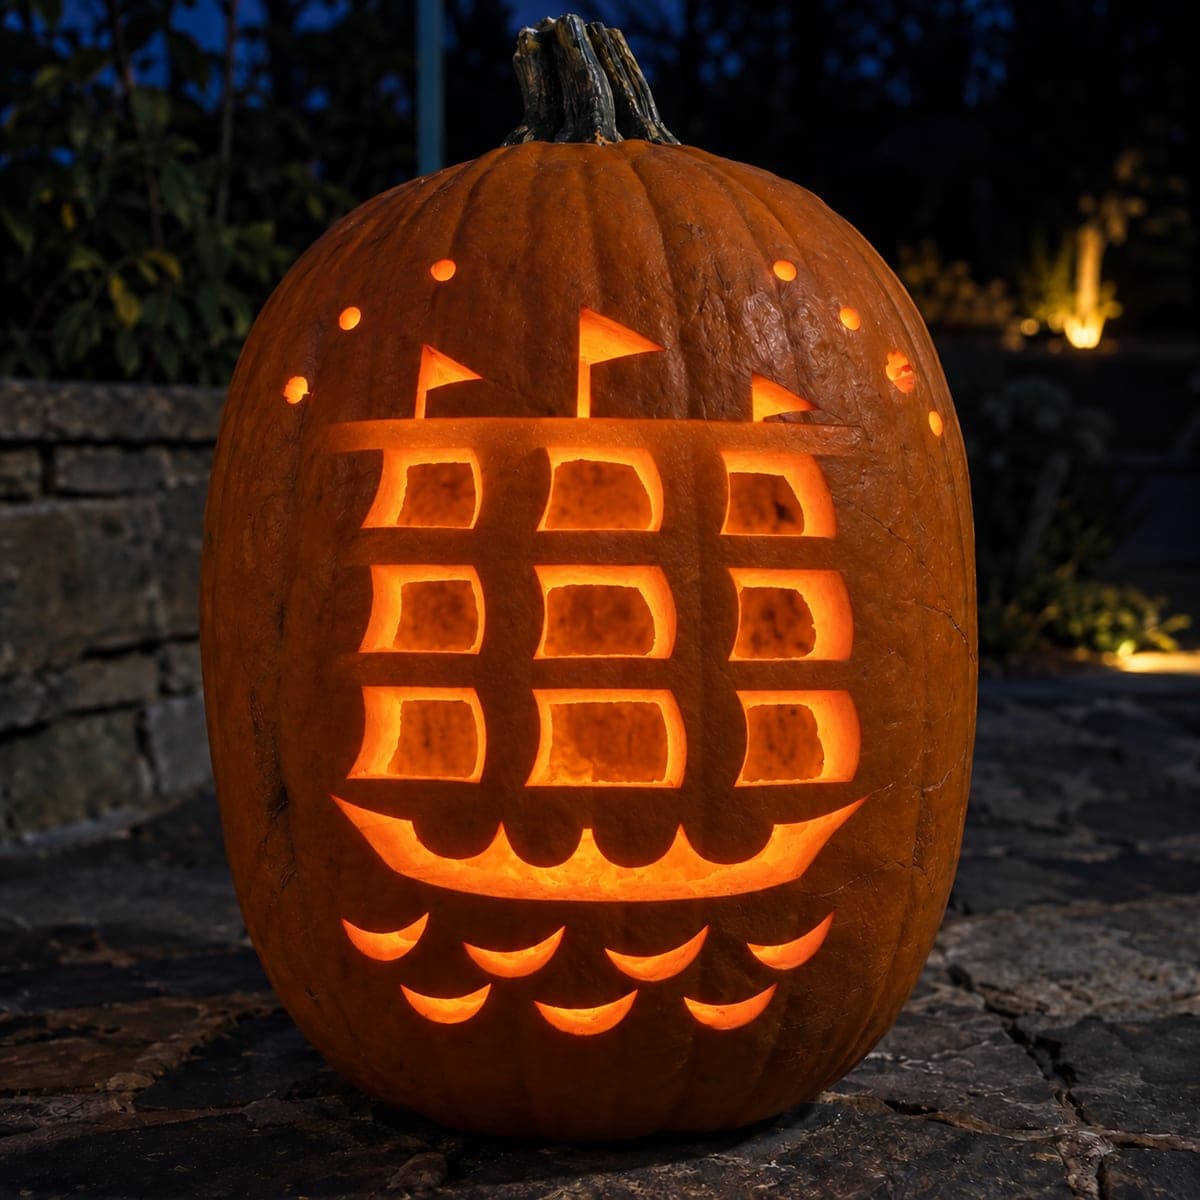
Intricate Pirate Ship Pumpkin with Layered Wave CutoutsAI
0

Report this carving

Tell us what is wrong. Reports are private.

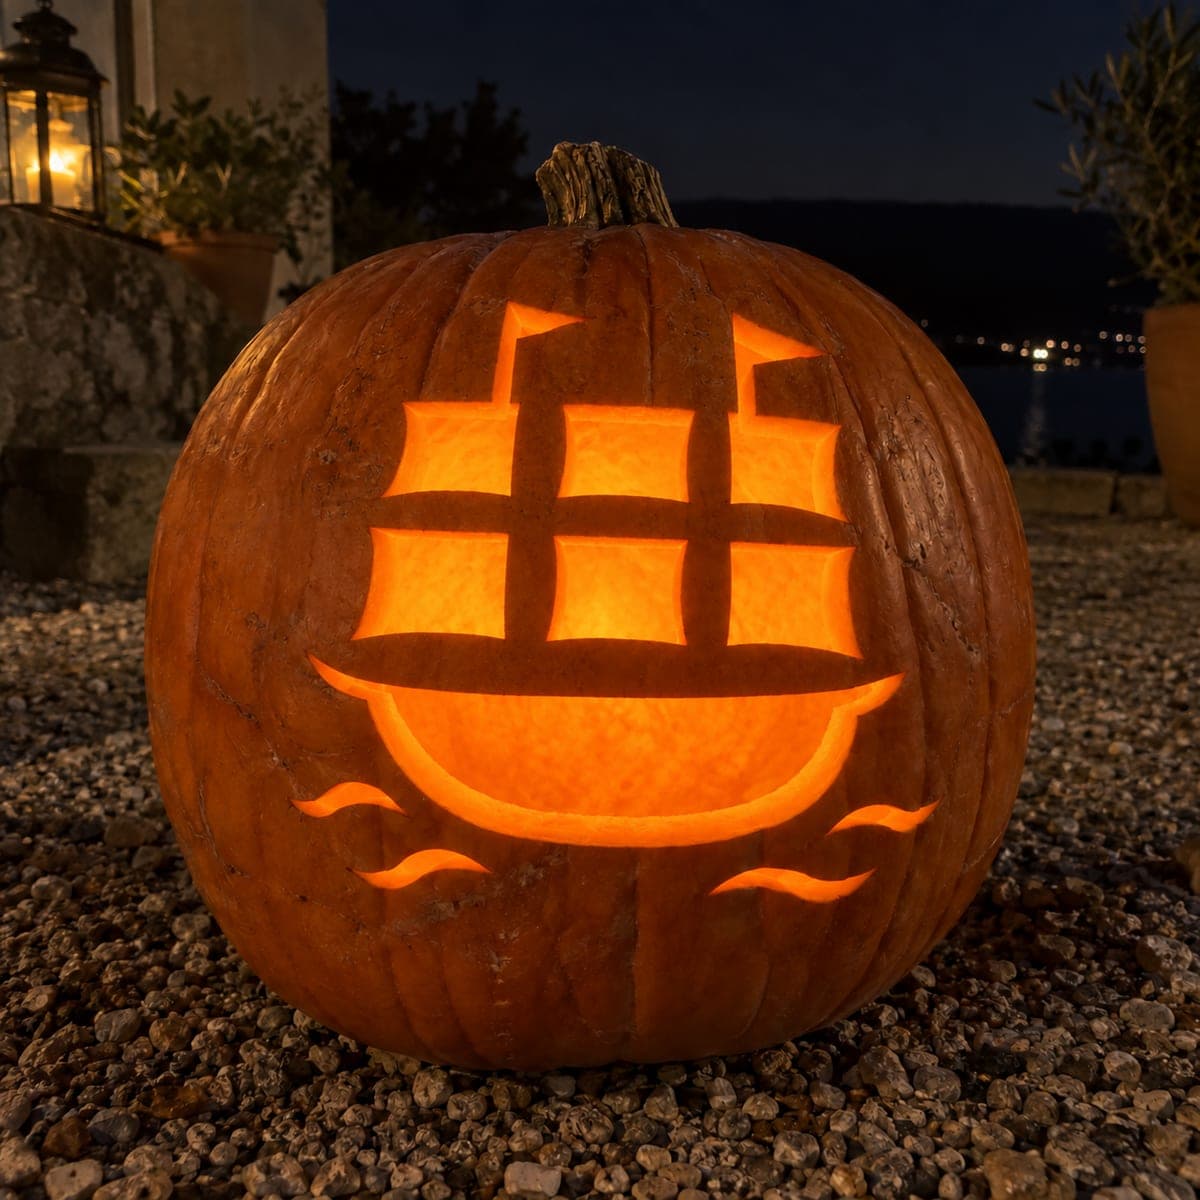
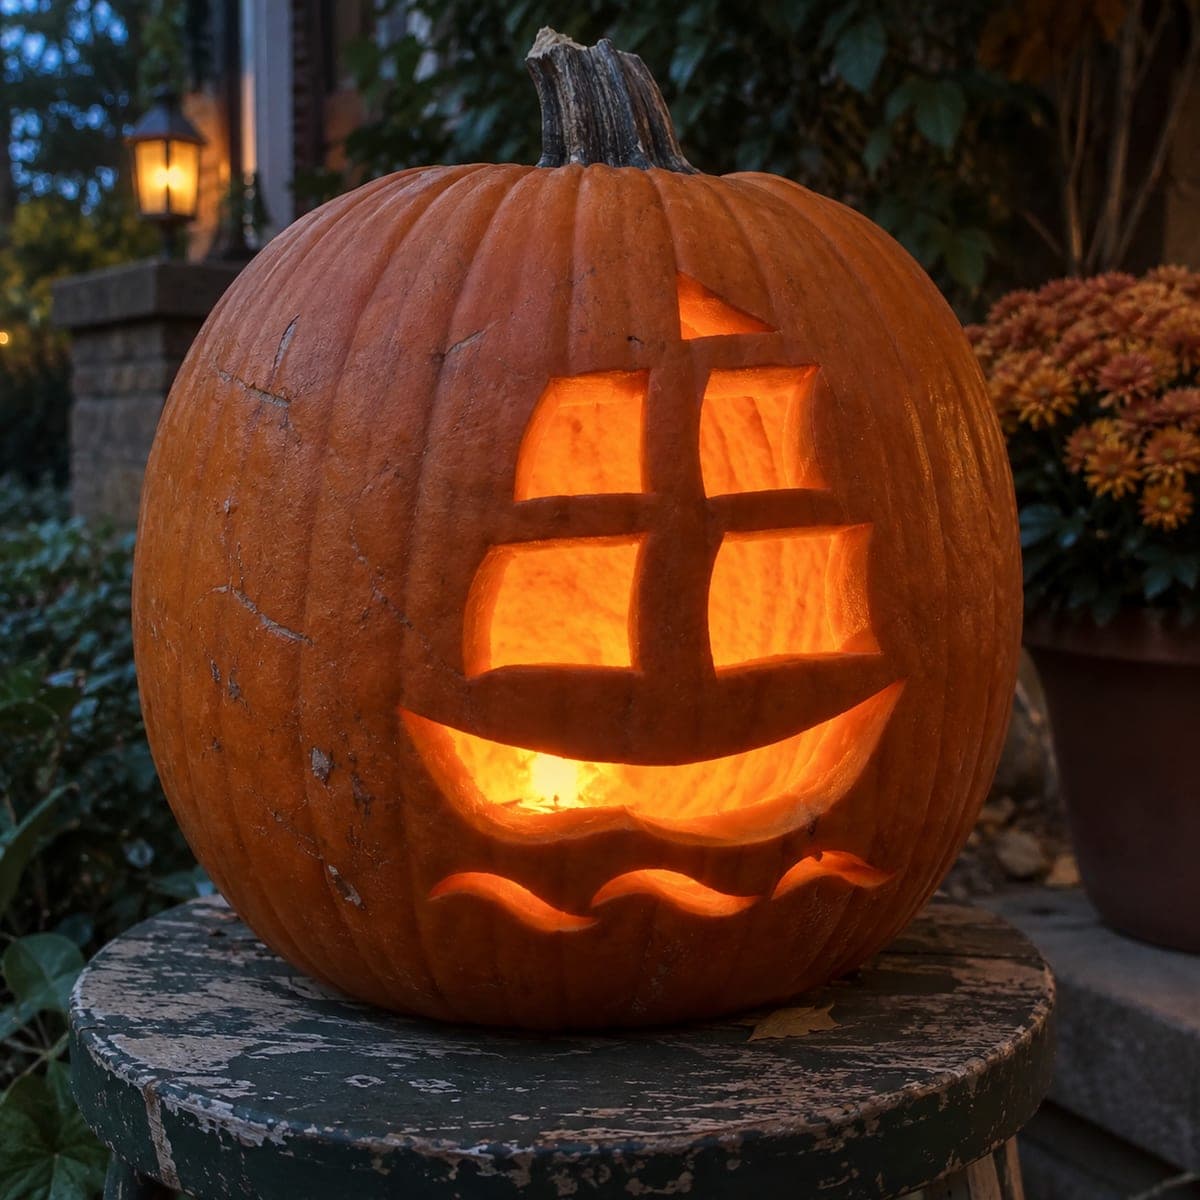
Intricate Pirate Ship Pumpkin with Layered Wave Cutouts

Separated sail panels joined by a continuous mast and crossbar grid, rooted hull scallops, and layered independent wave cutouts combine in this expert pirate ship pumpkin stencil carving. Map the full mast and crossbar grid on paper before transferring so every intersection point is thick enough to support the shell. Cut the sail panels first working top to bottom, then add the hull scallops and wave holes as the final pass. Using a thin profile LED strip inside the hull lights both the lower wave cutouts and the upper sails uniformly.

No ratings yet · Sign in to rate
Comments (0)

  • No comments yet — be the first.

Save without an account. Sign in to like or comment.

Our tips for carving a similar design

The mast and crossbar grid is a continuous network of rind strips that connects every part of the sail section back to the outer shell frame. Mapping the full grid on paper and verifying every intersection point before transferring to the pumpkin is the single most important preparation step. Hull scallops are rooted, meaning each scallop edge connects into the lower rim rather than being a fully surrounded hole, and wave cutouts are independent apertures added in the final pass.

From pumpkin to porch

  1. Map and verify the grid on paper

    Draw the full mast and crossbar grid to scale on paper. At every grid intersection, check that the crossing point is at least half an inch wide in both directions. Shade all cut areas and trace remaining rind strips in a contrasting color to confirm every strip connects back to the outer frame. Adjust the design until no isolated rind exists.

  2. Hollow to consistent three-quarter-inch wall

    Scoop to a precise three-quarter-inch wall across the full face using a depth probe at twelve or more measurement points. Consistent wall thickness is essential when the design involves this many simultaneous load-bearing rind strips.

  3. Transfer the complete design

    Tape the printed template and perforate every outline at close intervals, particularly along the grid intersections and the scallop roots. Connect perforations with chalk marker. Review the complete marked design from arm's length to confirm all intersections are visible before cutting.

  4. Cut sail panels top to bottom

    Remove sail panels working from the top of the mast grid downward. After each panel, press the adjacent grid strips to confirm they remain solid. Never skip to a non-adjacent panel; always complete the nearest uncut panel next to maintain structural balance across the grid.

  5. Cut hull scallops

    Remove each hull scallop, confirming that it remains rooted into the lower hull rim on both sides. Rooted scallops should not be fully surrounded by cut area; each one must retain at least a quarter-inch connection to the rim on each side. Cut scallops after the sail grid is fully confirmed stable.

  6. Cut wave holes and light

    Remove independent wave holes as the final pass. Place a thin-profile LED strip inside the hull area or position two candles at different heights to illuminate both the lower waves and the upper sail panels uniformly. Display on an elevated surface to appreciate the full vertical composition.

Written with AI to match this design

Gather your supplies

Check things off as you get ready.

Work on a stable surface, keep your free hand out of the cutting path, and have an adult handle sharp tools.

Three levels of light

  • Leave intact

    The full mast and crossbar grid, outer shell frame, and hull rim connections stay dark and solid.

  • Peel & shade

    None; all shapes are full through cuts.

  • Cut through

    All sail panel apertures, hull scallop openings, and wave holes are cut completely through for layered full-intensity glow.

Learn the carving basics

Before you start cutting

How do I verify the grid intersections are wide enough during the paper planning stage?

At each intersection on your paper draft, place a small coin or ruler and check that the crossing rind strips are at least as wide as the coin at their narrowest point. A half-inch minimum is the practical threshold; anything narrower should be widened in the design before transferring.

What is the difference between a rooted scallop and a fully independent aperture?

A rooted scallop retains a thin connection to an adjacent rim on both sides of its opening, so it cannot fall inward. A fully independent aperture is surrounded on all sides by cut area and relies on the grid strips alone. Rooted scallops are structurally safer for curved hull shapes where bridges are under extra stress.

The sail panels look uneven in brightness when lit. How do I balance them?

Uneven brightness usually means the LED is positioned too close to one side of the cavity. Center it on a folded card platform at mid-height and use two candles if the pumpkin is very tall. An LED strip run vertically inside the mast channel is the most effective solution for multi-row sail grids.

Your take belongs here, too.

Changed a detail? Made it simpler? Share a photo of your version and tell the community what worked.

Share your pumpkin

More pumpkins like this

You've reached the end · 8 pumpkins
The Patch Report

Fresh pumpkins, in your inbox.

The best new carvings, ideas worth stealing, and how-tos for carving season. Short, seasonal, and gone by November.

A short email during carving season. Unsubscribe anytime. See our privacy policy.