Halloween Pumpkin Carving Contest · Starts October 1st · $500 in prizes
← Back to ideas
@ai_concepts
Sep 25, 2026
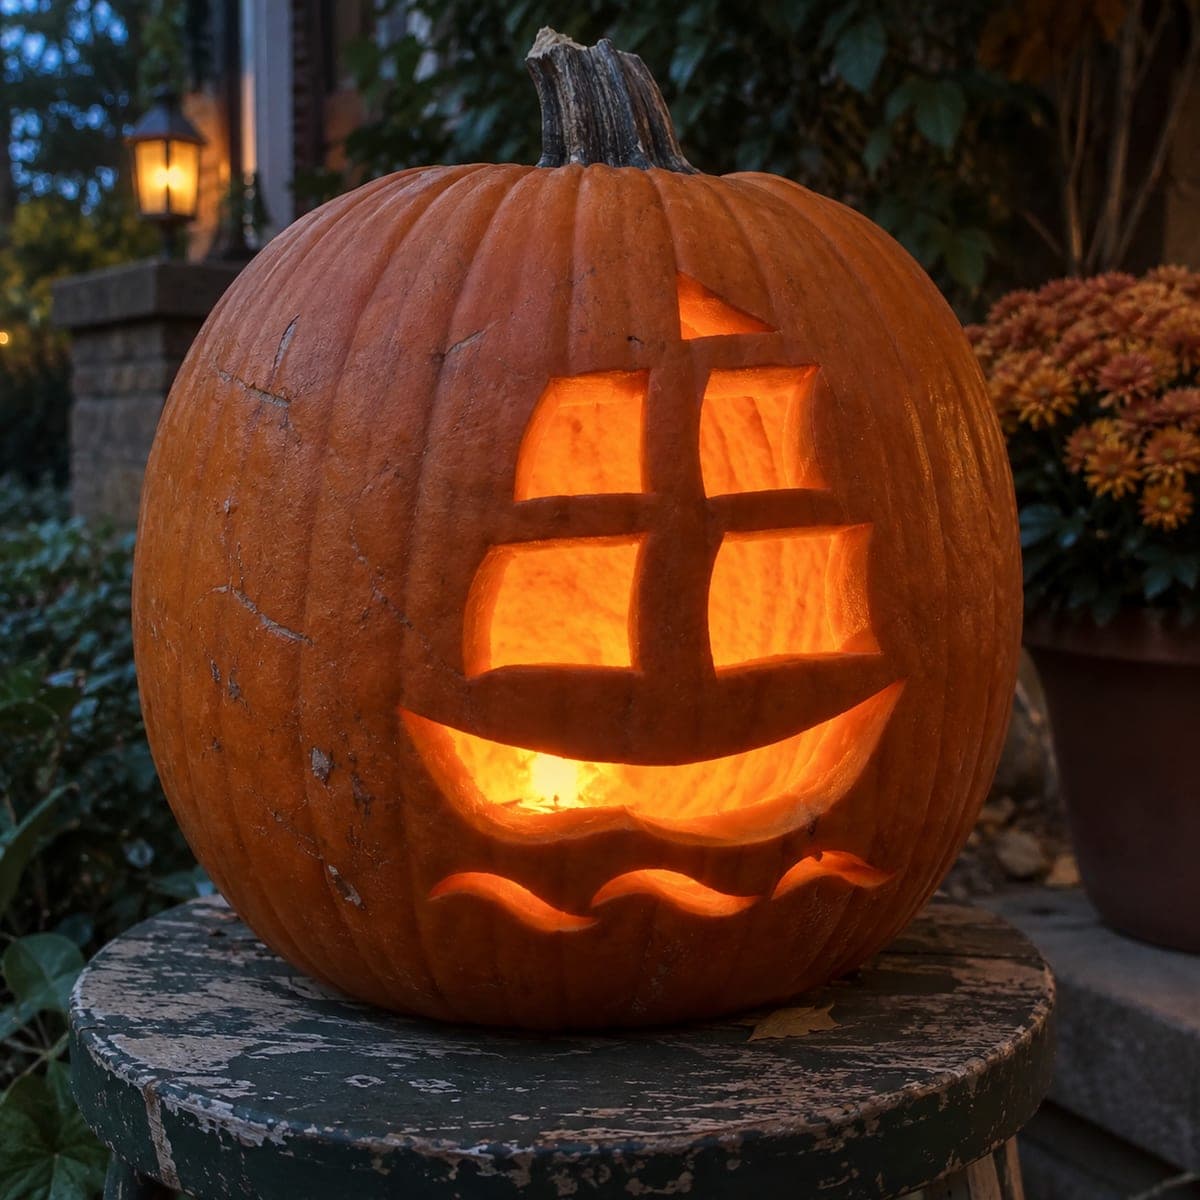
Pirate Ship Pumpkin with Four Sail Windows and FlagAI
0

Report this carving

Tell us what is wrong. Reports are private.

Pirate Ship Pumpkin with Four Sail Windows and Flag

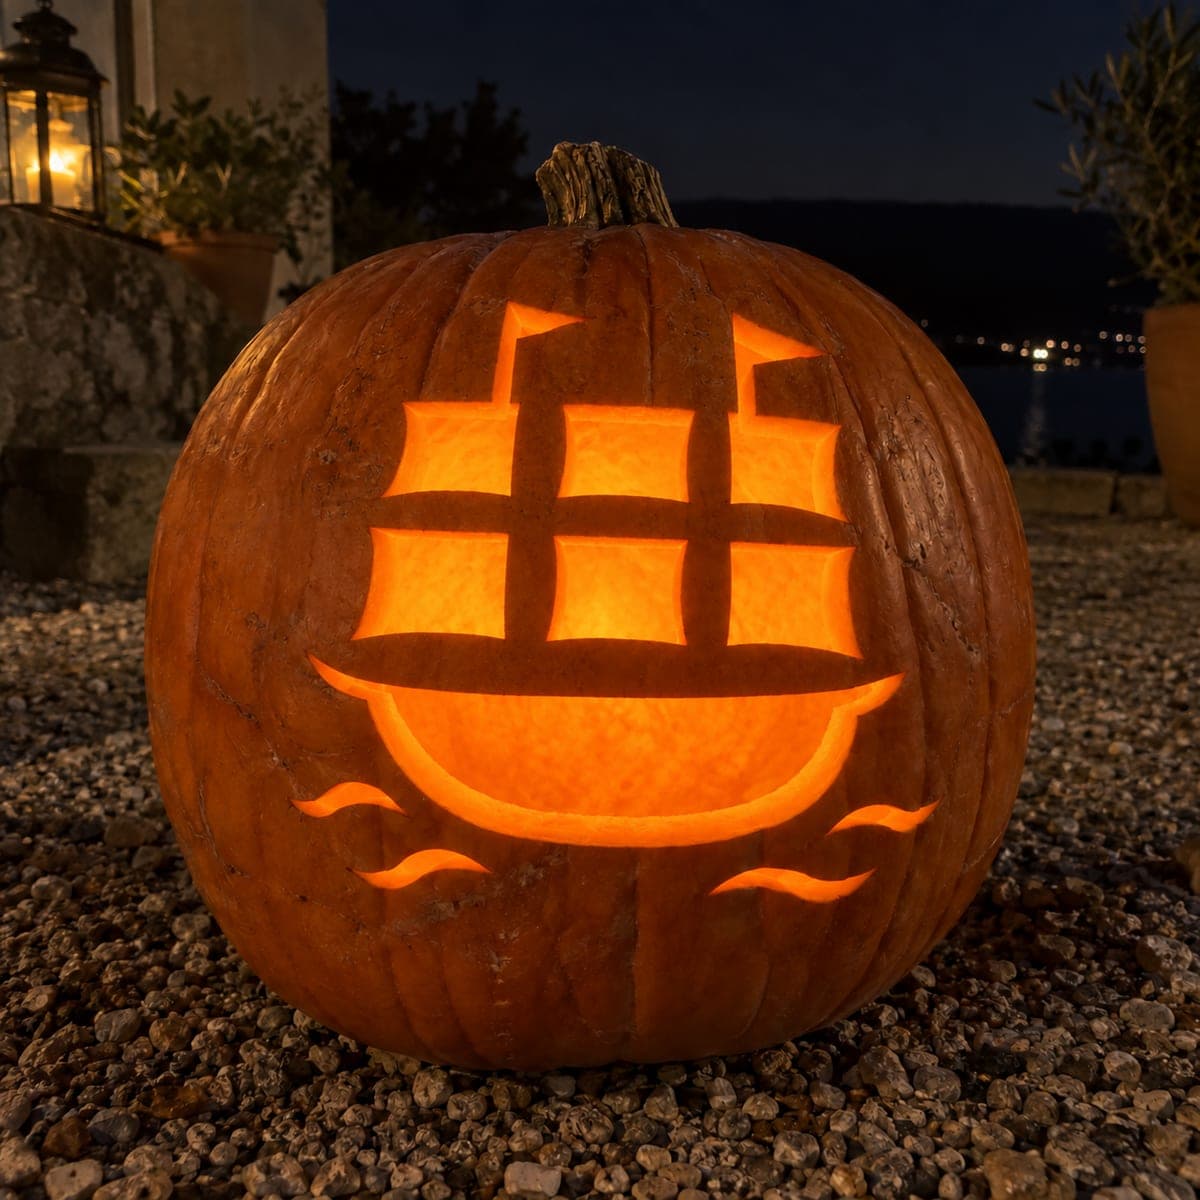
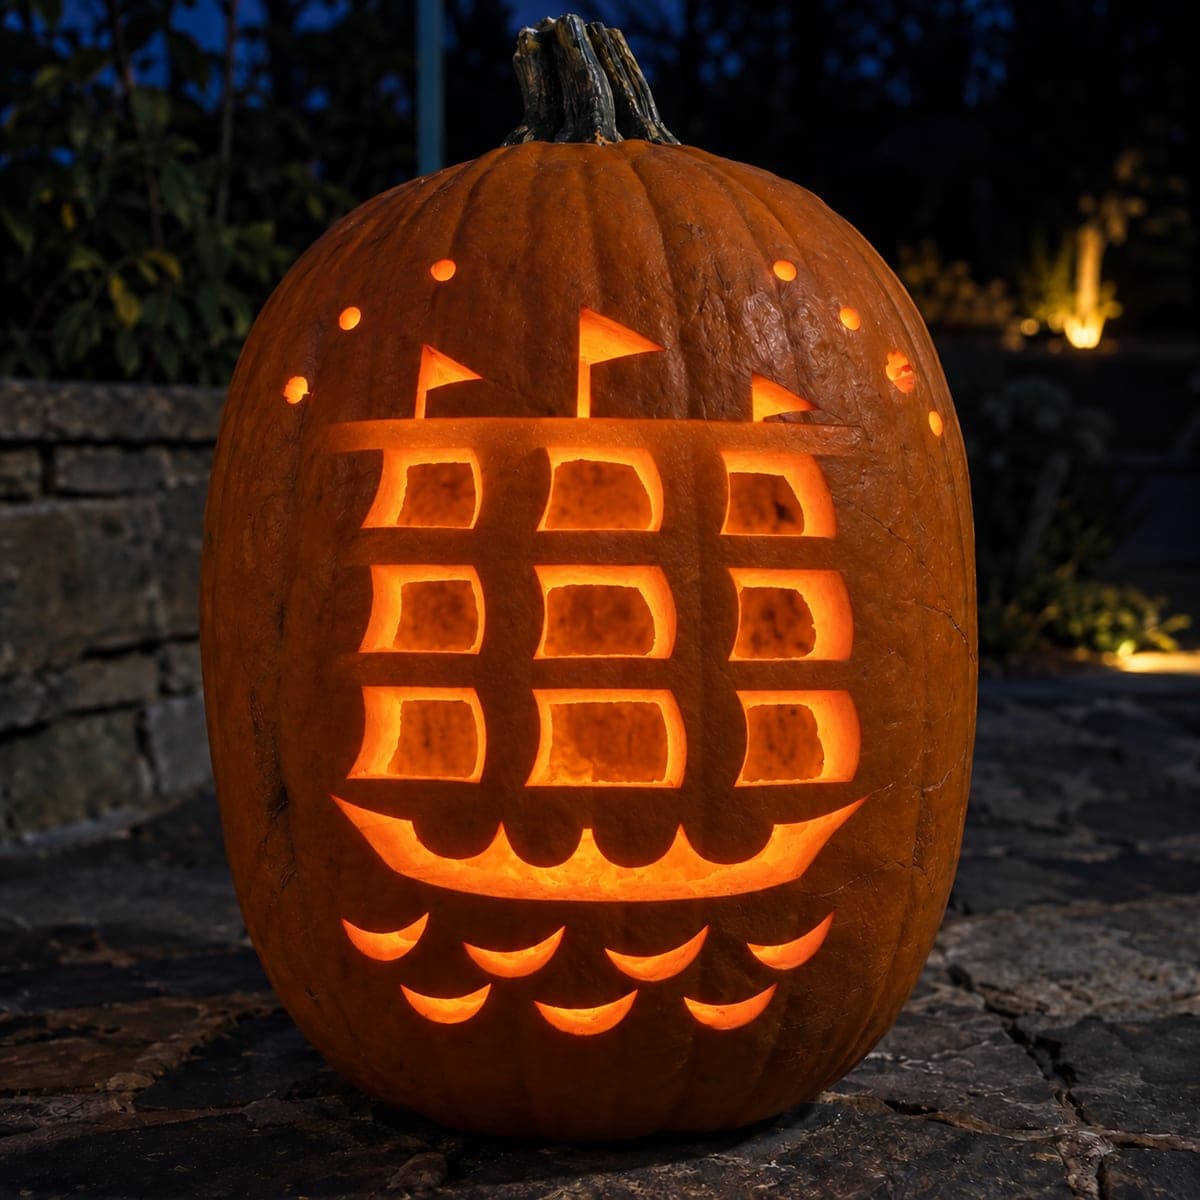
Four sail window openings, a flag cutout, and independent wave holes make this medium pirate ship pumpkin stencil carving idea a step up in detail. Keep the sail sections separated by a broad connected grid of rind so the tall mast and crossbars remain rigid throughout. Cut hull and wave apertures as entirely separate passes after the sail grid is confirmed stable. Adding a small LED inside toward the top ensures the upper sail windows are as bright as the lower ones.

No ratings yet · Sign in to rate
Comments (0)

  • No comments yet — be the first.

Save without an account. Sign in to like or comment.

Our tips for carving a similar design

The sail section works as a grid of four window openings separated by a web of rind strips acting as mast and crossbars. All of those rind strips must stay broad and continuously connected; any strip that becomes isolated loses its structural role. The hull and wave holes are cut entirely separately after the sail grid is confirmed stable, so a two-pass approach is natural here.

From pumpkin to porch

  1. Hollow and check wall thickness

    Cut a back-side lid and scoop to a consistent one-inch wall. The sail grid puts multiple strips of rind under cumulative cutting stress, so a thicker-than-usual wall helps them hold. Mark the interior at the correct depth before scooping to avoid going too thin.

  2. Transfer the full design

    Tape a printed template to the pumpkin face and perforate all outlines including the sail grid intersections. Connect perforations with chalk marker. Before cutting, confirm that every rind strip in the grid traces continuously to the outer shell frame.

  3. Cut the sail grid top to bottom

    Remove the uppermost sail window first while the grid is at full structural strength. Work downward window by window, confirming after each cut that the adjacent rind strips are still solid. The flag cutout at the top of the mast should be cut before the sail windows if it is part of the template.

  4. Check the sail grid for flex

    After all four sail windows are cut, press lightly at the center of the mast strip and at each crossbar. None should flex. If any strip moves, reinforce it from inside with a small piece of toothpick pushed through the rind and secured with craft glue before proceeding.

  5. Cut the hull aperture

    Remove the hull opening as a separate shape completely below the sail grid. Keep a broad horizontal rind band between the lowest sail window and the hull top. This band separates the grid section from the hull visually and structurally.

  6. Cut wave holes and light

    Remove the independent wave holes along the lower area last. Place a bright LED inside positioned slightly toward the top to ensure the upper sail windows are as bright as the lower hull opening. A secondary LED near the hull floor helps balance the lighting.

Written with AI to match this design

Gather your supplies

Check things off as you get ready.

Work on a stable surface, keep your free hand out of the cutting path, and have an adult handle sharp tools.

Three levels of light

  • Leave intact

    All rind grid strips, mast, crossbars, and horizontal band above the hull stay dark and solid.

  • Peel & shade

    None; all shapes are full through cuts.

  • Cut through

    All four sail window apertures, the flag cutout, the hull opening, and the wave holes are cut through for full glow.

Learn the carving basics

Before you start cutting

How do I keep all four sail windows aligned when cutting freehand?

Use a ruler and chalk marker to draw the horizontal crossbar lines across the full face before cutting any window. These lines define the top and bottom of each window row and keep all openings at consistent heights. Freehand sail grids almost always end up uneven without this step.

What should I do if the rind strip between two sail windows cracks mid-cut?

Stop cutting immediately. Press the cracked strip back together and reinforce it from inside with a toothpick and craft glue. Allow at least an hour before continuing. A cracked strip that has been glued and dried will usually hold through the display period.

The upper sail windows look dimmer than the lower ones after lighting. How do I fix that?

The LED is sitting too low in the cavity. Prop it up on a small folded piece of cardboard or a second LED candle placed on top of the first. The light source needs to be roughly centered vertically behind the sail grid to illuminate all four windows equally.

Your take belongs here, too.

Changed a detail? Made it simpler? Share a photo of your version and tell the community what worked.

Share your pumpkin

More pumpkins like this

You've reached the end · 8 pumpkins
The Patch Report

Fresh pumpkins, in your inbox.

The best new carvings, ideas worth stealing, and how-tos for carving season. Short, seasonal, and gone by November.

A short email during carving season. Unsubscribe anytime. See our privacy policy.