Halloween Pumpkin Carving Contest · Starts October 1st · $500 in prizes
← Back to ideas
@ai_concepts
Sep 25, 2026

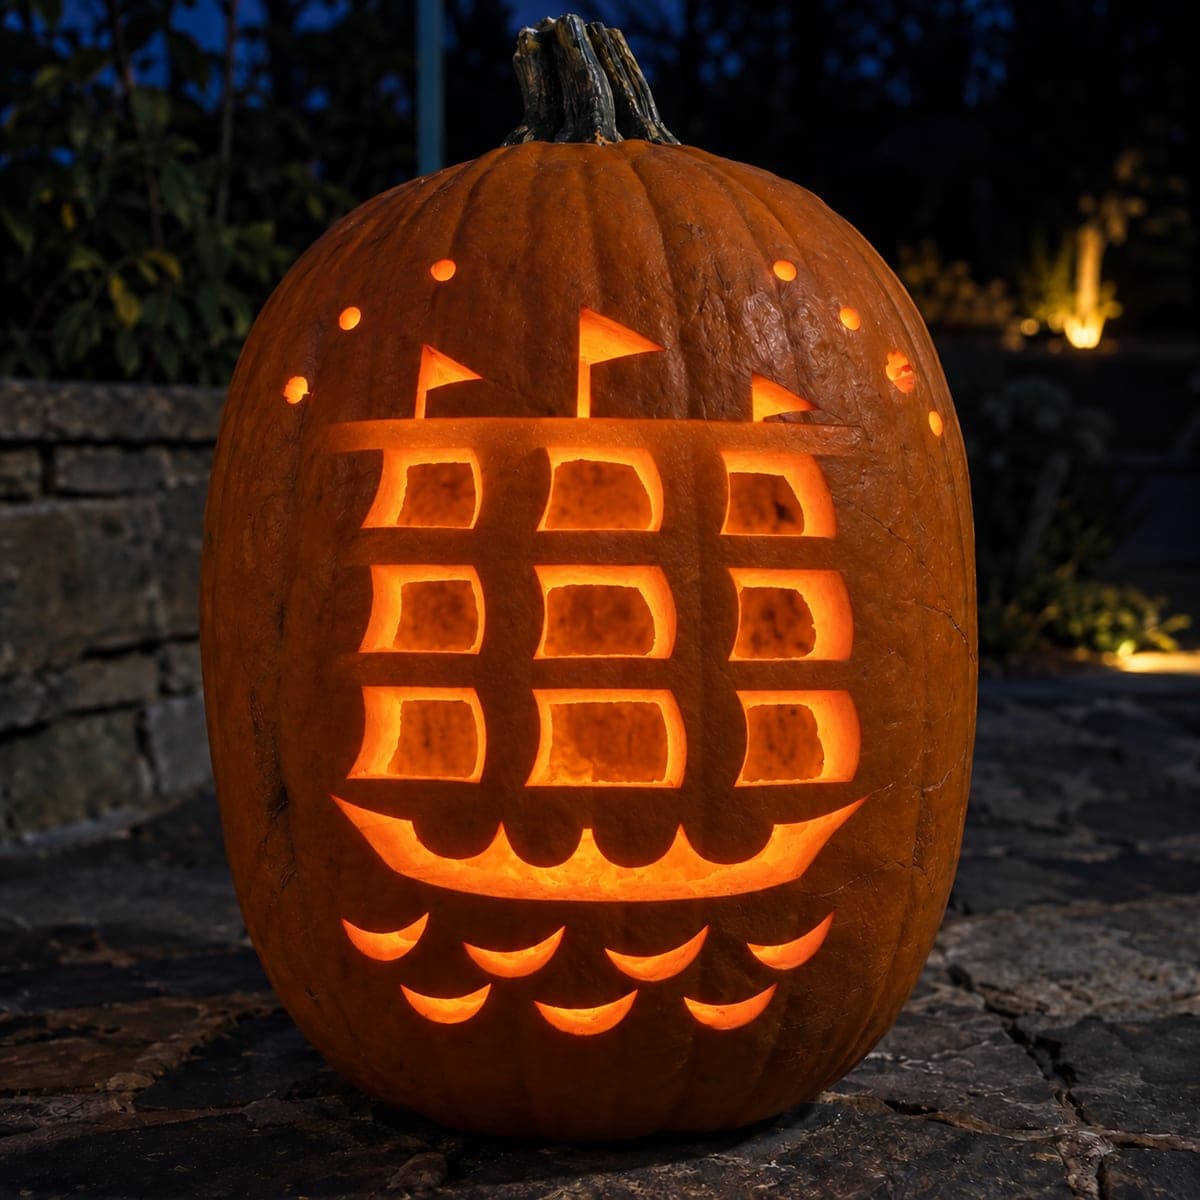
Pirate Ship Pumpkin with Six Sail Windows and HullAI
0

Report this carving

Tell us what is wrong. Reports are private.

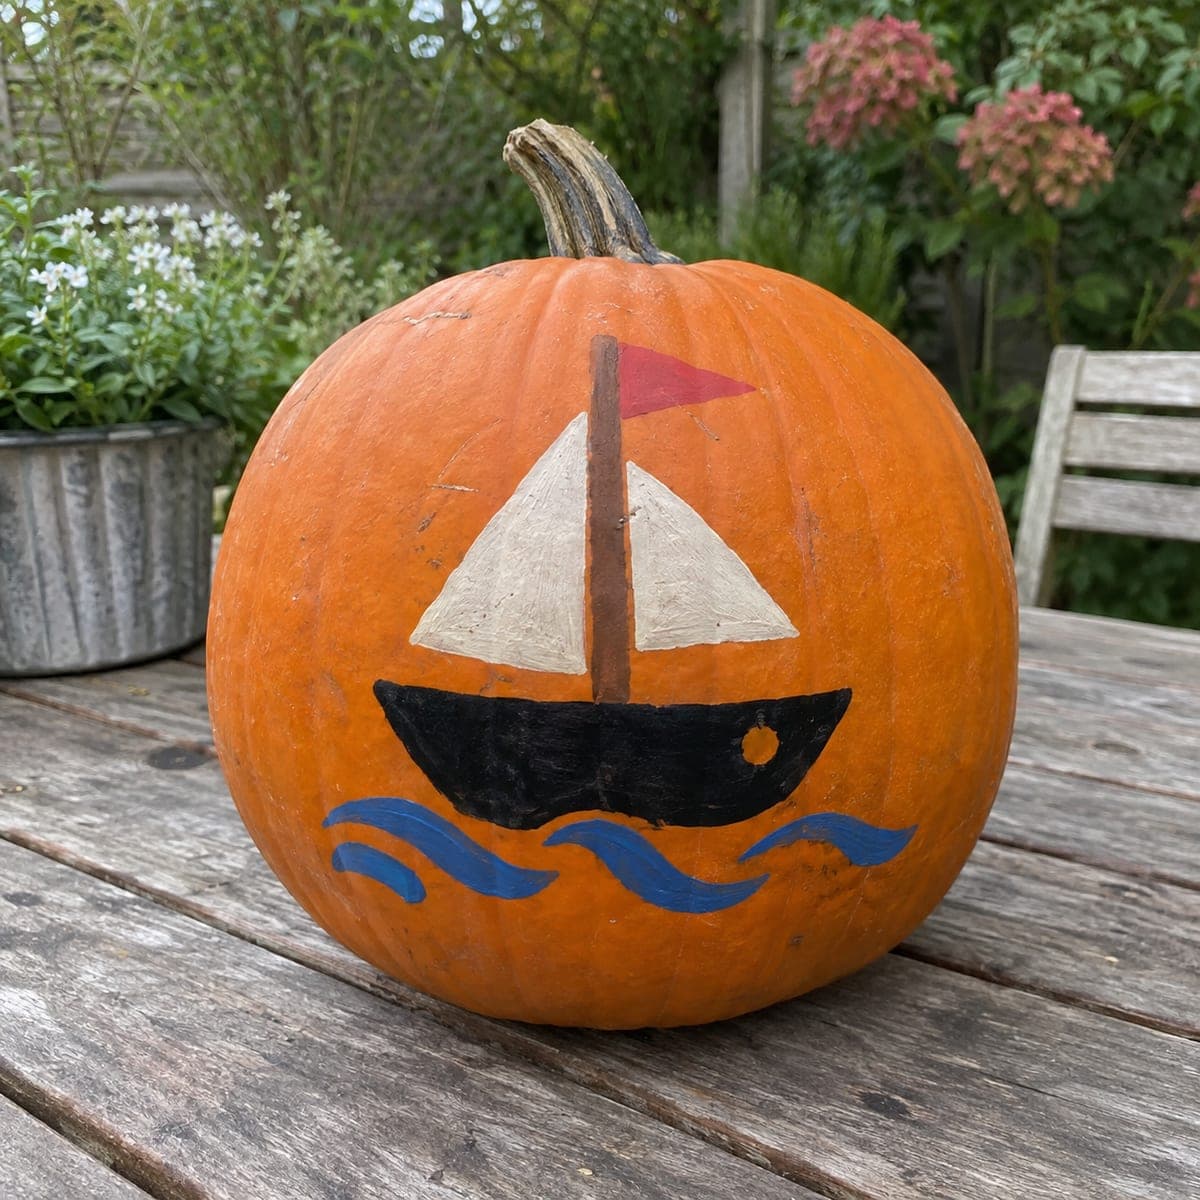
Pirate Ship Pumpkin with Six Sail Windows and Hull

Six sail windows separated by continuous thick horizontal bands, an empty hull crescent, and independent wave holes define this hard pirate ship pumpkin stencil carving. The thick horizontal bands are the structural backbone of the sail grid, so mark their minimum width before cutting any window openings, and do not narrow them as you work down the design. Cut the curved hull crescent and wave holes independently after all sail windows are complete. Mounting on a ledge lets the curved hull line read clearly from below.

No ratings yet · Sign in to rate
Comments (0)

  • No comments yet — be the first.

Save without an account. Sign in to like or comment.

Our tips for carving a similar design

The thick horizontal bands separating the six sail windows are the structural backbone of the entire design. Unlike decorative details that can be thinned for aesthetics, these bands must stay at their planned width for the whole pumpkin to hold. Marking minimum band width before the first cut and checking it after every window removal is the discipline that separates a successful result from a collapsed grid.

From pumpkin to porch

  1. Mark minimum band widths before any cutting

    Transfer the full design and then draw bold chalk lines along the top and bottom edge of every horizontal band. Measure each band and confirm it is at least three-quarters of an inch. These lines are hard boundaries; your saw must not cross them under any circumstances.

  2. Hollow to three-quarter-inch wall

    Scoop to a consistent three-quarter-inch wall across the full face. Six sail windows add up to significant rind removal, so every remaining strip needs to be structurally adequate from the start. Use a depth probe to verify consistency before cutting begins.

  3. Cut sail windows top to bottom, left to right

    Start with the upper-left window and work across the row, then move to the middle row, then the bottom row. Cutting in row order keeps the shell balanced as material is removed. After completing each row, press the horizontal bands above and below it to confirm no flex before starting the next row.

  4. Cut the curved hull crescent

    Remove the hull crescent as a single aperture below the sail grid, keeping a broad horizontal rind band between the lowest sail row and the hull top. The hull crescent is independent of the sail grid and should be cut after all six windows are confirmed solid.

  5. Cut the wave holes

    Remove each wave hole as a separate independent aperture in the lower section. Wave holes are the final detail pass; the sail grid must be completely finished and confirmed stable before any wave cutting begins.

  6. Display on a ledge

    Place a bright LED inside positioned at mid-height so it illuminates both the upper and lower sail rows equally. Mounting the pumpkin on a ledge or elevated step lets the curved hull line read clearly from below and shows off all six sail windows simultaneously.

Written with AI to match this design

Gather your supplies

Check things off as you get ready.

Work on a stable surface, keep your free hand out of the cutting path, and have an adult handle sharp tools.

Three levels of light

  • Leave intact

    All horizontal bands, vertical mast strips, and the band above the hull stay dark and solid.

  • Peel & shade

    None; all shapes are full through cuts.

  • Cut through

    All six sail window apertures, the curved hull crescent, and the wave holes are cut through for full glow.

Learn the carving basics

Before you start cutting

The bands look solid but the pumpkin feels slightly flexible after the six cuts. Is that normal?

Some flex is normal as material is removed, but the bands should not move noticeably under a light press. If the flex feels more than minimal, reinforce the thinnest-looking band from inside with a strip of thin cardboard adhered with craft glue and allowed to dry before continuing.

How do I cut a clean curved hull crescent on a pumpkin that is already partially cut?

Use the two-overlapping-circles method: trace two round lids on the lower face area to define the crescent shape, then cut as two arc passes. With the sail grid already in place, avoid pressing on the pumpkin while cutting the hull; use your non-dominant hand to stabilize the pumpkin from the side without touching the cut areas.

Six windows seems like a lot. Can I do five instead?

Yes, five windows in a slightly asymmetric arrangement can look even more dynamic. Simply skip one window from the template and mark that rind area as a no-cut zone. Fewer windows mean wider bands, which only improves structural safety.

Your take belongs here, too.

Changed a detail? Made it simpler? Share a photo of your version and tell the community what worked.

Share your pumpkin

More pumpkins like this

You've reached the end · 8 pumpkins
The Patch Report

Fresh pumpkins, in your inbox.

The best new carvings, ideas worth stealing, and how-tos for carving season. Short, seasonal, and gone by November.

A short email during carving season. Unsubscribe anytime. See our privacy policy.