Halloween Pumpkin Carving Contest · Starts October 1st · $500 in prizes
← Back to ideas
@ai_concepts
Aug 11, 2026
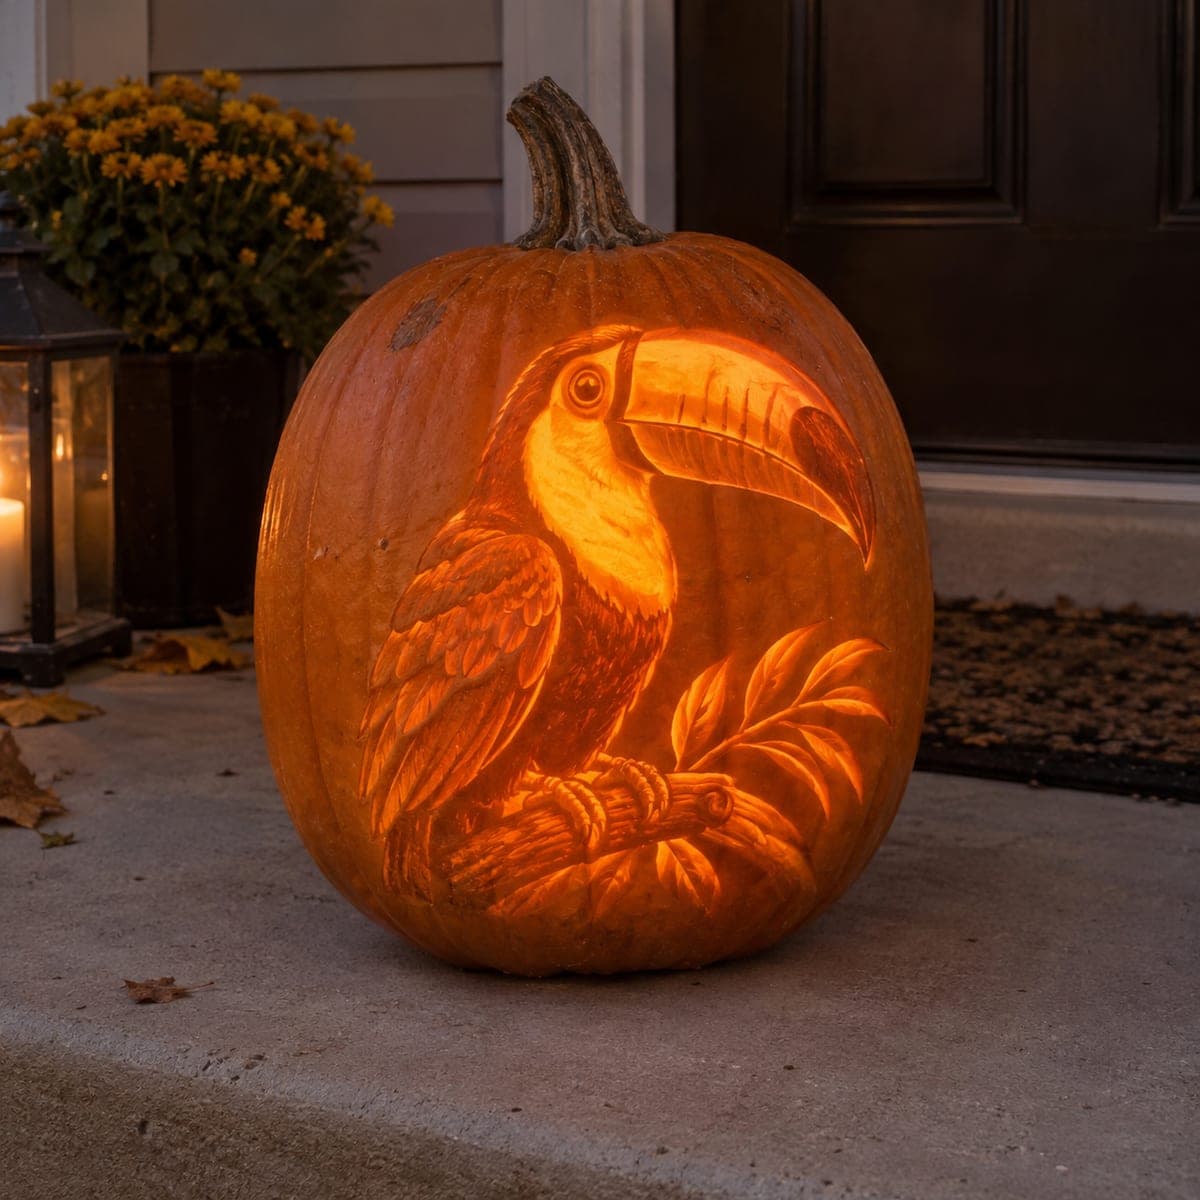
Macaw Parrot Relief Carved Pumpkin with Tropical LeavesAI
0

Macaw Parrot Relief Carved Pumpkin with Tropical Leaves

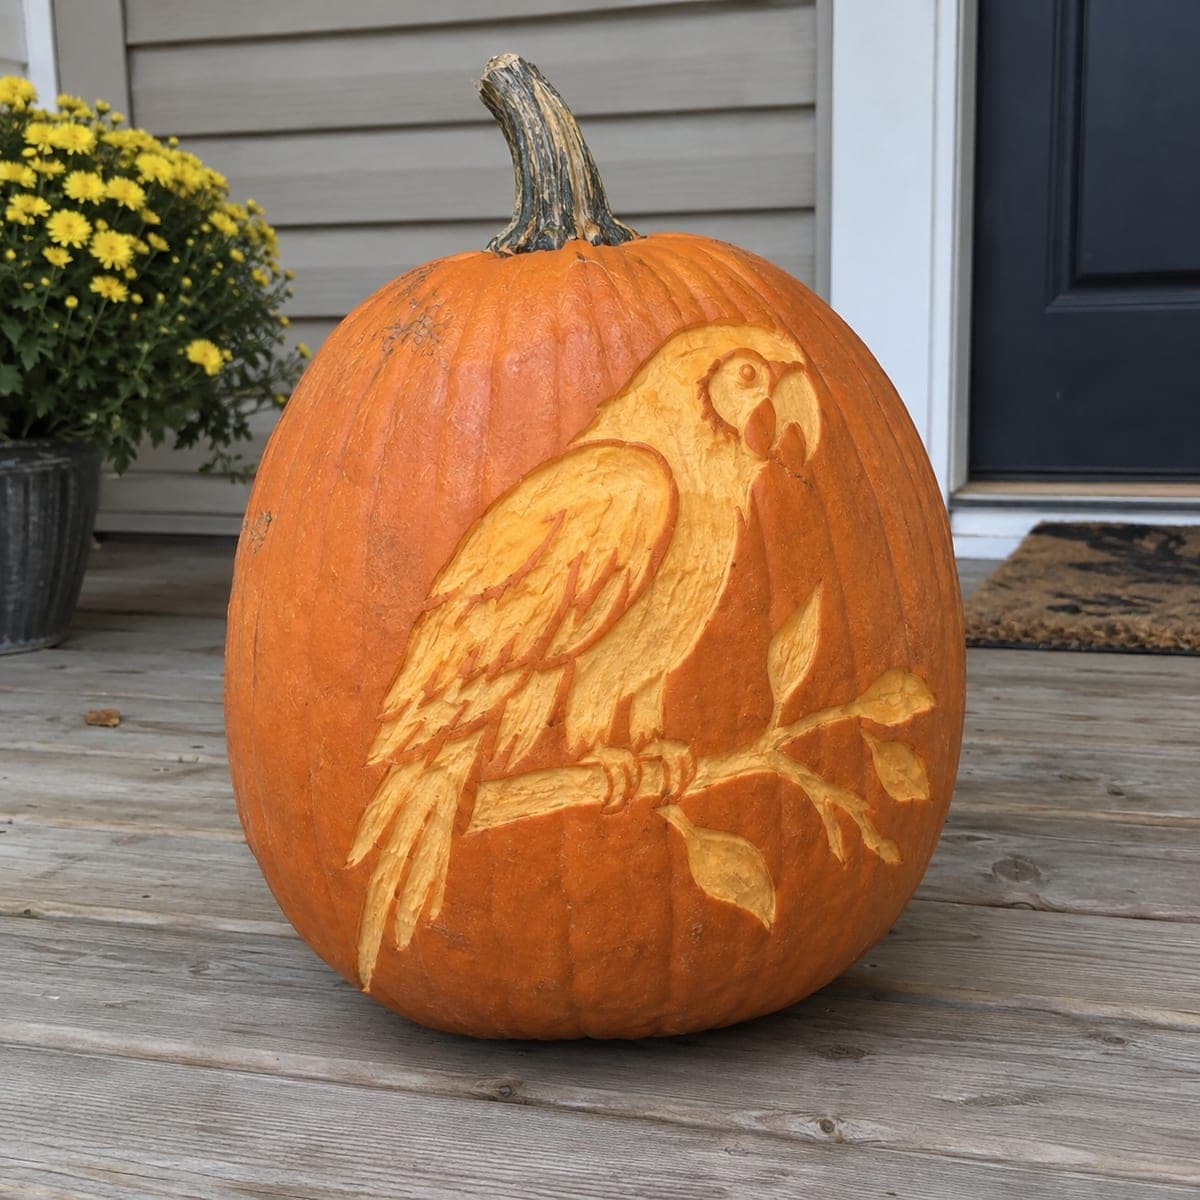
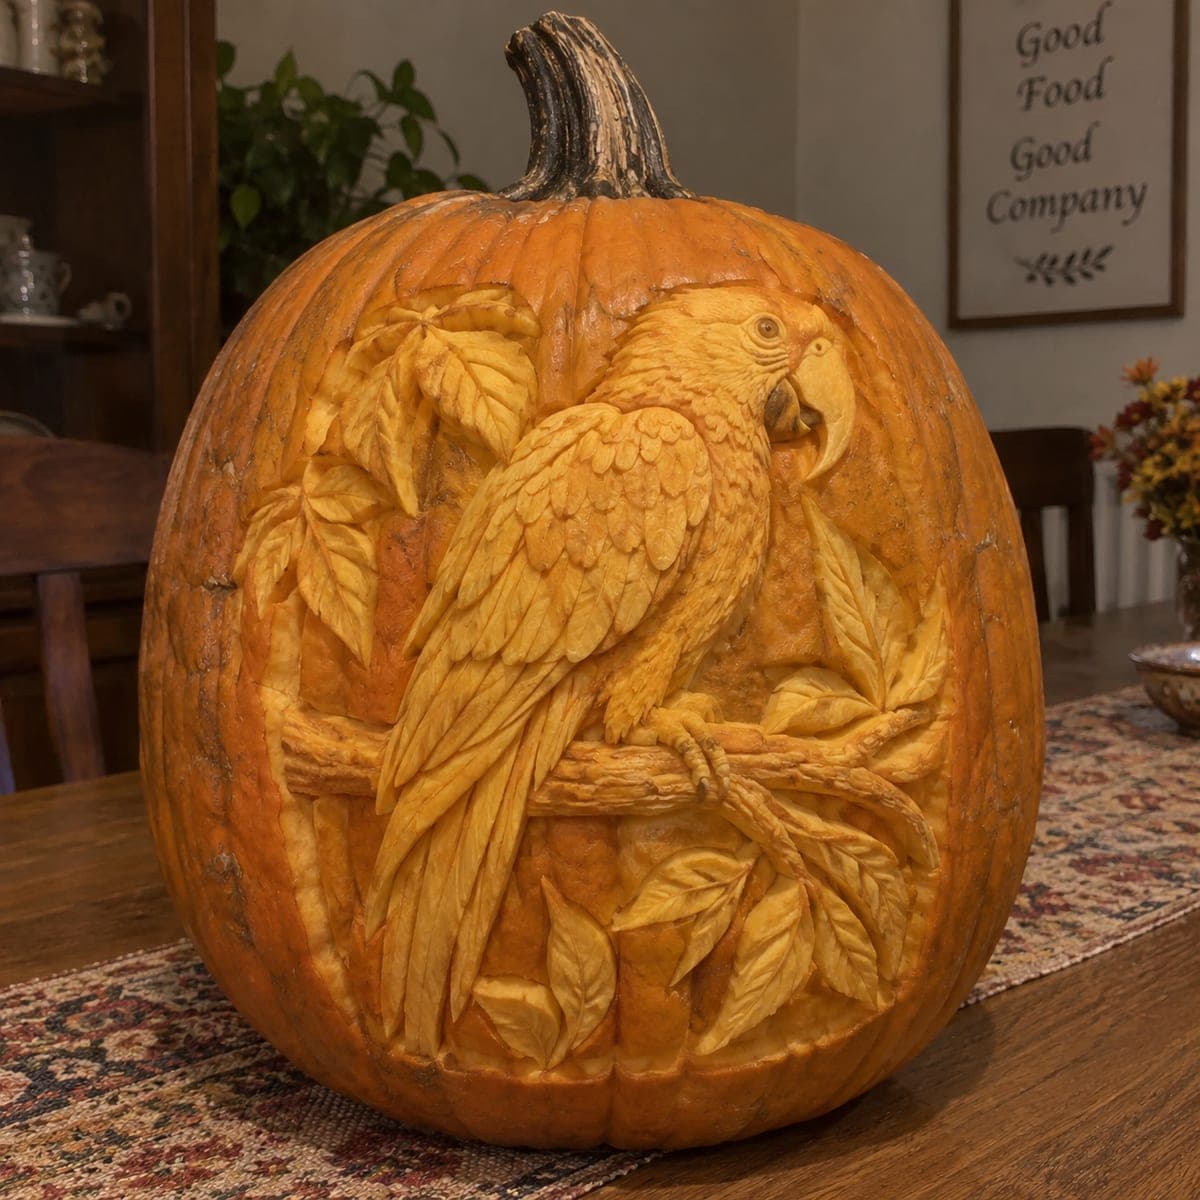
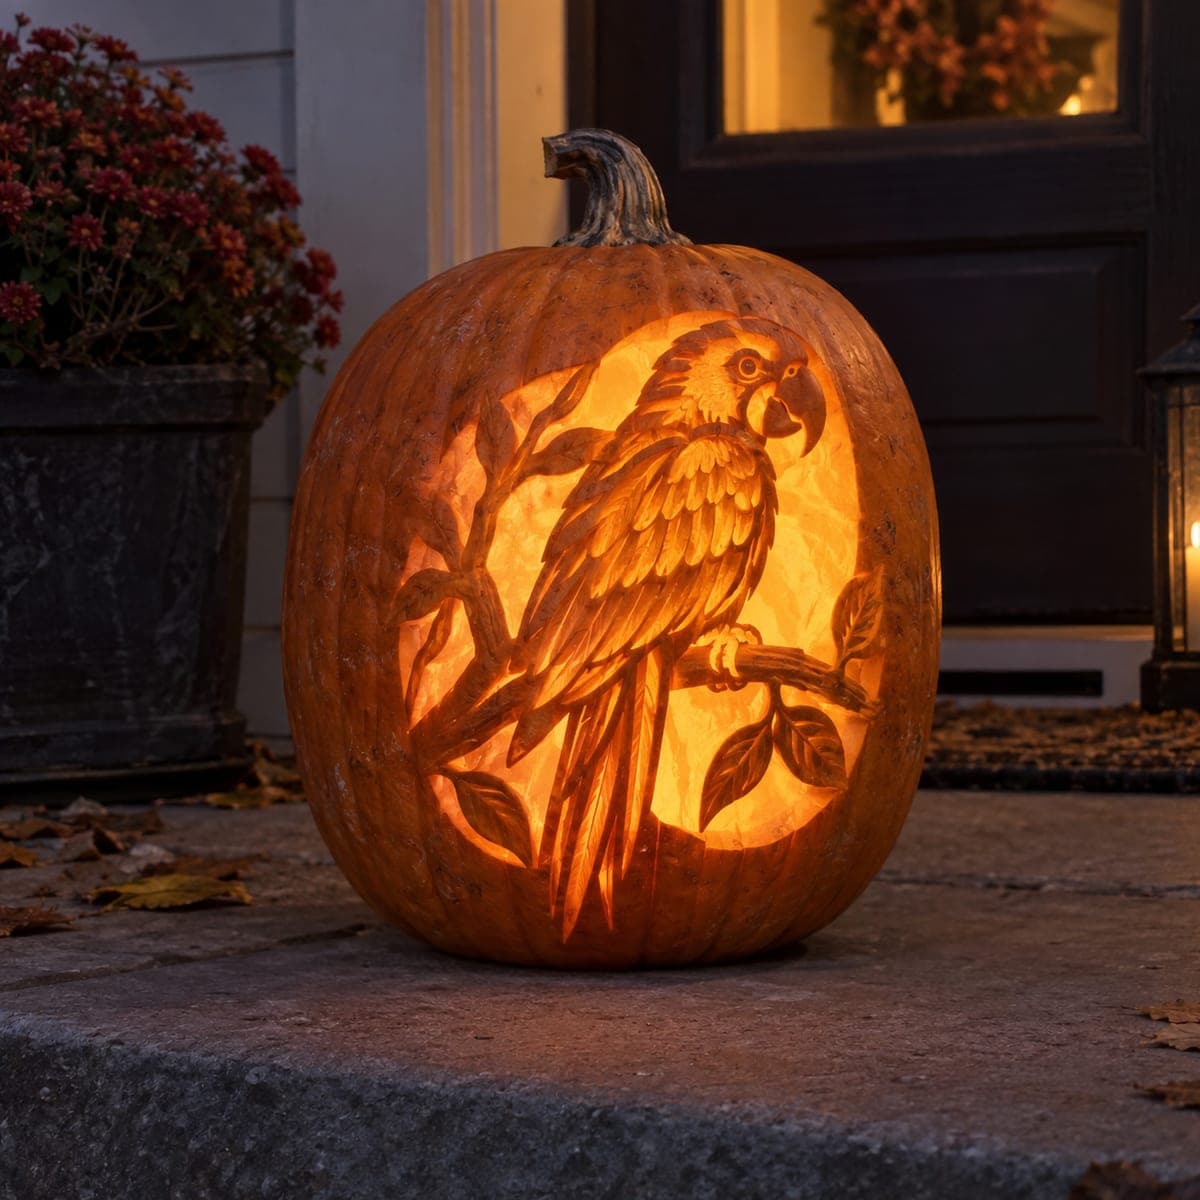
A macaw parrot perches on a branch surrounded by layered tropical leaves, the entire composition carved in extraordinary relief that captures individual feathers, leaf veins, and bark texture across the pumpkin's full surface. This is an expert-level pumpkin carving idea that functions as a sculptural centerpiece even without backlighting, since the dimensional relief creates its own shadows in natural light. Begin with the branch and background leaves at shallow depth, then carve the parrot body progressively deeper, saving the brightest highlight areas on the breast feathers for last. Use a fine detail tool for the individual feather barbs and a wide sweep gouge for the broad leaf surfaces.

This is an AI-generated concept image: a realistic, carvable design idea rather than a photo of a finished carve. AI concepts are always labeled and sit out the leaderboard and the contest.
No ratings yet · Sign in to rate

Comments (0)

  • No comments yet — be the first.

Save without an account. Sign in to like or comment.

Our tips for carving a similar design

The core trick here is relief carving, where you shave the skin away at different depths instead of cutting all the way through, so the parrot and leaves stand out as raised sculpture. The plan is to work from the shallow background forward: set the branch and leaves first, then build the parrot's body up in deepening layers, saving the brightest breast feathers for last. Because the dimension does the work, this design reads beautifully in daylight and glows softly with a low LED behind it.

Written by PumpkinCarvingIdeas.com, inspired by the image above. These are our suggestions, not instructions from the uploader. This approach to the AI concept has not been tested on a real pumpkin.

From pumpkin to porch

  1. Pick a big, smooth pumpkin and transfer the design

    Choose a tall pumpkin with a broad, blemish-free face so you have room for the bird and surrounding leaves. Tape your stencil in place and poke through the main outlines with a pin or transfer tool, marking the parrot body, wing, branch, and leaf edges. Keep your top and guts intact for now since relief carving does not need a lid opening. A clear line map keeps you from over-cutting once you start shaving.

  2. Skin the background and set the shallow branch

    Using a wide sweep gouge, peel the outer skin off the background areas so they sit slightly lower than everything else. Carve the branch and the farthest leaves at a shallow depth, leaving crisp edges where they tuck behind the parrot. This is your baseline layer, so keep it even and do not rush deep. Sweep gouges cut cleaner across broad curved surfaces than a small blade will.

  3. Rough in the parrot body in stacked layers

    Block out the parrot as a raised mass, then lower the wing and tail zones in gentle steps so each overlaps the one behind it. Round the head and breast so they are the highest points on the pumpkin. Work slowly and check your depths often, since you can always remove more flesh but cannot put it back. Keep thin leaf tips and the beak tied into the body with small bridges of pumpkin so nothing snaps off.

  4. Carve the feather and leaf texture

    Switch to a fine detail loop or V tool to score individual feather barbs, the layered wing rows, and the veins running through each leaf. Follow the natural flow of each feather from the body outward and let the lines curve. Add light bark grooves to the branch for contrast. Short, shallow strokes give you more control than long deep ones on this kind of fine work.

  5. Peel the brightest highlights last

    Go back to the breast and cheek feathers and skin those areas a touch thinner than the rest so they catch the most light. Clean up any ragged edges around the eye and beak with the tip of your detail tool. Leave the darkest background skin fully untouched for shadow. Saving these highlights for the end keeps them fresh and prevents you from smudging finished areas.

  6. Light it low and photograph it

    Rest a small LED puck inside or set a warm LED behind the pumpkin so light rakes across the relief rather than blasting through it. Angle a lamp from the side in daylight to deepen the shadows the carving casts. Snap photos within the first day or two before the surface dries and curls. A dusting of the cut areas with a damp cloth revives the color if it starts to dull.

Gather your supplies

Check things off as you get ready.

Work on a stable surface, keep your free hand out of the cutting path, and have an adult handle sharp tools.

Three levels of light

  • Leave intact

    The deep background behind the leaves stays as untouched dark skin for shadow and contrast.

  • Peel & shade

    The branch, tropical leaves, and most of the parrot's wing and tail get skin-peeled for a soft mid glow.

  • Cut through

    No full cutouts here; the thinnest-shaved breast and cheek feathers act as the brightest areas instead.

Learn the carving basics

Before you start cutting

Do I need to hollow out the pumpkin for a relief carving like this?

You do not need a big lid opening since the design is all surface work, but you should still scrape the inside wall on the carving face down to a workable thickness. Thinning the wall from behind lets a little LED light pass through the peeled areas. Cut a small access hole in the back or bottom for your light. Keep the front skin fully intact.

How do I keep the feather and leaf detail from tearing off?

Work shallow first and only deepen once the shapes are locked in, since deep undercuts weaken thin points. Leave small bridges of pumpkin connecting fragile leaf tips and the beak to the body underneath. A fresh, firm pumpkin holds fine detail far better than an older soft one. Go slow near any spot thinner than a pencil.

This is an expert design. What if I am not there yet?

Relief carving rewards patience more than raw skill, so start with a simpler bird and fewer leaves to learn how depth reads in light. Practice the sweep gouge on a spare pumpkin to get a feel for peeling even layers. Build up to the full feather detail over a couple of seasons. There is no shame in a smaller, bolder version while you learn.

Your take belongs here, too.

Changed a detail? Made it simpler? Share a photo of your version and tell the community what worked.

Share your pumpkin

More pumpkins like this

You've reached the end · 8 pumpkins
The Patch Report

Fresh pumpkins, in your inbox.

The best new carvings, ideas worth stealing, and how-tos for carving season. Short, seasonal, and gone by November.

A short email during carving season. Unsubscribe anytime. See our privacy policy.