Halloween Pumpkin Carving Contest · Starts October 1st · $500 in prizes
← Back to ideas
@ai_concepts
Aug 26, 2026
Relief-Carved Bat With Outstretched Wings PumpkinAI
0

Relief-Carved Bat With Outstretched Wings Pumpkin

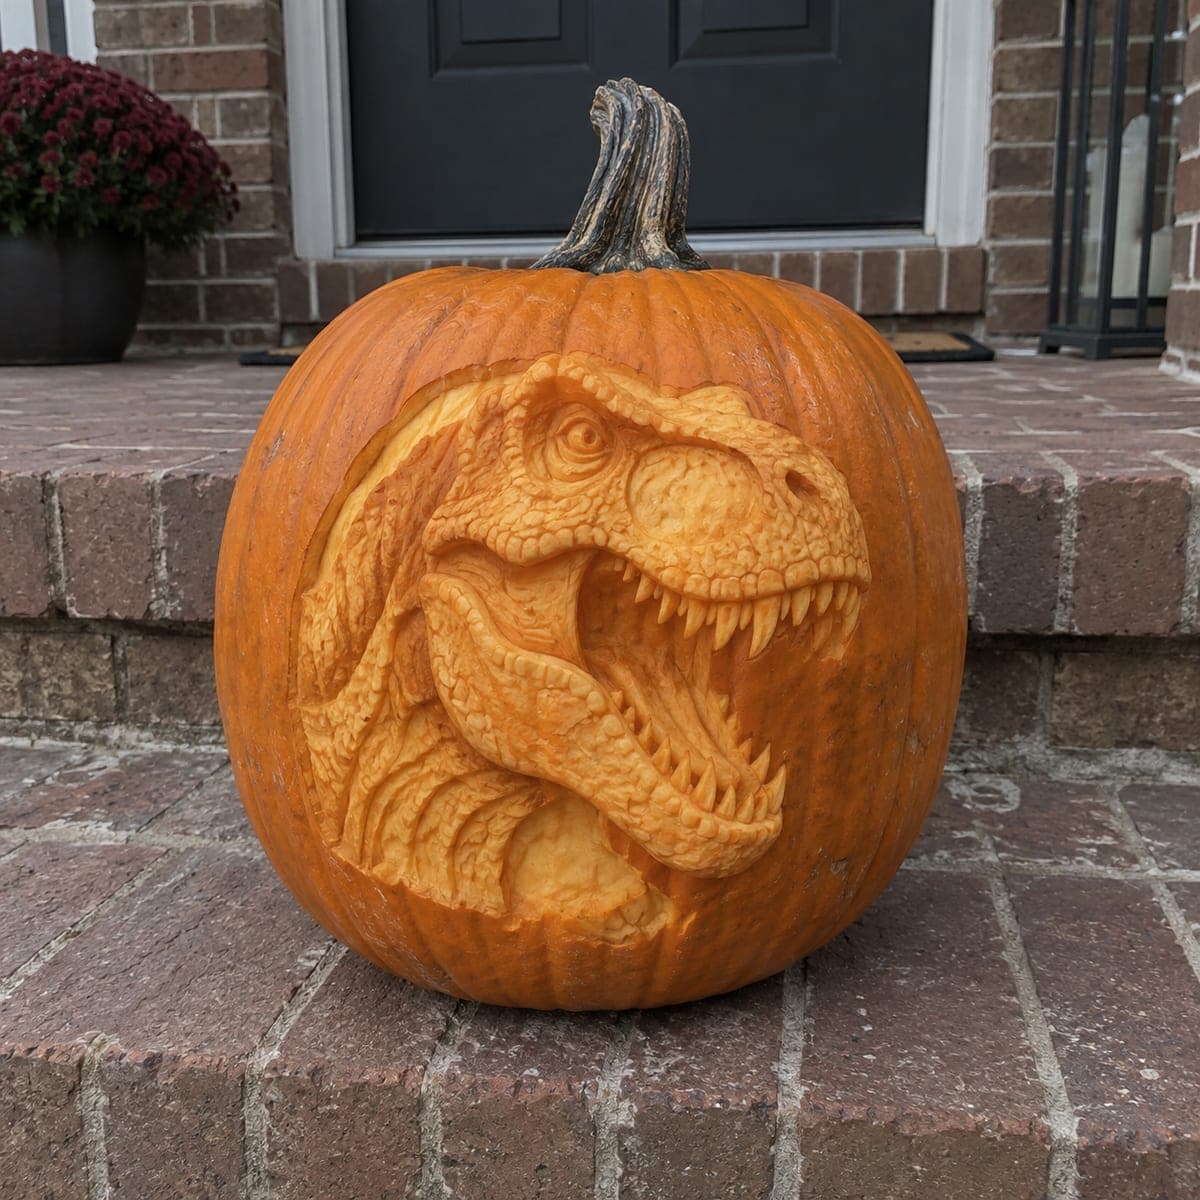
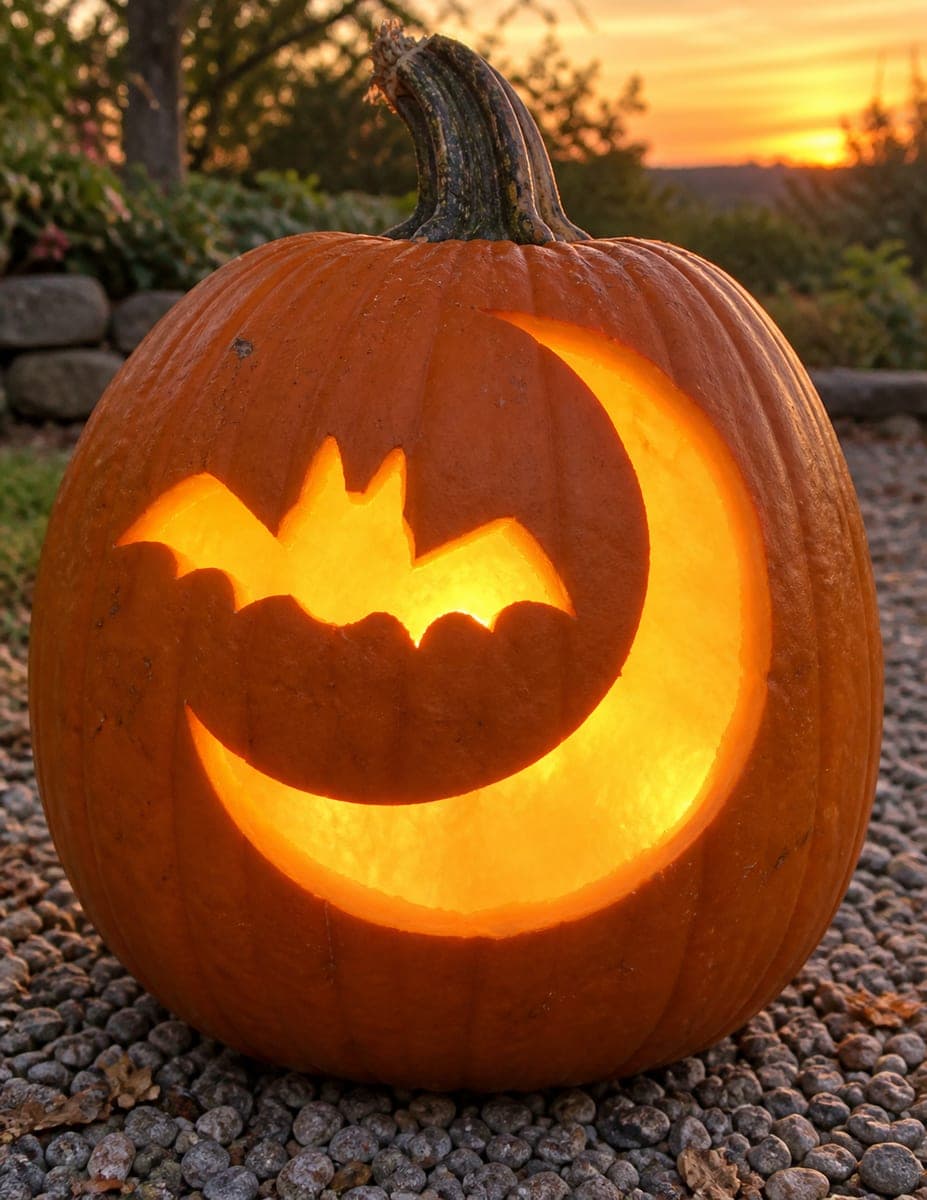
A bat with dramatically spread wings emerges in bold relief from the surface of a pumpkin, carved so the creature appears to burst out of the rind rather than be cut through it. The wings wrap around the sides and the body is sculpted in high relief with visible fur and wing membrane texture. This pumpkin carving idea is ideal for a front porch centerpiece and needs no candle since the relief reads well in ambient light. Score the wing outlines first with a craft knife before using loop tools to remove the background skin.

This is an AI-generated concept image: a realistic, carvable design idea rather than a photo of a finished carve. AI concepts are always labeled and sit out the leaderboard and the contest.

No ratings yet · Sign in to rate
Comments (0)

  • No comments yet — be the first.

Save without an account. Sign in to like or comment.

Our tips for carving a similar design

The core trick here is relief carving, where the bat is sculpted from the pumpkin wall instead of cut all the way through. You leave the body and wing bones raised at skin level, then shave the background down so the creature seems to push out of the rind. Because the light comes from the surface texture and shadow rather than cutouts, this design reads well in ambient porch light and needs no interior glow.

Written by PumpkinCarvingIdeas.com, inspired by the image above. These are our suggestions, not instructions from the uploader. This approach to the AI concept has not been tested on a real pumpkin.

From pumpkin to porch

  1. Pick a large, wall-thick pumpkin and plan the layout

    Choose a big, evenly rounded pumpkin with a thick, firm wall so you have depth to sculpt into. Wipe it clean and dry, then find the flattest front face for the bat. Sketch the centered body and the two wings sweeping around the sides with a washable marker. Keep the wingtips well above the base so the shape stays strong.

  2. Score all the outlines with a craft knife

    Trace the body, ears, and every wing bone with a sharp craft knife, cutting only about a quarter inch deep. These score lines act as stop cuts so the raised details do not tear when you clear the background. Keep the wing membrane sections connected to the bone lines rather than isolating thin slivers. Have an adult handle the blade and cut in short, controlled strokes.

  3. Lower the background around the bat

    Switch to a wide loop tool and shave away the skin and a thin layer of flesh in the areas between the wing bones. Work down to a shallow, even depth so the bat and wing struts stand proud of the background. Keep your loop moving toward your score lines, not across the raised details. Step back often to check that both wings look balanced.

  4. Sculpt the body and add fur and membrane texture

    Use a small loop tool to round the body, define the head and ears, and carve gentle grooves for the folded legs. Drag fine, short strokes down the torso to suggest fur, and pull long shallow lines across the wing panels for membrane. Keep the eyes as tiny scooped dots rather than deep holes. Soften any harsh edges so shadows fall naturally.

  5. Peel the lower wing scallops for a dim glow

    Along the bottom edge, remove just the outer skin from the scalloped wing tips to make them read a shade lighter than the dark background. This gives the lower border a soft, dimly lit lift without cutting through the wall. Keep these peeled zones smooth and consistent. Leave the raised body and bones at full skin height for contrast.

  6. Seal, light, and photograph

    Rub all cut and peeled surfaces with a little petroleum jelly to slow drying and hold the texture crisp. Set the pumpkin on the porch and aim a small LED spot or two battery tea lights from the side so the relief casts long shadows. Never use an open flame near the shaved areas. Snap your photo in the evening when the raking light shows off the bat best.

Gather your supplies

Check things off as you get ready.

Work on a stable surface, keep your free hand out of the cutting path, and have an adult handle sharp tools.

Three levels of light

  • Leave intact

    The raised bat body, ears, and the wing bone struts stay at full skin height and read darkest.

  • Peel & shade

    The scalloped wing tips along the lower edge get skin-peeled for a soft, dim orange lift.

  • Cut through

    Nothing is cut fully through on this relief design, so there are no bright open cutouts.

Learn the carving basics

Before you start cutting

Do I need to hollow out the pumpkin for this?

Not for the carving itself, since the design lives on the surface and uses no interior candle. You can leave it solid for a sturdier, longer-lasting piece. If you want to add a side LED spot, a small back or bottom access hole is enough.

How deep should I lower the background?

Aim for a shallow, even depth of roughly a quarter to half inch below the raised details. That is enough to throw a clear shadow while keeping the wall strong. Check the thickness as you go so you do not accidentally break through.

Will the relief show up without a candle inside?

Yes, that is the whole point of relief carving. The raised bat and lowered background create shadows that read in daylight and under porch light. For evening drama, aim an external LED from the side so the light rakes across the texture.

Your take belongs here, too.

Changed a detail? Made it simpler? Share a photo of your version and tell the community what worked.

Share your pumpkin

More pumpkins like this

You've reached the end · 8 pumpkins
The Patch Report

Fresh pumpkins, in your inbox.

The best new carvings, ideas worth stealing, and how-tos for carving season. Short, seasonal, and gone by November.

A short email during carving season. Unsubscribe anytime. See our privacy policy.