Halloween Pumpkin Carving Contest · Starts October 1st · $500 in prizes
← Back to ideas
@ai_concepts
Sep 25, 2026
Saja Boys Five-Panel Jack-O-Lantern With Hat BrimsAI
0

Report this carving

Tell us what is wrong. Reports are private.

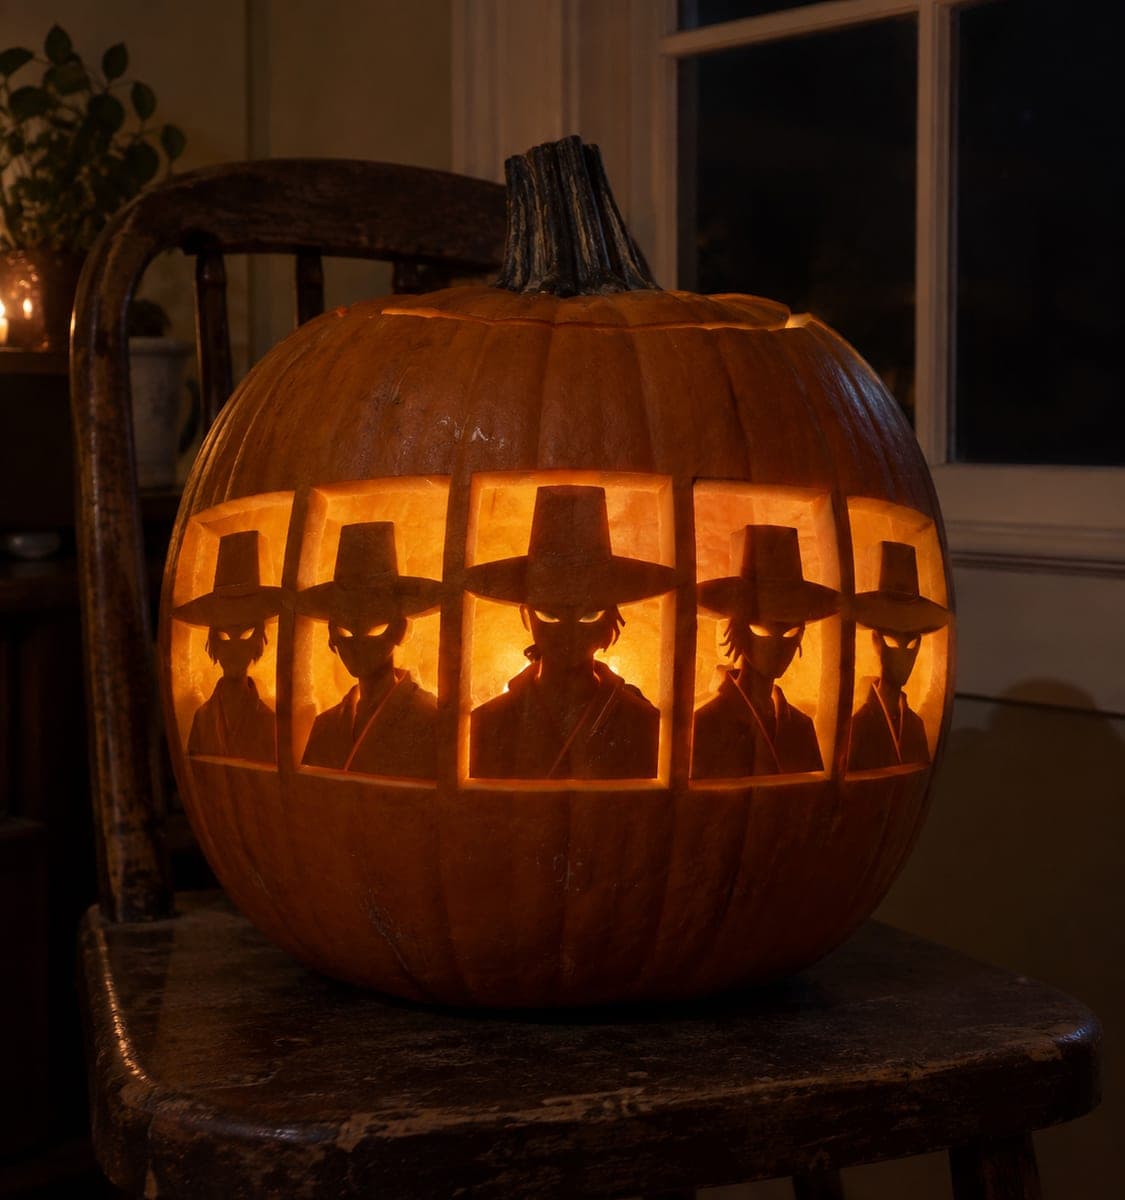
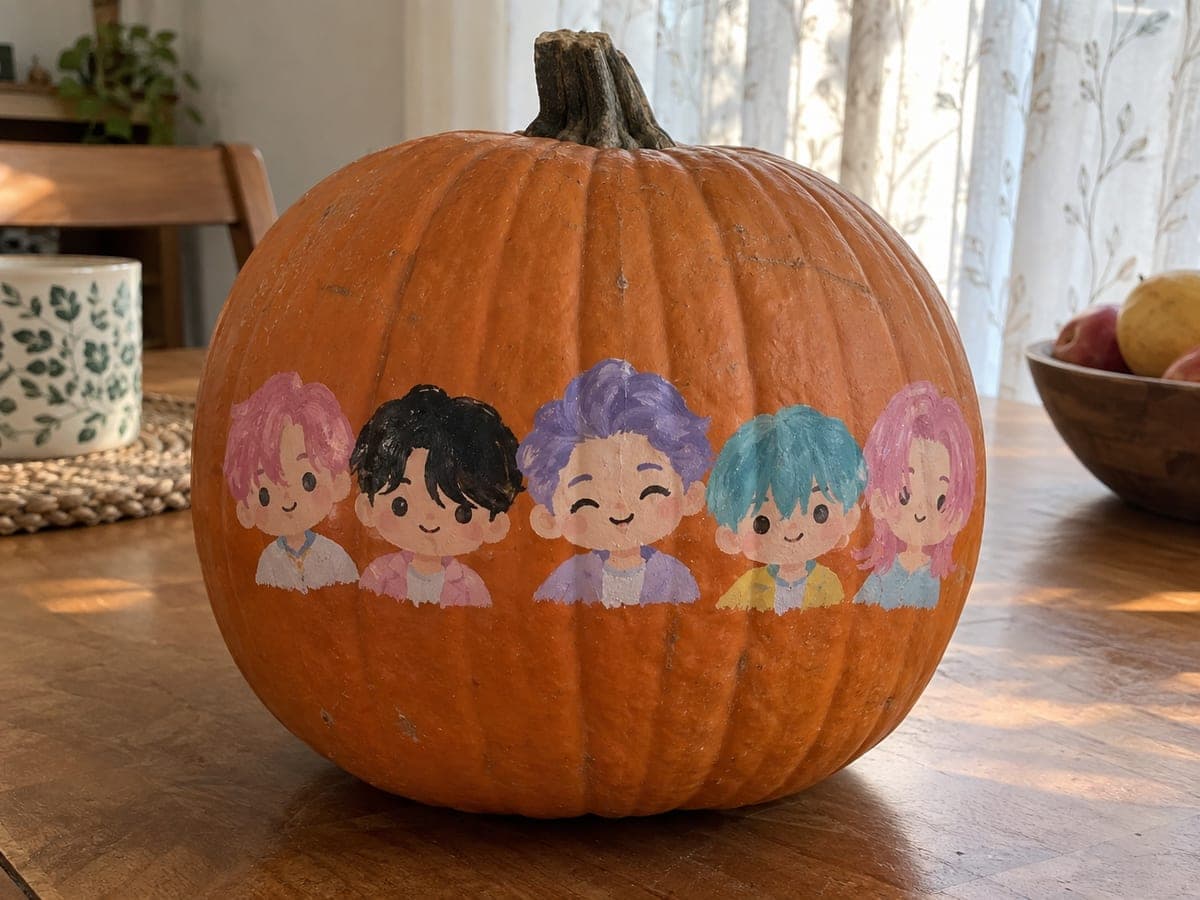
Saja Boys Five-Panel Jack-O-Lantern With Hat Brims

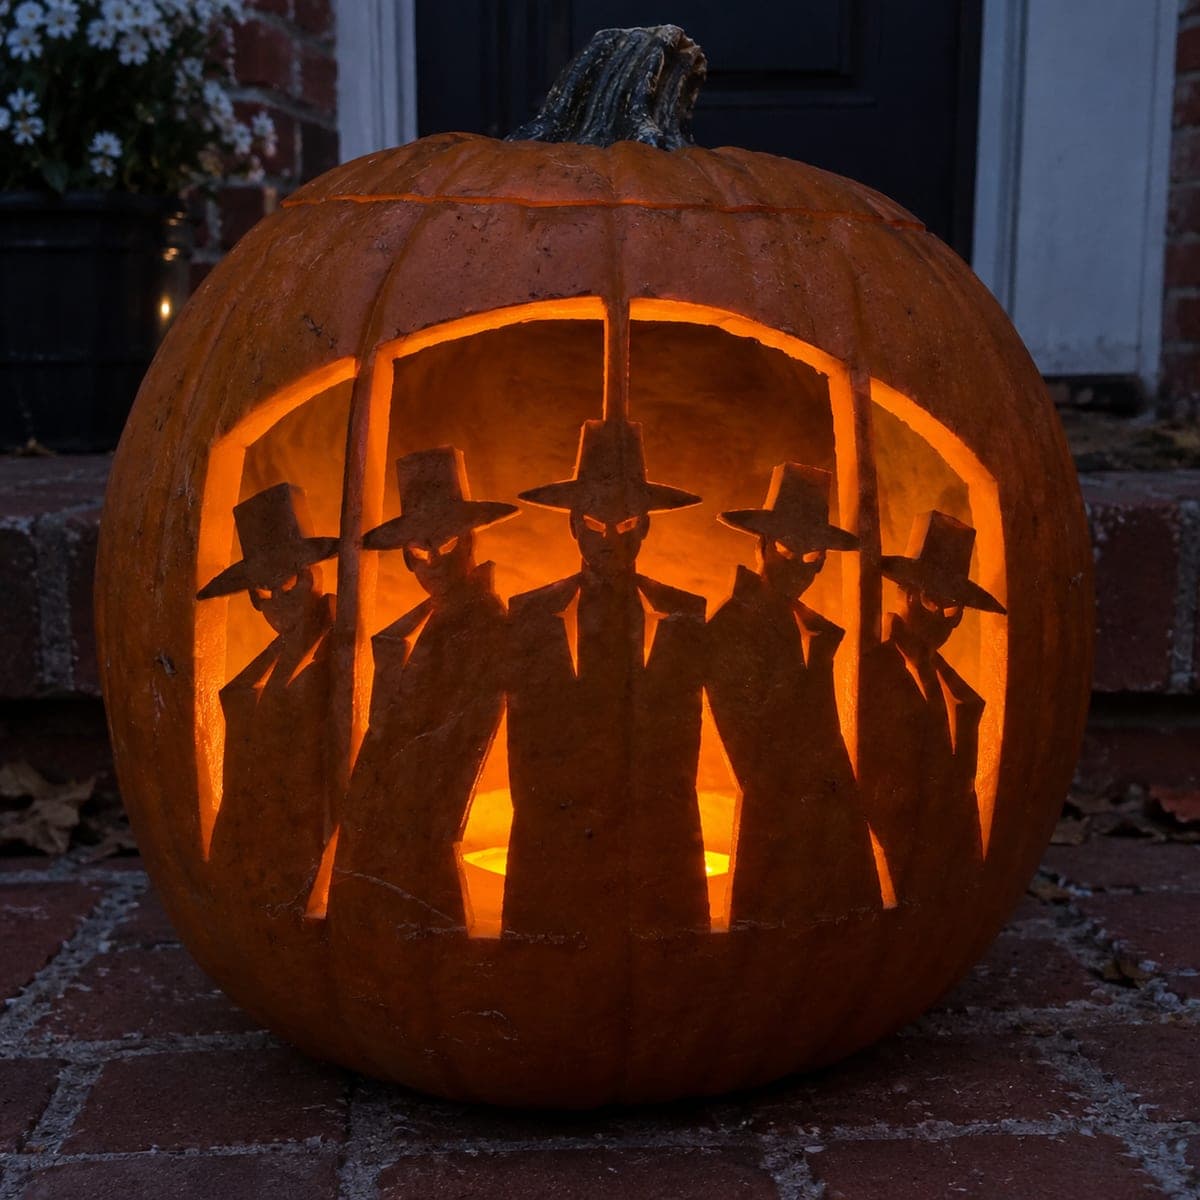
This hard saja boys pumpkin carving places each of the five figures inside its own open rectangular panel, with retained hat brims joined to the side posts and busts connected through the brim, neck, and lower structure. Eye holes cut fully through while fine collar lines get a shallow backing to keep detail without sacrificing structure. Cut the outer panel frames before any interior detail so you always have the structure to hold while you work.

No ratings yet · Sign in to rate
Comments (0)

  • No comments yet — be the first.

Save without an account. Sign in to like or comment.

Our tips for carving a similar design

Each of the five figures gets its own open rectangular panel, and the hat brims join the panel side posts to keep the figures attached structurally as well as visually. Eye holes cut fully through and fine collar lines are shallow-backed, creating two distinct light levels within each panel. The outer panel frames are always cut before any interior detail to ensure you have solid structure to hold while working.

From pumpkin to porch

  1. Map the five panels

    Use a ruler and marker to draw five equally spaced vertical rectangles across the pumpkin face. Leave at least 1.5 cm of rind between panels and around the outer edges. Take time to get the spacing right before cutting since cramped panels are harder to carve and look less polished when lit.

  2. Cut the outer panel frames

    Cut each rectangular panel opening with a thin-blade saw, working all five frames before moving to any interior detail. Cutting frames first gives you solid rind to grip while doing detail work later. Remove each panel piece cleanly and keep cut edges perpendicular to the shell surface.

  3. Position and trace figure details

    Pin-transfer the hat-brim, bust, neck, and eye-hole positions within each open panel. Mark hat brim join points to the side posts clearly. Double-check that each figure is centered within its panel before committing to the interior cuts.

  4. Cut hat brim joins and eye holes

    Use a narrow detail saw to cut the hat brims from inside each panel, leaving the brim-to-side-post joins intact. Then cut the small circular or slot eye holes fully through. These retained hat brims and the solid busts below them are now the main structural elements of each figure.

  5. Shallow-back the collar lines

    Use a fine gouge or the tip of a paring knife to shallow-back the fine collar lines within each bust. Remove the outer skin and about half the rind thickness. This creates a softer mid-glow on the collar detail without cutting the thin lines all the way through, which would weaken the bust.

  6. Light and final check

    Insert an LED and view all five panels from the front. The glowing background inside each panel should frame the dark retained busts, and the eye holes and collar detail should show two distinct light intensities. Correct any shallow-backed areas that appear too dark by removing a little more rind with the gouge.

Written with AI to match this design

Gather your supplies

Check things off as you get ready.

Work on a stable surface, keep your free hand out of the cutting path, and have an adult handle sharp tools.

Three levels of light

  • Leave intact

    Retained dark hat brims, bust rind, and rind strips between panels

  • Peel & shade

    Fine collar lines within each bust shallow-backed for a mid-glow level

  • Cut through

    Open rectangular panel backgrounds and small eye holes cut fully through for bright light

Learn the carving basics

Before you start cutting

One of my panel openings came out slightly crooked. Can I fix it?

A slightly crooked panel is easier to correct than you might think. Use a craft knife to trim the uneven side a millimeter or two in the direction needed. As long as the panel still has enough rind around it for structural integrity, small adjustments are fine and will not be obvious when the pumpkin is lit.

The hat brim joins to the side posts look delicate. How do I cut them without snapping them?

Cut toward the join point from both sides of the brim rather than trying to cut past it in one pass. Leave the actual junction point for last, then make a single clean score cut right at the contact. Keeping the join at least 1 cm wide provides reliable strength.

With five panels on one pumpkin, how much rind do I need between them to avoid structural problems?

Plan for 1.5 cm between panels as a minimum. On a smaller pumpkin you may need to reduce to four figures or shrink the panel size to maintain safe rind margins. Cutting a test panel on the back of the pumpkin where it will not show is a good way to calibrate your saw control before committing to the front.

Your take belongs here, too.

Changed a detail? Made it simpler? Share a photo of your version and tell the community what worked.

Share your pumpkin

More pumpkins like this

You've reached the end · 8 pumpkins
The Patch Report

Fresh pumpkins, in your inbox.

The best new carvings, ideas worth stealing, and how-tos for carving season. Short, seasonal, and gone by November.

A short email during carving season. Unsubscribe anytime. See our privacy policy.