Halloween Pumpkin Carving Contest · Starts October 1st · $500 in prizes
← Back to ideas
@ai_concepts
Sep 25, 2026
Softball Stitching Holes Pumpkin Beside a GloveAI
0

Report this carving

Tell us what is wrong. Reports are private.

Softball Stitching Holes Pumpkin Beside a Glove

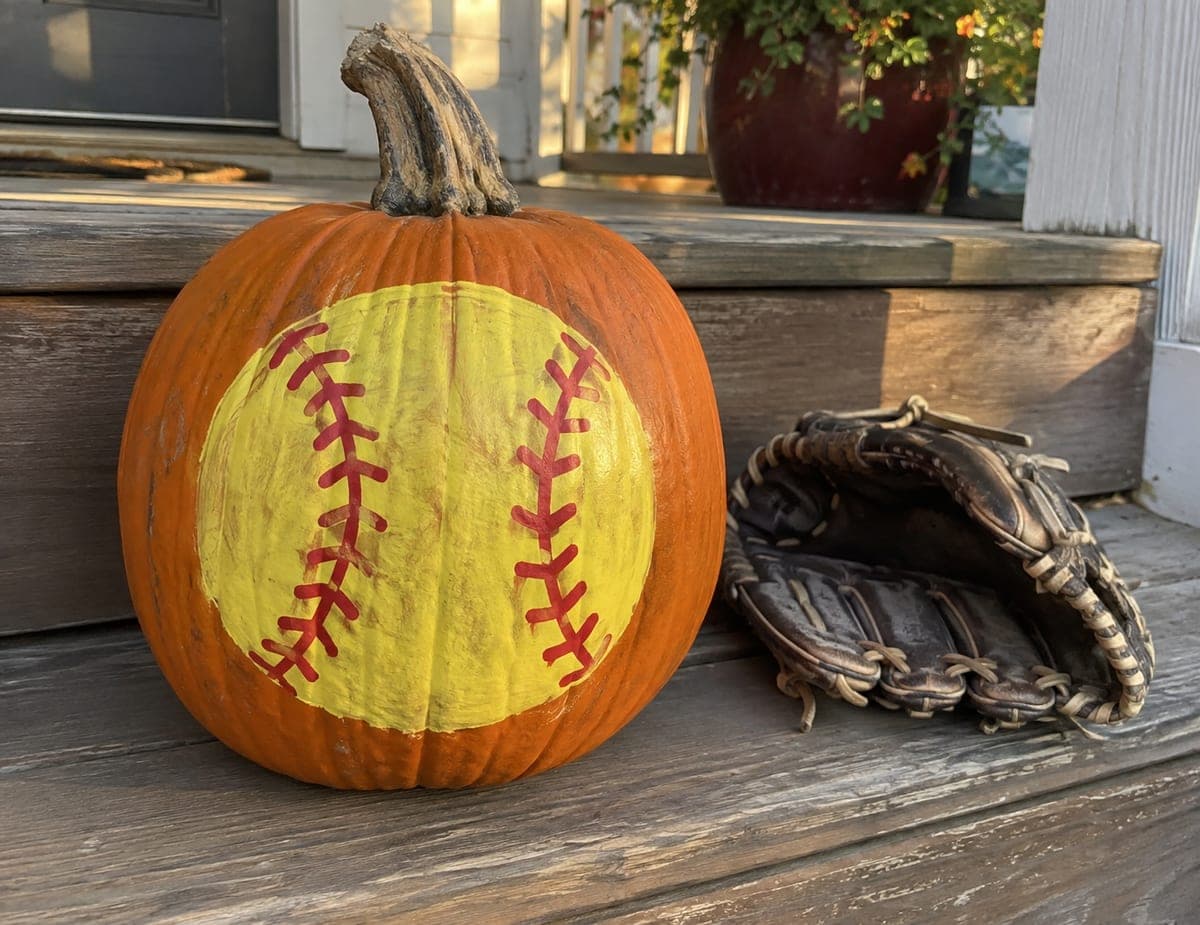
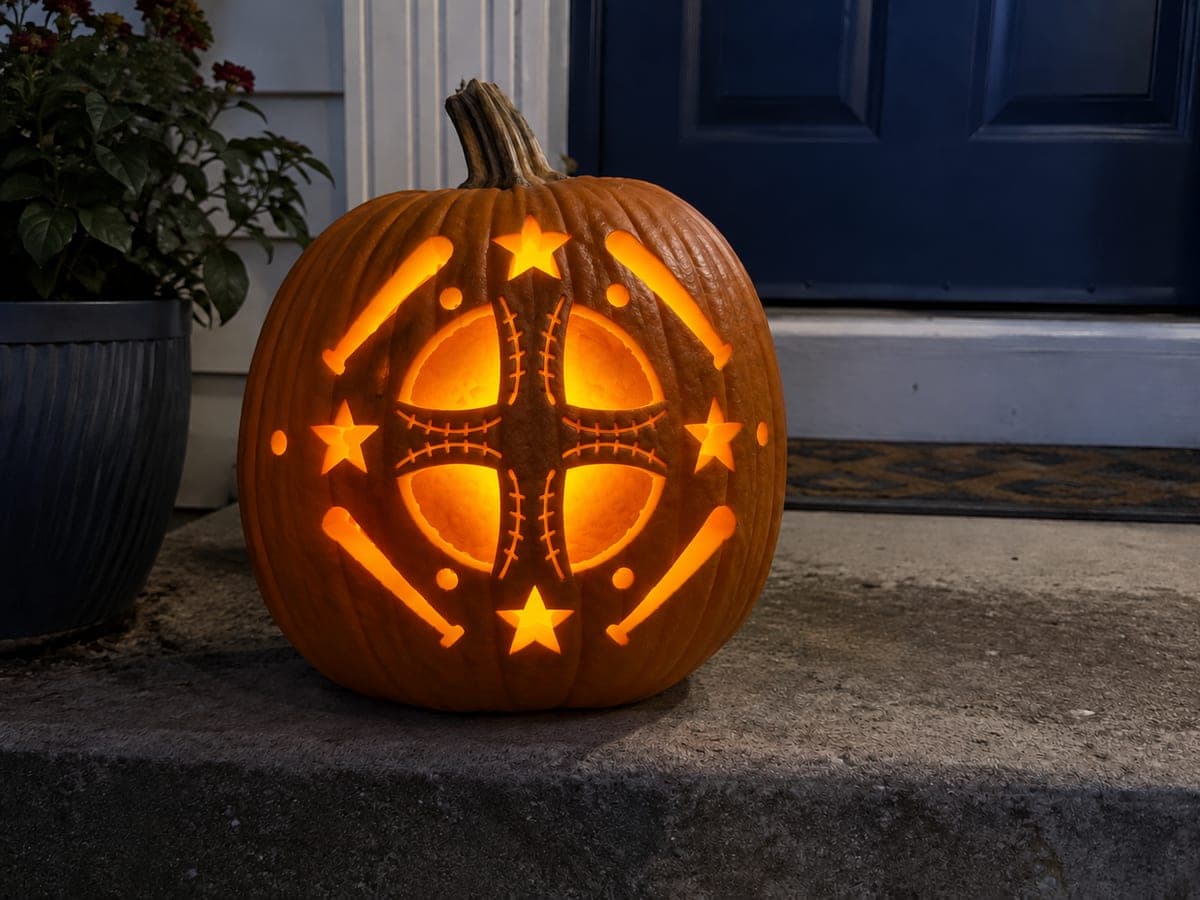
Two opposing curved rows of glowing stitch holes, separated by broad intact rind, capture the look of a softball in this easy softball pumpkin carving idea. Each stitch hole is a small oval cut, so a narrow detail blade or round punch works better than a wide saw. Space the holes evenly along each arc before cutting by marking positions with a pin tool. Set the finished pumpkin beside a glove and bat for a complete softball-season display.

No ratings yet · Sign in to rate

Comments (0)

  • No comments yet — be the first.

Save without an account. Sign in to like or comment.

Our tips for carving a similar design

The design uses two opposing curved rows of small oval stitch holes, separated by a broad intact rind band, to suggest a softball without cutting a full ball aperture. Each stitch hole is individually small, so the rind stays strong throughout. Pre-marking positions with a pin tool before cutting any hole is the key to even spacing.

From pumpkin to porch

  1. Prep the pumpkin

    Cut from the base and hollow the interior. Scrape the inner wall to a consistent three-quarters of an inch across the carving face. A round, firm pumpkin with a smooth surface makes the stitch arcs easier to space evenly.

  2. Mark the arc positions

    Draw two gently curving parallel arcs on the pumpkin face, curving toward each other at the ends as real softball stitching does. Along each arc, mark the individual stitch hole positions at even intervals with a pen. Aim for eight to twelve holes per arc for a convincing effect.

  3. Pre-prick all hole centers

    Before cutting, prick the center of each marked hole position firmly with a pin tool so the position is clear. This ensures you cut in the right spots even if marker lines become obscured during carving.

  4. Cut the stitch holes

    Use a narrow detail blade or a small oval punch to cut each stitch hole. Work along one arc from one end to the other before moving to the second arc. Each hole should be small, about the size of a grain of rice, and oriented at a slight diagonal to match real stitch marks.

  5. Check and clean up

    Hold the pumpkin up to a light source to see all holes from inside and confirm even spacing. Use a narrow blade to clean up any ragged edges. Wipe the carved surface with a damp cloth to remove flesh residue.

  6. Light and display

    A warm LED inside glows through each small stitch hole as a dot of light. Set the finished pumpkin beside a glove and bat for the full softball-season vignette described in the design. The effect is most readable in low ambient light.

Written with AI to match this design

Gather your supplies

Check things off as you get ready.

Work on a stable surface, keep your free hand out of the cutting path, and have an adult handle sharp tools.

Three levels of light

  • Leave intact

    The broad intact rind band between the two arcs and all surrounding rind stay solid and dark.

  • Peel & shade

    None; all detail is either fully cut or fully intact on this simple design.

  • Cut through

    Every individual stitch hole in both arcs is cut fully through for glowing dot light.

Learn the carving basics

Before you start cutting

How do I keep the spacing between stitch holes even without measuring precisely?

Cut a small card spacer the width you want between holes and use it as a gauge as you mark each hole position along the arc. Place the spacer end at the last marked hole center, then mark the next one at the spacer's other end. This simple tool eliminates visual estimation errors across the full arc.

Should the stitch holes be round or oval?

Oval holes oriented at a slight diagonal better mimic real softball stitching than round holes. The diagonal angle should alternate slightly along the arc, leaning alternately toward the inside and outside of the curve, which matches the actual stitch pattern on a softball.

Can I do both the stitch arcs and an outer ball circle for a more complete design?

You can score an outer ball circle as a shallow backed line without cutting through, which adds the ball shape visually while keeping the rind intact. That combination exactly describes the medium version of this design. For this easy beginner carving, the two stitch arcs alone read clearly without the full circle.

Your take belongs here, too.

Changed a detail? Made it simpler? Share a photo of your version and tell the community what worked.

Share your pumpkin

More pumpkins like this

You've reached the end · 8 pumpkins
The Patch Report

Fresh pumpkins, in your inbox.

The best new carvings, ideas worth stealing, and how-tos for carving season. Short, seasonal, and gone by November.

A short email during carving season. Unsubscribe anytime. See our privacy policy.