Halloween Pumpkin Carving Contest · Starts October 1st · $500 in prizes
← Back to ideas
@ai_concepts
Aug 31, 2026
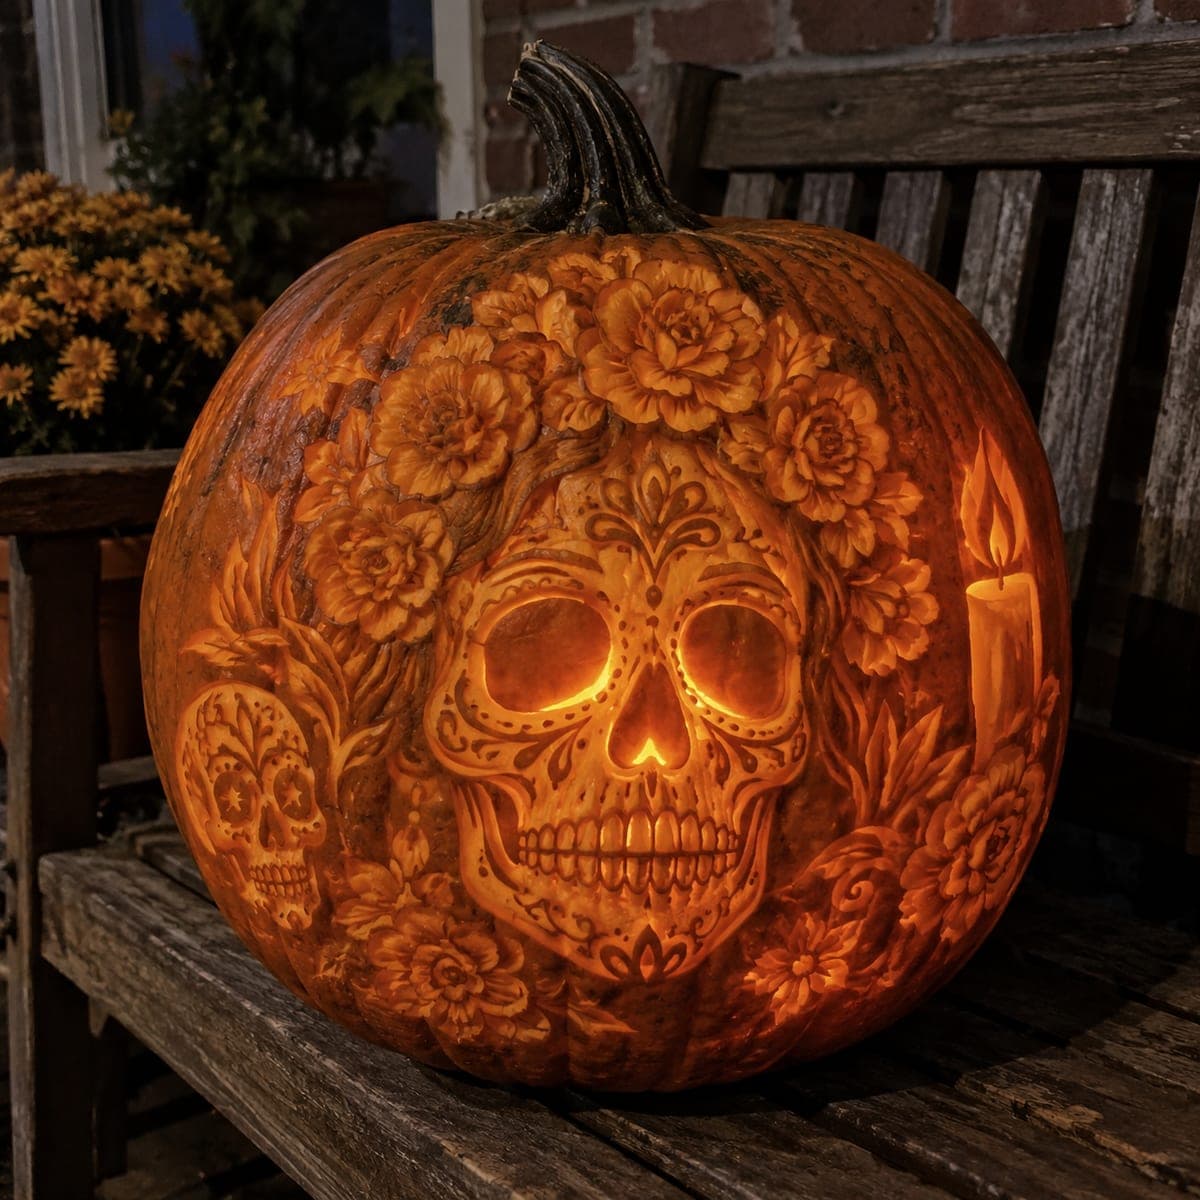
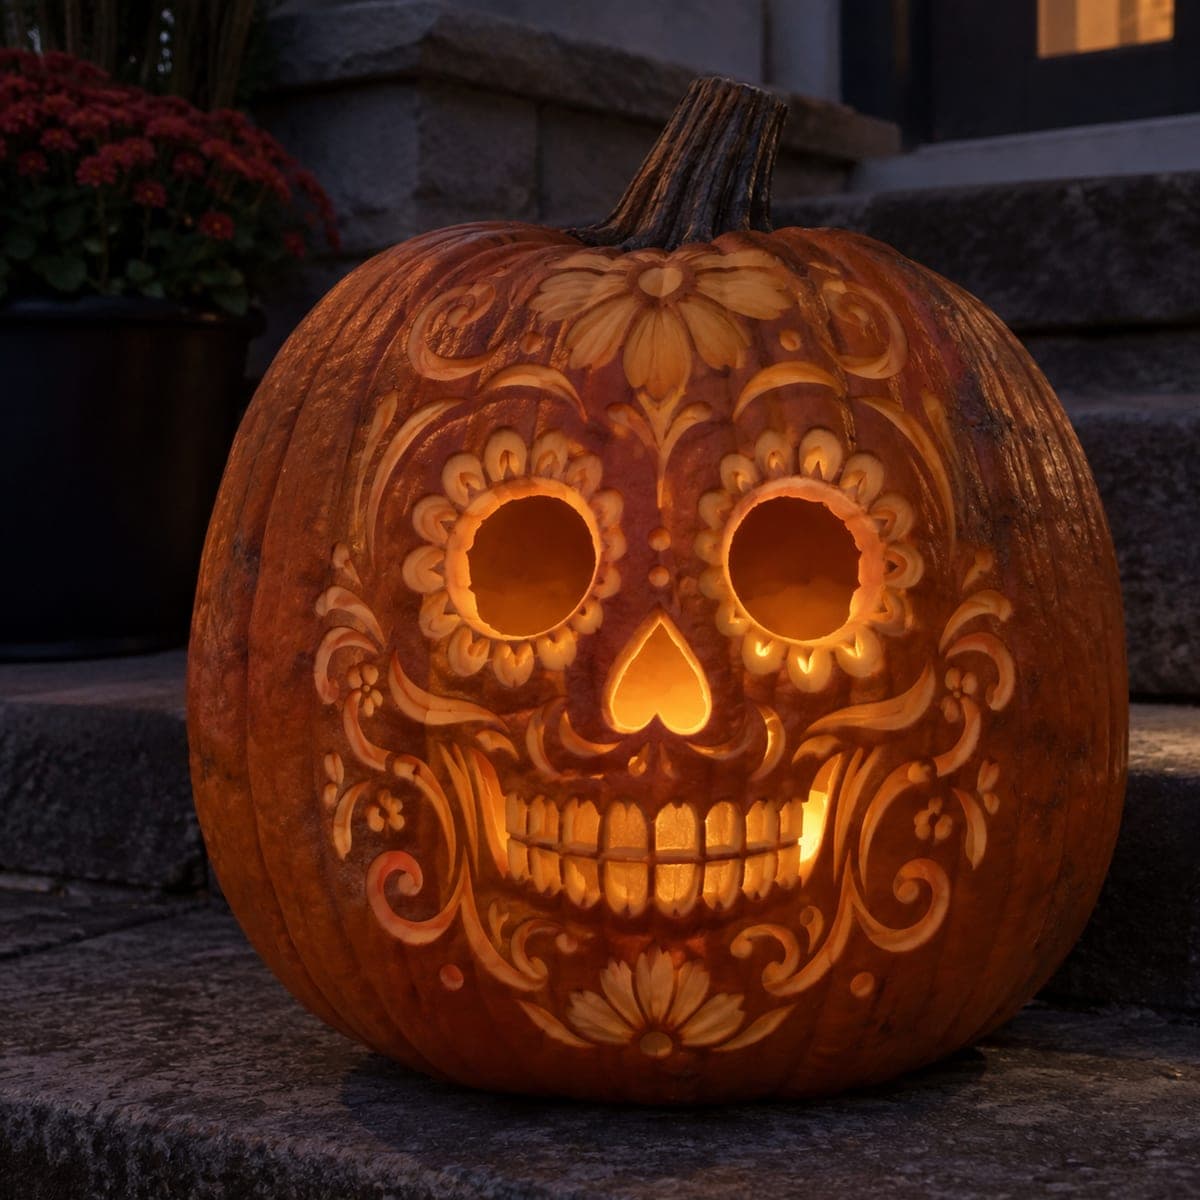
Sugar Skull Pumpkin With Ornate Floral EtchingAI
0

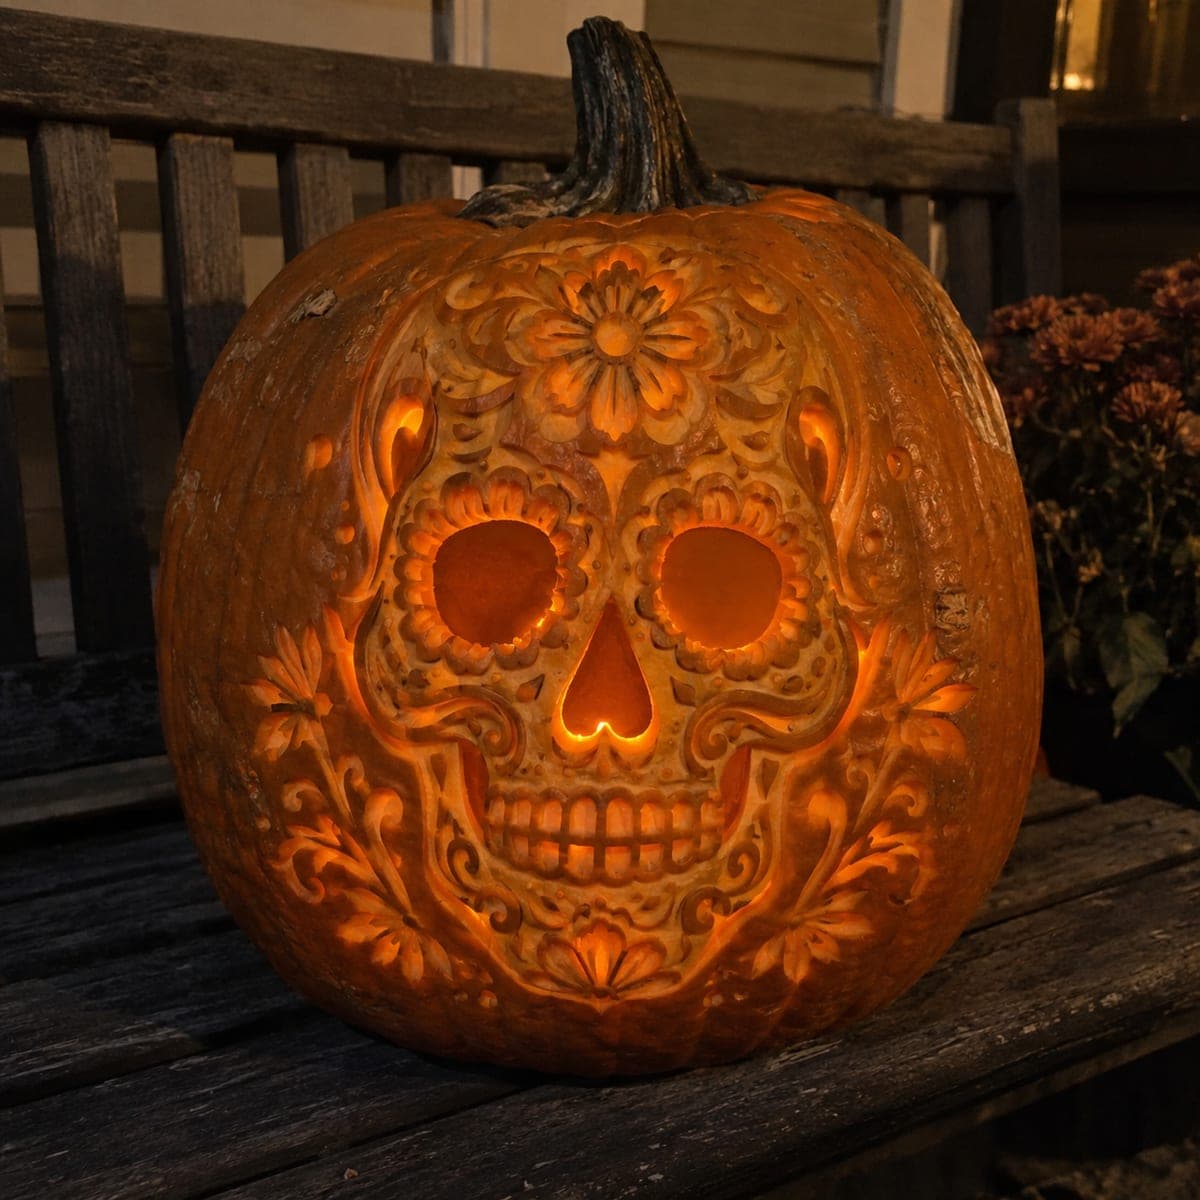
Sugar Skull Pumpkin With Ornate Floral Etching

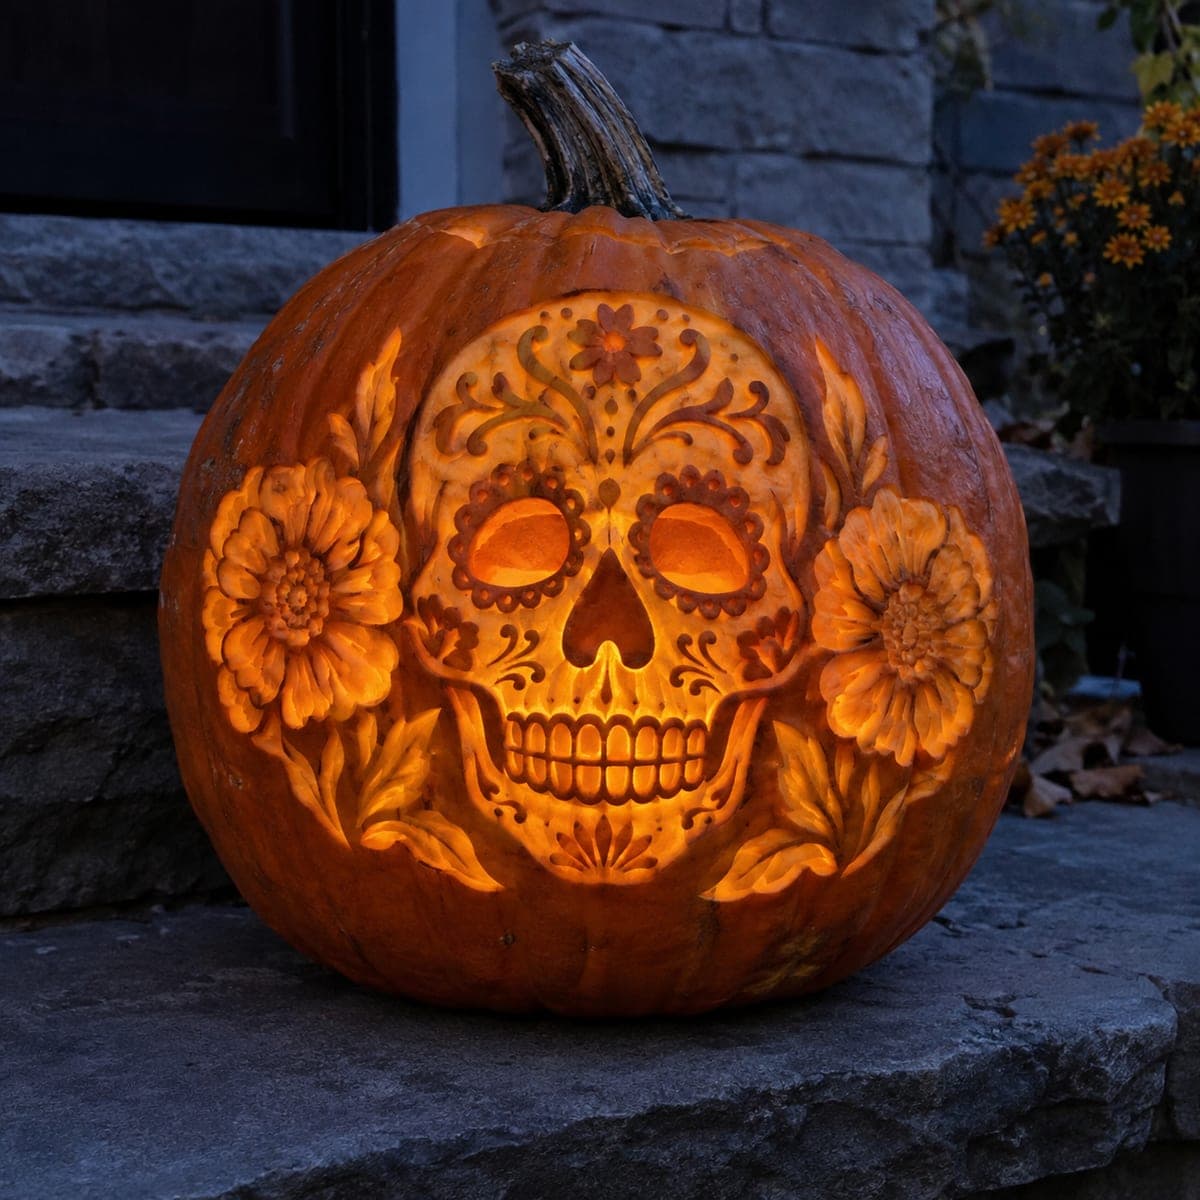
A Day of the Dead sugar skull surrounded by layered flowers and scrollwork, etched deep enough that the whole design glows warm orange at night. The eyes and nose are cut clean through while everything else is peeled to varying depths for that lacy, dimensional look. Transfer a printed sugar skull pattern with a pounce wheel first, cut the through-holes, then etch outward from the skull so you never crowd your knife hand.

This is an AI-generated concept image: a realistic, carvable design idea rather than a photo of a finished carve. AI concepts are always labeled and sit out the leaderboard and the contest.

No ratings yet · Sign in to rate
Comments (0)

  • No comments yet — be the first.

Save without an account. Sign in to like or comment.

Our tips for carving a similar design

The core trick here is depth control: only the eyes and nose are cut fully through, while the skull, flowers, and scrollwork are shaved to different depths so light bleeds through the thin skin. Work from the center out, cutting the big openings after the fine etching is done so you never lean on carved-away areas. Plan the whole layout before your knife touches the shell, because this design is all about clean, deliberate lines.

Written by PumpkinCarvingIdeas.com, inspired by the image above. These are our suggestions, not instructions from the uploader. This approach to the AI concept has not been tested on a real pumpkin.

From pumpkin to porch

  1. Pick a firm pumpkin and plan the layout

    Choose a large, evenly round pumpkin with a smooth front face and no soft spots. A wide, flat-ish front gives you room for the skull plus the floral border. Cut a lid from the bottom or the back rather than the top so the stem stays intact for looks. Scrape the inside wall behind the face down to about one inch thick so light passes through the etched areas.

  2. Transfer the pattern with a pounce wheel

    Print a sugar skull stencil sized to your pumpkin and tape it flat, clipping the edges so it hugs the curve. Run a pounce wheel or poke a fine awl along every line to leave dotted guides in the skin. Peel the paper and, if the dots are faint, connect them lightly with a washable marker. Take your time here, since accurate guides make the etching far easier.

  3. Cut the eyes and nose through first

    While the shell is still strong, cut the two eye sockets and the heart-shaped nose all the way through with a fine saw. These are your brightest points, so keep the edges crisp and slightly beveled outward. Cutting them early means you are not pressing on delicate etched skin later. Clean the inside edges so no ragged pulp blocks the glow.

  4. Etch the skull face at a mid depth

    Switch to a lino cutter or ribbon tool and shave away the top skin across the skull, the tooth row, and the eye and nose framing. Aim for a shallow, even peel that removes the orange rind but leaves plenty of flesh so it glows dim. Keep the tooth dividers and cheek scrolls as raised, uncut ridges so they read as lines. Vary your pressure to make the deepest peels a touch brighter.

  5. Work the flowers and scrollwork outward

    Move from the skull toward the border, etching the layered petals and curling scrolls at slightly shallower depths than the face. Leaving these shallower keeps the skull as the visual center. Carve outward so your knife hand always rests on uncarved skin, never on finished detail. Blow out debris often so you can judge each depth as you go.

  6. Light it and photograph at dusk

    Drop in one or two battery LED lights, warm white for that amber tone, and skip candles near all this thin skin. Set it on the porch at dusk and check that the eyes and nose read as the brightest spots. If any etched area looks dark, gently thin the flesh from inside behind it. Snap your photo while there is still a little blue in the sky for the best contrast.

Gather your supplies

Check things off as you get ready.

Work on a stable surface, keep your free hand out of the cutting path, and have an adult handle sharp tools.

Three levels of light

  • Leave intact

    The raised tooth dividers, cheek scroll ridges, and outer skin between petals stay dark for definition.

  • Peel & shade

    The skull face, petals, and scrollwork are shaved to varying depths for a soft lacy orange glow.

  • Cut through

    The two eye sockets and the heart-shaped nose are cut clean through for the brightest points.

Learn the carving basics

Before you start cutting

How thin should I make the wall behind the etched areas?

Aim for about one inch behind the face so the peeled skin glows without going dark. For the deepest etched spots you can thin the flesh a bit more from the inside if they look dull once lit. Test with your light before you commit to going thinner, since over-thinning weakens the shell.

This is a lot of detail. Where do I risk crowding my knife hand?

The danger zone is the floral border, where finished etching sits right next to fresh cuts. Always carve outward from the skull so your supporting hand rests on solid, uncarved skin. That keeps pressure off delicate work and keeps the blade moving away from your fingers.

Since this is a concept image, is a real pumpkin able to hold this look?

Yes, with realistic expectations. The eyes and nose as clean through-cuts and everything else as multi-depth etching is fully doable on a firm, fresh pumpkin. Keep the tooth dividers and scroll ridges as attached raised lines rather than thin free-standing pieces so nothing snaps.

Your take belongs here, too.

Changed a detail? Made it simpler? Share a photo of your version and tell the community what worked.

Share your pumpkin

More pumpkins like this

You've reached the end · 8 pumpkins
The Patch Report

Fresh pumpkins, in your inbox.

The best new carvings, ideas worth stealing, and how-tos for carving season. Short, seasonal, and gone by November.

A short email during carving season. Unsubscribe anytime. See our privacy policy.