Halloween Pumpkin Carving Contest · Starts October 1st · $500 in prizes
← Back to ideas
@ai_concepts
Aug 22, 2026
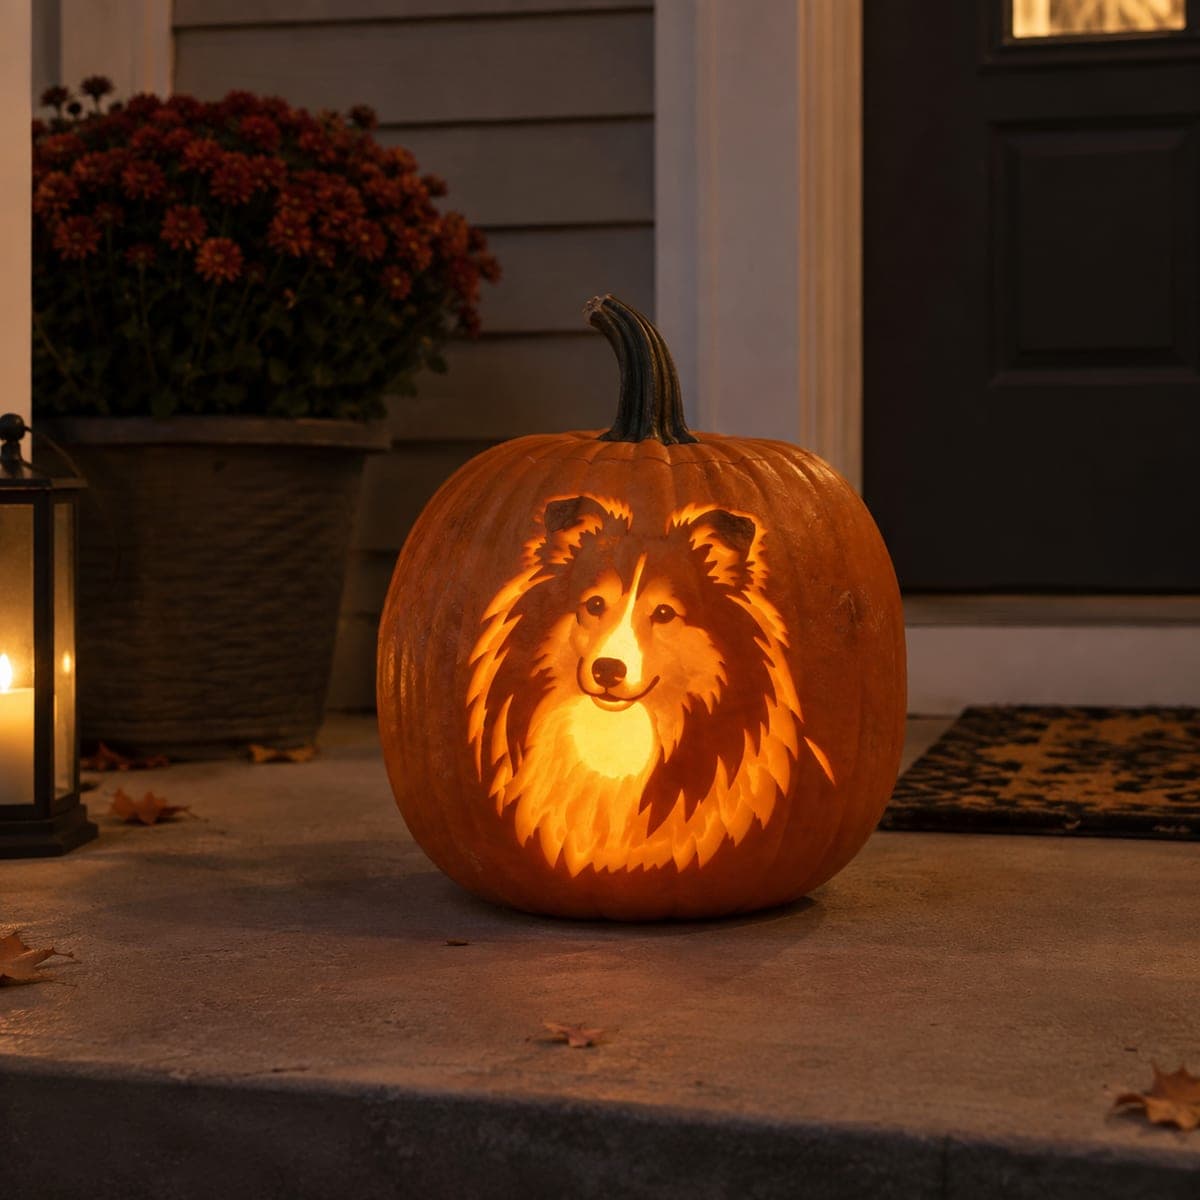
Sweet Sheltie Dog Face Carved PumpkinAI
0

Sweet Sheltie Dog Face Carved Pumpkin

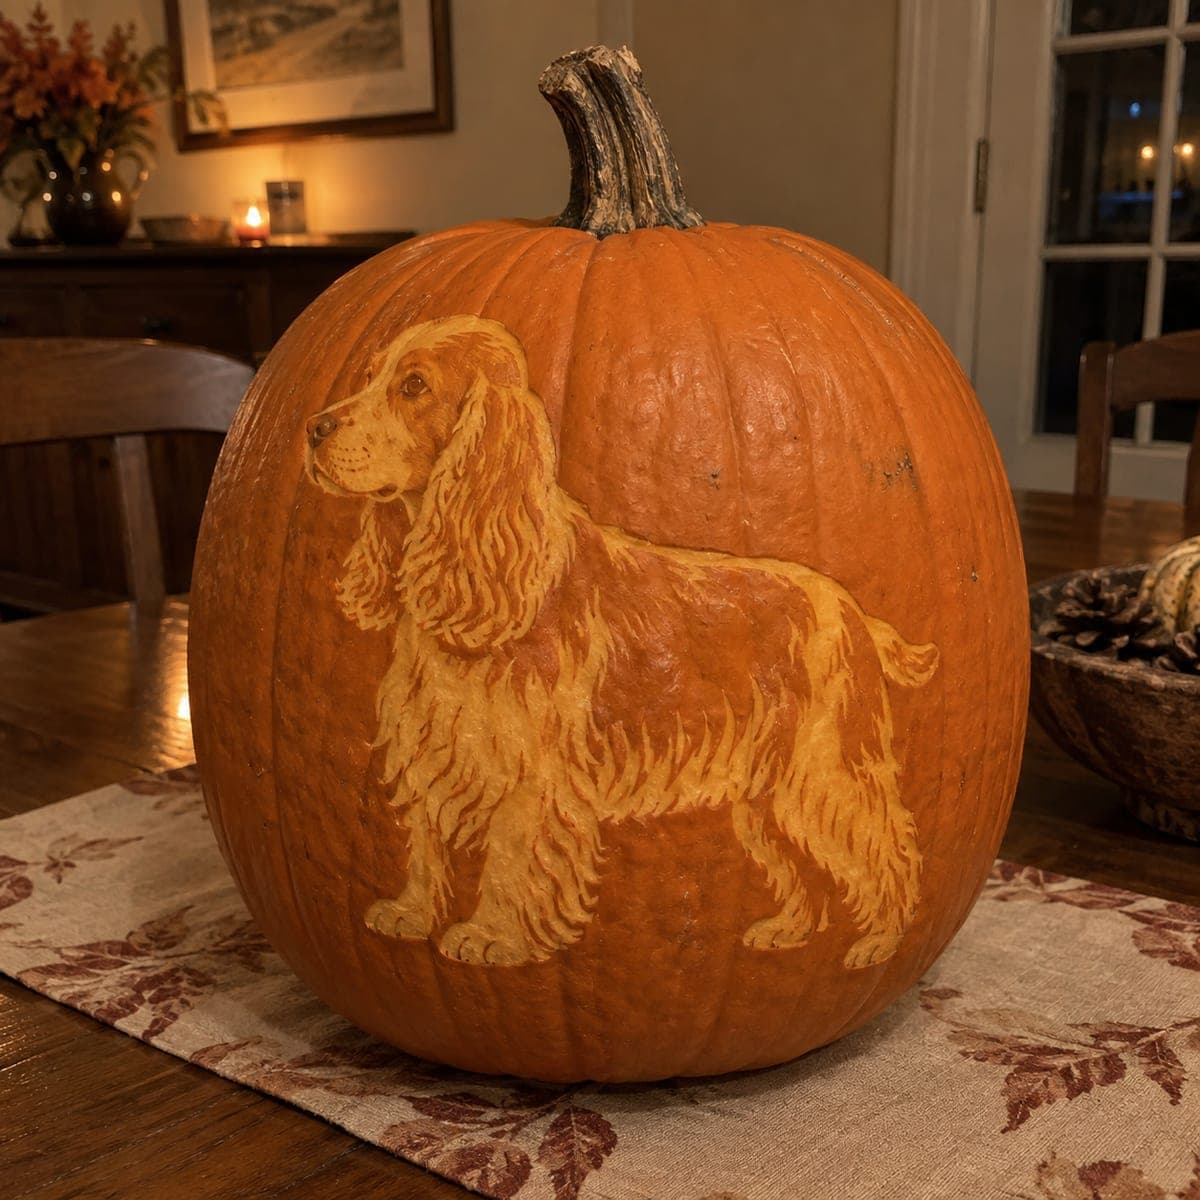
A sheltie's gentle face glows from this pumpkin, its long collie-style coat etched in radiating strands and its muzzle carved thin to burn brightest at the center. The layered depths give the fur a soft, brushed look once lit. Etch the face in stages from a reference photo, keeping the eyes dark and raised so they read against the glow, and photograph it at dusk for the best contrast.

This is an AI-generated concept image: a realistic, carvable design idea rather than a photo of a finished carve. AI concepts are always labeled and sit out the leaderboard and the contest.

No ratings yet · Sign in to rate
Comments (0)

  • No comments yet — be the first.

Save without an account. Sign in to like or comment.

Our tips for carving a similar design

The whole effect rests on shading depth rather than open cuts, so the fur reads as radiating strands of light instead of holes. Peel the skin at different depths to control brightness, carve the muzzle thinnest so it burns brightest, and leave the eyes as dark, slightly raised islands. Work in stages from a reference photo so the layers build up gradually.

Written by PumpkinCarvingIdeas.com, inspired by the image above. These are our suggestions, not instructions from the uploader. This approach to the AI concept has not been tested on a real pumpkin.

From pumpkin to porch

  1. Prep the pumpkin and pick your window

    Choose a tall pumpkin with a smooth, wide front face to hold all the fur detail. Cut a lid from the bottom or the back so the front stays uninterrupted, then scrape the inside wall down to about one inch thick where the face will sit. A thinner wall shades and cuts more evenly. Dry the interior with a paper towel before you transfer the pattern.

  2. Transfer the pattern

    Tape a sheltie or collie face stencil onto the front and poke through the outlines with a pin or dotting tool. Mark the eyes, muzzle, and the main direction of the fur strands so you know which way to carve. Peel away the paper and connect any faint dots with a washable marker. Keeping the reference photo nearby helps you place the layers correctly.

  3. Set the eyes and muzzle first

    The eyes should stay dark and slightly proud of the surface, so carve around them without peeling their surface, leaving raised islands that read against the glow. Reserve the pale blaze on the muzzle and the top of the nose as your brightest zones for later. Score the outline of the muzzle and cheeks cleanly with a fine detail knife. Locking these anchor features early keeps the rest of the face in proportion.

  4. Etch the fur in layers

    Using a lino or ribbon gouge, peel the skin in long strokes that radiate outward from the face, following your marked strand directions. Vary the depth: shallow peels for dim fur near the edges, deeper peels for the strands that should catch more light. Leave thin ridges of untouched skin between strokes so the fur keeps texture and structure. Work from the center outward and step back often to check the flow.

  5. Thin the muzzle and brightest highlights last

    Once the fur is shaded, gently shave the muzzle and the glowing chest area thinner from the inside so those spots burn brightest. Do not cut all the way through on a portrait like this; the effect comes from thin, glowing skin, not open holes. If you want a few true cutouts, keep them small and place them low where the wall is strongest. Save any large opening for the very end to avoid weakening the face.

  6. Light it and shoot at dusk

    Drop in a battery LED puck, warm white or amber, and avoid a candle so the thin muzzle does not scorch. Rotate the light until the center glow lands on the muzzle and chest. Photograph at dusk when there is still a little ambient light, which gives the dark eyes and fur contrast against the glow. Mist the surface lightly and refrigerate overnight to keep the fine detail fresh.

Gather your supplies

Check things off as you get ready.

Work on a stable surface, keep your free hand out of the cutting path, and have an adult handle sharp tools.

Three levels of light

  • Leave intact

    The eyes and the darkest outer fur tips stay as untouched skin so they read as shadow.

  • Peel & shade

    The layered coat gets skin-peeled at varying depths for the soft, brushed mid glow.

  • Cut through

    Reserve full cutouts for a few small low accents only, keeping the portrait mostly shaded.

Learn the carving basics

Before you start cutting

How do I keep the muzzle from breaking if it is the thinnest part?

Thin it from the inside gradually and stop while there is still a solid skin layer holding light, never all the way through. Leave the surrounding fur ridges thicker so they brace the delicate center. If it feels flexible, you have gone far enough.

Why keep the eyes raised and dark instead of cutting them out?

Dark, slightly raised eyes read as pupils against the surrounding glow, which is what makes the face look alive. Cutting them open would blow them out with light and lose the gentle expression. Just carve around them and leave the surface intact.

This is a concept image, so can a real pumpkin actually look like this?

Yes, a shaded fur portrait like this is achievable with patient gouge work on a thin-walled pumpkin. The key is treating it as an etching in layers of light rather than a cutout design. Expect a real one to glow a little softer, which suits the brushed coat.

Your take belongs here, too.

Changed a detail? Made it simpler? Share a photo of your version and tell the community what worked.

Share your pumpkin

More pumpkins like this

You've reached the end · 8 pumpkins
The Patch Report

Fresh pumpkins, in your inbox.

The best new carvings, ideas worth stealing, and how-tos for carving season. Short, seasonal, and gone by November.

A short email during carving season. Unsubscribe anytime. See our privacy policy.