@veiledvine
Sep 5, 2026
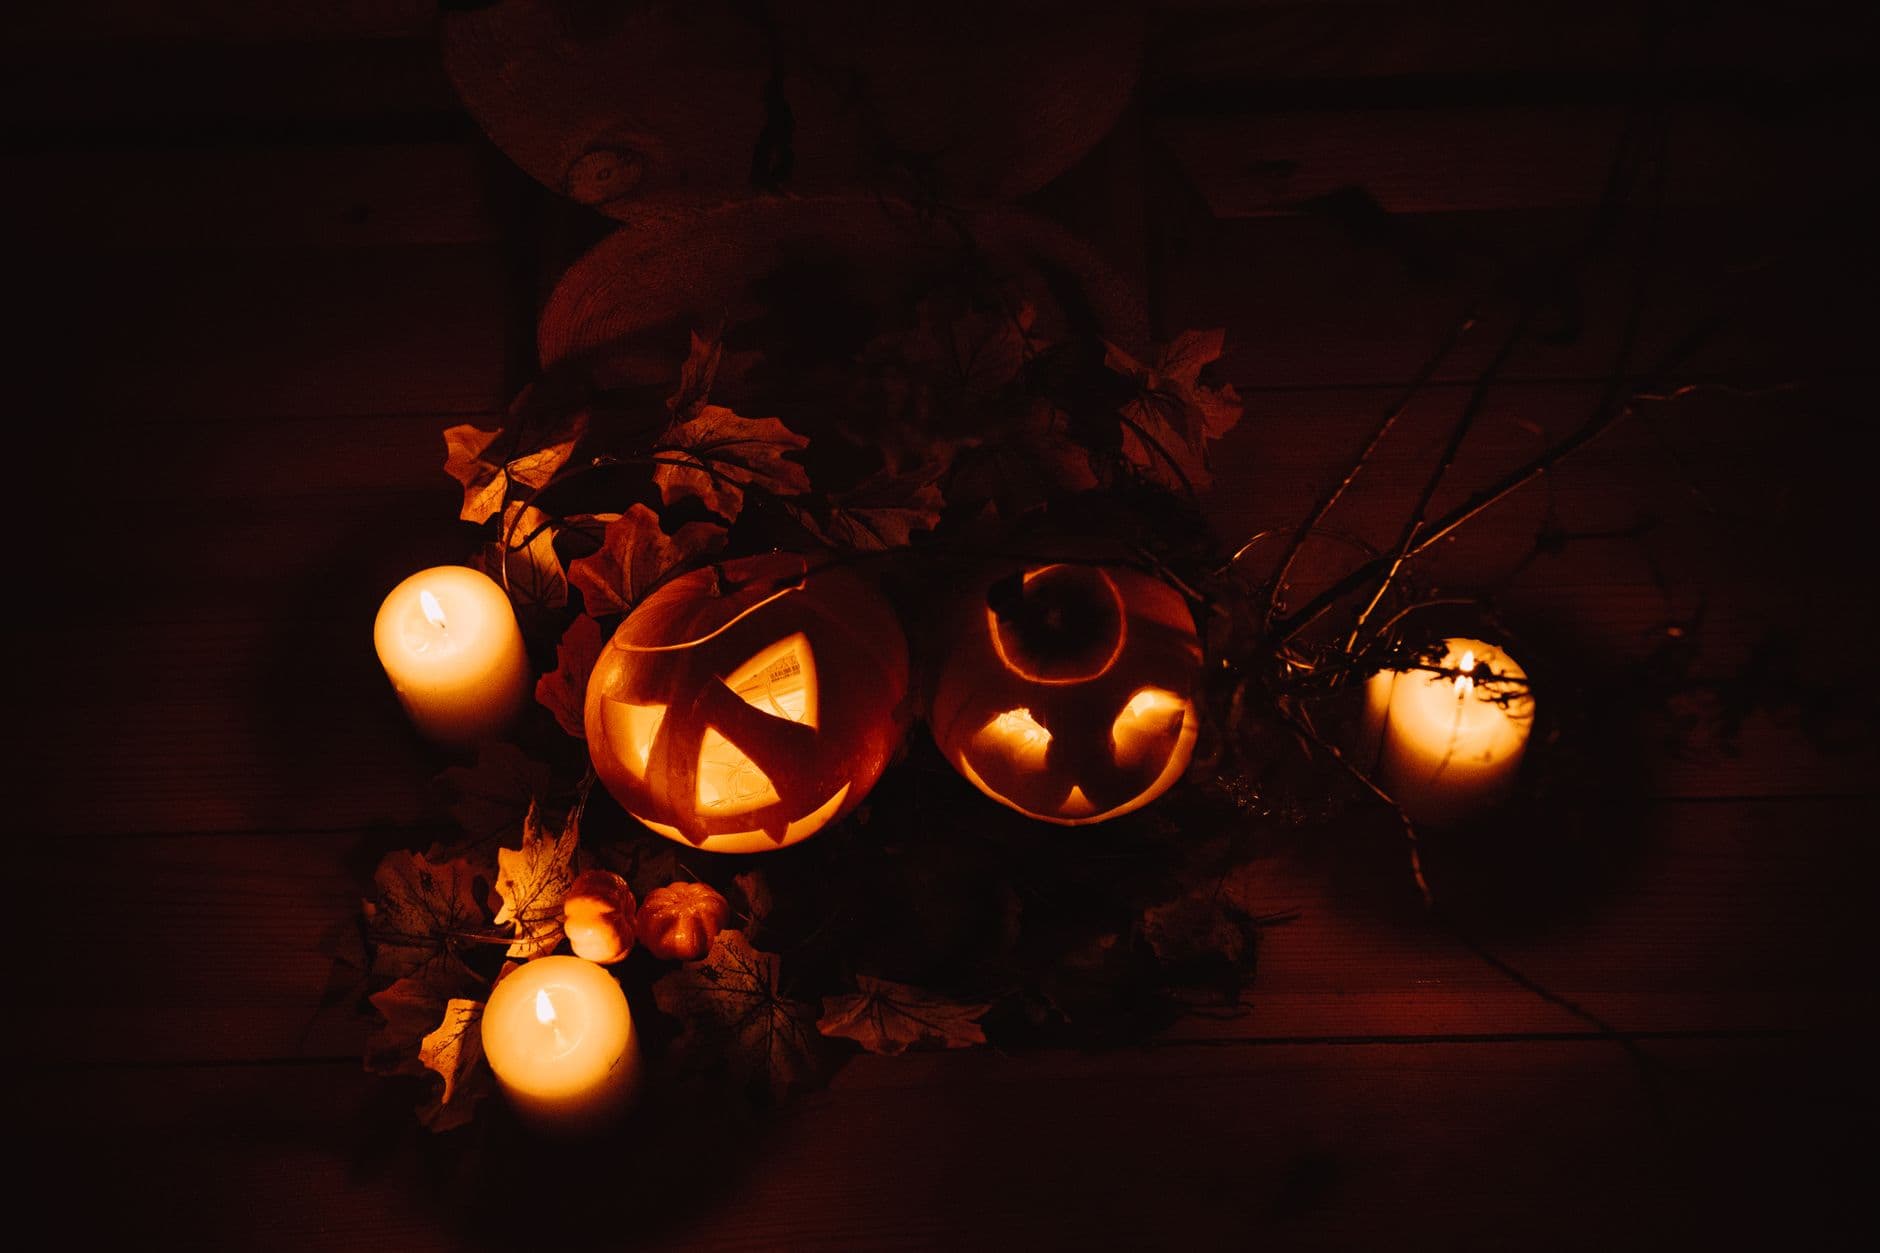
Tabletop coven
Two lanterns seen from above, one cut with a flying bat, ringed by pillar candles, leaves, and tiny gourds.
No ratings yet · Sign in to rate
Two lanterns seen from above, one cut with a flying bat, ringed by pillar candles, leaves, and tiny gourds.
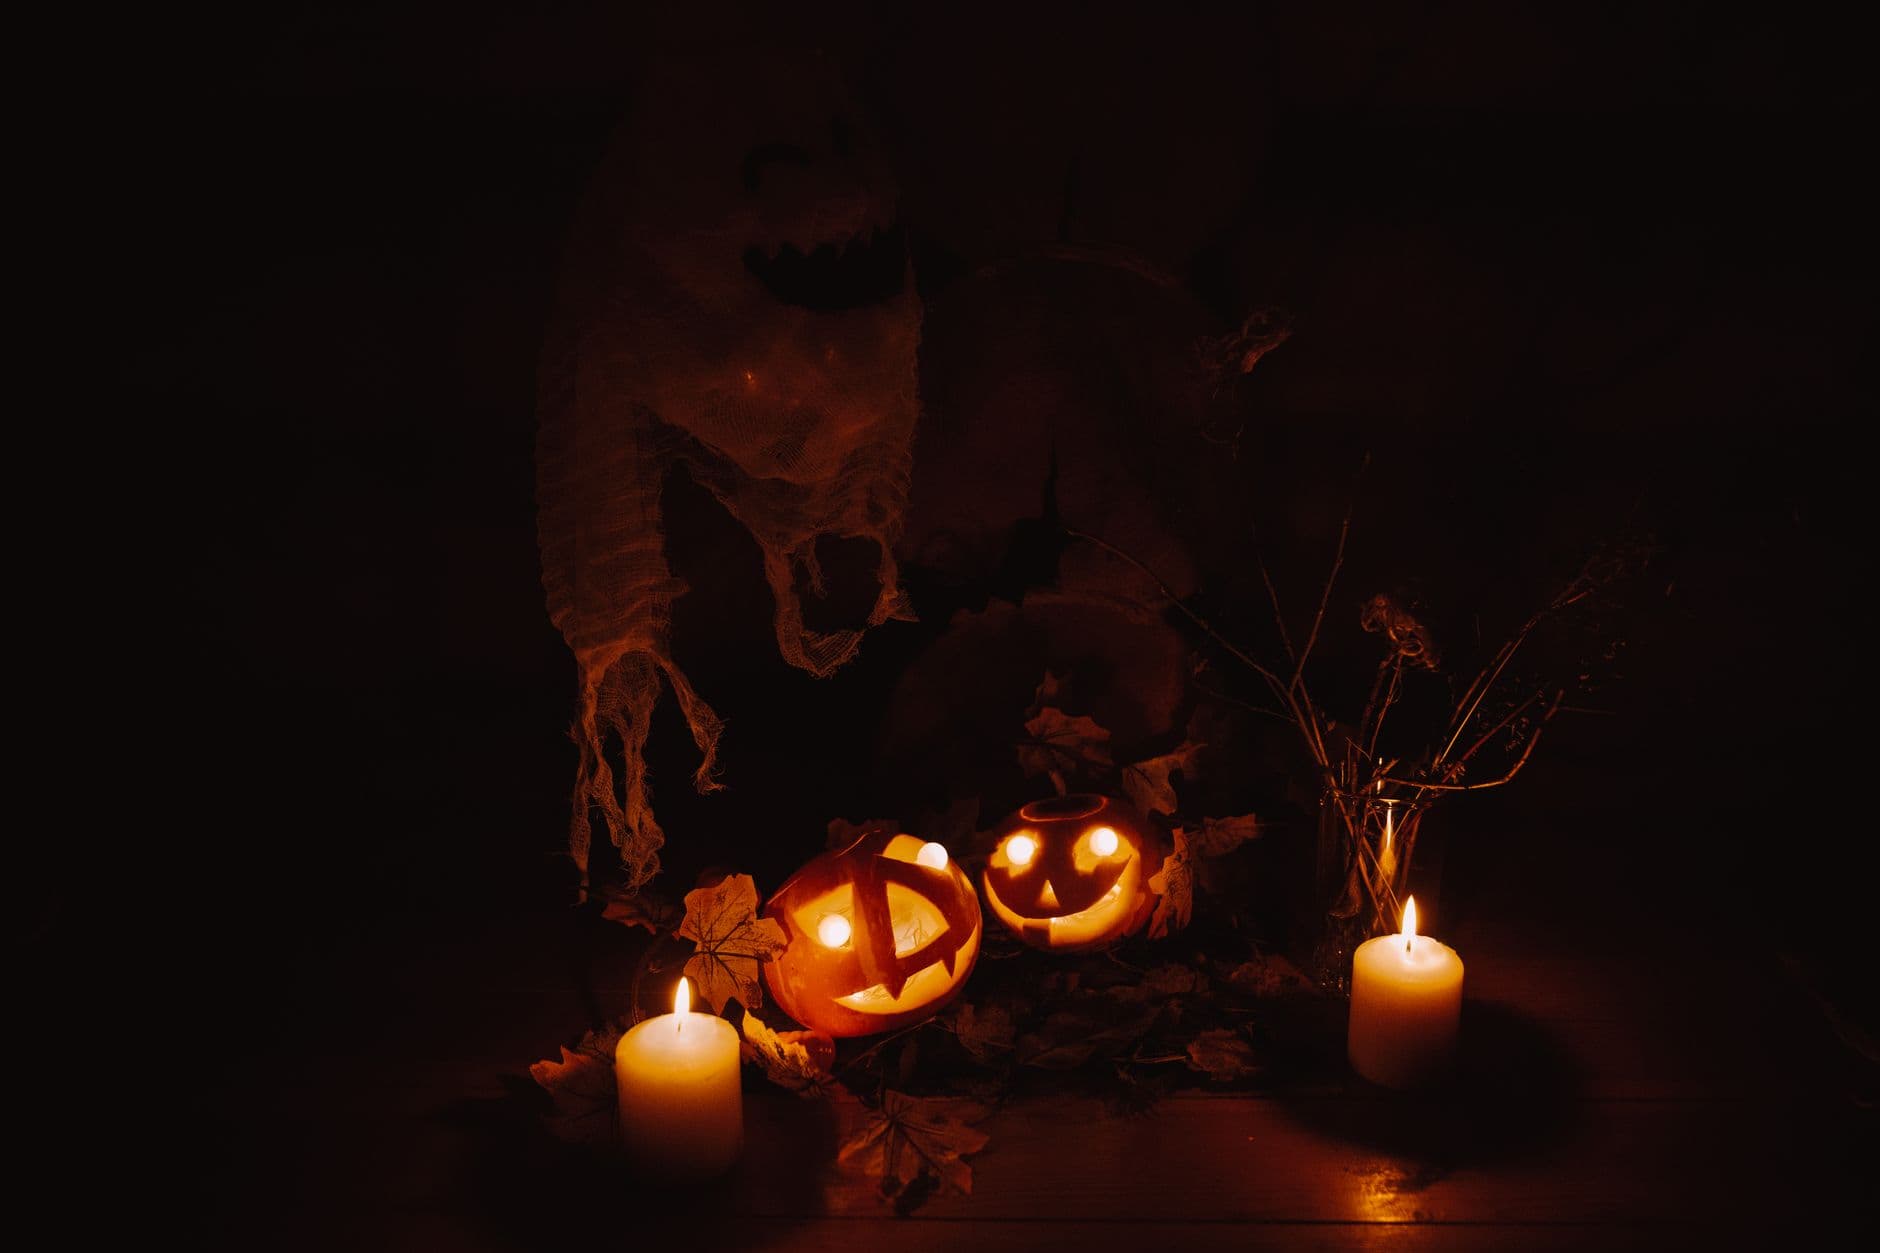
The core trick here is pairing two simple faces, a classic toothy grin and a single flying bat, then letting a ring of light and props do the atmosphere work. Keep both faces clean cutouts so they read from above, and plan the bat as one connected silhouette so no thin wing tips snap off. The scene itself, leaves and tiny gourds around glowing pumpkins, is where most of the mood comes from.
Written by PumpkinCarvingIdeas.com, inspired by @veiledvine's photo above. These are our suggestions, not instructions from the uploader, and this approach hasn't been tested on their exact carve.
Choose two pumpkins with flat sides and similar height so they sit level side by side. Have an adult cut a lid on the back or bottom of each, angling the knife inward so the lid does not fall through. Scoop out the seeds and scrape the front wall down to about one inch thick. A thinner wall is much easier to cut clean shapes through.
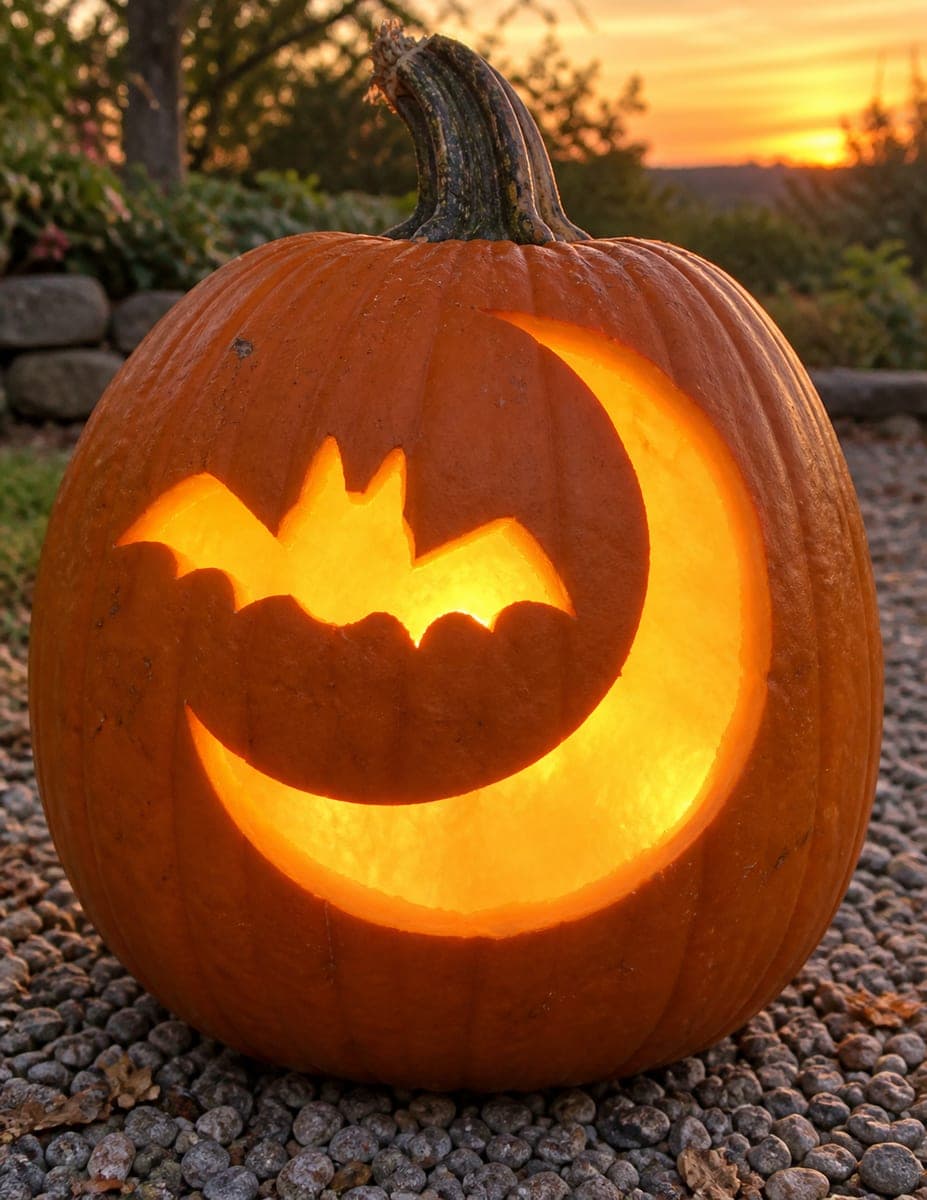
Tape a classic triangle-eyes-and-grin stencil to one pumpkin and a single bat stencil to the other. Poke the outlines with a pin or a transfer wheel, spacing dots close together on curves. Peel the paper and connect the dots lightly with a marker if it helps you see the shapes. Keep the bat as one solid body-and-wings silhouette rather than separate floating pieces.
Using a fine detail saw, cut the eyes and the individual teeth on the face pumpkin before the mouth, working from the center outward. On the bat pumpkin, start at the tight inner curves between the wings and the body. Saw with gentle straight strokes and let the blade do the work instead of forcing it. Removing small pieces first keeps the pumpkin wall strong while you cut the larger openings.
Now open up the wide grin and the full bat body last, when the smaller cuts are already done. Push each piece out from the inside with a fingertip so the front stays smooth. Trim any ragged edges with a paring knife held at a slight bevel angle toward the inside, which lets more light spill out. Check that the bat wings still connect firmly to the body at every point.
Set a battery LED tea light or a small puck light inside each pumpkin, never a real flame inside the carving. Test the glow in a dark room and rotate the lights until the faces read evenly. If one side looks dim, add a second LED or line the inside wall with foil to bounce light. Warm-white flicker LEDs give the closest look to candlelight.
Arrange the two lanterns close together on a wood surface and ring them with fall leaves, small gourds, and bare twigs. Place real pillar candles only off to the sides on stable holders, well clear of anything that can catch, and keep them supervised. Dim the room, then shoot straight down from above so both faces and the props fill the frame. A phone on a small tripod with a two second timer keeps the low-light photo sharp.
Check things off as you get ready.
Work on a stable surface, keep your free hand out of the cutting path, and have an adult handle sharp tools.
The uncarved pumpkin skin and the surrounding wood, leaves, and gourds stay dark to frame the glow.
Optional thin shading around the eyes or bat wings, skin-peeled for a dim orange halo.
The triangle eyes, toothy grin, and the full bat silhouette are cut through for the brightest light.
Design the bat as one connected shape where the wings meet the body, rather than thin separate tips floating on their own. Cut the tight inner curves first while the rest of the pumpkin wall supports them. Thinning the front wall to about an inch also makes clean cuts easier so you are not tearing the shape.
Contrast reads best in a scene like this. Pair a busy classic face with the simpler single bat so your eye has somewhere to rest. Keeping them close in size and height helps them feel like a matched set even with different designs.
Keep real flames outside the pumpkins, set in stable holders off to the sides and never left unattended. Inside each carving, use battery LED lights so the pumpkin walls do not scorch or dry out fast. Warm flicker LEDs mimic candlelight closely for photos.
Changed a detail? Made it simpler? Share a photo of your version and tell the community what worked.
The best new carvings, ideas worth stealing, and how-tos for carving season. Short, seasonal, and gone by November.

Comments (0)