@jackslantern
Sep 5, 2026

The choir
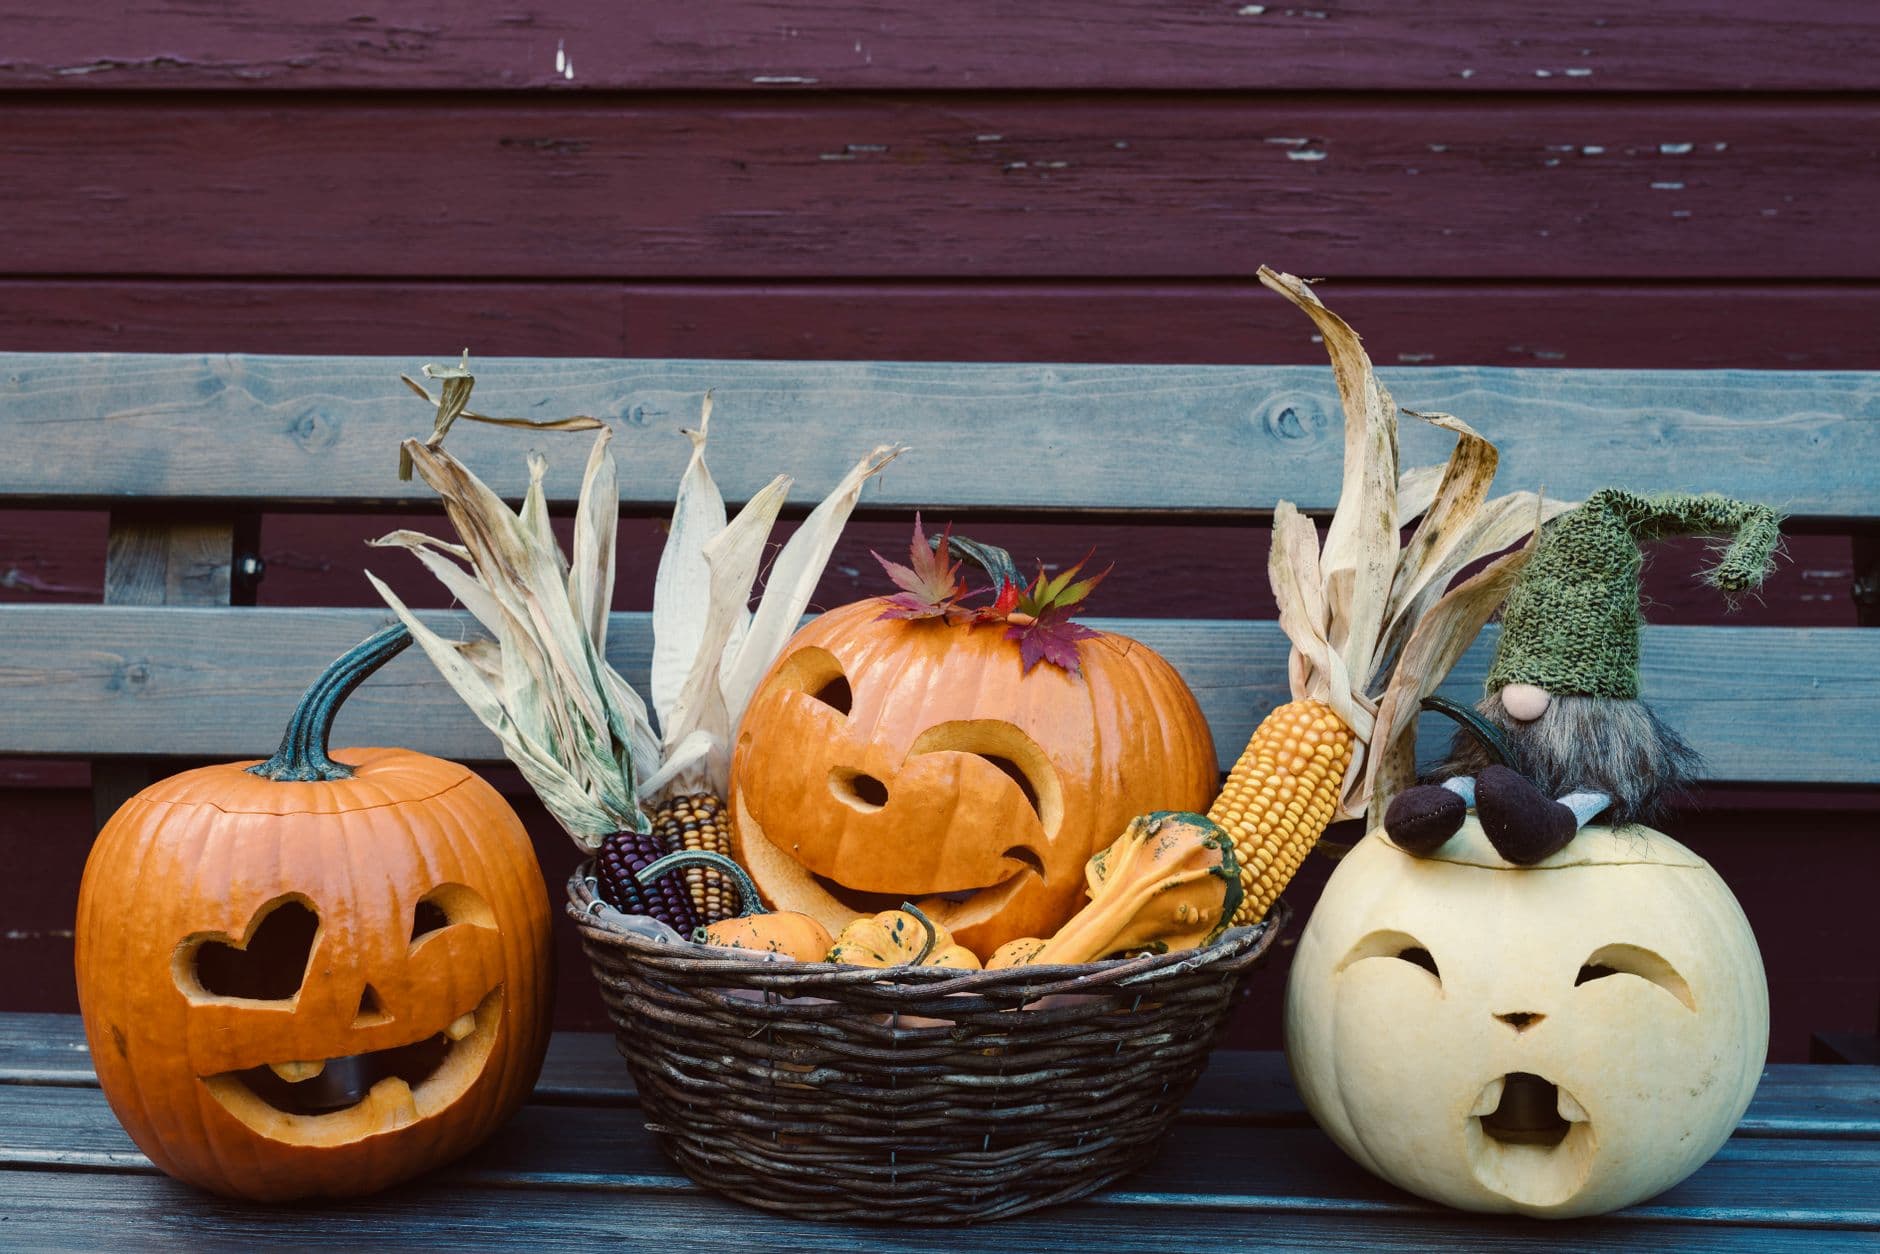
Three voices, one song: a leaf-haired smiler, a white pumpkin mid-note, and a heart-eyed winker on the picnic table at sundown.
No ratings yet · Sign in to rate
Three voices, one song: a leaf-haired smiler, a white pumpkin mid-note, and a heart-eyed winker on the picnic table at sundown.
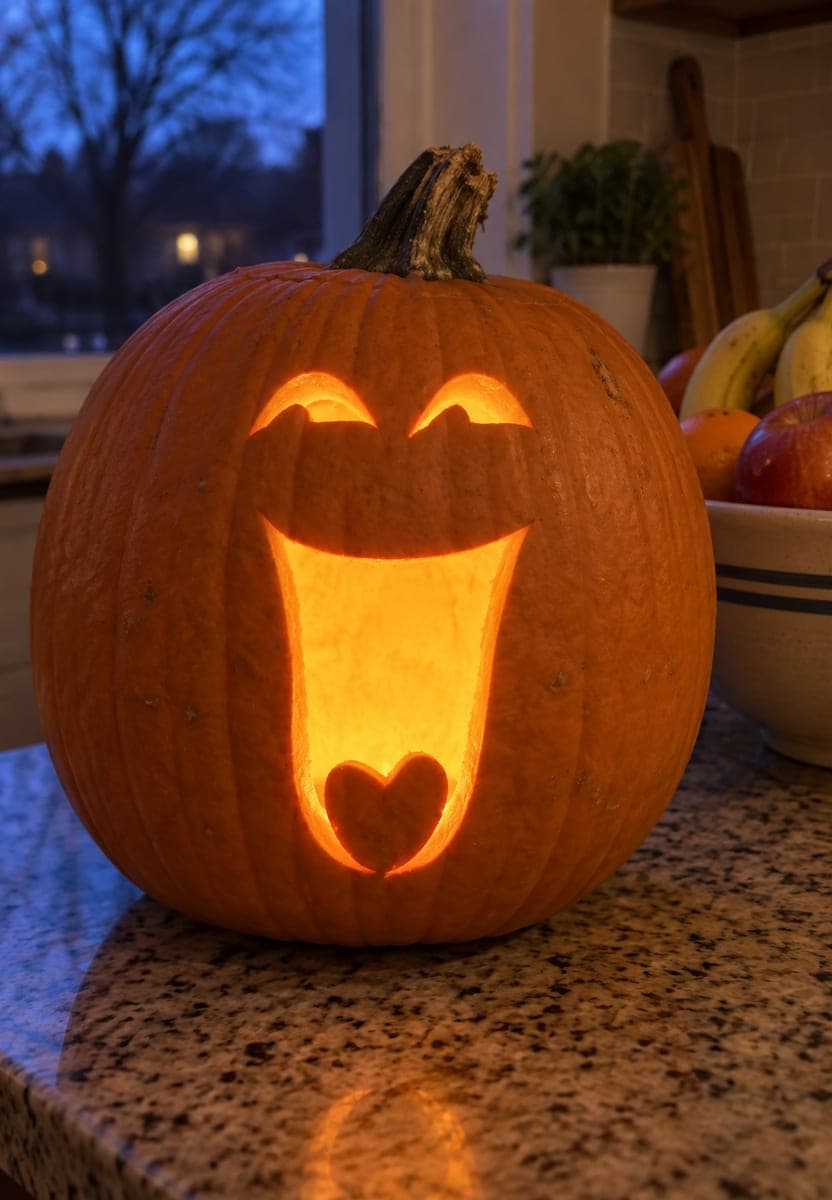
The core trick here is expression through simple curved cutouts: heart eyes, half-moon smiles, and a wink give each pumpkin its own personality while the shapes stay easy to cut. Plan the trio as a set so their faces read together, and pick one lighter or white pumpkin in the middle for contrast. Keep the mouths as the big openings and save them for last so the walls stay strong while you work.
Written by PumpkinCarvingIdeas.com, inspired by @jackslantern's photo above. These are our suggestions, not instructions from the uploader, and this approach hasn't been tested on their exact carve.
Choose three pumpkins of slightly different sizes and colors, including one pale or white gourd for the center. Cut a lid or a bottom opening on each and scoop the insides until the front wall is about one inch thick. A thinner wall is far easier to cut clean curves through. Wipe the faces dry so your pattern lines stay put.
Sketch each face with a washable marker before cutting anything. Give the left pumpkin big curved eyes and a wide grin, the center one happy squinting eyes and a small round singing mouth, and the right one a heart eye plus a winking curved eye. Keep the little nose triangles small and centered. Step back and check that the three faces feel like they belong together.
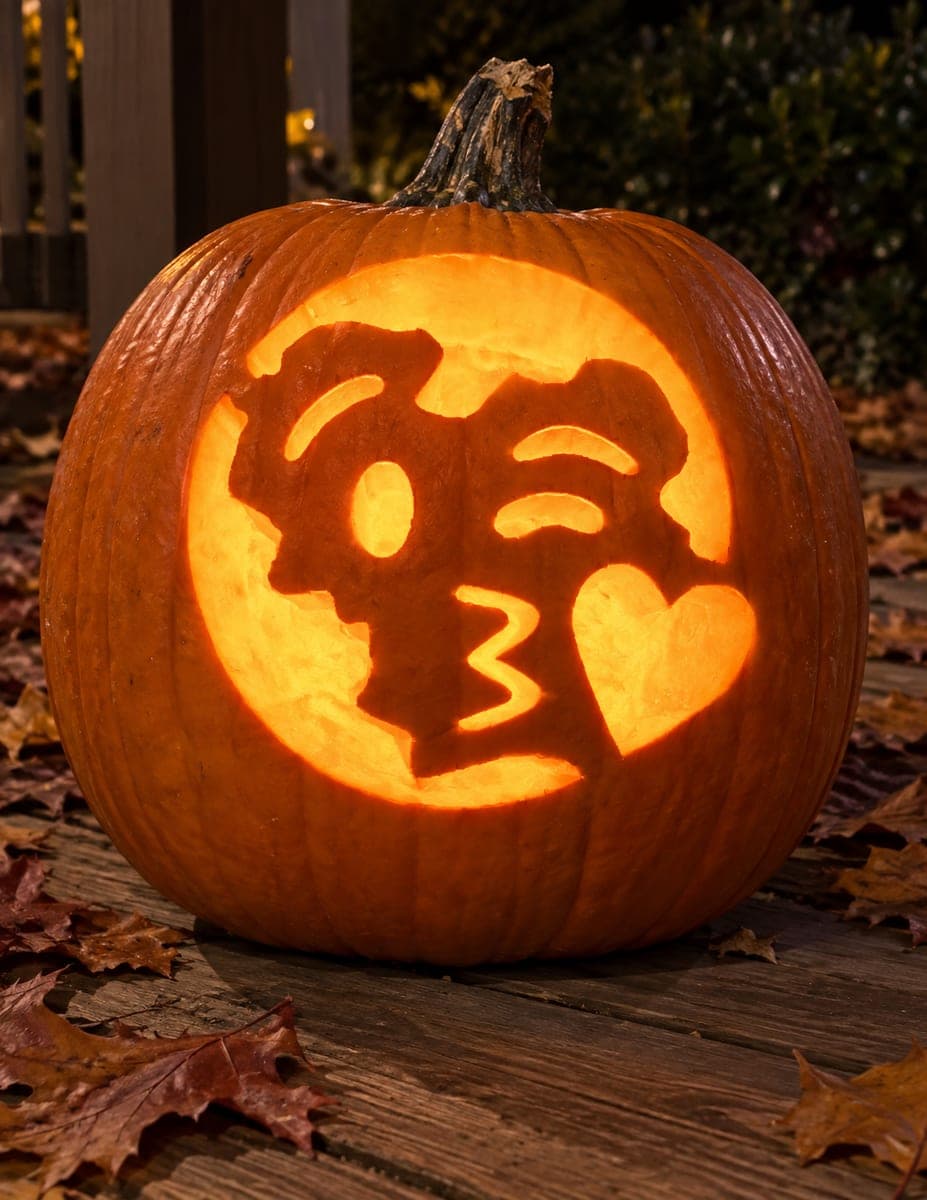
An adult should handle all the sharp tools. Start with the smaller shapes, the eyes and noses, using a fine detail saw and gentle sawing motion rather than force. Cut the heart eye as two curved strokes meeting at a point so it holds its shape. Push the cut pieces out from inside to avoid cracking the front edge.
The mouths are the largest openings, so save them for the end when the rest of the face is done. Cut slowly along your smile lines and remove the piece in one steady motion. If a mouth is wide, leave a small uncut bridge of skin in the middle at first, then trim it once the surrounding cuts are stable. This keeps the face from sagging while you work.
For the smiler on the left, tuck a few real autumn leaves around the stem for hair, or trim faux leaves and press their stems into the top. This is a no-cut way to add character. Skip glue so you can swap leaves as they wilt. A short sprig of maple reads best against the pumpkin skin.
Drop a battery LED tea light into each pumpkin, never a real flame, especially with leaves nearby. Line the trio up on a picnic table or step with a little space between them so each glow stays distinct. Shoot at sundown when the low light warms the skin and the cutouts pop. A slightly darker background makes the faces glow brighter.
Check things off as you get ready.
Work on a stable surface, keep your free hand out of the cutting path, and have an adult handle sharp tools.
The uncarved pumpkin skin across the cheeks and the top of each pumpkin stays dark, framing the faces.
Shave a thin skin layer around a mouth or eye edge if you want a soft dim halo without a full opening.
The eyes, noses, and smiling mouths are cut clear through for the brightest glow on each face.
No, but the pale center pumpkin gives the trio a nice contrast and reads clearly in photos. A white gourd glows a softer, cooler tone than an orange one. If you cannot find one, a light tan or a smaller orange pumpkin still works fine.
Cut the heart as two curved strokes that meet cleanly at the bottom point rather than one continuous stab. Work from the outside edges inward and push the piece out gently from behind. Keeping the front wall around one inch thick also makes crisp curves much easier.
Only if you use a real candle, so stick with battery LED tea lights. LEDs stay cool and let you decorate freely with dry leaves around the stem. Refresh the leaves every day or two since real ones curl and fade quickly.
Changed a detail? Made it simpler? Share a photo of your version and tell the community what worked.
The best new carvings, ideas worth stealing, and how-tos for carving season. Short, seasonal, and gone by November.



Comments (0)