Halloween Pumpkin Carving Contest · Starts October 1st · $500 in prizes
← Back to ideas
@ai_concepts
Sep 25, 2026
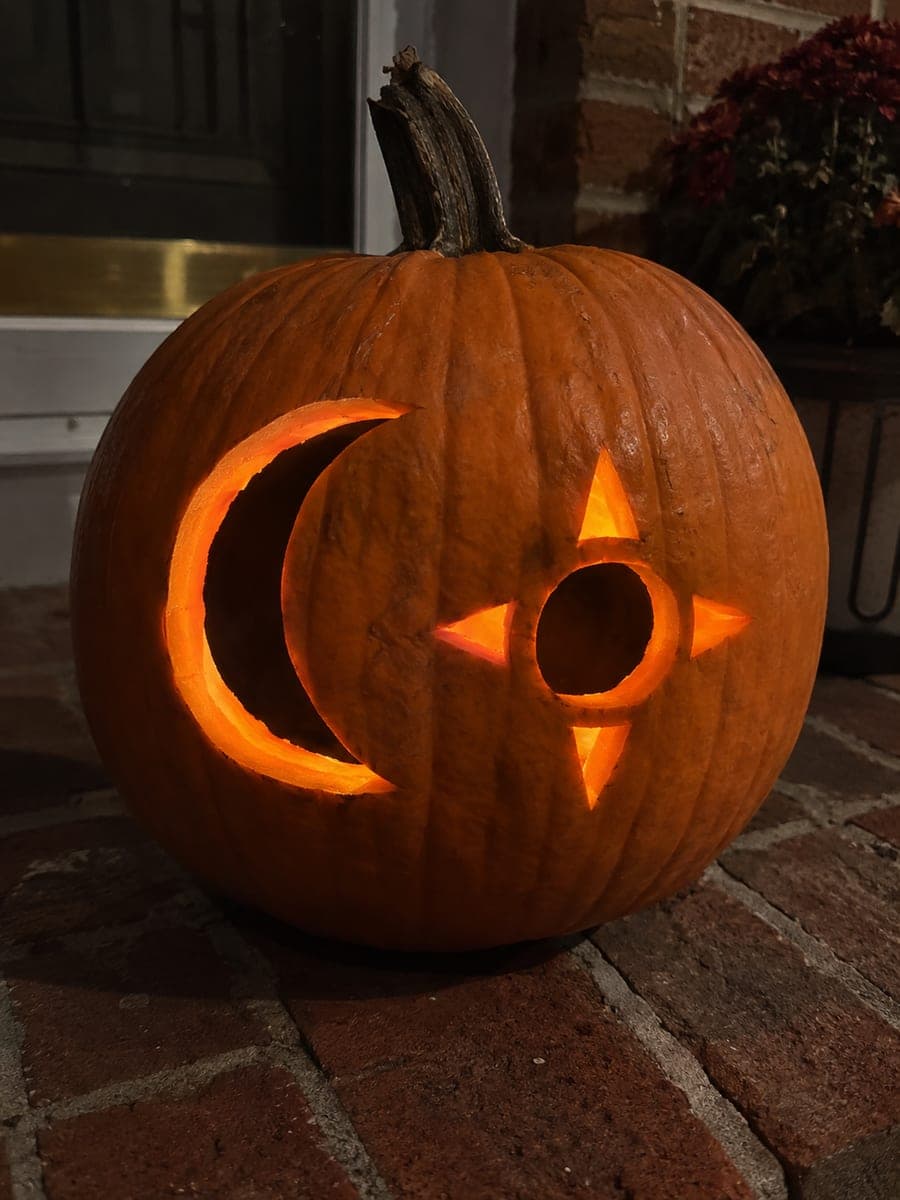
Three Crescent Moons Carved Pumpkin Glowing at DuskAI
0

Report this carving

Tell us what is wrong. Reports are private.

Three Crescent Moons Carved Pumpkin Glowing at Dusk

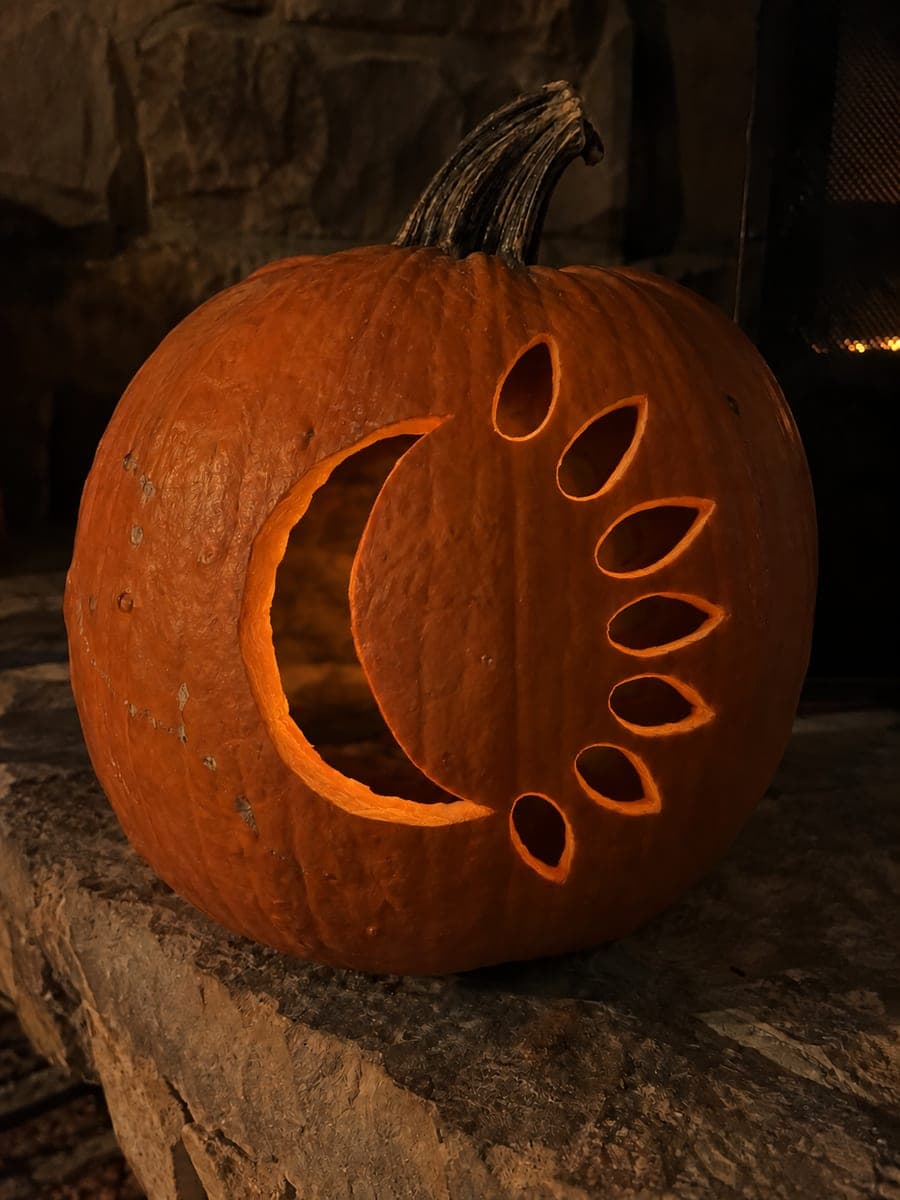
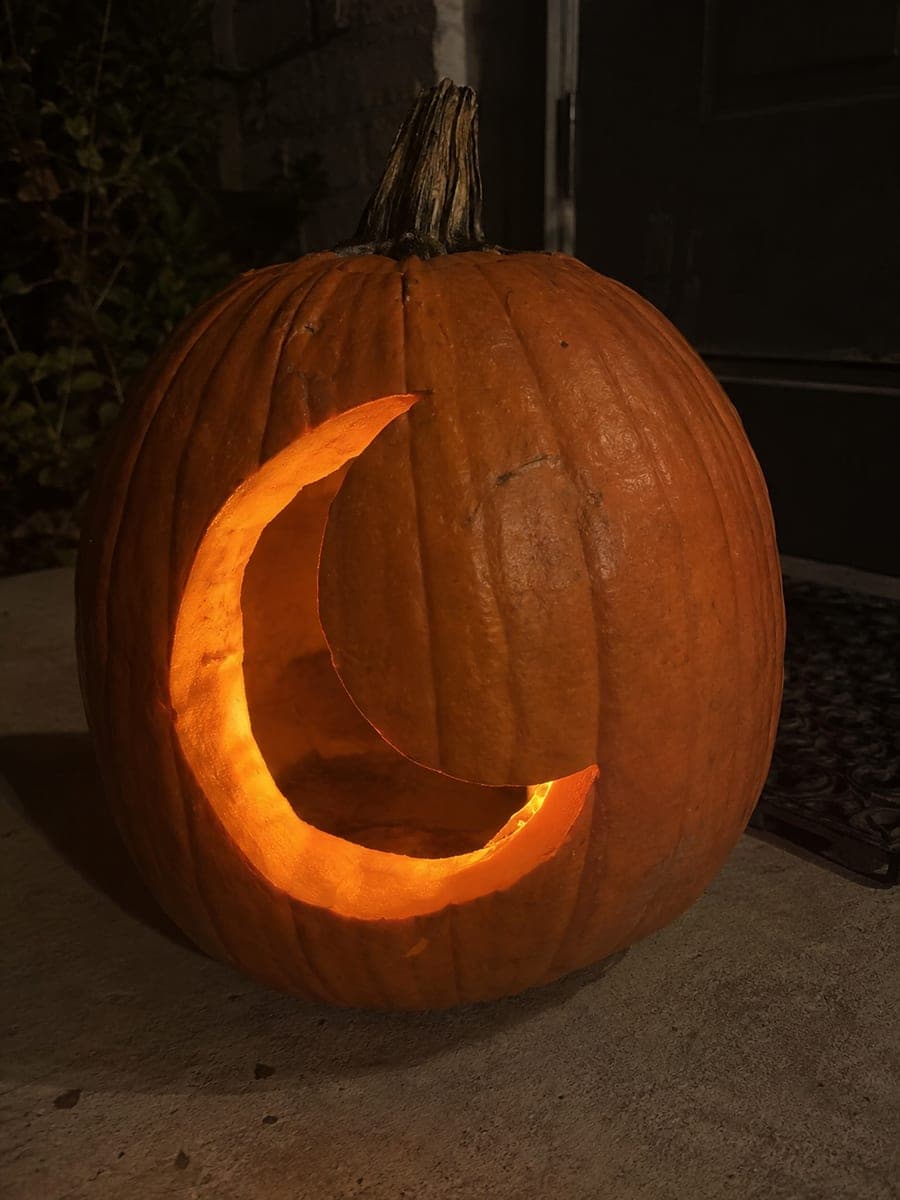
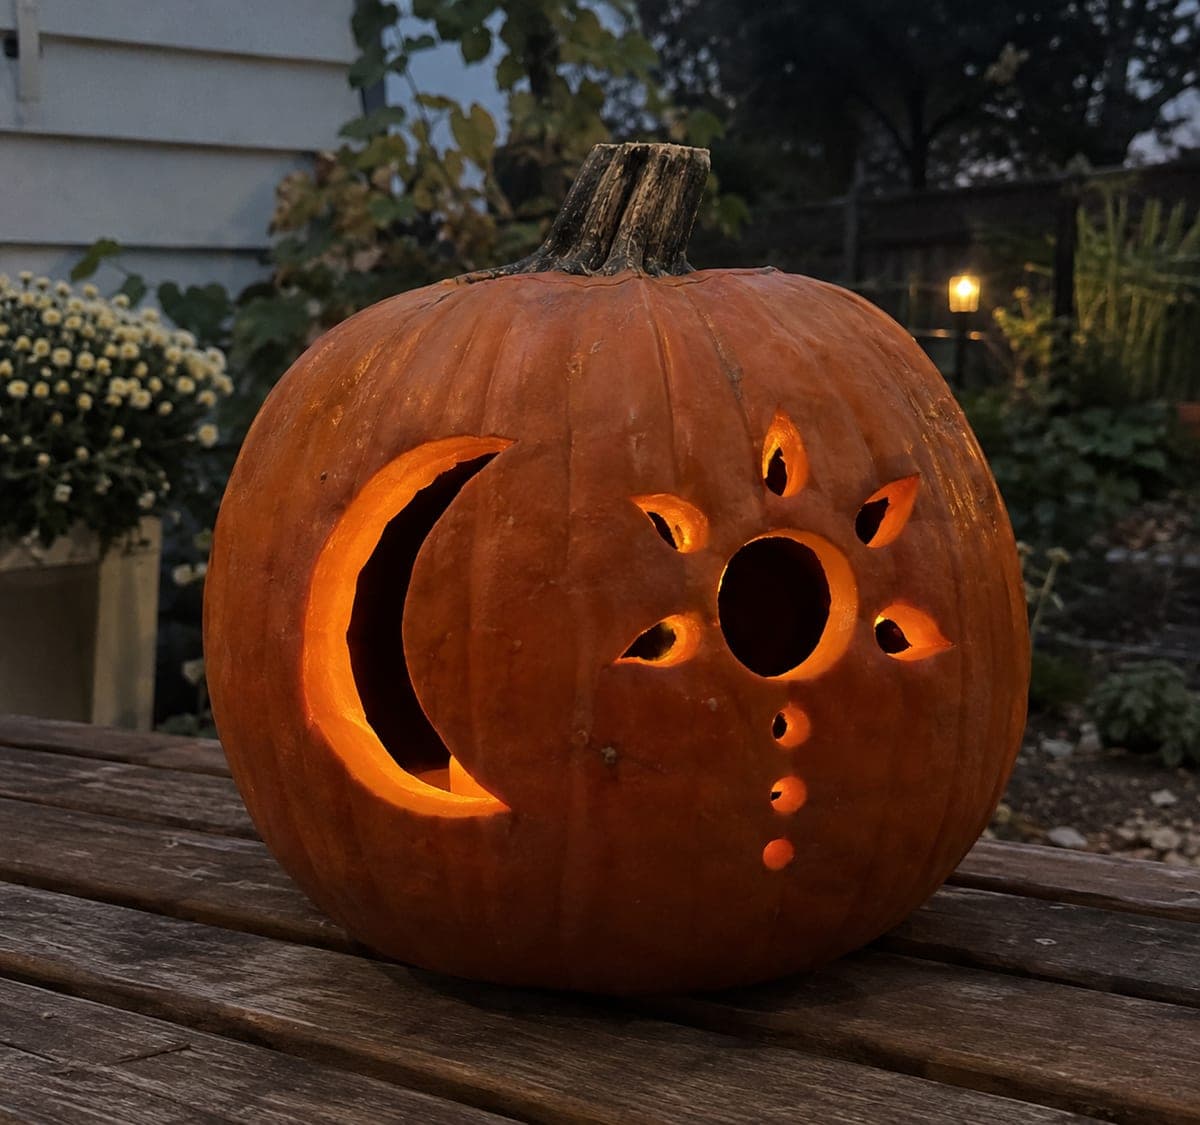
Three stacked crescent moon cutouts and small circle accents glow softly on this medium crescent moon pumpkin carving, photographed at twilight. Space the crescents and circle holes with broad rind between each pair to keep the shell from flexing. Cut the largest crescent first, then size the remaining two to maintain visual balance. Angling all three crescents in the same rotational direction adds a dynamic sense of movement.

No ratings yet · Sign in to rate

Save this design for carving night, then share a photo of your own jack-o'-lantern once it's glowing.
Comments (0)

  • No comments yet — be the first.

Save without an account. Sign in to like or comment.

Our tips for carving a similar design

The three crescents are all oriented the same rotational direction, which gives the design a sense of movement and visual flow. Each crescent and circle hole is a fully independent aperture, so broad rind between elements is what keeps the shell rigid. Cutting the largest crescent first while the wall is at full strength sets the pattern for the two smaller ones below.

From pumpkin to porch

  1. Prep and hollow

    Cut a back-side lid and scoop to a consistent one-inch wall. The slightly thicker wall helps the design hold up with three crescents removed from a single face. Mark the wall thickness on the inside with a marker so you can feel when the scoop is deep enough.

  2. Lay out the composition

    Mark the three crescent positions stacked vertically, all oriented the same direction, with at least one inch of rind between adjacent pair. Add the small circle hole positions around the composition. Confirm every element has at least three-quarters of an inch of rind connecting it to a neighbor before committing to any cut.

  3. Cut the largest crescent

    Remove the top and largest crescent first using the two-circle tracing method or a stencil. Cut the outer convex arc first, then the inner concave arc. Release the piece cleanly and check that the surrounding rind is firm.

  4. Cut the remaining two crescents

    Work downward to the medium crescent and then the smallest, repeating the same outer-then-inner arc sequence each time. The pumpkin wall will feel slightly more flexible as each crescent is removed, so use light saw pressure and steady grip.

  5. Add the circle holes

    Drill or saw the small accent circles last. A round drill bit produces the cleanest circle; a saw requires short continuous strokes. Check each circle position one more time before cutting to ensure no bridge has become thinner than three-quarters of an inch.

  6. Light and photograph at dusk

    Place a bright LED inside toward the back center. Take the pumpkin outside at twilight when the ambient blue-gray light contrasts beautifully with the warm internal glow. The three crescents each cast their own soft arch of light, which photographs especially well in low natural light.

Written with AI to match this design

Gather your supplies

Check things off as you get ready.

Work on a stable surface, keep your free hand out of the cutting path, and have an adult handle sharp tools.

Three levels of light

  • Leave intact

    All rind between and outside the three crescents and circle accents stays solid and dark.

  • Peel & shade

    None; all shapes are full through cuts.

  • Cut through

    All three crescent moon shapes and every circle accent hole are cut through for full glow.

Learn the carving basics

Before you start cutting

Do all three crescents need to be the same size?

Not necessarily, but graduating them slightly from largest at top to smallest at bottom creates a natural tapering effect that looks intentional rather than uneven. Keep them in the same rotational orientation for visual cohesion.

The middle crescent ended up too close to the bottom one. Can I fix it?

Once a cut is made it cannot be undone, so spacing verification before cutting is critical. If the bridge is narrower than you intended but not broken, you can reinforce the interior with a small piece of toothpick pushed into the rind and secured with craft glue.

Will the glow look different at ground level versus eye level?

Yes, at ground level the upper crescent will appear slightly dimmer because it is farther from the LED. Propping the pumpkin slightly forward on a brick angles the light toward the upper sections and balances the brightness across all three crescents.

Your take belongs here, too.

Changed a detail? Made it simpler? Share a photo of your version and tell the community what worked.

Share your pumpkin

More pumpkins like this

You've reached the end · 8 pumpkins
The Patch Report

Fresh pumpkins, in your inbox.

The best new carvings, ideas worth stealing, and how-tos for carving season. Short, seasonal, and gone by November.

A short email during carving season. Unsubscribe anytime. See our privacy policy.