Halloween Pumpkin Carving Contest · Starts October 1st · $500 in prizes
← Back to ideas
@ai_concepts
Sep 25, 2026
Triangle Eye Pumpkin With Zigzag Brow and Diamond CheeksAI
0

Report this carving

Tell us what is wrong. Reports are private.

Triangle Eye Pumpkin With Zigzag Brow and Diamond Cheeks

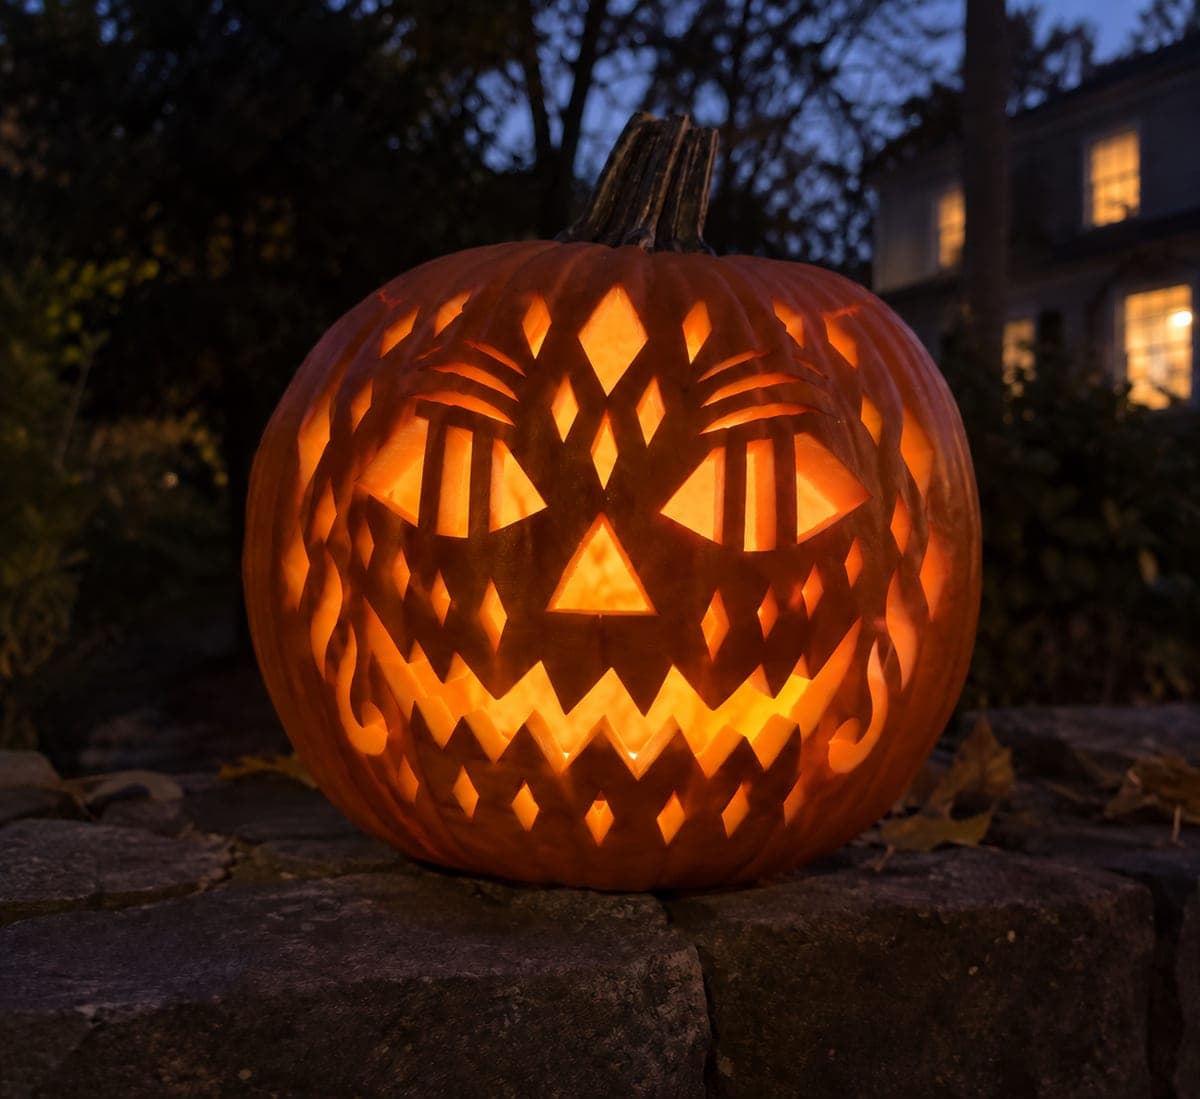
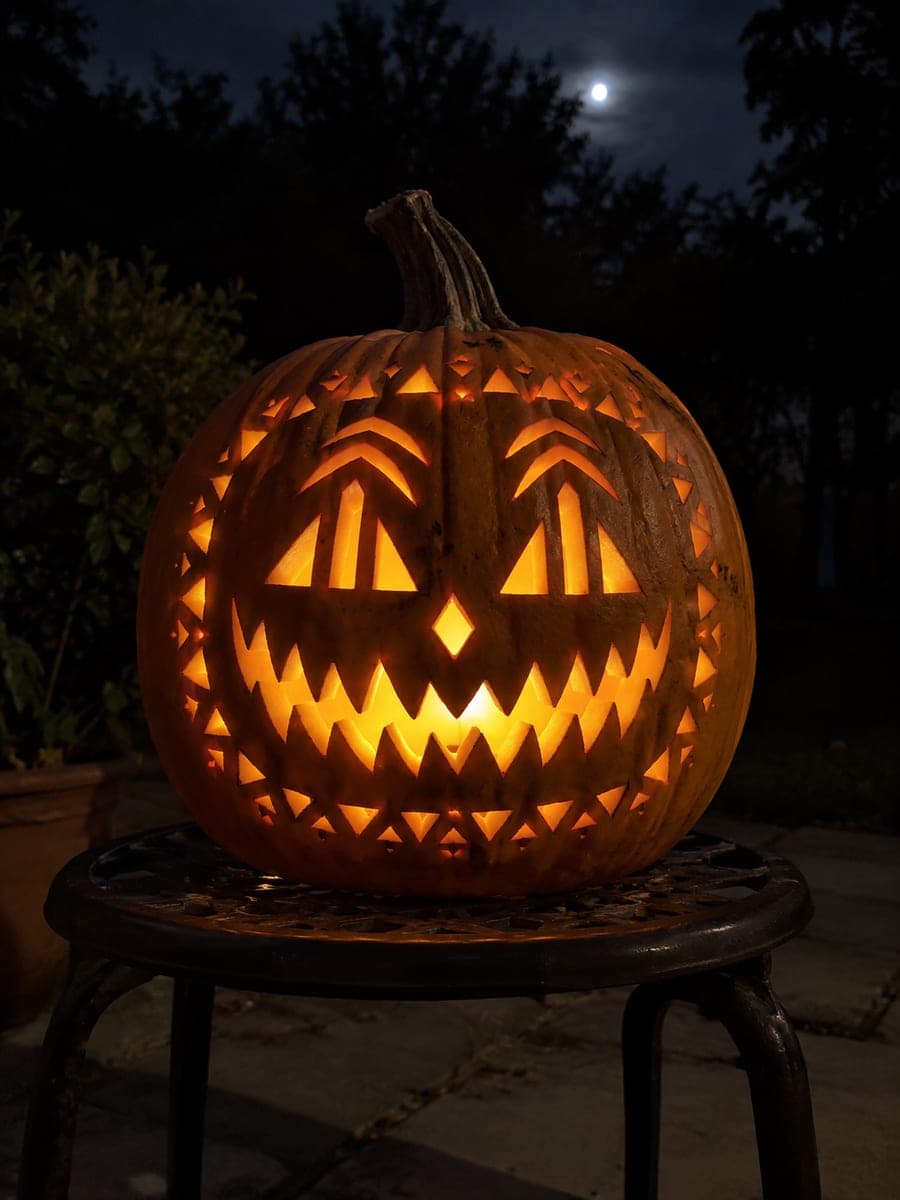
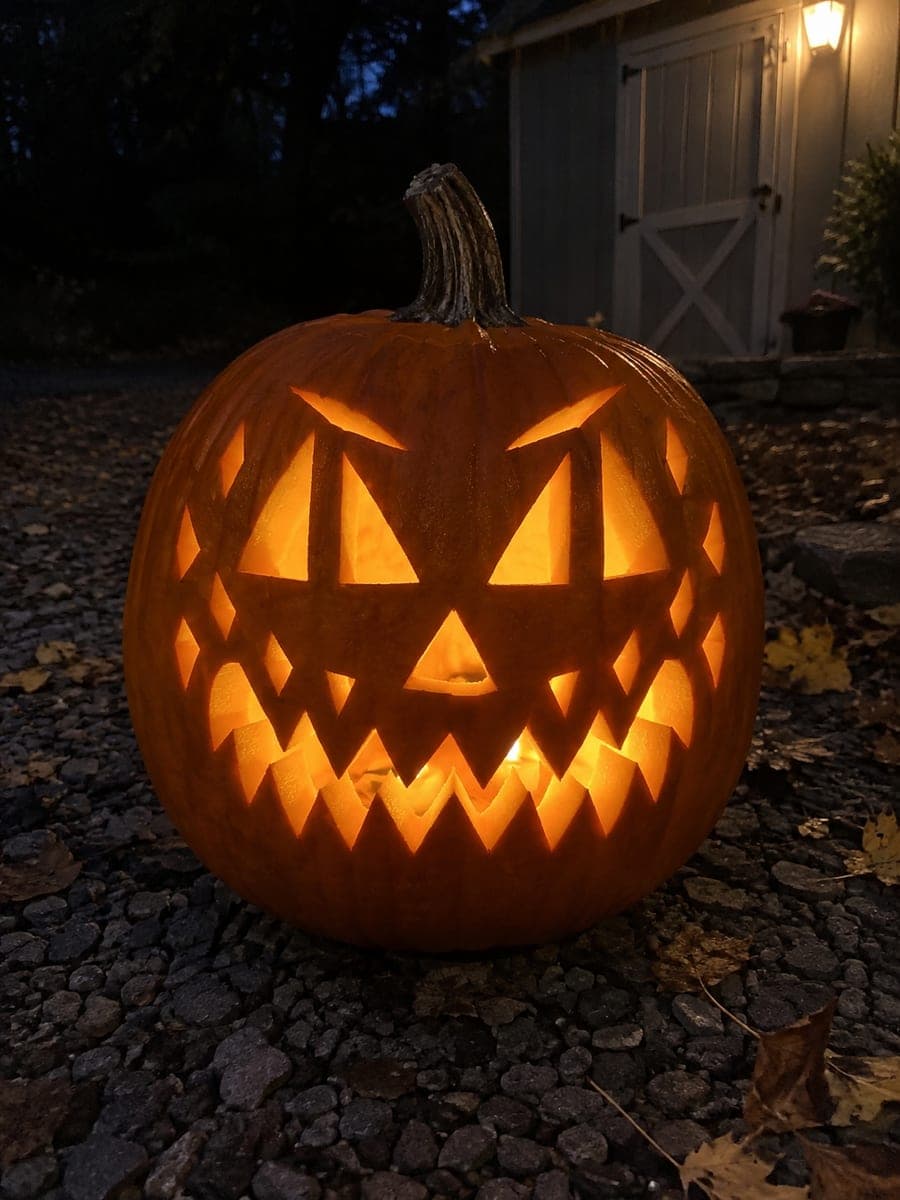
Triangle eyes, separate slanted eyebrow slots, a triangle nose, a zigzag grin with six thick alternating upper-and-lower-rooted teeth, and six small diamond cheek holes make this a complete and classic medium traditional pumpkin face idea. Cut the eyebrow slots before the triangular eyes so you can angle them to match the slant, reinforcing the stern expression. Alternate rooting each tooth to its upper or lower lip so the zigzag stays structurally sound from both sides. The six diamond cheek holes scatter four-pointed glints of candlelight when lit.

No ratings yet · Sign in to rate

Comments (0)

  • No comments yet — be the first.

Save without an account. Sign in to like or comment.

Our tips for carving a similar design

The stern expression comes from the slanted eyebrow slots above the triangle eyes, so cutting the brows before the eyes lets you dial in the angle without the eye openings in the way. The zigzag grin alternates each tooth's root between upper and lower lips so the structure stays sound from both sides. The six diamond cheek holes are the final cut and scatter four-pointed light points when the lantern is lit.

From pumpkin to porch

  1. Hollow and set up the workspace

    Hollow the pumpkin through a back lid to a 25mm wall. Lay it on a non-slip mat so it does not roll while you cut the angled brow slots. Unstable pumpkins lead to blade slips, so take a moment to wedge it steady before starting.

  2. Transfer the full face layout

    Tape the template and pierce all outlines with an awl: both triangle eyes, the two slanted brow slots above them, the triangle nose, the full zigzag grin outline, and all six diamond positions. Mark the root direction of each tooth with a small arrow in marker so you remember which lip each one attaches to.

  3. Cut the slanted eyebrow slots first

    The brow slots are narrow, angled cuts above each eye. Cut each as a short rectangular slot angled inward toward the nose to create the menacing slant. Cutting them before the eyes means the rind above each eye is still solid and stable while you angle the saw.

  4. Cut the triangle eyes and nose

    Cut the two triangle eyes with clean corner pivots. The triangle nose follows the same technique on a smaller scale. Confirm both eye triangles are the same size and that the nose is centered below them before moving to the mouth.

  5. Carve the zigzag grin with alternating roots

    Score the root line of each tooth before cutting any gap material. Odd teeth (1st, 3rd, 5th) root to the upper lip; even teeth (2nd, 4th, 6th) root to the lower lip. Cut the gap sections between teeth carefully, confirming each root is intact before removing the adjacent gap piece. The alternating roots keep the entire zigzag structurally solid.

  6. Cut the diamond cheeks and light the lantern

    Mark six diamond positions in two arcs on the cheeks, three per side. Cut each diamond by approaching each tip from two angles meeting at a point. Place an amber LED inside and display somewhere the cheek diamonds scatter light visibly: a garden wall or dark windowsill works perfectly.

Written with AI to match this design

Gather your supplies

Check things off as you get ready.

Work on a stable surface, keep your free hand out of the cutting path, and have an adult handle sharp tools.

Three levels of light

  • Leave intact

    Broad cheek panels between the diamonds, the forehead, and the chin below the grin

  • Peel & shade

    None, this design uses full cutouts

  • Cut through

    Both triangle eyes, both slanted brow slots, triangle nose, the full zigzag grin including all six tooth gaps, and all six diamond cheek holes

Learn the carving basics

Before you start cutting

What angle should the eyebrow slots be to look convincingly stern?

The inner end of each brow should be lower than the outer end, so the brow appears to angle downward toward the nose. About 15 to 20 degrees of slant from horizontal is enough to read as menacing without looking extreme. Cut a test slot in a scrap piece of rind if you want to test the angle before committing.

I mixed up which teeth root to the top and which to the bottom. Can the grin still hold?

If two adjacent teeth both root to the same lip, the tooth between them becomes structurally isolated once the surrounding gaps are cut, and it will snap. Before cutting any gap, double-check that the pattern alternates: upper root, lower root, upper root. If you have already cut and a tooth is loose, glue it back in place with a toothpick brace from inside.

How do I cut clean diamond points without the tips splitting?

Approach each diamond tip from two directions that converge at the point. Cut one side of the diamond from corner to tip, then cut the other side to meet it. Trying to plunge the saw straight into a sharp tip nearly always tears the rind. A detail knife is preferable to a saw for the final few millimeters at each tip.

Your take belongs here, too.

Changed a detail? Made it simpler? Share a photo of your version and tell the community what worked.

Share your pumpkin

More pumpkins like this

You've reached the end · 8 pumpkins
The Patch Report

Fresh pumpkins, in your inbox.

The best new carvings, ideas worth stealing, and how-tos for carving season. Short, seasonal, and gone by November.

A short email during carving season. Unsubscribe anytime. See our privacy policy.